
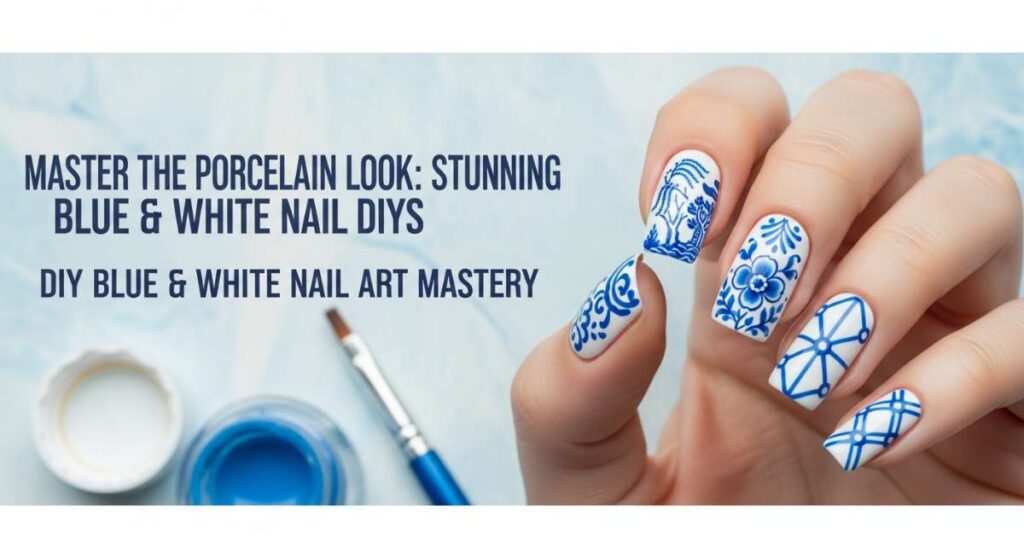
Master the Porcelain Look: Stunning Blue & White Nail DIYs
Hello, my loves! Welcome back to our little corner of the world, where the tea is always warm and the inspiration flows like a gentle stream. Today, I wanted to share something that has been making my heart flutter every time I look down at my hands. There’s a certain magic in the pairing of blue and white—it’s the color of a clear summer sky, the delicate patterns of vintage Chinoiserie tea sets, and the soothing rhythm of ocean waves crashing against white sand.
Lately, I’ve been finding so much peace in the ritual of a DIY manicure. It’s more than just paint; it’s a moment of stillness, a soft embrace for your creative soul. Whether you’re dreaming of soft, powdery baby blues or the regal depth of a midnight royal blue, these designs are curated to bring a touch of elegance and serenity to your day. So, grab your favorite cozy blanket, light a candle, and let’s dive into the world of porcelain-inspired beauty together.
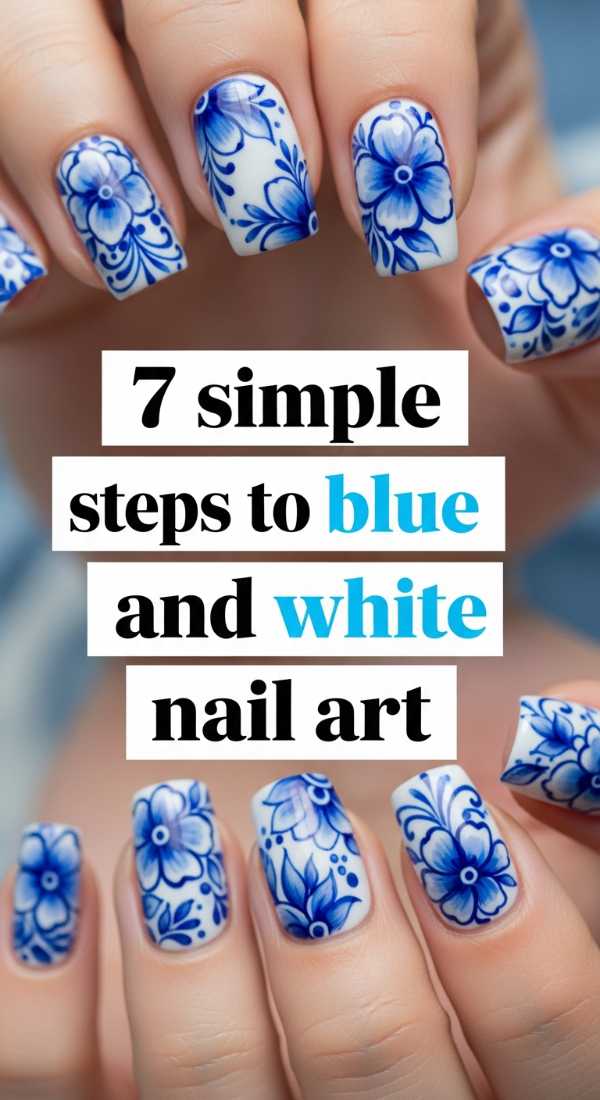
7 Simple Steps to Blue and White Nail Art
Why to love this Design:
This design is the quintessential starting point for any blue and white lover. It balances the purity of white with the vibrancy of blue in a way that feels timeless and effortlessly chic. It’s like wearing a piece of fine art that goes with every outfit in your closet.
Essential Elements:
- Crisp White Polish (Opaque)
- Classic Cobalt Blue Polish
- Fine Liner Brush
- Glossy Top Coat
How to Prepare:
- Cleanse your nails with alcohol to remove any oils.
- Apply a nourishing base coat.
- Paint two thin layers of white polish as your canvas.
- Dip your liner brush into the blue polish.
- Create small, organic floral shapes or swirls.
- Let the design dry for at least 5 minutes.
- Seal with a high-shine top coat for that glazed finish.
Budget Range
- Essie ‘Blanc’ White Polish – $10
- OPI ‘Mi Casa Es Blue Casa’ – $11
- Nail Art Brush Set (Amazon) – $6
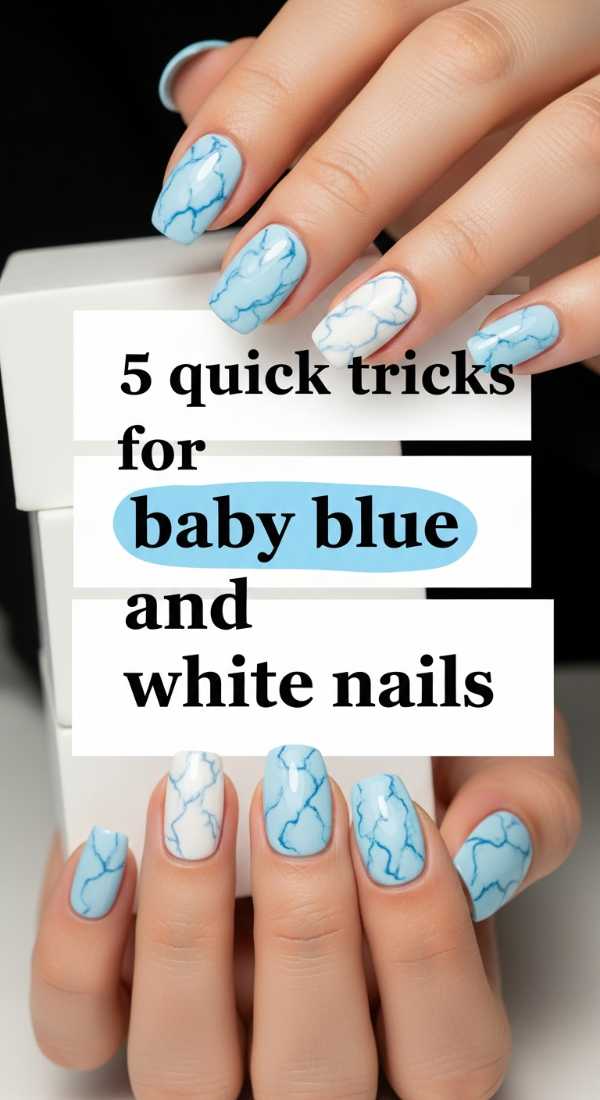
5 Quick Tricks for Baby Blue and White Nails
Why to love this Design:
Imagine the softest summer sky captured right at your fingertips. This look is all about gentleness and light. It’s perfect for those days when you want your nails to look clean, fresh, and whisper-soft against your skin.
Essential Elements:
- Pastel Baby Blue Polish
- White Polish
- Makeup Sponge (for dabbing)
- Matte Top Coat (optional for a velvet look)
How to Prepare:
- Start with a clean, buffed nail surface.
- Apply a baby blue base color.
- Use a sponge to dab white polish onto the tips for a cloud-like effect.
- Use a toothpick to add tiny white dots for ‘stars’ or sparkles.
- Finish with a quick-dry top coat.
Budget Range
- Sally Hansen Insta-Dri ‘Blue Bell’ – $7
- Wet n Wild ‘White’ – $2
- Latex-free Makeup Sponges – $4
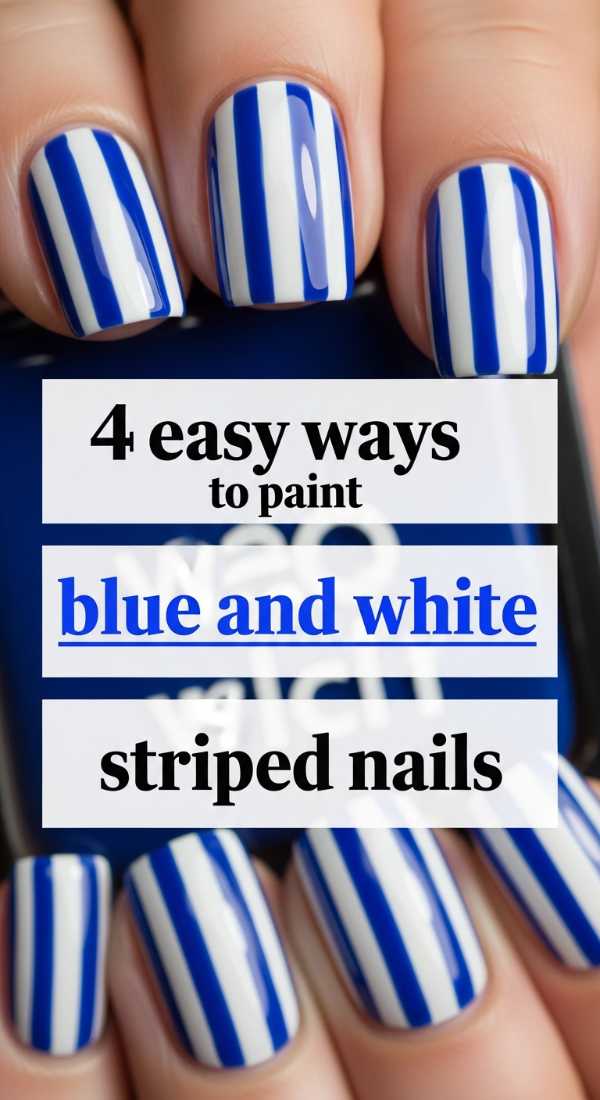
4 Easy Ways to Paint Blue and White Striped Nails
Why to love this Design:
Stripes are the ultimate classic, bringing a touch of nautical chic to your everyday look. This design is crisp, modern, and surprisingly easy to achieve even if you don’t have a perfectly steady hand. It’s the visual equivalent of a fresh linen shirt.
Essential Elements:
- Nail Striping Tape
- Navy Blue Polish
- Pure White Polish
- Tweezers
How to Prepare:
- Paint your nails white and let them dry completely (this is crucial!).
- Place 2-3 strips of tape horizontally or vertically across the nail.
- Paint over the entire nail with navy blue polish.
- Peel the tape off immediately while the blue is still wet to reveal crisp lines.
Budget Range
- Holo Taco ‘One-Coat Black’ (sub for Navy) or OPI ‘Russian Navy’ – $11
- Nail Striping Tape Roll – $3
- Tweezers (any drugstore) – $5
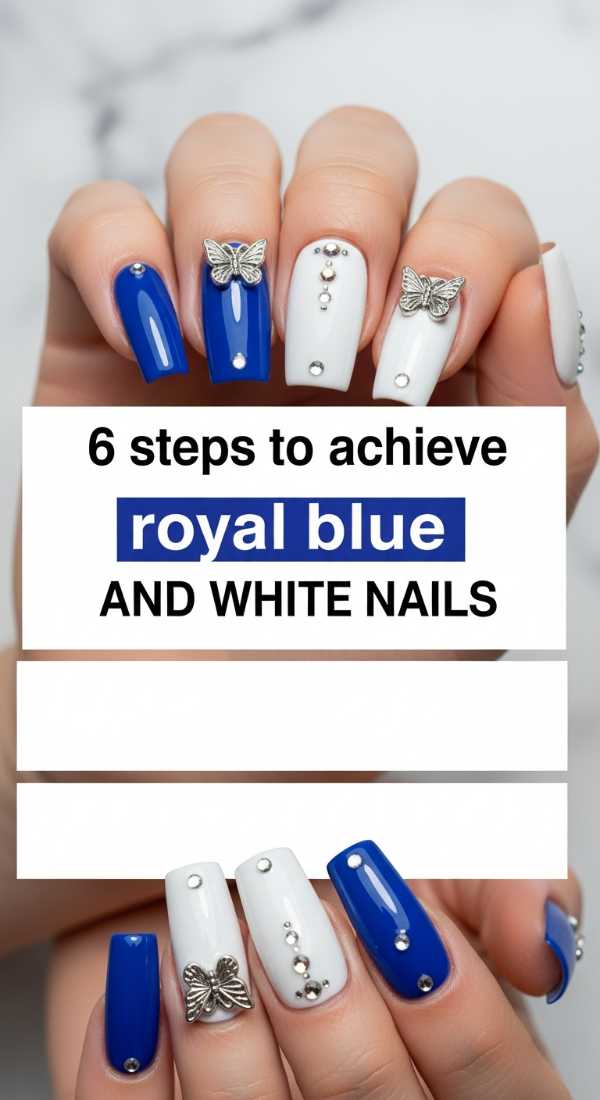
6 Steps to Achieve Royal Blue and White Nails
Why to love this Design:
There is a regal, sophisticated energy that comes with royal blue. It’s bold, confident, and looks absolutely stunning against a stark white contrast. This look is for the moments when you want to feel a bit more empowered and refined.
Essential Elements:
- Royal Blue Crème Polish
- White Detailing Polish
- Dotting Tool
- Base Coat
How to Prepare:
- Shape your nails into an elegant almond or square.
- Apply your base coat to prevent staining.
- Paint the thumb, index, and pinky royal blue.
- Paint the middle and ring fingers white.
- Use a dotting tool to add blue ‘beads’ to the white nails.
- Finish with a thick layer of top coat.
Budget Range
- Zoya ‘Blue’ – $12
- Dotting Tool Set – $5
- Seche Vite Top Coat – $9
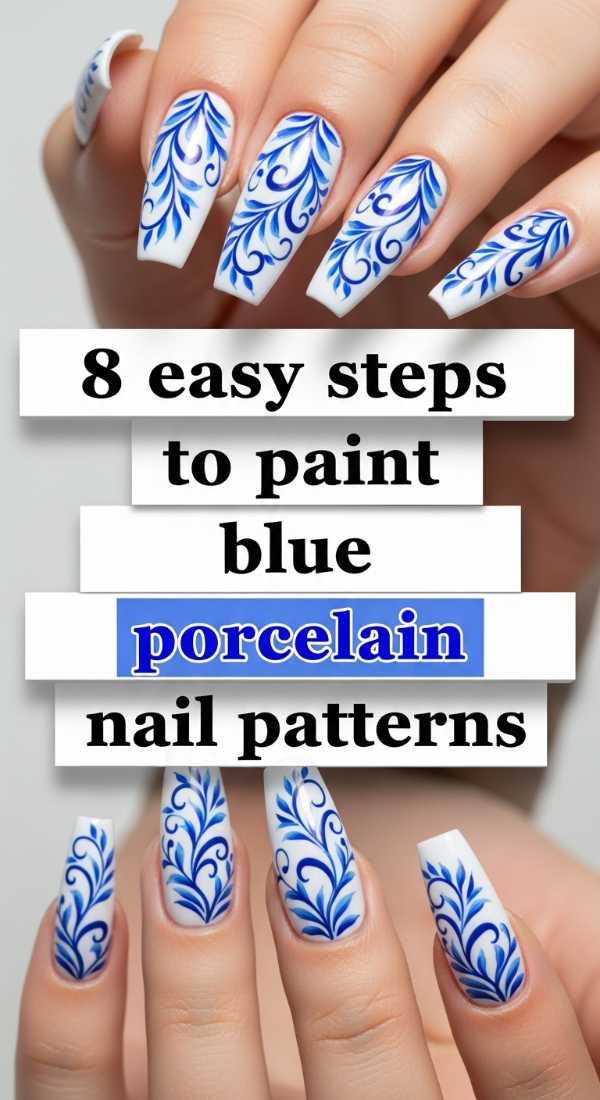
8 Easy Steps to Paint Blue Porcelain Nail Patterns
Why to love this Design:
This is the heart of our porcelain journey, my loves. Inspired by Ming dynasty ceramics, this pattern is intricate yet organic. It looks incredibly expensive and detailed, yet it’s all about the rhythm of the brush strokes.
Essential Elements:
- Off-white or ‘Cream’ Polish
- Deep Blue Acrylic Paint (easier to control than polish)
- Ultra-fine Detail Brush
- Water bowl
How to Prepare:
- Apply a cream-colored base.
- Thin out your blue acrylic paint with a tiny drop of water.
- Paint a small circle in the center for a flower core.
- Add ‘C’ curved strokes around it for petals.
- Add tiny vines or leaves connecting the flowers.
- Incorporate small dots to fill empty spaces.
- Wait for the paint to dry fully (it will turn matte).
- Apply top coat carefully to avoid smearing the paint.
Budget Range
- FolkArt Acrylic Paint in ‘Navy’ – $2
- Winstonia Detail Brush – $8
- Essie ‘Marshmallow’ – $10
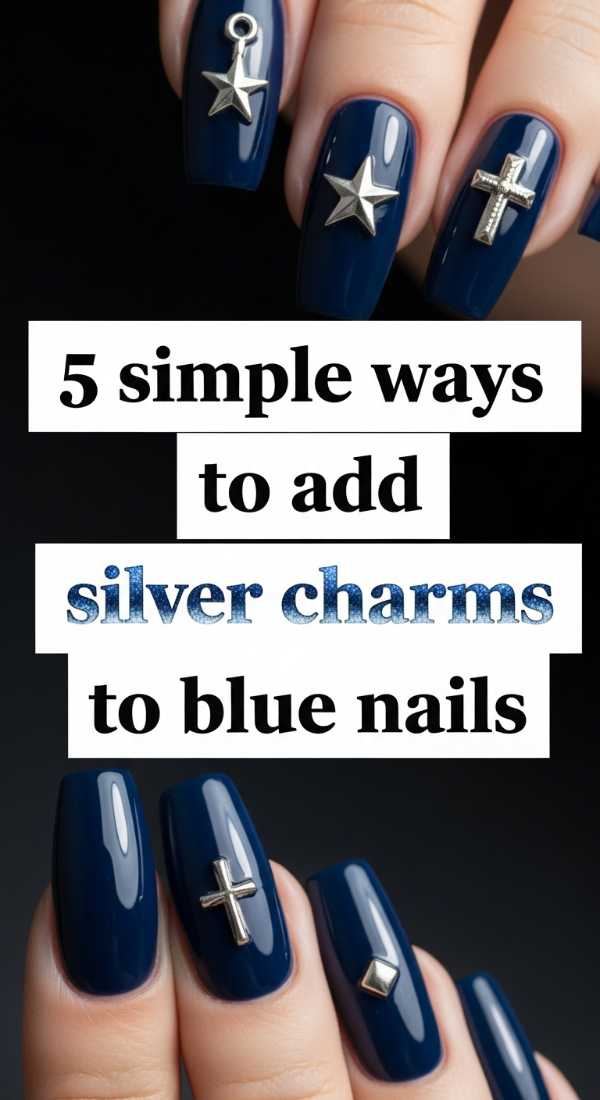
5 Simple Ways to Add Silver Charms to Blue Nails
Why to love this Design:
Sometimes we need a little extra sparkle to brighten our spirits. Silver charms on a blue base look like moonlight reflecting off the ocean at night. It adds a 3D element that is both whimsical and high-fashion.
Essential Elements:
- Silver Moon/Star Charms
- Nail Glue or thick Gel Top Coat
- Medium Blue Polish
- Wax Pen (for picking up charms)
How to Prepare:
- Apply two coats of your favorite blue.
- Apply a small dot of nail glue where you want the charm.
- Use the wax pen to gently place the silver charm.
- Press down for 10 seconds to secure.
- Apply top coat around the charm to lock it in place.
Budget Range
- Nail Art Charms (Amazon/Etsy) – $5-10
- Beauty Secrets Nail Glue – $3
- Wax Picker Tool – $4
3 Minutes to Master Baby Blue Gradient Nails

Why to love this Design:
For the busy souls who still want to look polished! A gradient is the quickest way to achieve a professional-looking manicure at home. It’s soft, seamless, and incredibly flattering on all nail lengths.
Essential Elements:
- Baby Blue Polish
- White Polish
- Makeup Sponge
- Liquid Latex (optional for clean-up)
How to Prepare:
- Apply white polish as a base.
- Apply a strip of blue and a strip of white polish directly onto the sponge.
- Dab the sponge onto the nail repeatedly until blended.
- Peel off the liquid latex or clean the edges with acetone.
Budget Range
- Liquid Latex Barrier – $7
- Sponge Multipack – $3
- CND Vinylux in ‘Creekside’ – $10
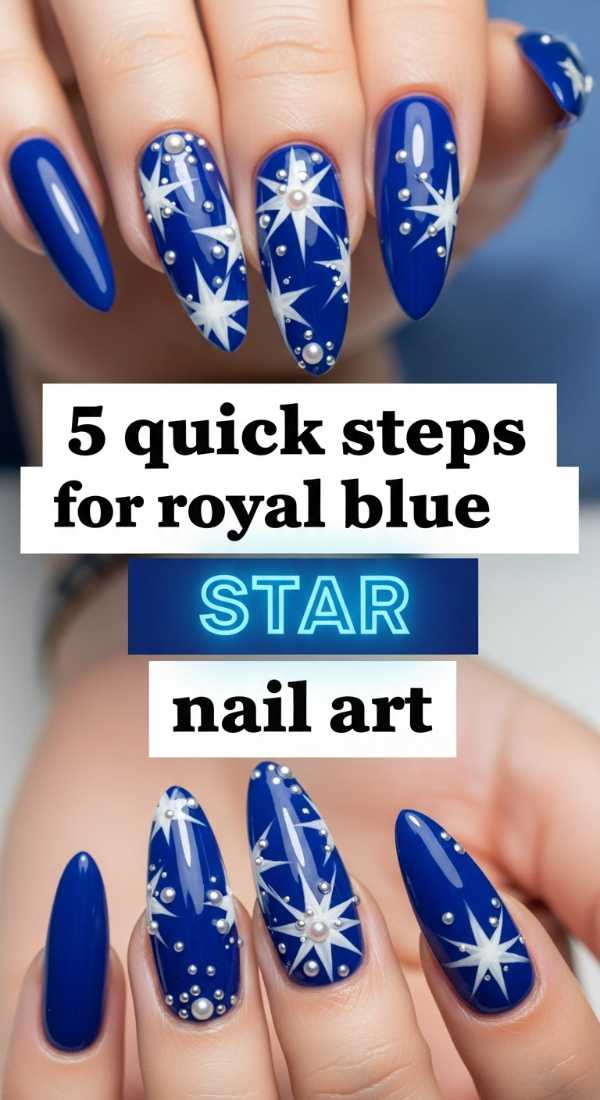
5 Quick Steps for Royal Blue Star Nail Art
Why to love this Design:
Celestial patterns bring a touch of the infinite to your style. These royal blue stars on a white base feel like a clear night sky. It’s a playful yet sophisticated design that sparks conversation.
Essential Elements:
- White Polish
- Royal Blue Polish
- Star Stencils or a very steady fine brush
- Small Tweezers
How to Prepare:
- Paint nails a crisp, solid white.
- Apply star stencils once the white is 100% dry.
- Paint royal blue over the stencil.
- Remove the stencil carefully while wet.
- Seal with a glossy top coat.
Budget Range
- Vinyl Star Stencils – $5
- China Glaze ‘Majestic Tresses’ – $8
6 Expert Tips for Perfect Blue Striped Nails
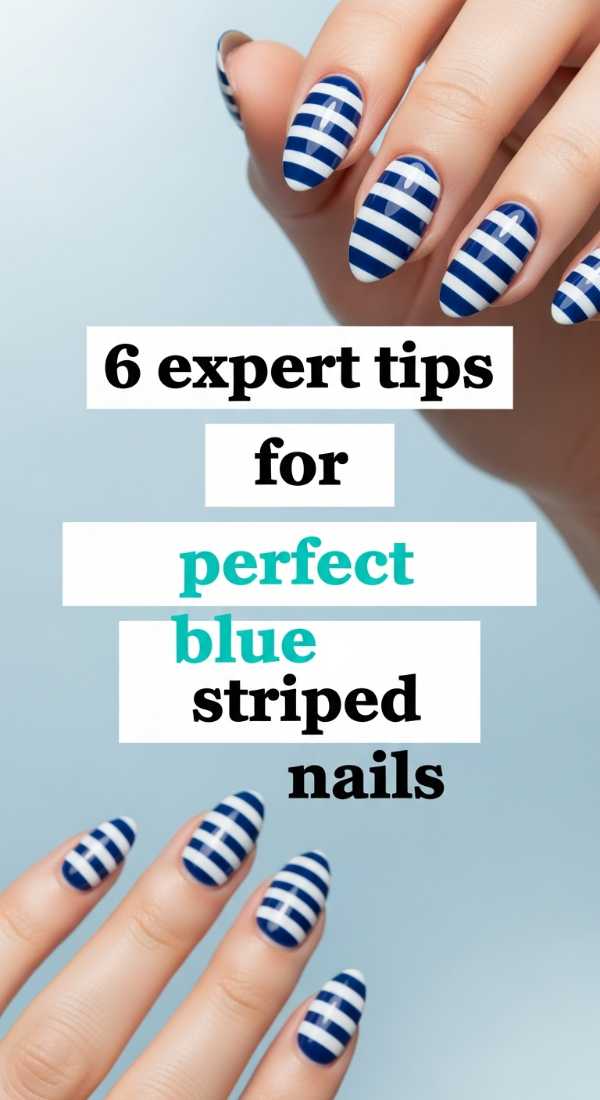
Why to love this Design:
This is for the perfectionists among us! Striped nails look so high-end when done correctly. These tips ensure your lines are straight and your colors are bold, giving you that ‘just stepped out of the salon’ feeling.
Essential Elements:
- Striping Polish (with the long, thin brush)
- Nail Guide Stickers
- Deep Blue Polish
- White Polish
How to Prepare:
- Always start with a dry base.
- Use a long-haired brush for longer strokes—it stabilizes the hand.
- Hold your breath slightly as you pull the stroke for extra stability.
- Keep the polish on the brush minimal to avoid ‘blobbing’.
- Wipe the brush frequently to keep the lines sharp.
- Fix small errors with a brush dipped in clean acetone.
Budget Range
- Orly ‘Blue Suede’ – $12
- Professional Striping Brush – $9
7 Easy Stages for Royal Blue Velvet Nails
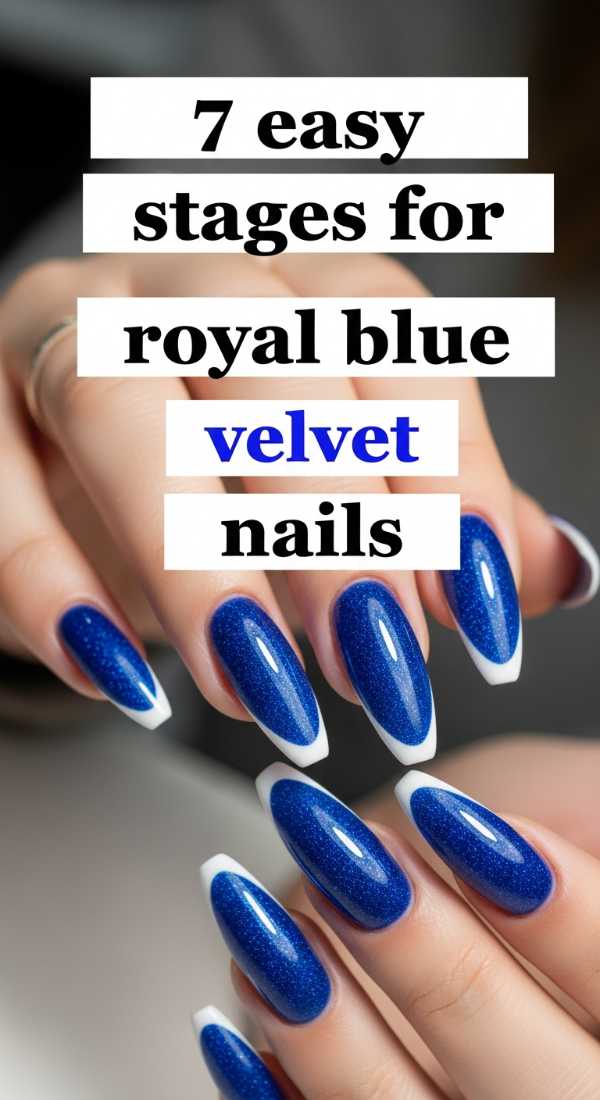
Why to love this Design:
Velvet nails are all about texture and depth. They catch the light in the most mesmerizing way, looking like crushed velvet fabric. It’s a cozy, luxurious look that feels so special to wear during the cooler months.
Essential Elements:
- Magnetic Royal Blue Polish (Cat Eye)
- Strong Magnet
- Black Base Polish (optional for depth)
- High-Gloss Top Coat
How to Prepare:
- Apply a black base coat to make the blue pop.
- Apply one thick coat of magnetic royal blue polish.
- Immediately hold the magnet close to the nail for 15 seconds.
- Watch as the ‘velvet’ particles move and shimmer.
- Repeat for each finger.
- Apply top coat and hold the magnet again to keep the effect sharp.
- Let dry completely.
Budget Range
- KBShimmer Magnetic Polish – $11
- Neodymium Magnet – $5
Closing the Circle of Beauty
There we have it, my loves. Ten beautiful ways to bring the serenity of blue and white into your self-care routine. I hope these designs bring a little bit of calm to your busy week and remind you that you deserve these small moments of creativity. Whether you choose the intricate porcelain patterns or a simple, soft gradient, remember that the beauty lies in the process as much as the result. I can’t wait to see your stunning creations! Tag me in your photos so I can see your beautiful work. Until next time, stay soft and stay inspired.