
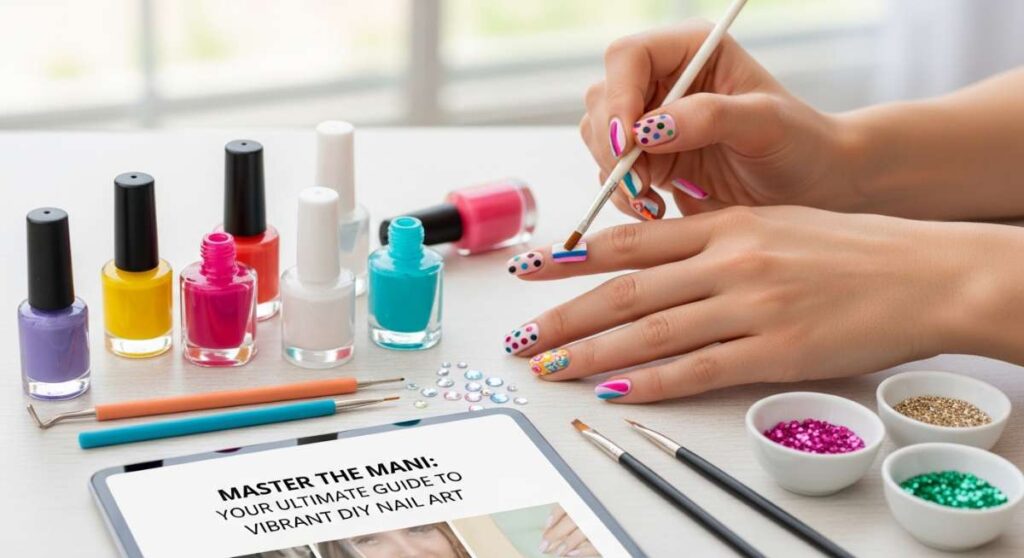
Master the Mani: Your Ultimate Guide to Vibrant DIY Nail Art
Hello, my loves! Pull up a chair, grab a warm cup of tea, and let’s talk about something that makes my heart flutter every time I look down at my hands. There is something so incredibly healing about taking twenty minutes out of a chaotic day to paint a little rainbow onto your fingertips. It’s not just about the polish; it’s about that quiet moment of self-care, the gentle stroke of the brush, and the way a bright pop of color can instantly lift your spirit like a soft, warm hug.
I know many of you feel a bit intimidated by DIY nail art, thinking you need the steady hand of a surgeon or a professional studio. But I’m here to tell you that beauty is found in the playfulness, not the perfection! Whether you’re a minimalist who loves a two-tone dream or a maximalist ready for ‘junk nails,’ this guide is our little shared sanctuary. Let’s turn your vanity into a canvas and your afternoon into a masterpiece.
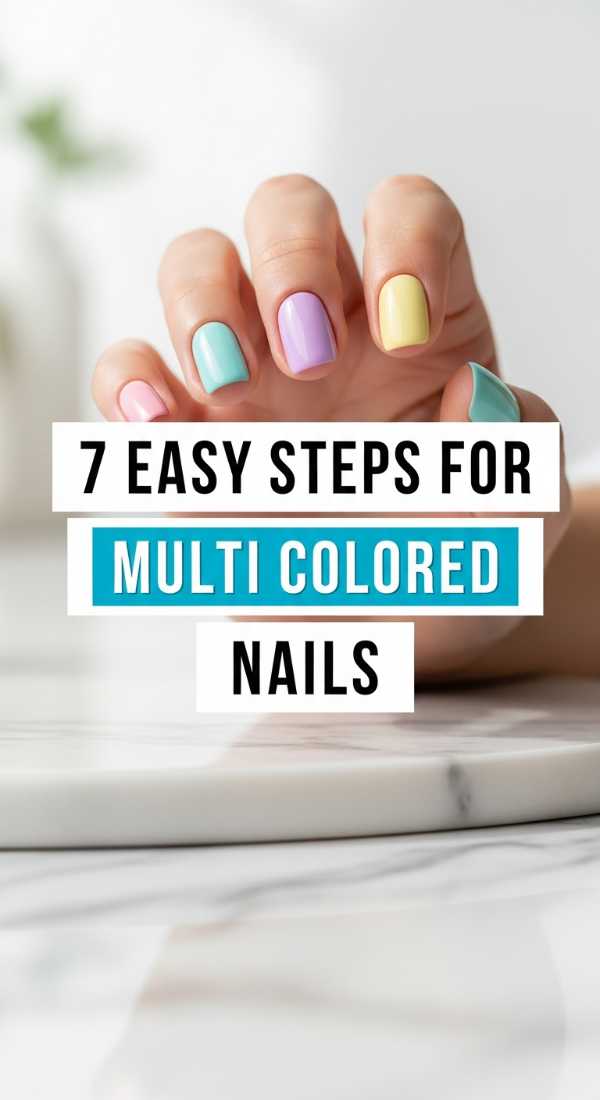
7 Easy Steps for Multi-Colored Nails
Why to love this recipe:
This is the ultimate ‘skittles’ manicure. It is the perfect way to use those five bottles of polish you couldn’t decide between, creating a cohesive yet playful look that screams joy without needing any complex tools.
Essential Ingredients:
- 5 coordinating nail polish colors
- Base coat
- High-shine top coat
- Nail polish remover and a small brush for cleanup
How to Prepare:
- Apply a thin layer of base coat to protect your natural nails.
- Line up your five colors in the order you want them on your hand.
- Paint your thumb with the darkest shade.
- Apply the second shade to your index finger.
- Continue the pattern across your remaining fingers.
- Apply a second coat to each nail for full opacity.
- Seal the look with a thick top coat to blend the edges.
Budget Range
- Essie Glossy Shine Base Coat ($10)
- OPI Brights Collection Set ($15-20)
- Seche Vite Dry Fast Top Coat ($9)
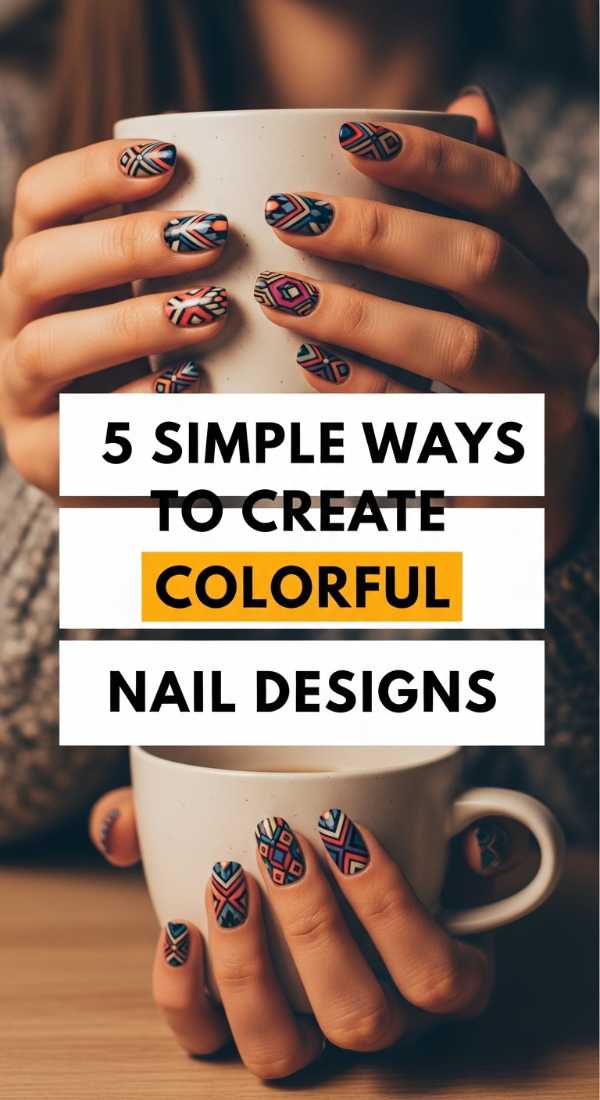
5 Simple Ways to Create Colorful Nail Designs
Why to love this recipe:
Sometimes we want a little more than a solid color, and these methods are the ‘comfort food’ of nail art. They are low-stress, high-reward techniques that anyone can master on a lazy Sunday afternoon.
Essential Ingredients:
- Toothpicks or bobby pins
- Makeup sponge
- Washi tape or scotch tape
- A variety of vibrant polishes
How to Prepare:
- The Dotting Method: Use a bobby pin tip to create simple polka dots.
- The Sponge Gradient: Dab two colors onto a sponge and press onto the nail.
- The Tape Masking: Apply tape in a triangle shape, paint over it, and peel.
- The Dry Brush: Wipe most polish off the brush and ‘swipe’ it for a distressed look.
- The Splat: Use a straw to blow a drop of polish for an abstract art vibe.
Budget Range
- Drugstore Makeup Sponges ($3)
- Sally Hansen Insta-Dri Polishes ($5 each)
- Household Toothpicks ($1)
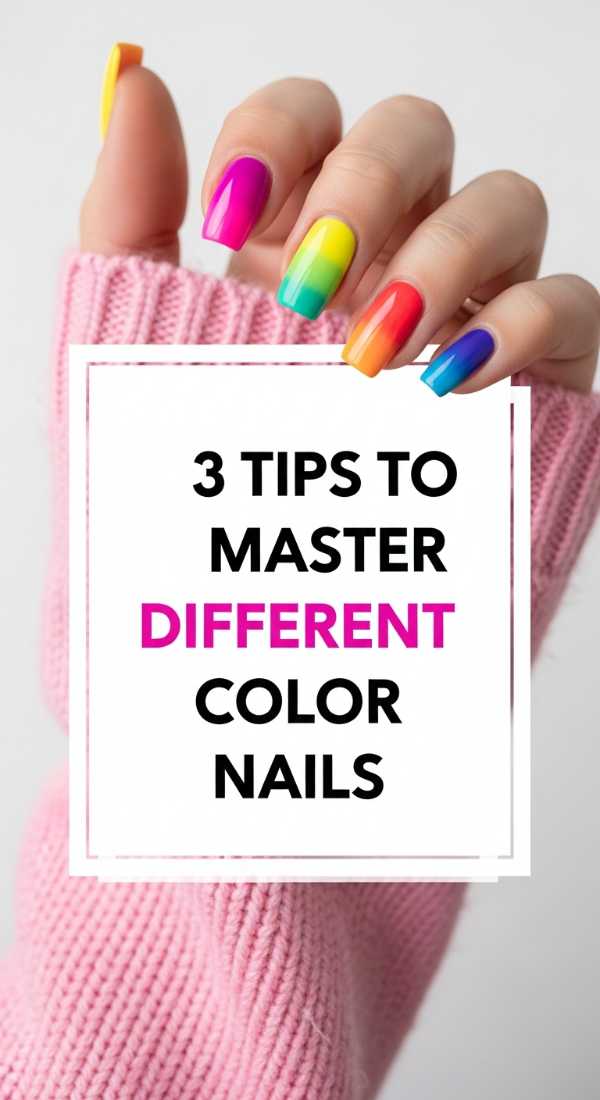
3 Tips to Master Different Color Nails
Why to love this recipe:
Mixing colors can feel overwhelming, but these tips act as your North Star. It’s about finding the harmony in the chaos so your manicure looks intentional and chic rather than messy.
Essential Ingredients:
- A color wheel (digital or physical)
- Matte top coat
- Neutral ‘buffer’ polish (nude or white)
How to Prepare:
- Stick to a Theme: Choose all pastels, all neons, or all earth tones to ensure they ‘talk’ to each other.
- Use the Rule of Three: Choose three main colors and repeat them in different orders on each hand.
- Vary the Finishes: If the colors are very different, use a matte top coat on all of them to unify the texture.
Budget Range
- Hollo Taco Matte Top Coat ($11)
- Color Wheel App (Free)
- Zoya Professional Lacquer ($12)
6 Methods to Style Colorful Junk Nails
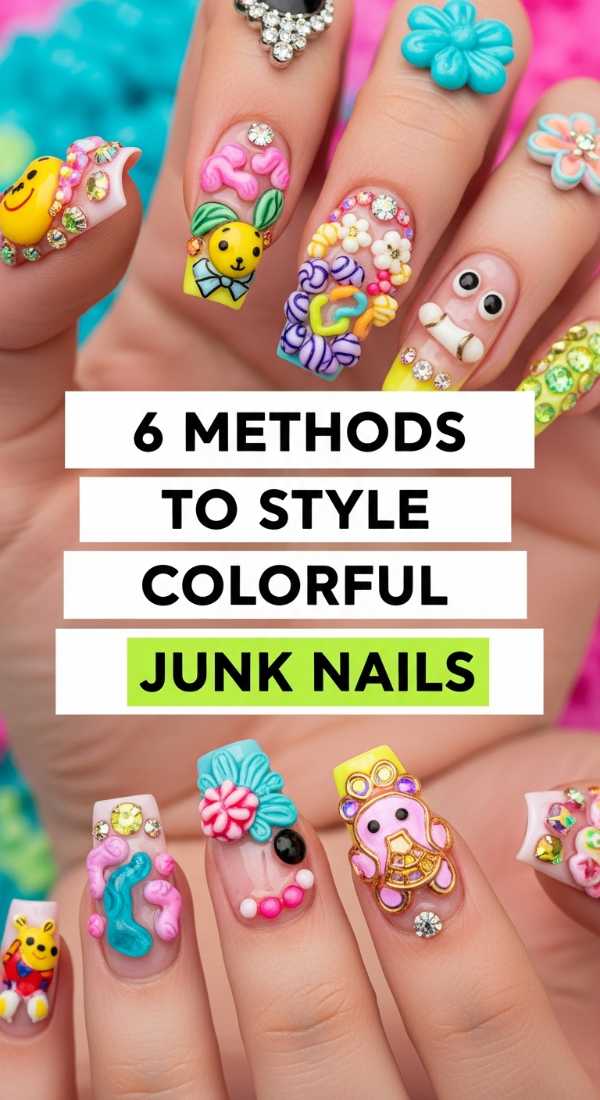
Why to love this recipe:
Junk nails are the scrapbooks of the nail world! It’s about more-is-more, layering charms, stickers, and textures to tell a story that is uniquely, wonderfully you.
Essential Ingredients:
- Nail glue or thick builder gel
- Assorted charms (hearts, stars, bows)
- Tiny rhinestones
- Nail stickers
How to Prepare:
- Apply your base color and let it dry completely.
- Place a tiny drop of glue where you want your largest charm.
- Press the charm down and hold for 10 seconds.
- Fill the empty spaces with smaller stickers or rhinestones.
- Apply a layer of gel top coat around (not over) the charms.
- Add a sprinkle of glitter to any ‘blank’ spots.
Budget Range
- Amazon Nail Charm Bulk Pack ($8)
- Nailene Quick-Dry Nail Glue ($4)
- Decal Stickers ($5)
4 Steps to Apply Vibrant Color Nails
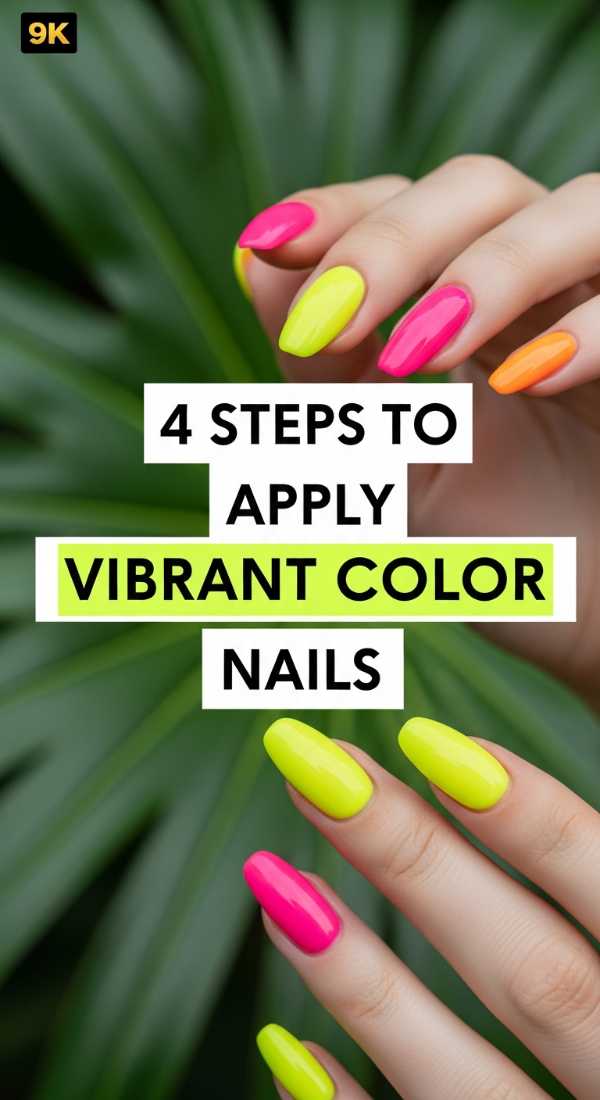
Why to love this recipe:
Vibrant neons and saturated pigments can be tricky to apply without streaks. This method ensures your brights look ‘salon-level’ neon and absolutely electric.
Essential Ingredients:
- Opaque white polish
- Neon polish of choice
- Precision cleanup brush
How to Prepare:
- Apply one coat of white polish first—this acts as a ‘primer’ to make the neon pop.
- Apply the first thin coat of your vibrant color over the white.
- Apply a second, slightly thicker coat for total saturation.
- Clean the cuticles immediately for a sharp, professional finish.
Budget Range
- Sinful Colors Snow Me White ($2)
- Orly Neon Heat Polish ($12)
- Acetone-free remover ($4)
2 Quick Steps for Perfect Two Color Nails
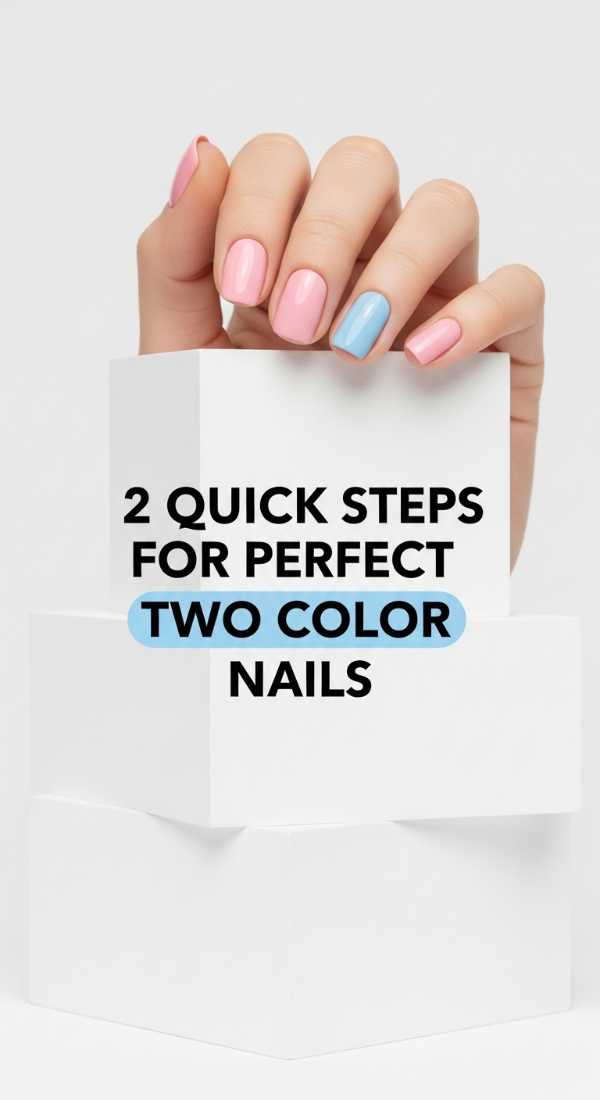
Why to love this recipe:
For my loves who are in a rush but still want to feel fancy, this ‘duet’ style is sophisticated and takes literally minutes to achieve.
Essential Ingredients:
- Two contrasting polishes (e.g., Pink and Gold)
- Steady hand or a piece of paper
How to Prepare:
- Paint one half of the nail vertically with your first color.
- Paint the other half with the second color, slightly overlapping in the center.
Budget Range
- Revlon Enamel Polish Duo ($10)
- Standard Copy Paper for masking ($0)
5 Easy Ways to Apply Color Street Nails
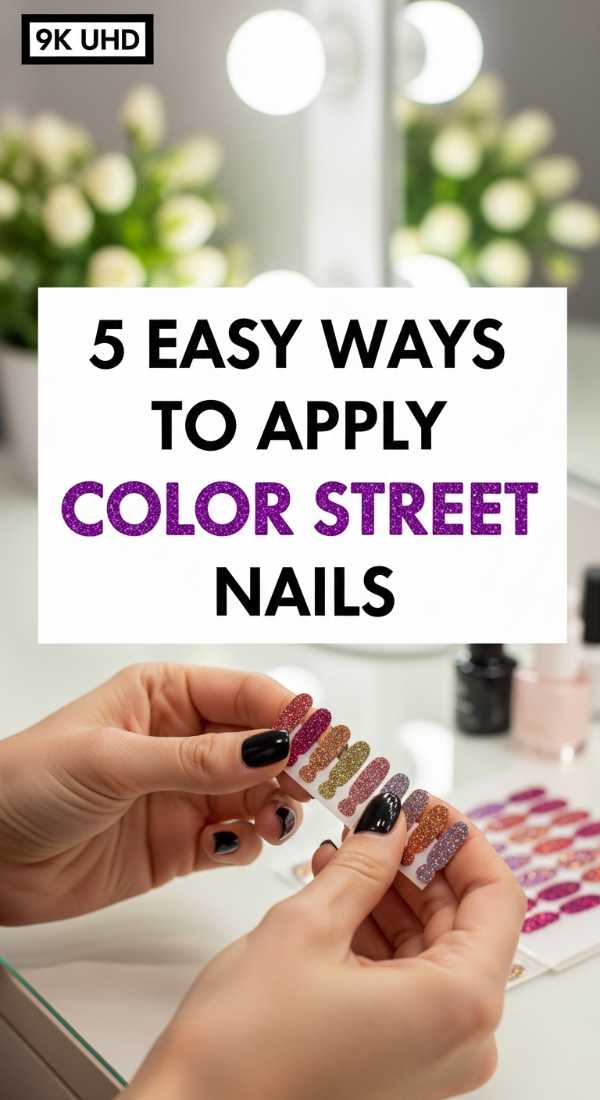
Why to love this recipe:
When you want complex art with zero dry time, these strips are a lifesaver. It feels like magic—no smudging, no waiting, just instant beauty.
Essential Ingredients:
- Color Street nail strips
- Alcohol prep pads
- Nail file
How to Prepare:
- Clean nails thoroughly with alcohol to remove oils.
- Peel the clear cover and the polish strip from the paper.
- Center the strip at the base of your nail and press firmly.
- Fold the excess over the tip and file downward to ‘cut’ it.
- Smooth out any bubbles with your thumb.
Budget Range
- Color Street Sets ($11-14)
- 91% Isopropyl Alcohol ($3)
8 Ideas to Find Your Colorful Nail Inspo
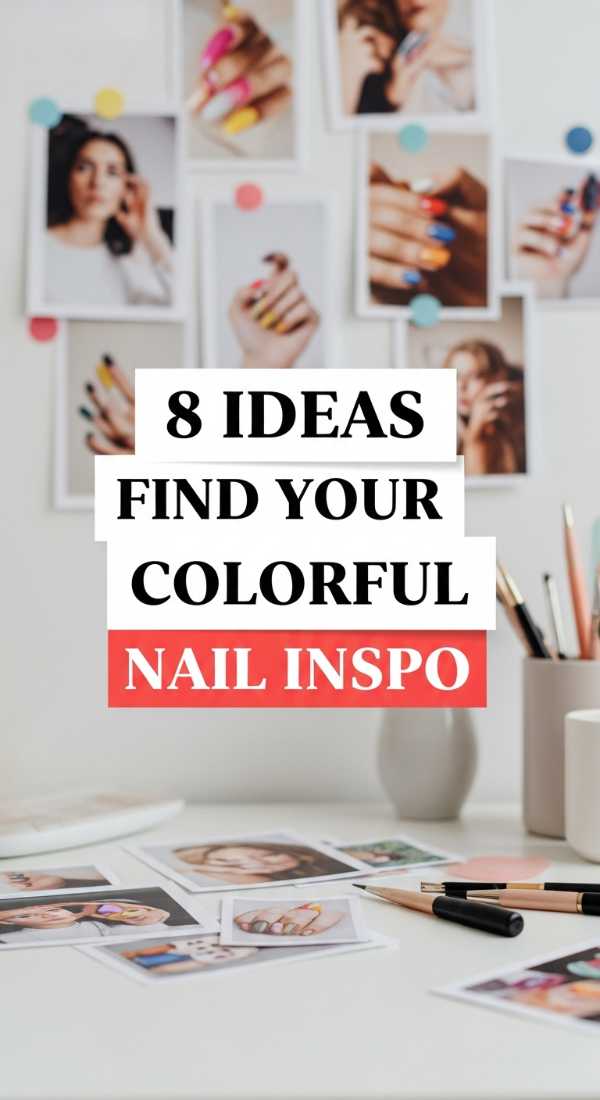
Why to love this recipe:
We all get ‘painter’s block’ sometimes! Finding inspiration in the world around us helps us see beauty in the mundane and keeps our creative juices flowing.
Essential Ingredients:
- Pinterest or Instagram
- Nature (flowers, sunsets)
- Your favorite patterned fabric
How to Prepare:
- Look at floral arrangements for natural color palettes.
- Save ‘mood board’ images on Pinterest.
- Match your nails to your favorite vintage scarf.
- Observe the sky during ‘golden hour.’
- Look at candy packaging for bold, fun combos.
- Check out modern art museum exhibits online.
- Browse interior design catalogs for ‘color story’ ideas.
- Look at the colors in your favorite childhood cartoon.
Budget Range
- Pinterest App (Free)
- A walk in the park (Free)
4 Steps to Maintain Colourful Acrylic Nails
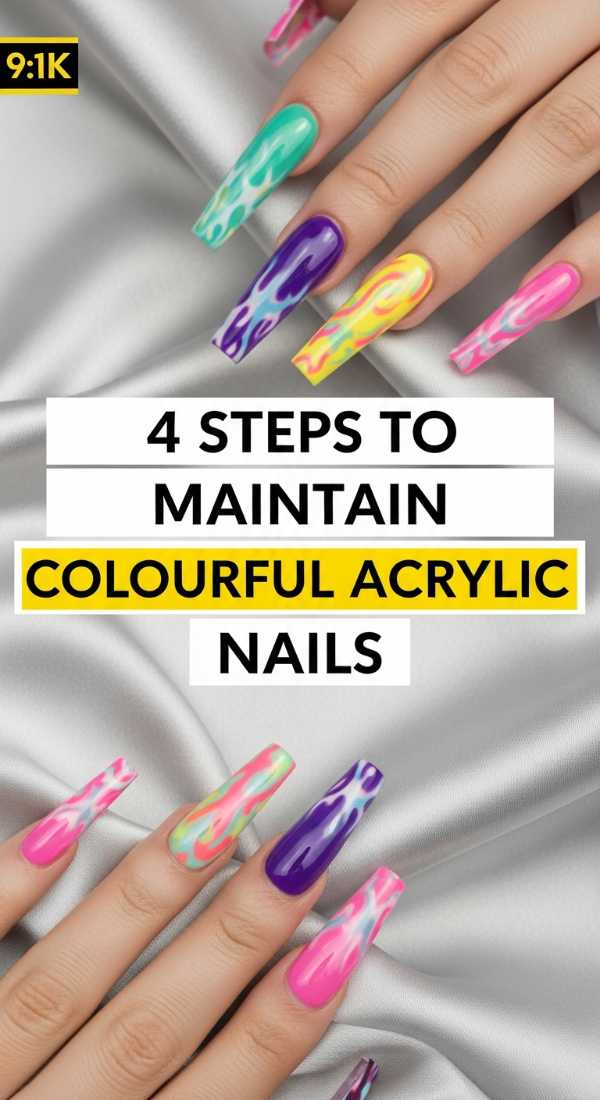
Why to love this recipe:
Acrylics are an investment, and keeping them vibrant requires a little extra love. These steps ensure your colorful set lasts until your next fill without lifting or dulling.
Essential Ingredients:
- Cuticle oil
- Soft nail brush
- UV-protective top coat
How to Prepare:
- Apply cuticle oil every single night to keep the acrylic flexible.
- Gently scrub under the nails with a brush to keep colors bright.
- Re-apply a clear top coat every 4 days to prevent staining.
- Wear gloves while cleaning or doing dishes to avoid chemicals.
Budget Range
- SolarOil Cuticle Care ($9)
- Manicure Brush ($2)
- Olive & June Super Glossy Top Coat ($9)
6 Ways to Shape Colorful Stiletto Nails
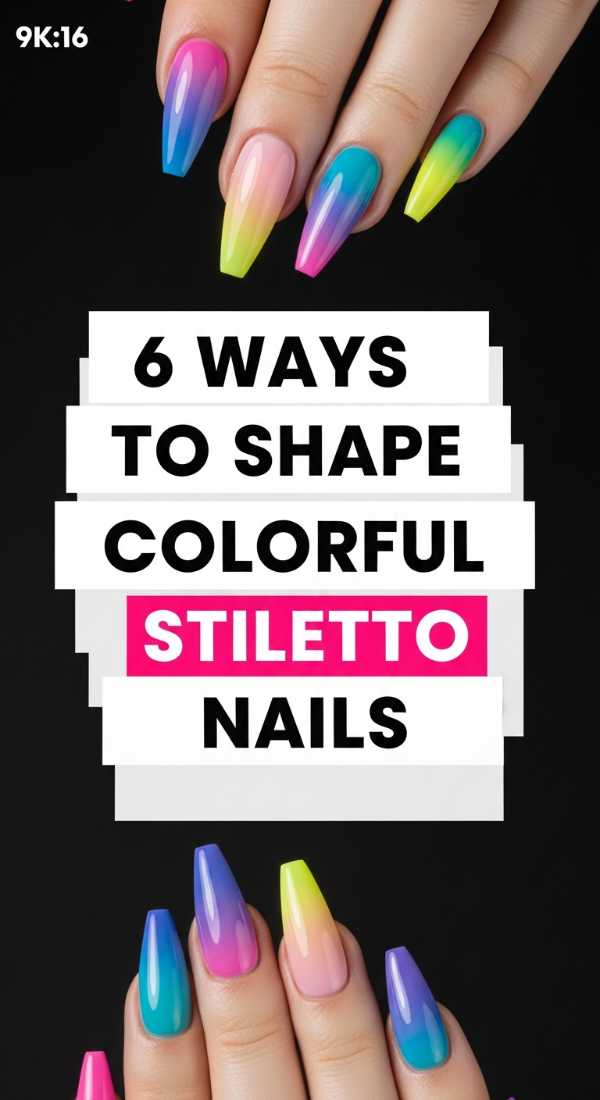
Why to love this recipe:
The stiletto shape is the ‘high heel’ of nails—fierce, bold, and elongating. Proper shaping makes your colorful designs look much more intentional and high-fashion.
Essential Ingredients:
- 180-grit nail file
- Metal nail clippers
- Glass file for finishing
How to Prepare:
- Mark the center point of your nail tip with a dot of polish.
- Clip the sides at an angle toward that center point.
- File in long, diagonal strokes from the sidewall to the tip.
- Repeat on the other side to create a sharp point.
- Round the very tip slightly if you want a ‘soft stiletto.’
- Buff the edges with a glass file for a snag-free finish.
Budget Range
- Glass Nail File ($6)
- Professional Grade Clippers ($7)
- Bulk Emery Boards ($4)
Embrace Your Inner Artist
My sweet friends, I hope this guide makes you feel empowered to pick up a brush and play. Remember, your nails are the only accessory you never take off, so why not make them a reflection of the vibrant, colorful soul you are? Don’t worry about the lines being perfectly straight or the dots being the same size. The beauty is in the process and the way you feel when you see your favorite colors dancing on your hands. Until next time, stay bright and keep shining!