
How to Design a Viral Entryway: The Ultimate First Impression Guide
You only get one chance to make a first impression, and in your home, that responsibility falls entirely on your entryway. There is something truly magical about turning the key after a long day and being met with a space that feels like a warm embrace. It’s the difference between a house that simply holds your things and a home that nourishes your soul the moment you step across the threshold. When we design an entryway that captures that ‘viral’ aesthetic, we aren’t just looking for likes on a screen; we are curating a sanctuary that reflects our personality and sets the stage for every memory made inside.
Think back to the last time you walked into a space and felt an instant sense of calm. Perhaps it was the scent of a signature candle, the soft glow of a perfectly placed lamp, or the way a textured rug felt beneath your feet. That ‘home’ feeling isn’t accidental—it’s a carefully balanced recipe of light, texture, and function. Today, I’m sharing the secrets to transforming your foyer from a cluttered landing pad into a breathtaking gallery that will leave your guests inspired and your mornings feeling effortless.
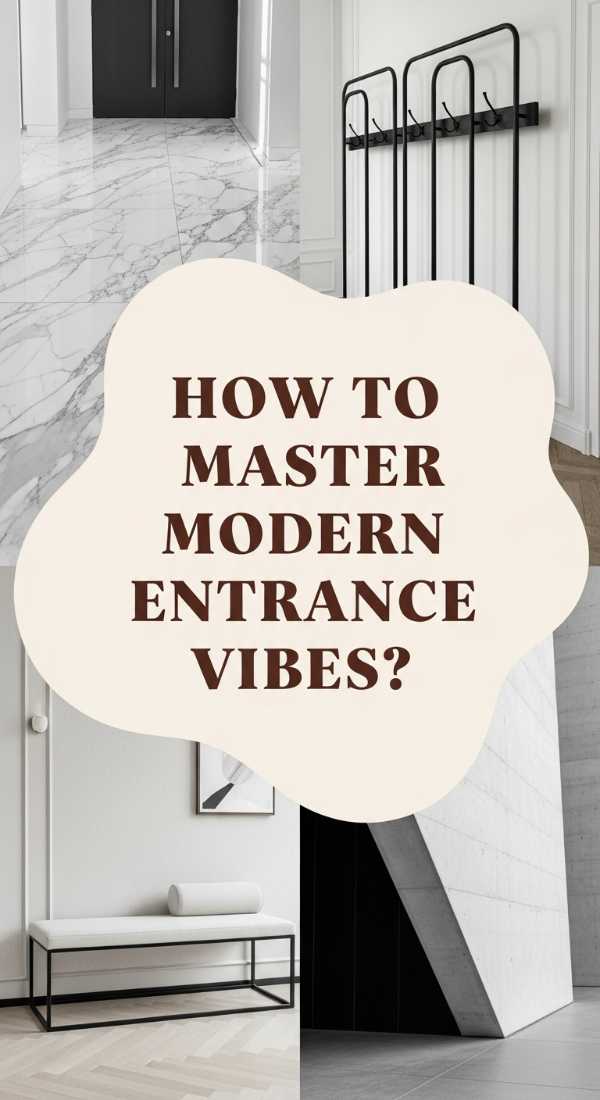
How to Master Modern Entrance Vibes for an Instant Home Upgrade
Why we love this
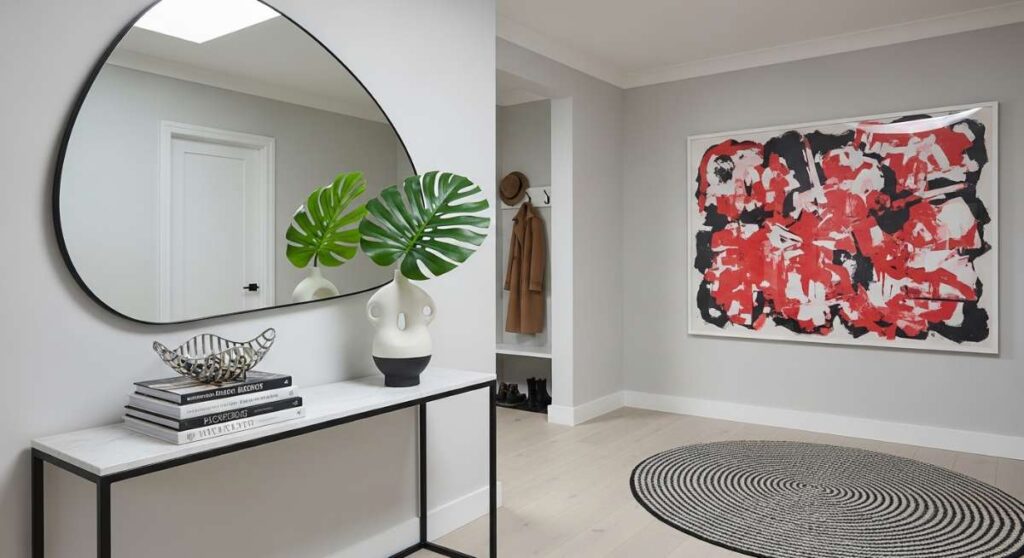
This approach is all about the crisp, clean ‘new home’ smell and the visual satisfaction of intentional minimalism. Imagine the cool touch of matte black hardware against the warmth of white oak, creating a contrast that feels both sophisticated and grounding. When you walk into a modern entrance, the air feels lighter; there is a distinct lack of visual noise that allows your mind to decompress instantly. The texture of a high-quality wool runner underfoot provides a rhythmic softness that balances the sharp lines of contemporary architecture, making the entire home feel upgraded and cohesive from the very first step.
Essential Elements:
- Minimalist console table with thin metal legs
- Matte black or brass wall hooks
- Large-scale neutral abstract art
- A high-pile wool runner in cream or charcoal
- Single-stem greenery in a structural ceramic vase
How to make it
- **Prep the Canvas:** Clear the entire area of existing clutter and wipe down baseboards. Visual cue for readiness: the space should feel cavernous and silent before you begin layering.
- **Set the Foundation (The Base):** Center your modern console table against the longest wall. Use a level to ensure it is perfectly horizontal; even a slight tilt will ruin the ‘clean’ aesthetic.
- **Mix the Hardware:** Install hooks at varying heights (58 inches and 64 inches) to create a staggered, architectural look. Professional tip: Use a drill bit slightly smaller than your anchors to ensure a snug, wobble-free fit.
- **Layer the Textures:** Place your wool runner. The edges should be exactly parallel to the wall, leaving about 4 inches of floor visible on either side for that ‘pro-designed’ border.
- **Visual Cue for Doneness:** Stand at the front door and look inward. The eye should glide from the floor to the art without snagging on any ‘clutter hotspots.’ If the space feels ‘cold,’ add one organic element like a wooden bowl to soften the ‘heat’ of the modern lines.
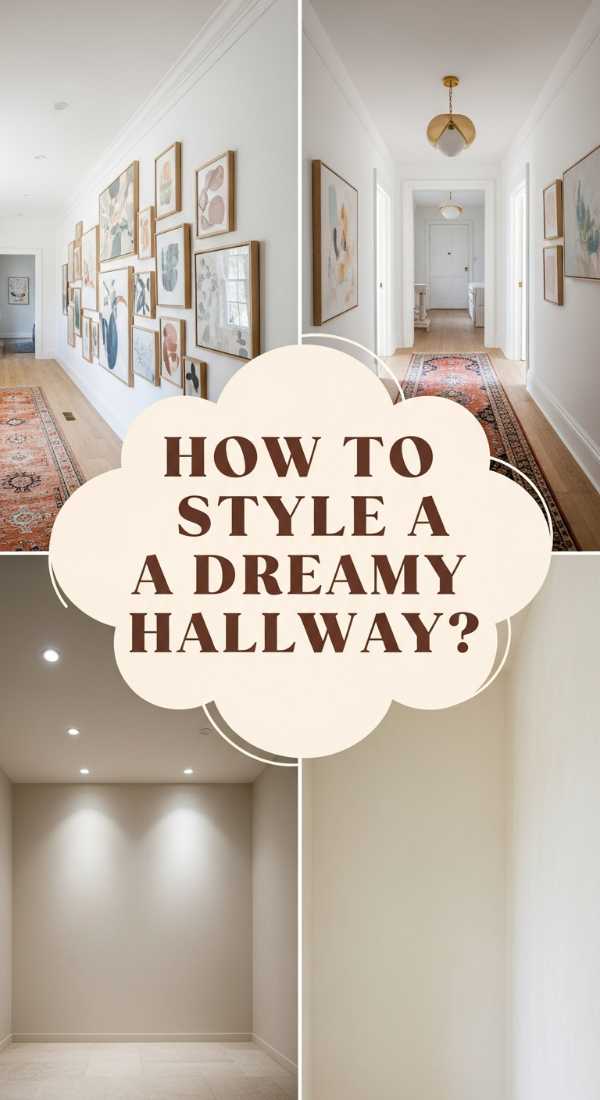
How to Style a Hallway for Effortless Flow and Daily Inspiration
Why we love this
A well-styled hallway acts as the connective tissue of your home, turning a transitional ‘pass-through’ into a journey of discovery. We love how a curated gallery wall or a sequence of lights can lead the eye forward, making even a narrow space feel intentional and expansive. There’s a certain rhythm to a hallway that flows well—the scent of fresh linen wafting from a nearby closet, the gentle reflection of light off polished frames, and the soft echo of footsteps on a plush rug. It turns the mundane act of walking from the bedroom to the kitchen into an experience of daily inspiration and beauty.
Essential Elements:
- Set of matching gallery frames
- Warm-toned LED picture lights
- A long, low-profile runner rug
- Scented sachets or a concealed diffuser
- Personalized photography or botanical prints
How to make it
- **Measure the Transit Zone:** Identify the midpoint of your hallway. This is your ‘visual anchor’ where the largest piece of art or the brightest light will reside.
- **Establish the Rhythm:** Space your frames exactly 3 inches apart. Use a laser level to ensure the ‘centerline’ of the photos is at eye level (approx. 57-60 inches).
- **Simmer the Lighting:** Install battery-operated or hardwired picture lights above each frame. Adjust the ‘heat’ of the light to 2700K to avoid a clinical, ‘refrigerator’ blue glow.
- **Prep the Scent:** Hide a reed diffuser behind a small decorative object at the start of the hallway. The aroma should be a subtle ‘visual cue’ of transition as you move through the space.
- **Visual Cue for Doneness:** Walk through the hallway at a normal pace. If you find yourself stopping to look at a photo, the ‘flow’ is successful. If you feel cramped, reduce the frame depth.
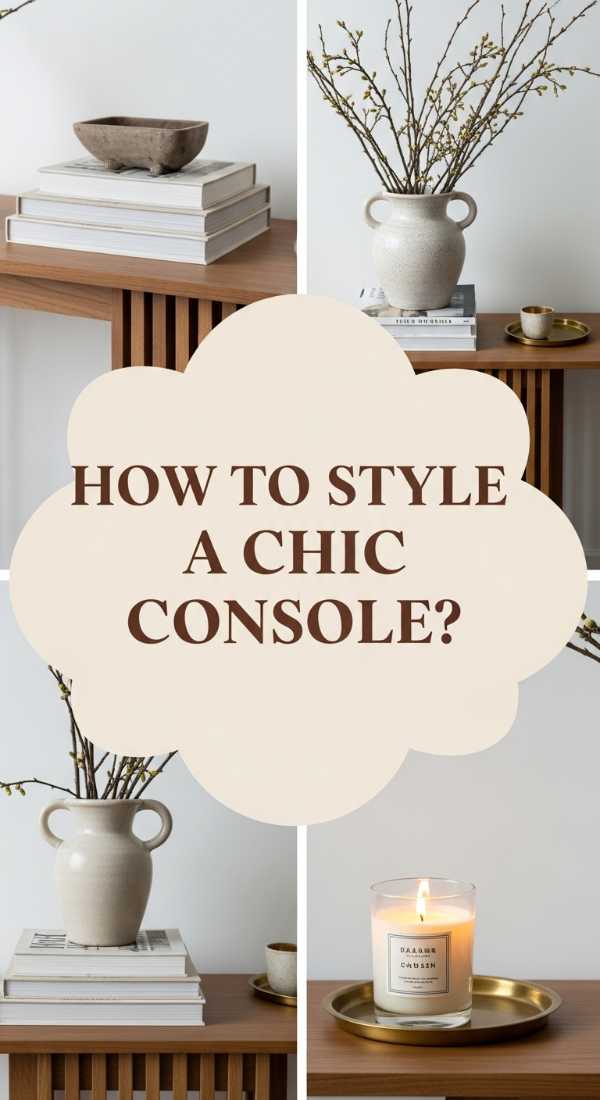
How to Arrange a Console Table for a Chic and Polished Greeting
Why we love this
The console table is the ‘altar’ of the entryway, where style meets daily necessity in a beautiful dance. We love the way a perfectly styled table uses height and volume to create a three-dimensional masterpiece that feels both curated and lived-in. Imagine the glint of a brass tray catching the afternoon sun, a stack of linen-bound books providing a pedestal for a vintage find, and the lush green leaves of a potted plant reaching toward the ceiling. It’s a sensory delight that combines the earthy aroma of old paper with the sleek, cool surface of marble or wood.
Essential Elements:
- A statement table (wood, marble, or glass)
- Decorative tray for keys and mail
- Books of varying sizes and colors
- A tall lamp or oversized vase
- Small sculptural objects for texture
How to make it
- **The Rule of Three (Prep):** Divide your table surface into three imaginary zones: Left, Center, and Right.
- **Add Height (The Anchor):** Place your tallest item (lamp or tall branches) on the left side. This provides the ‘vertical heat’ that draws the eye upward.
- **Stack the Middle:** Create a ‘pedestal’ in the center using 2-3 coffee table books. Place a smaller sculptural object on top to create a tiered effect.
- **Balance the Weight:** On the right side, place a lower-profile tray. This creates a visual ‘descending scale’ from left to right, which is naturally pleasing to the human eye.
- **Visual Cue for Doneness:** Take a photo of the table. If it looks balanced in the 2D photo, the ‘prep’ is complete. If one side looks ‘heavy,’ swap the lamp for a shorter object.
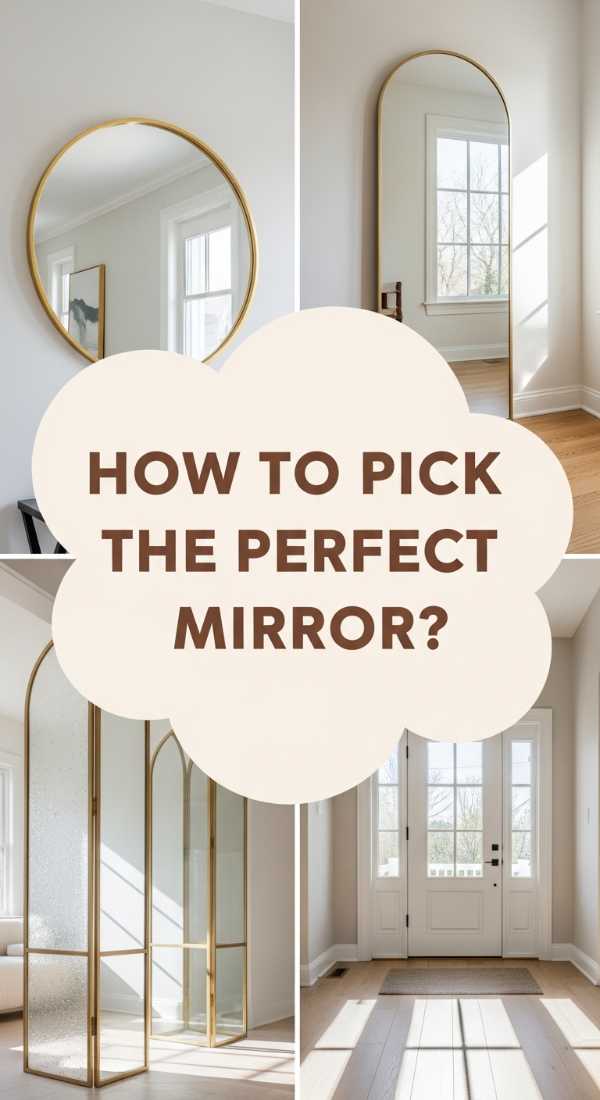
How to Choose an Entryway Mirror for a Brighter and More Spacious Foyer
Why we love this
Mirrors are the secret weapons of interior design, acting as windows where none exist and doubling the perceived ‘flavor’ of your decor. We love the way a massive circular mirror can break up the boxy lines of a foyer, reflecting light into the darkest corners and creating an instant sense of breathability. There is a crisp, sparkling quality to a well-placed mirror that makes the air feel fresher and the ceiling seem higher. It’s the ultimate ‘prep’ step for any entryway, providing that final visual check before you head out into the world while making the whole space feel bathed in soft, natural light.
Essential Elements:
- Large-scale round or arched mirror
- Non-slip mounting hardware
- Microfiber cloth for a streak-free finish
- Nearby light source (sconce or lamp)
- Minimalist frame (thin wood or metal)
How to make it
- **Identify the Light Source:** Find where the natural light hits your entryway. You want to ‘catch’ this light with the mirror, so position it opposite or adjacent to a window.
- **Size the Mirror:** The mirror should be at least 2/3 the width of your console table. Anything smaller will look like a ‘garnish’ rather than a main ingredient.
- **Mounting Technique:** Use heavy-duty wall anchors. Visual cue for safety: the mirror should not move or rattle when the front door is shut firmly.
- **Polish the Surface:** Use a mixture of distilled water and white vinegar for the final ‘glaze’ to ensure zero streaks.
- **Visual Cue for Doneness:** Stand in the mirror’s reflection. If you can see the top of your head and your shoulders comfortably without crouching, the height is perfect.
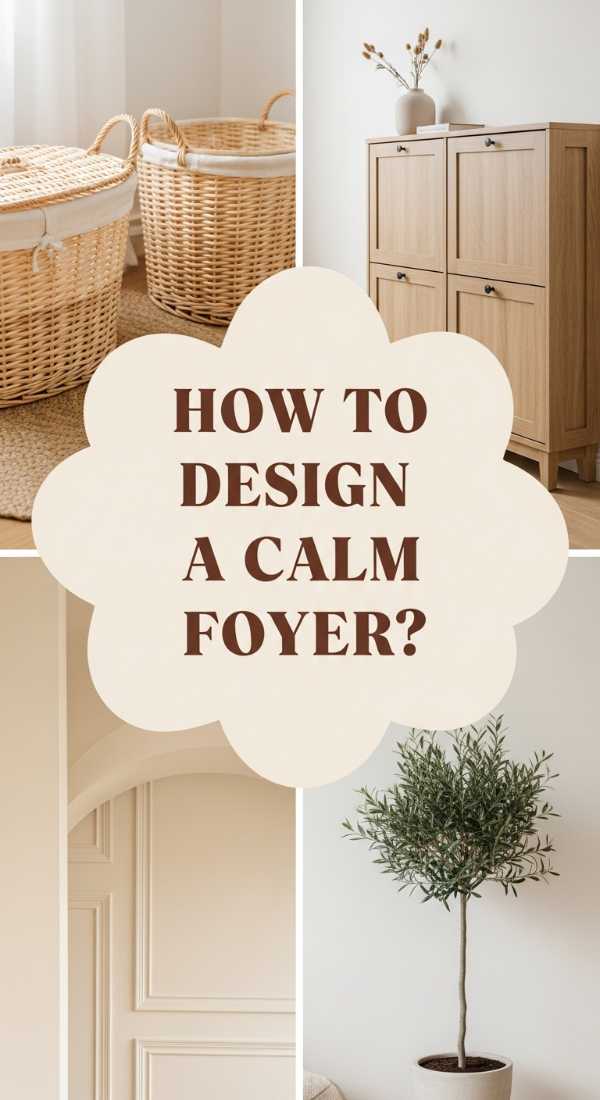
How to Design a Functional Foyer for a Calm and Welcoming Atmosphere
Why we love this
A truly functional foyer is like a deep exhale; it’s a space where the chaos of the outside world is stripped away and replaced with organized serenity. We love the tactile comfort of a sturdy wooden bench where you can sit to untie your boots, the hidden ‘prep’ of baskets that swallow up unsightly umbrellas, and the gentle glow of a low-wattage lamp that stays on as a beacon for late-night arrivals. The aroma here should be ‘clean’—think eucalyptus or sea salt—creating an atmosphere that feels as light and airy as a spa retreat, regardless of how many people live in the house.
Essential Elements:
- Sturdy bench or ottoman
- Hidden storage (baskets or drawers)
- Wall-mounted peg rail or hooks
- Neutral, washable rug
- Soft, warm ambient lighting
How to make it
- **The ‘Drop Zone’ Prep:** Identify the natural place you drop your keys. Place a bowl there immediately to ‘catch’ the clutter before it spreads.
- **Bench Installation:** Position a bench near the door, ensuring there is enough ‘clearance’ for the door to open 90 degrees without hitting it.
- **Basket Management:** Place two large baskets under the bench. Label one ‘Shoes’ and the other ‘Outdoors’ (scarves/hats). This keeps the ‘mess’ hidden from view.
- **Lighting the Mood:** Use a smart bulb set to a warm ‘sunset’ hue. Program it to turn on 15 minutes before sunset every day.
- **Visual Cue for Doneness:** Test the routine. Walk in with a bag, keys, and a coat. If you can put everything away in under 15 seconds without moving more than three steps, the layout is ‘cooked’ to perfection.
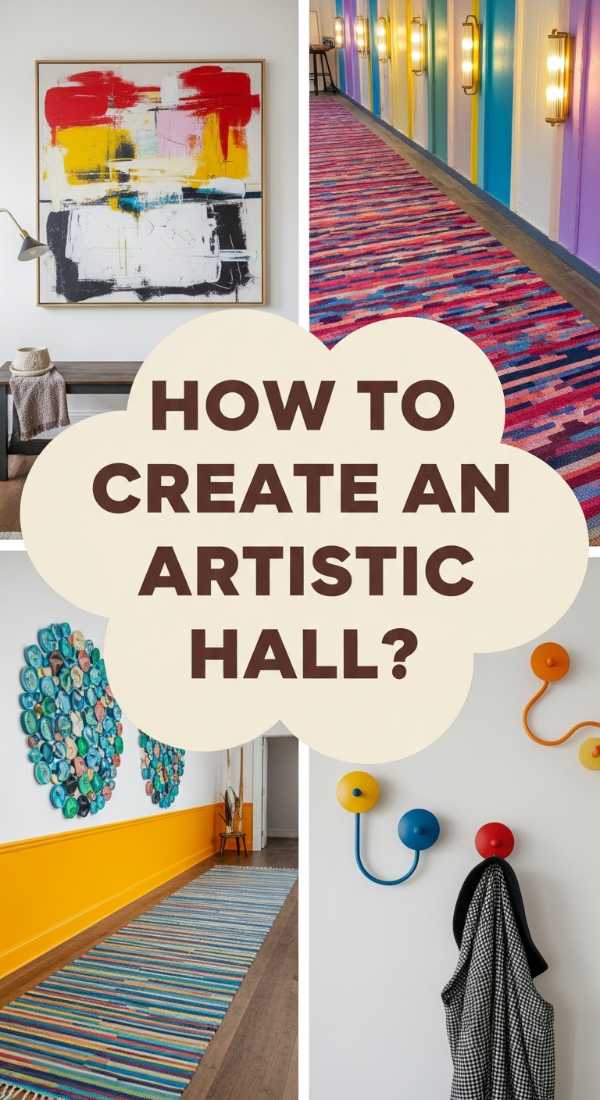
How to Curate Artistic Hallway Decor for a Statement Entry
Why we love this
Turning your entryway into a gallery is the ultimate way to showcase your ‘artistic palate.’ We love the bold, unapologetic energy of a large-scale canvas or a series of sculptural wall pieces that spark conversation the moment a guest enters. The textures here are rich and varied—the canvas weave, the cold smoothness of bronze sculpture, and the thick glass of a framed print. It creates a ‘wow factor’ that feels like walking into a high-end boutique hotel, where every corner offers a new visual ‘flavor’ and a sense of sophisticated wonder.
Essential Elements:
- Oversized statement art piece
- Accent wall color or textured wallpaper
- Spotlight or directional ceiling light
- Sculptural pedestal or narrow plinth
- Minimalist decor to avoid competing with the art
How to make it
- **Select Your Hero:** Choose one piece of art that is at least 36×48 inches. This is your ‘main course’—everything else is a side dish.
- **Prepare the Backdrop:** Paint the focal wall a contrasting color (like deep navy or soft terracotta) to make the art ‘pop.’
- **The ‘Gallery’ Hang:** Hang the art so the center is exactly 57 inches from the floor. Use two hooks to prevent the piece from shifting over time.
- **Lighting the Star:** Aim a directional LED ‘puck light’ at the center of the piece. Adjust the beam angle to avoid glare on the glass.
- **Visual Cue for Doneness:** Stand back 10 feet. The art should be the first thing you see, and the lighting should create a soft ‘halo’ effect around the edges.
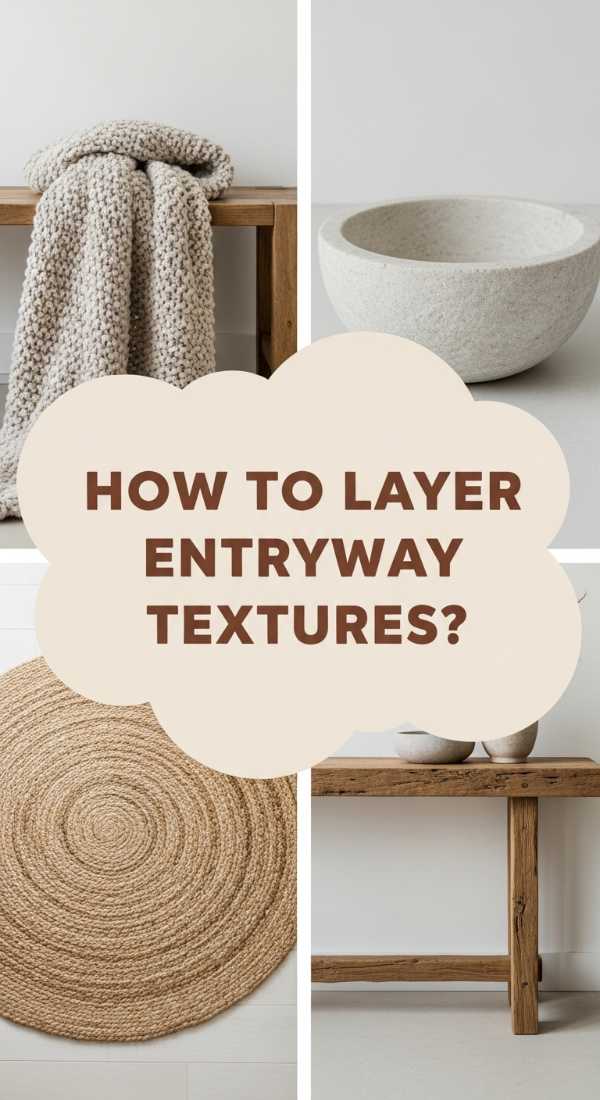
How to Balance Textures in an Entryway for a Warm and Cozy Feeling
Why we love this
Texture is the ‘spice’ of interior design; it’s what makes a room feel finished and ‘tasty.’ We love the layering of a rough-hewn wooden table against a smooth plaster wall, topped with a soft velvet runner or a woven seagrass basket. This sensory mix creates a ‘hug’ for the senses, offering warmth through touch and visual depth. Imagine the scent of beeswax and cedarwood mingling with the soft feel of a chunky knit throw draped over a bench. It’s a cozy, ‘hygge’ vibe that makes everyone feel instantly at home and completely relaxed.
Essential Elements:
- Woven seagrass or wicker baskets
- Natural wood furniture with visible grain
- Textured textiles (velvet, wool, or linen)
- Ceramic pottery with a matte or ‘sandy’ finish
- Dried botanicals like pampas grass or eucalyptus
How to make it
- **The Layering Prep:** Start with your ‘hardest’ texture (the table or bench).
- **The Soft Layer:** Add a textile, like a small sheepskin rug or a linen table runner. Visual cue: the fabric should ‘drape’ naturally over the hard edge to soften the line.
- **The Organic Layer:** Introduce a natural weave. Place a wicker basket on the floor to ‘ground’ the space and add a ‘crunchy’ visual texture.
- **The Fine Layer:** Add a smooth ceramic vase. This provides a ‘rest’ for the eyes amidst the busier textures.
- **Visual Cue for Doneness:** Run your hand across the surfaces. If you feel a mix of smooth, rough, and soft, the ‘texture balance’ is perfectly simmered.
How to Integrate Greenery in a Foyer for a Natural and Fresh Look

Why we love this
Bringing the outdoors in is like adding fresh herbs to a dish—it brightens everything and adds a ‘living’ energy to the space. We love the sight of a tall Fiddle Leaf Fig standing sentry by the door, its broad green leaves catching the light and cleaning the air. The smell of damp earth and fresh leaves provides a grounding, organic aroma that counters the synthetic world outside. It makes an entryway feel vibrant, lush, and full of life, creating a seamless transition from the garden to the living room that feels naturally refreshed and perpetually in bloom.
Essential Elements:
- Large potted floor plant (Ficus, Olive Tree, or Palm)
- Elevated plant stand for height
- Smaller tabletop succulents or air plants
- High-quality potting mix and a drainage tray
- Decorative moss or pebbles for a ‘finished’ look
How to make it
- **Light Assessment:** Check the light levels for 24 hours. Most entryway plants need ‘bright indirect light.’ If it’s too dark, opt for a high-quality ‘faux’ tree.
- **The Potting Prep:** Choose a pot that is 2 inches wider than the nursery pot. Use a ‘drainage layer’ of pebbles at the bottom to prevent root rot (the ‘soggy bottom’ of gardening).
- **Elevation Technique:** Use a plant stand to raise the foliage to eye level. This fills the ‘mid-air’ void in high-ceiling foyers.
- **Top Dressing:** Add a layer of preserved moss or white river stones over the soil. Visual cue: no brown dirt should be visible; it should look like a professional display.
- **Visual Cue for Doneness:** Stand at the entrance. The greenery should ‘frame’ the view into the rest of the house without blocking the walkway.
How to Elevate a Simple Hallway for a Luxury Hotel Aesthetic
Why we love this
There is nothing quite as indulgent as the ‘quiet luxury’ of a five-star hotel hallway. We love the use of symmetrical lighting, the whisper-quiet carpet underfoot, and the subtle, expensive-smelling aroma of sandalwood or white tea. This aesthetic is achieved through repetition and high-end finishes—think polished brass, heavy crystal, and perfectly aligned wall moldings. It creates a sense of ‘ordered beauty’ that feels incredibly calming and prestigious, turning your home’s main artery into a glamorous corridor of light and elegance.
Essential Elements:
- Matching wall sconces with fabric shades
- Wainscoting or picture frame molding
- Thick, high-density rug pad for a ‘silent’ walk
- Signature scent diffuser (sandalwood or leather)
- Monochrome color palette with metallic accents
How to make it
- **The Symmetry Prep:** Measure your hallway and divide it into equal segments. Mark spots for sconces at 60-inch intervals.
- **Installation of ‘Jewelry’:** Install the sconces. Use ‘warm dim’ bulbs that mimic candlelight to create that ‘simmering’ luxury glow.
- **The ‘Silent’ Layer:** Install a high-quality rug pad beneath your runner. Visual cue: the rug should feel ‘spongy’ and absorb all sound when you walk.
- **Molding Prep:** Install decorative trim (wainscoting) on the lower third of the wall. Paint it in a high-gloss finish for a ‘polished’ look.
- **Visual Cue for Doneness:** Walk the hallway in total silence. If you feel like you should be wearing a robe and ordering room service, you’ve hit the ‘luxury’ mark.
How to Design a Functional Entryway for a Stress-Free Morning Routine

Why we love this
A stress-free entryway is the ultimate gift to your future self. We love the precision of a ‘launchpad’ where everything has a specific, designated home—from the charging station for your phone to the specific hook for your car keys. Imagine waking up and knowing exactly where your umbrella, gym bag, and sunglasses are located. The feeling is one of complete control and preparation. It smells like fresh coffee and citrus, and it looks like a perfectly organized ‘mise en place’ in a chef’s kitchen, where every tool is at your fingertips the second you need it.
Essential Elements:
- Command center (calendar or white board)
- Tech charging station (hidden cables)
- Designated ‘outbox’ for mail or returns
- Wall-mounted mirror for final checks
- Individual cubbies for family members
How to make it
- **The Audit (Prep):** For one week, note every item you struggle to find in the morning. These are your ‘priority ingredients.’
- **Create the ‘Landing Strip’:** Install a shelf at waist height. This is where your phone, wallet, and keys ‘simmer’ overnight.
- **Cable Management:** Use a drill to create a small hole in the back of a drawer or shelf to route charging cables. Visual cue: no ‘spaghetti’ wires should be visible.
- **The ‘Outbox’ Station:** Place a small basket labeled ‘Returns/Mail’ near the door. This ensures you never walk past a library book or a bill.
- **Visual Cue for Doneness:** Have a family member try to ‘leave the house’ in under 60 seconds using only the entryway items. If they succeed without asking ‘Where is my…?’, the system is fully cooked.
Conclusion
Designing a viral-worthy entryway is about more than just aesthetics; it’s about creating a sensory experience that welcomes you home and serves your lifestyle. Whether you lean toward the clean lines of modern minimalism or the lush, textured layers of a cozy sanctuary, the secret lies in the ‘prep’ and the ‘balance.’ By treating your home’s entrance as a curated recipe of light, organization, and beauty, you ensure that every time you walk through that door, you’re stepping into the best version of your life. Happy styling!