
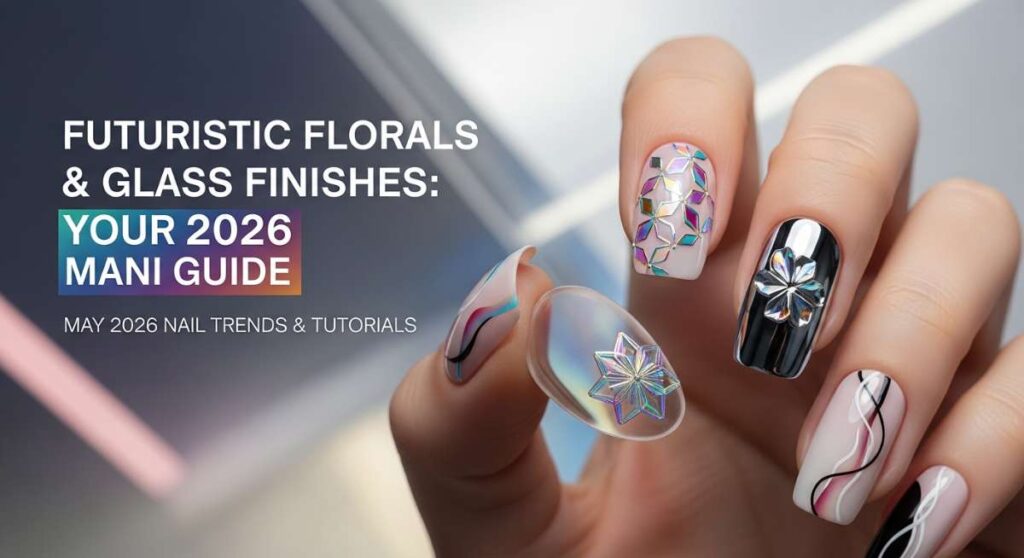
Futuristic Florals & Glass Finishes: Your May 2026 Mani Guide
Hello, my sweet loves! Can you believe we’ve finally bloomed into May 2026? There is something so incredibly magical about this specific time of year—it’s that soft, ethereal bridge where the digital world and the natural world finally decide to hold hands. I’ve been sitting here in my sun-drenched nook, sipping lavender tea, and thinking about how our hands are the very things we use to touch the world, to type our dreams, and to hold those we cherish most.
This season, it’s all about a ‘cloud-soft embrace.’ We’re looking at textures that feel like they were pulled from a futuristic garden—think translucent glass, hyper-real 3D petals, and colors that hum with a gentle energy. I’ve curated these tutorials just for you, like a little digital bouquet, to help you express that beautiful light you carry inside.
Whether you have five minutes between meetings or a whole Sunday afternoon to get lost in the art of self-care, there is something here for every soul. Let’s dive into these trends together, shall we?
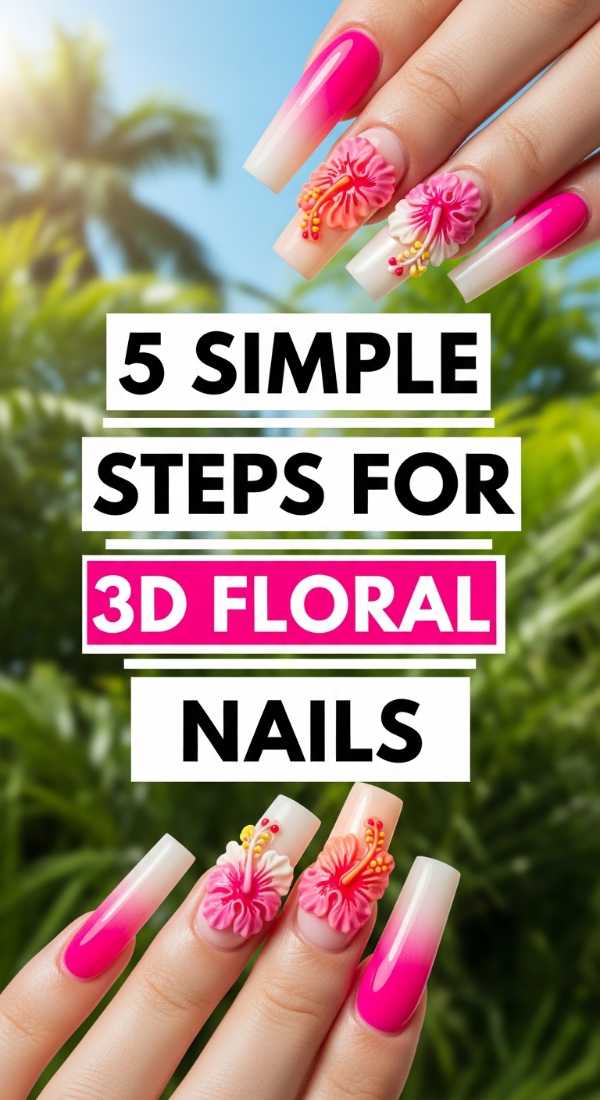
3D Futuristic Floral Sculptures
Why to love this recipe:
This is where technology meets the garden. These 3D florals aren’t just art; they are tiny sculptures that catch the light and start conversations. It’s for the dreamer who wants their fingertips to look like they’ve been dipped in a digital meadow.
Essential Ingredients:
- Clear 3D builder gel
- Fine-liner brush
- Iridescent petal flakes
- Holographic top coat
- UV/LED Lamp
How to Prepare:
- Apply your base color and cure.
- Pick up a tiny bead of 3D builder gel on your liner brush and place it on the nail.
- Drag the bead slightly to create a petal shape, then flash-cure for 10 seconds.
- Repeat for 5 petals to form a full flower.
- Apply iridescent flakes to the center and seal everything with a holographic top coat.
Budget Range
- Zillian 3D Sculpting Gel ($12)
- Luna Bloom Iridescent Flakes ($8)
- Orly Shining Armor Top Coat ($15)
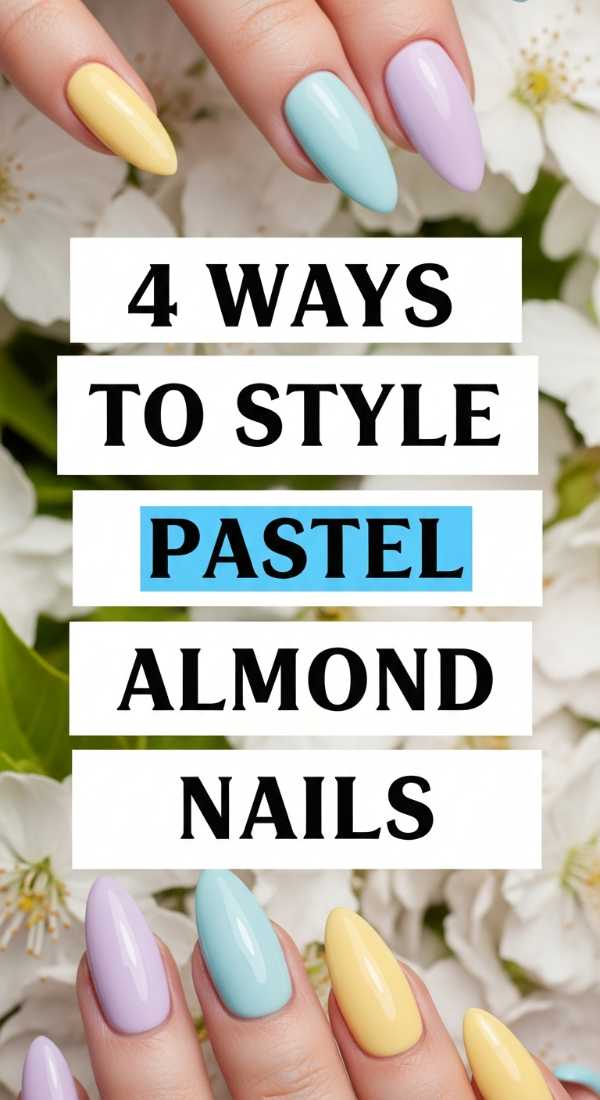
4 Ways to Style Pastel Almond Nails
Why to love this recipe:
The almond shape is like a gentle hug for your fingers—it elongates and softens the hand instantly. In 2026, we are moving away from flat pastels and into ‘glowing’ pastels that look lit from within.
Essential Ingredients:
- Soft lavender or mint gel polish
- Pearlescent powder
- Almond-shaped nail tips (if extending)
- Matte and Glossy top coats
How to Prepare:
- The Velvet Finish: Use a matte top coat over your pastel for a soft, touchable fabric look.
- The Aura Gradient: Sponge a darker pastel shade into the center of a lighter base.
- Mixed Textures: Keep four nails glossy and one nail matte for a modern contrast.
- The Pearl Veil: Rub pearlescent powder over the pastel base for a moonlit glow.
Budget Range
- Essie ‘Soothe’ Collection ($10/bottle)
- Daily Charme Pearl Powder ($14)
- Static Nails Almond Pop-Ons ($16)
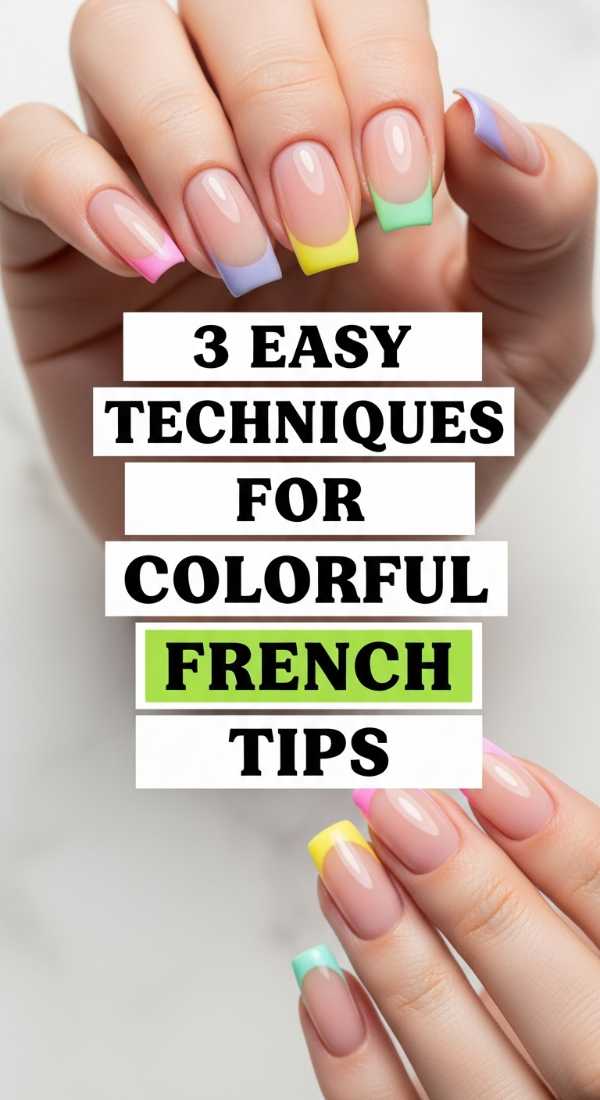
3 Easy Techniques for Colorful French Tips
Why to love this recipe:
The traditional French mani got a vibrant upgrade! This is the perfect way to wear bright, punchy summer colors without feeling overwhelmed. It’s playful, chic, and oh-so-fresh for May.
Essential Ingredients:
- Neon or bright pastel polishes
- Silicone nail stamper
- Clean-up brush
- Acetone
How to Prepare:
- The Stamper Method: Paint a thick layer of color onto your silicone stamper and gently press your nail tip into it at a 45-degree angle.
- The Side-Swipe: Use the polish brush to swipe from the left edge to the center, then the right edge to the center for a ‘V’ shape.
- The Micro-Line: Use a very thin detail brush to trace only the very edge of the free nail for a ‘whisper’ of color.
Budget Range
- Hollo Taco Rainbow Bundle ($60)
- Amazon Silicone Stamper Kit ($7)
- Beetles Gel Liner Set ($15)
6 Secrets to Perfect Clean Girl Nails
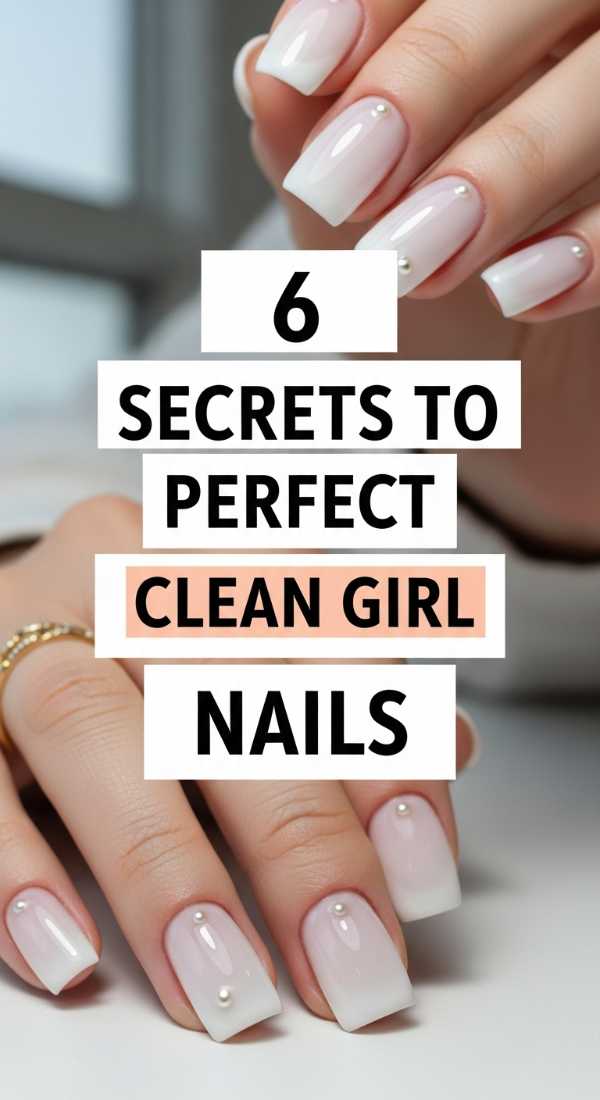
Why to love this recipe:
The ‘Clean Girl’ aesthetic in 2026 is all about health and hydration. It’s the ultimate ‘your nails but better’ look that radiates wellness and quiet luxury. It’s the foundation for every other trend.
Essential Ingredients:
- Glass nail file
- Cuticle oil (Jojoba based)
- Buffing block
- Nude-tinted strengthener
- Hand cream with SPF
How to Prepare:
- Always file in one direction with a glass file to prevent microscopic tears.
- Use a buffing block to gently smooth the surface—shine starts with a smooth base.
- Apply cuticle oil twice daily; hydration is the secret to growth.
- Use a sheer, skin-toned tint to mask any imperfections.
- Apply SPF to your hands every morning—they age faster than your face!
- Keep your length short and rounded for a natural, effortless vibe.
Budget Range
- OPI Nail Envy ($19)
- Flowery Glass Nail File ($10)
- CND SolarOil ($13)
7 Minutes to Create Early Summer Nails
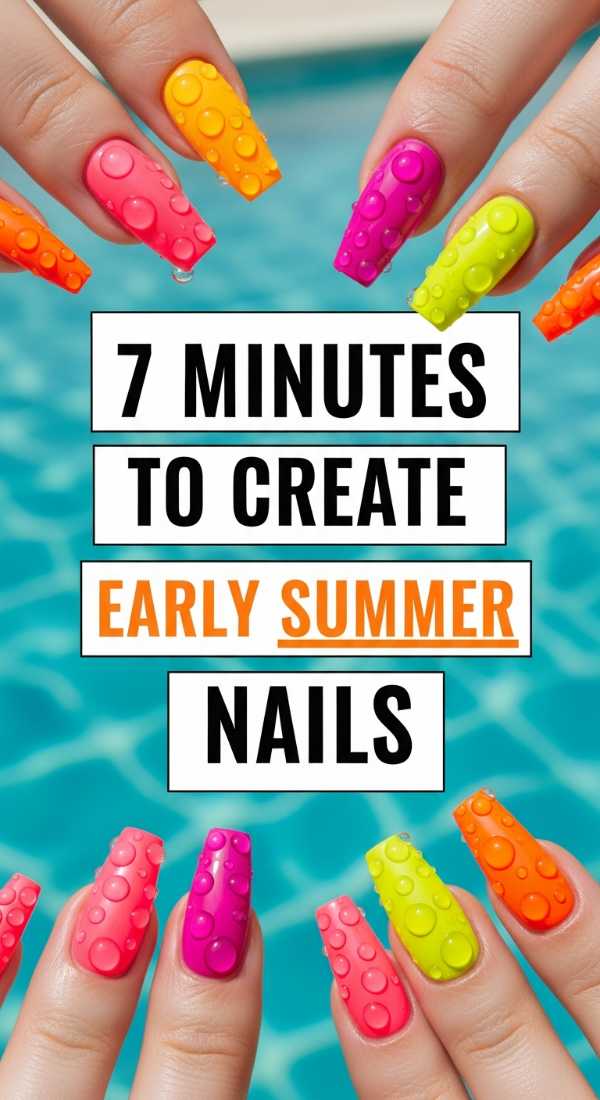
Why to love this recipe:
We are all busy chasing sunsets, aren’t we? This 7-minute routine uses ‘smart’ polishes that dry instantly and pack a punch of summer warmth without the salon wait times.
Essential Ingredients:
- Quick-dry sunset orange or coral polish
- Gold foil flakes
- Fast-acting top coat
How to Prepare:
- Prep: Quick swipe of acetone to remove oils (1 min).
- Base: Apply one thin coat of sunset coral (1 min).
- Color: Apply second coat for full opacity (1 min).
- Accent: While wet, press three tiny gold foils onto the ring finger (1 min).
- Seal: Apply a fast-acting top coat (1 min).
- Dry: Let sit for the remaining 2 minutes—you’re done!
Budget Range
- Sally Hansen Insta-Dri ($7)
- Maniology Gold Leafing ($5)
- Seche Vite Fast Dry Top Coat ($10)
2 Steps for Viral Glazed Donut Nails

Why to love this recipe:
Even in 2026, the glaze remains supreme. It’s the ‘glass finish’ we all crave. This year, we’re making it more holographic and watery for a truly futuristic feel.
Essential Ingredients:
- Sheer white or milky pink base
- Chrome powder (white or blue shift)
- Sponge applicator
How to Prepare:
- Apply one coat of your milky base and cure/dry.
- Use the sponge to buff the chrome powder directly onto the nail until it shines like a mirror, then seal with top coat.
Budget Range
- Lights Lacquer ‘Paper Snow’ ($13)
- Born Pretty Chrome Powder ($9)
8 Tips for Dreamy Wildflower Nail Art
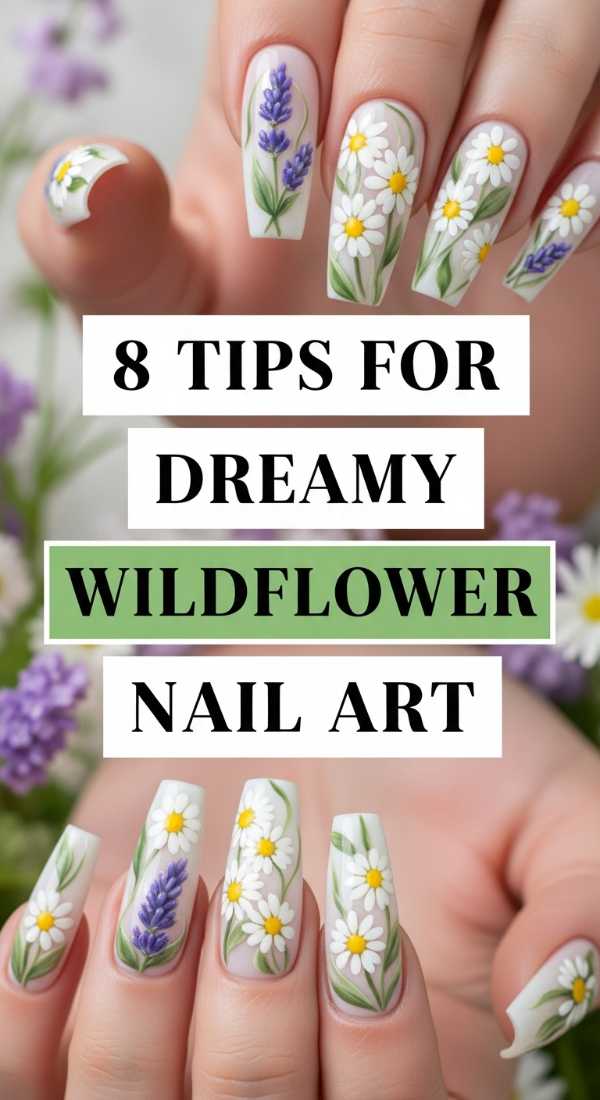
Why to love this recipe:
There is nothing more romantic than a wildflower field on your fingertips. This look is intentionally organic and imperfect, which makes it very beginner-friendly and incredibly sweet.
Essential Ingredients:
- Dotting tool
- Toothpick
- Selection of wildflower colors (yellow, lilac, sage)
How to Prepare:
- Start with a clear or nude base to let the ‘flowers’ breathe.
- Use a dotting tool to create 3-4 small clusters of dots.
- Drag a toothpick through the dots to create stems.
- Keep the spacing irregular—nature isn’t symmetrical!
- Add tiny white dots for ‘baby’s breath’ fillers.
- Use a matte top coat for a dried-flower aesthetic.
- Keep the flowers towards the tips for a ‘growing’ effect.
- Mix and match colors on every finger.
Budget Range
- Olive & June Wildflower Set ($40)
- Dotting Tool Set ($6)
4 Hacks for Cute Short May Nails
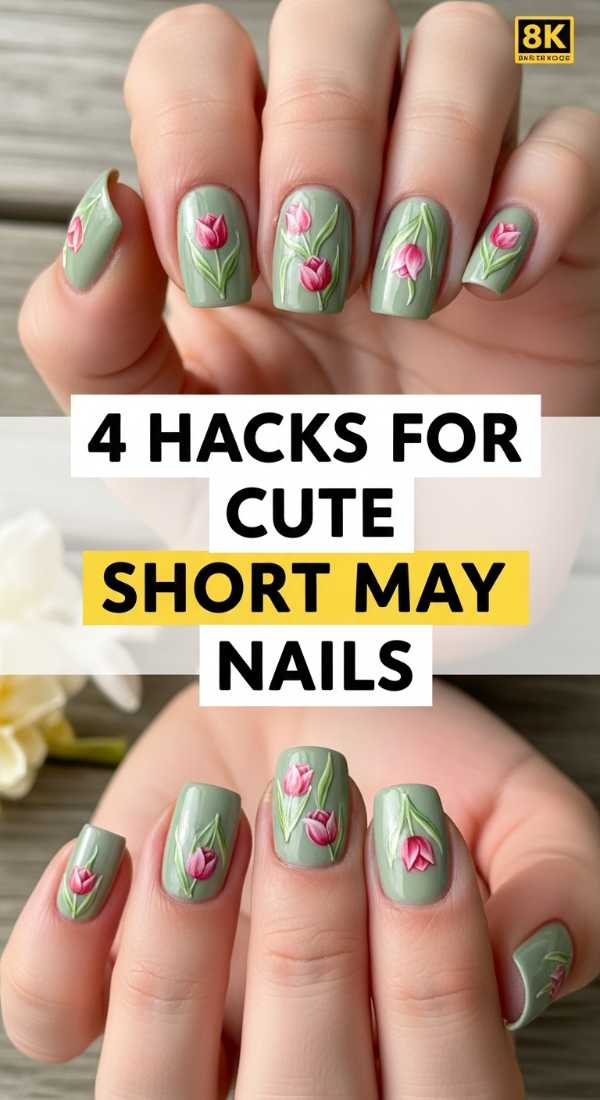
Why to love this recipe:
Short nails are the unsung heroes of the lifestyle world. They are practical for gardening, typing, and everyday life, but they can still be incredibly high-fashion and cute.
Essential Ingredients:
- Darker perimeter colors
- Vertical striping tape
- High-gloss finish
How to Prepare:
- The Vertical Illusion: Place a thin vertical stripe down the center to elongate short beds.
- The Dark Border: Use a darker color on the very edges to ‘frame’ the nail.
- The Cuticle Accent: Place a tiny gem at the base (cuticle) instead of the tip.
- The Square-Round Shape: Keep them ‘squoval’ to maximize surface area for art.
Budget Range
- Nailtopia Bio-Sourced Polish ($10)
- Amazon Nail Striping Tape ($5)
5 Must-Haves for Your Vacation Manicure

Why to love this recipe:
If you’re heading to the coast this May, your nails need to withstand sand, salt, and sun. This ‘recipe’ is all about durability and that high-shine beach goddess energy.
Essential Ingredients:
- Gel-effect longwear polish
- UV protecting top coat
- Cuticle pen for on-the-go
- Press-on emergency kit
- Nail strengthener
How to Prepare:
- Always double-coat the free edge (tip) to prevent salt-water chipping.
- Apply a fresh layer of top coat every 3 days during your trip.
- Use a cuticle pen after every swim to combat dryness.
- Buff nails before application to ensure the longest possible bond.
- Choose a bright color that won’t fade in the intense UV rays.
Budget Range
- Dashing Diva Glaze Strips ($14)
- Flowery Cuticle Oil Pen ($6)
3 Steps for Elegant Mothers Day Nails
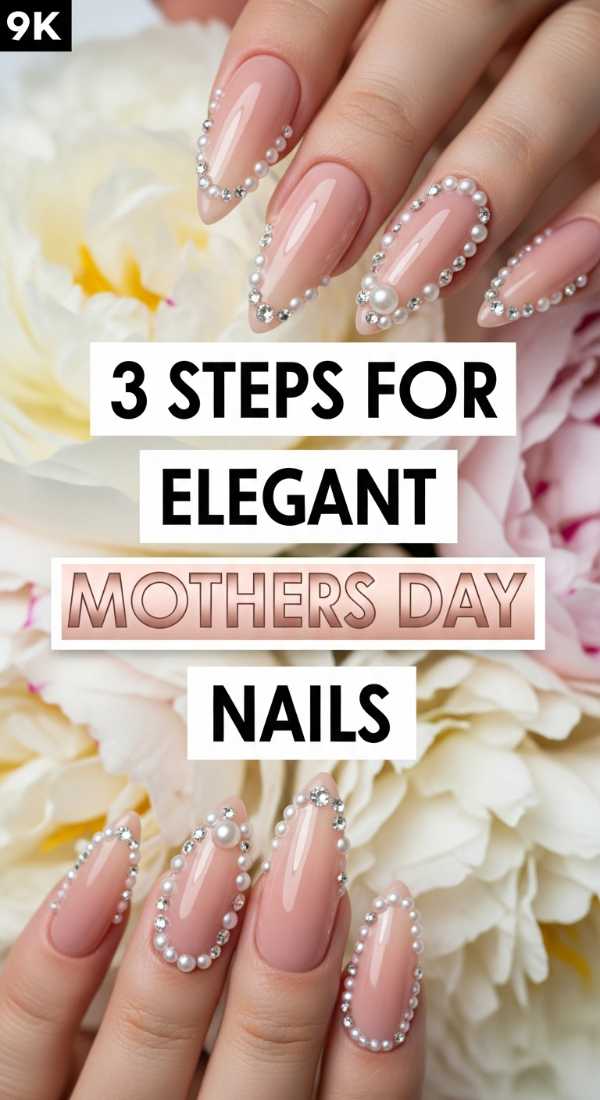
Why to love this recipe:
Mother’s Day is about timelessness and grace. This look is soft, sophisticated, and perfect for a brunch date or a cozy afternoon tea. It’s a classic that never goes out of style.
Essential Ingredients:
- Soft rose cream polish
- Gold metallic liner
- Fine-grit buffer
How to Prepare:
- Apply two smooth coats of soft rose for a classic, feminine base.
- Using a gold metallic liner, draw one thin horizontal line across the middle of the ring finger.
- Finish with a super-glossy top coat for a porcelain-like finish.
Budget Range
- Chanel Le Vernis in ‘Ballerina’ ($32)
- Revel Nail Gold Liner ($12)
Conclusion
My loves, I hope these trends inspire you to take a moment for yourself this month. Nails are such a small canvas, but they hold so much power to change how we feel every time we look down at our hands. May your May be filled with soft light, futuristic blooms, and a manicure that makes your heart skip a beat. Remember, you are the artist of your own life—paint it beautifully!