
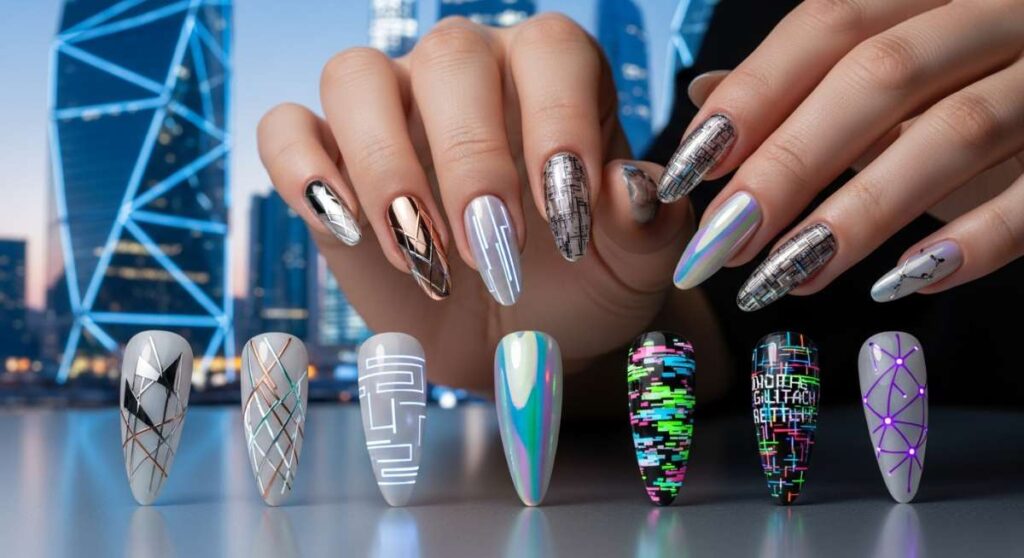
Futuristic Fingertips: Top 2026 Nail Design Tutorials You Need Now
Hello, my beautiful loves! Sit back, grab your favorite oat milk latte, and let’s talk about the magic right at our fingertips. As we look ahead to 2026, I’ve been feeling this incredible shift toward self-expression that feels like a warm, cloud-soft embrace for our souls. Our nails aren’t just accessories anymore; they are tiny canvases where we paint our dreams, our moods, and our futures.
I remember sitting in my sun-drenched nook last week, staring at my bare nails and realizing that we all deserve a little bit of futuristic sparkle in our daily lives. Whether you’re a minimalist at heart or someone who wants their hands to shout from the rooftops, this guide is my love letter to you. We’re exploring textures and colors that feel like a hug from the universe.
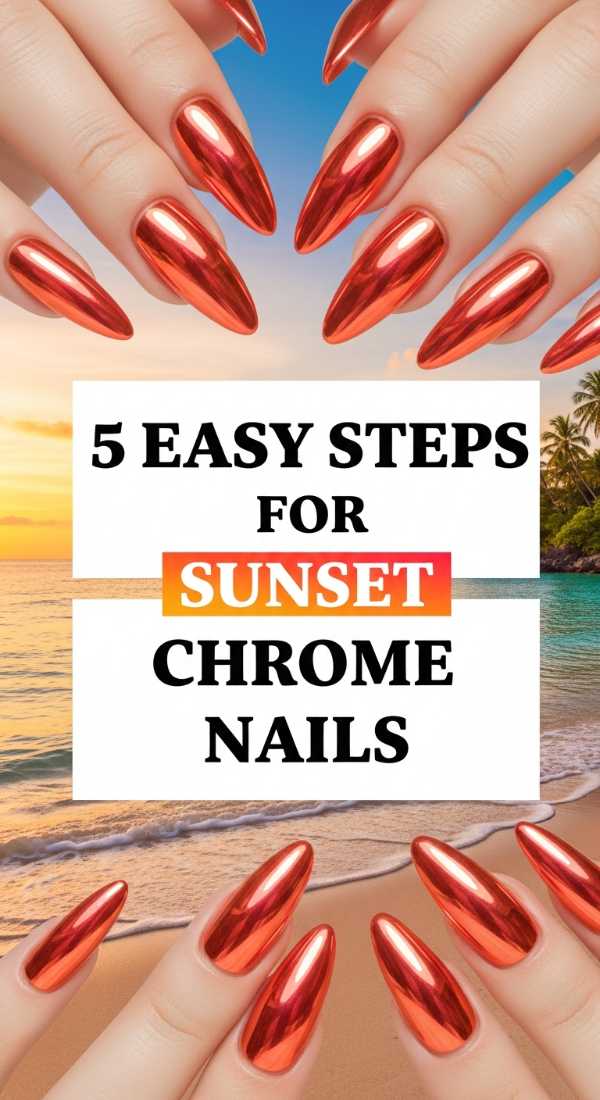
5 Easy Steps for Sunset Chrome Nails
Why to love this Design:
Oh, loves, there is something so deeply romantic about a sunset. This design captures that fleeting moment when the sky turns into a masterpiece of molten gold and pink. It’s for the dreamers who want to carry a piece of the horizon with them all day long.
Essential Elements:
- Chrome powder in ‘Solar Flare’ or ‘Rose Gold’
- Non-wipe top coat
- Burnt orange gel polish
- Sponge applicator
- LED Lamp
How to Prepare:
- Apply a base coat and two thin layers of your orange gel polish, curing between each.
- Apply a non-wipe top coat and cure for only 30 seconds so it remains slightly tacky.
- Using your sponge, burnish the chrome powder into the nail until it glows like a mirror.
- Gently brush off excess powder with a soft fluff brush.
- Seal with a final high-shine top coat and cure fully for 60 seconds.
Budget Range
- OPI GelColor in ‘Anywhere Peach’ ($20)
- Artdone Chrome Powder Set ($12)
- Beetles No-Wipe Top Coat ($8)
7 Best Ways to Style Graduation Nails

Why to love this Design:
Graduation is such a milestone, a bridge between who you were and who you are becoming. Styling these nails is about celebrating your hard work while staying timeless enough for those precious photos you’ll look back on for decades.
Essential Elements:
- Sheer ‘Milky’ white base
- Micro-fine silver glitter
- Tiny ‘2026’ decals
- Matte and Glossy finishes
- Seed pearls
How to Prepare:
- Start with a clean, almond-shaped manicure to elongate the fingers.
- Layer a sheer neutral base to keep the look sophisticated and clean.
- Add a subtle ‘halo’ of glitter at the cuticle for a touch of celebration.
- Apply your school-year decal on the ring finger as a focal point.
- Mix textures by doing a matte finish on the thumb and pinky.
- Apply tiny seed pearls along the smile line of one nail for a touch of class.
- Finish with a nourishing cuticle oil to keep the skin camera-ready.
Budget Range
- Essie ‘Marshmallow’ ($10)
- Amazon Nail Decal Sheets ($5)
- Olive & June Cuticle Serum ($16)
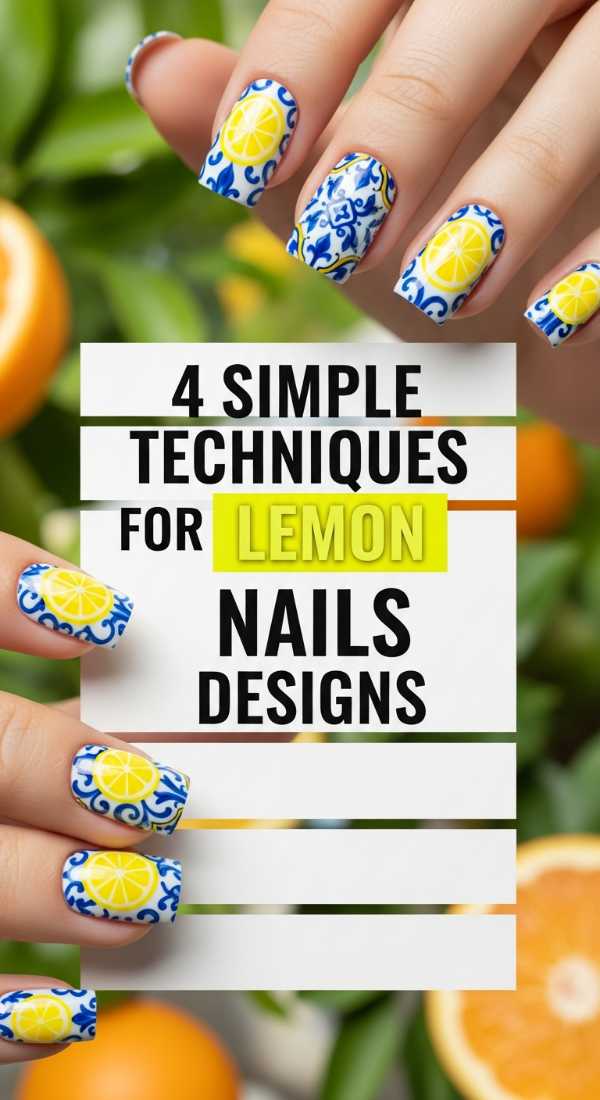
4 Simple Techniques for Lemon Nails Designs
Why to love this Design:
When life gives you lemons, put them on your nails! This design is pure sunshine and joy. It’s zesty, fresh, and reminds me of those slow Sunday mornings in a citrus grove. It’s impossible to look at these and not feel a little lighter.
Essential Elements:
- Bright yellow crème polish
- Leaf green liner gel
- White detailing paint
- Dotting tool
How to Prepare:
- Paint your base in a soft nude or pale yellow.
- Use a large dotting tool to create two yellow circles side-by-side to form the lemon body.
- Add a tiny green ‘flick’ at the top using your liner brush for the leaf.
- Add a tiny white ‘highlight’ dot on the lemon to give it a 3D, juicy effect.
Budget Range
- Holo Taco ‘Lemon Sucker’ ($13)
- Modelones Liner Gel Set ($15)
- Sally Hansen Hard as Nails Base ($6)
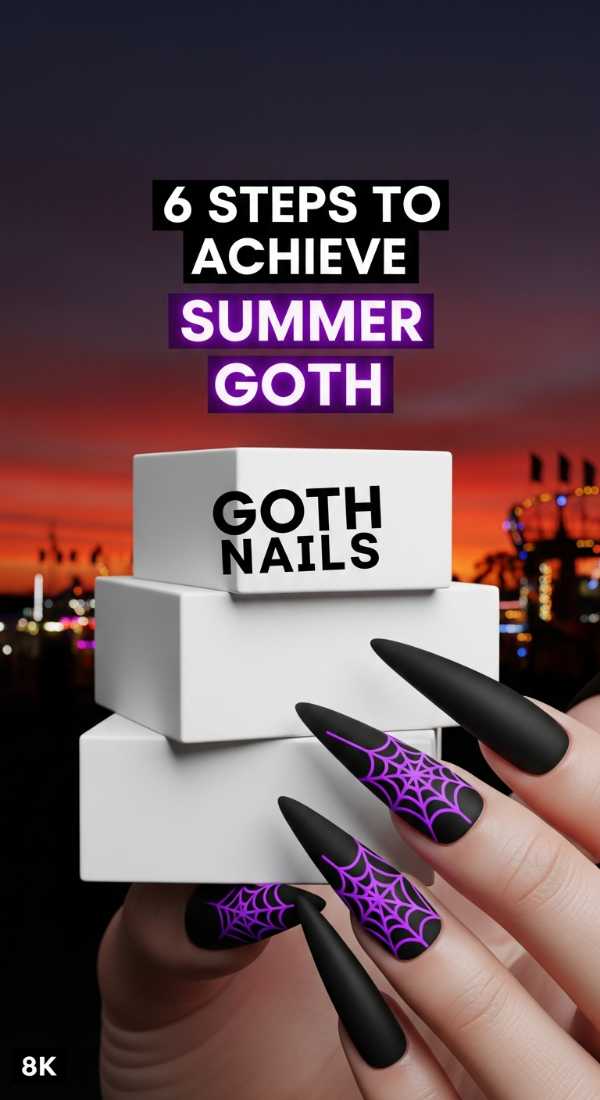
6 Steps to Achieve Summer Goth Nails
Why to love this Design:
Who says dark colors are only for winter? Summer Goth is all about that moody, edgy vibe while keeping things sheer and breathable. It’s the aesthetic of a midnight garden in July—mysterious, cool, and totally chic.
Essential Elements:
- Sheer ‘Jelly’ black polish
- Pressed dried flowers (dark purple or black)
- Silver foil flakes
- Stiletto shape tips
How to Prepare:
- Apply one thin layer of jelly black polish to achieve a ‘smoke’ effect.
- While tacky, place tiny dark pressed flowers near the free edge.
- Add small flecks of silver foil to mimic stars in a night sky.
- Apply a second thin layer of jelly polish to ‘trap’ the decor inside.
- Shape into a sharp stiletto for that extra edge.
- Finish with a super-glossy top coat for a wet-look shine.
Budget Range
- Cirque Colors ‘Spotted’ Jelly ($14)
- Daily Charme Silver Foil ($7)
- Makartt Stiletto Tips ($10)
3 Quick Tips for Yellow French Tip Nails
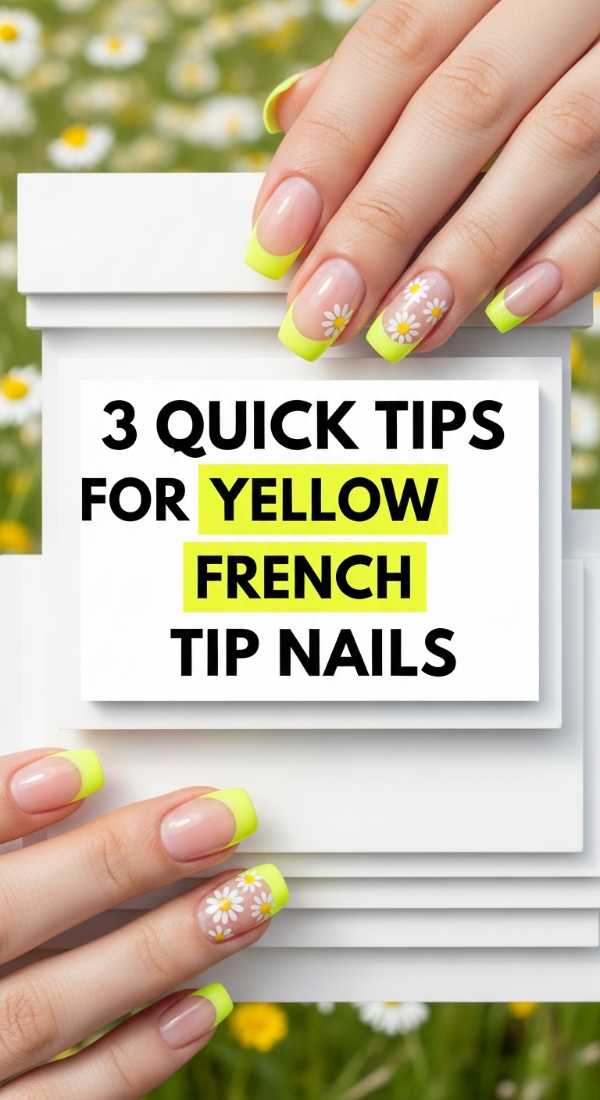
Why to love this Design:
This is a modern twist on the classic French that feels so youthful and bright. It’s like a little pop of neon energy at your fingertips without being overwhelming. Perfect for my loves who want a ‘clean girl’ aesthetic with a fun secret.
Essential Elements:
- Neon yellow lacquer
- French tip guides or a silicone stamper
- Nude base polish
How to Prepare:
- Apply your nude base and let it dry completely—this is crucial for clean lines!
- Use a silicone stamper: apply yellow polish to the stamper and press your nail tip into it at a 45-degree angle.
- Clean up the edges with a brush dipped in acetone for a razor-sharp smile line.
Budget Range
- Orly ‘Oh Snap’ Neon ($12)
- Silicone Nail Stamper ($9)
- Ella + Mila Soy Polish Remover ($11)
8 Unique Methods for Sunset Aura Nails

Why to love this Design:
Aura nails are all about your energy, darling. By using sunset colors, you’re radiating warmth, creativity, and peace. It creates a soft, blurred effect that looks like your nails are glowing from the inside out.
Essential Elements:
- Airbrush machine (or a makeup sponge)
- Pink, orange, and purple pigments
- White base coat
How to Prepare:
- Start with a solid white base to make the colors pop.
- Apply a circular ‘blob’ of pink in the center of the nail using a sponge.
- Layer a smaller circle of orange inside the pink.
- Add a tiny dot of purple or yellow at the very center.
- Lightly dab the edges with a clean sponge to blur the boundaries.
- Apply a shimmer top coat to blend the colors even further.
- Use a matte top coat for a ‘velvet’ aura look.
- Finish with hand cream to make the glow look cohesive with your skin.
Budget Range
- Kiara Sky Airbrush System ($60)
- Saviland Acrylic Powder Set ($20)
- L’Occitane Shea Butter Hand Cream ($13)
5 Professional Ways to Paint Pucci Nails
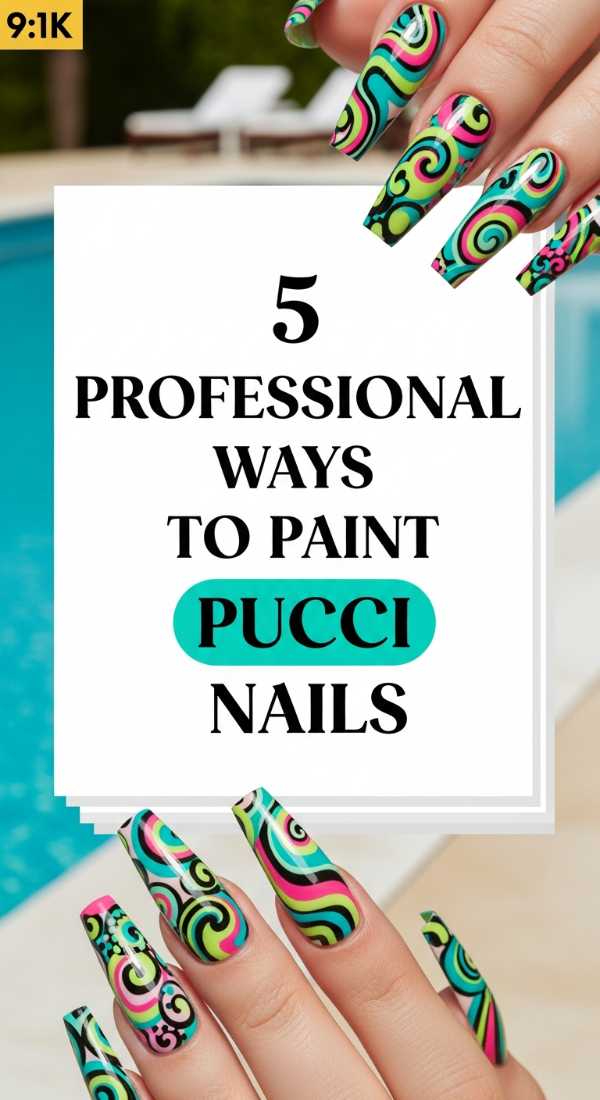
Why to love this Design:
Channel your inner 1960s fashion icon! Pucci nails are all about bold, swirling geometric patterns and vibrant colors. It’s high-fashion, high-energy, and makes a huge statement at any summer garden party.
Essential Elements:
- Fine detail liner brush
- Pastel blue, lime green, and hot pink polishes
- Black or white ‘outlining’ paint
How to Prepare:
- Map out your ‘swirls’ using a light pencil or very thin white polish.
- Fill in each ‘compartment’ with a different contrasting color.
- Ensure the polish is thin so you don’t get ‘bumps’ between colors.
- Outline the shapes with a steady hand using black or white paint to define the sections.
- Top with a thick builder gel to level out the surface for a professional finish.
Budget Range
- DND Gel Polish Duo ($14)
- Winstonia Berry Wine Fine Brush ($8)
- IBD Builder Gel ($15)
4 Secrets to Matching Hands and Toes Nails
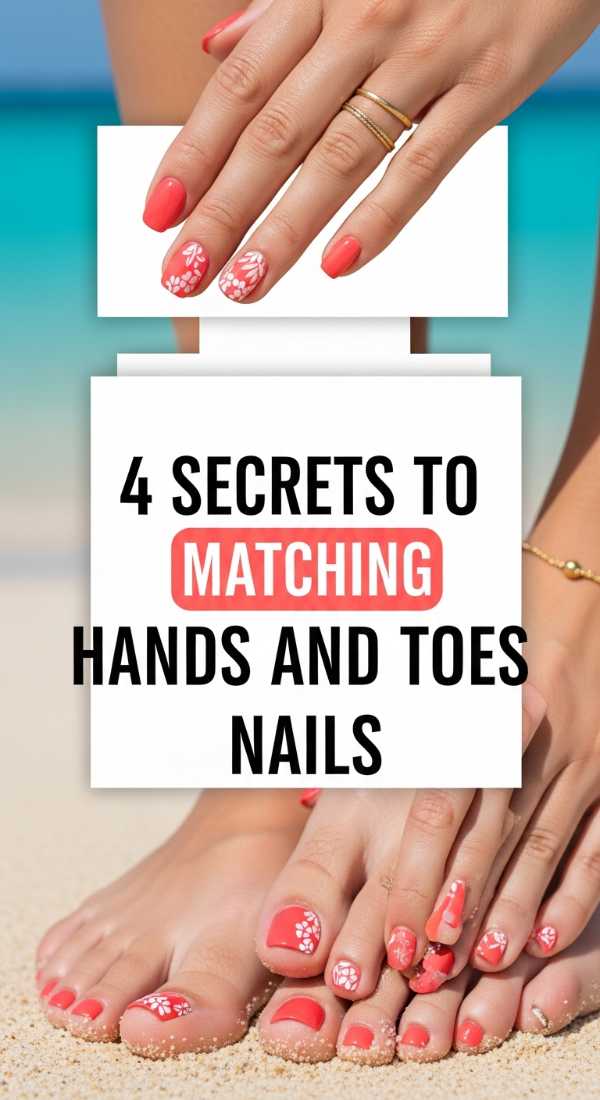
Why to love this Design:
There is a quiet confidence in being perfectly coordinated. It feels intentional and luxurious. While they don’t have to be identical, ‘matching’ them creates a harmonious look that pulls your whole outfit together.
Essential Elements:
- Coordinating color palette (e.g., Lavender and Deep Plum)
- Consistent finish (both matte or both glossy)
- Matching metallic accents
How to Prepare:
- Choose a ‘hero’ color for your hands and use its darker or lighter shade for your toes.
- If you have nail art on your hands, use one single element (like a gold stud) on your big toe to link them.
- Keep the shape consistent—if your fingers are oval, keep your toes neatly rounded.
- Use the same top coat brand on both to ensure the light reflects exactly the same way.
Budget Range
- Zoya ‘Naked Manicure’ Set ($30)
- Revlon Enamel Polish ($6)
- Tweezerman Pedicure Kit ($25)
9 Fresh Ideas for Teal and Coral Nails
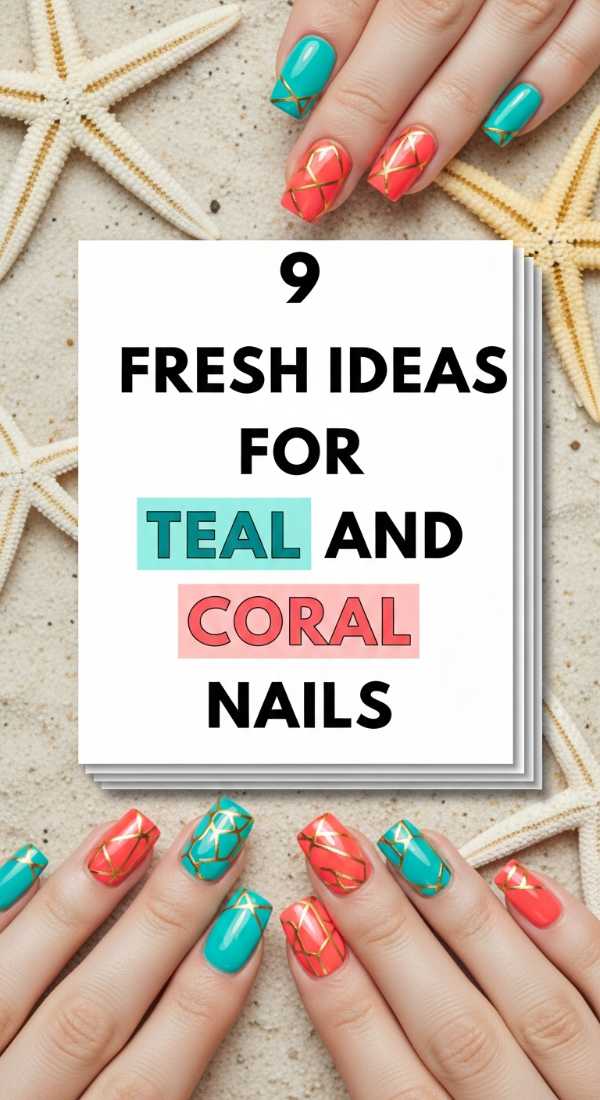
Why to love this Design:
This color combination is the ultimate vacation vibe. It’s the contrast between the cool ocean water and the warm tropical reefs. It’s vibrant, energetic, and looks stunning on every single skin tone.
Essential Elements:
- Teal cream polish
- Coral neon polish
- Gold leaf flakes
- Marble tint
How to Prepare:
- Try a ‘mismatched’ hand: one teal, one coral for a bold look.
- Create a marble effect by dropping both colors into water and swirling them.
- Use teal for a French tip with a coral base.
- Add gold leaf over a teal accent nail for a ‘treasure’ look.
- Try a vertical gradient (teal on the left, coral on the right).
- Use a matte top coat on the teal and glossy on the coral.
- Drip ‘blooming gel’ to let the two colors melt together.
- Add a tiny coral heart on a teal thumb.
- Use teal as a geometric ‘block’ over a sheer coral wash.
Budget Range
- Lights Lacquer ‘Princesa’ ($13)
- Vixi Gold Leaf Sheets ($6)
- Born Pretty Blooming Gel ($8)
6 Ways to Create Taurus Birthday Nails
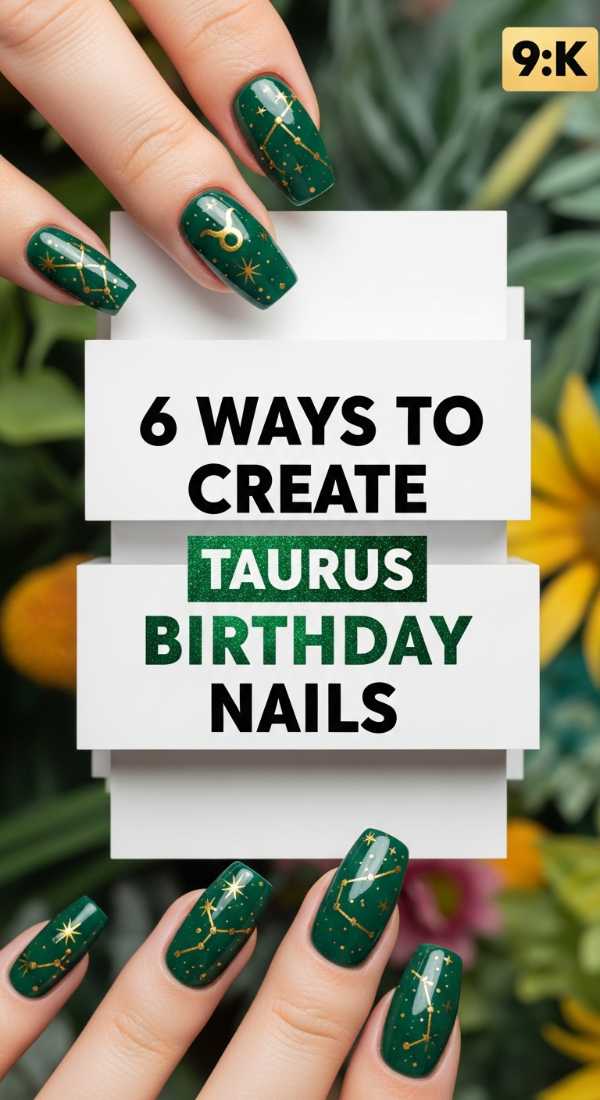
Why to love this Design:
For my Taurus babes, we are talking luxury, comfort, and earthiness. Taurus is ruled by Venus, so these nails need to feel expensive and grounded. Think deep forest greens and botanical textures that feel like a walk through a royal garden.
Essential Elements:
- Emerald green velvet magnetic polish
- Gold bull/zodiac decals
- Real dried moss or botanical stickers
- Creamy beige base
How to Prepare:
- Use a magnetic polish to create a ‘cat eye’ effect that mimics the depth of an emerald.
- Place a gold Taurus symbol on the middle finger for a celestial touch.
- Incorporate ‘earthy’ textures like a matte stone-grey accent nail.
- Apply delicate leaf patterns using a stamping plate.
- Add a single ’emerald’ rhinestone at the base of the ring finger.
- Keep the nails at a medium ‘squoval’ length for a practical yet elegant feel.
Budget Range
- ILNP ‘Venom’ Magnetic Polish ($12.50)
- MoYou London Zodiac Plate ($10)
- Swarovski Nail Crystals ($15)
Wrapping Your Hands in Magic
Darlings, I hope these tutorials spark that creative fire in your heart. Nails are such a small part of our bodies, but they have this incredible power to change how we feel every time we look down at our keyboards or hold a cup of tea. Remember, there are no rules in 2026—only what makes you feel most like *you*. Try that bold teal, go for the summer goth vibe, or just keep it simple with a yellow French tip. Whatever you choose, do it with love and a little bit of sparkle. I can’t wait to see what you create!