
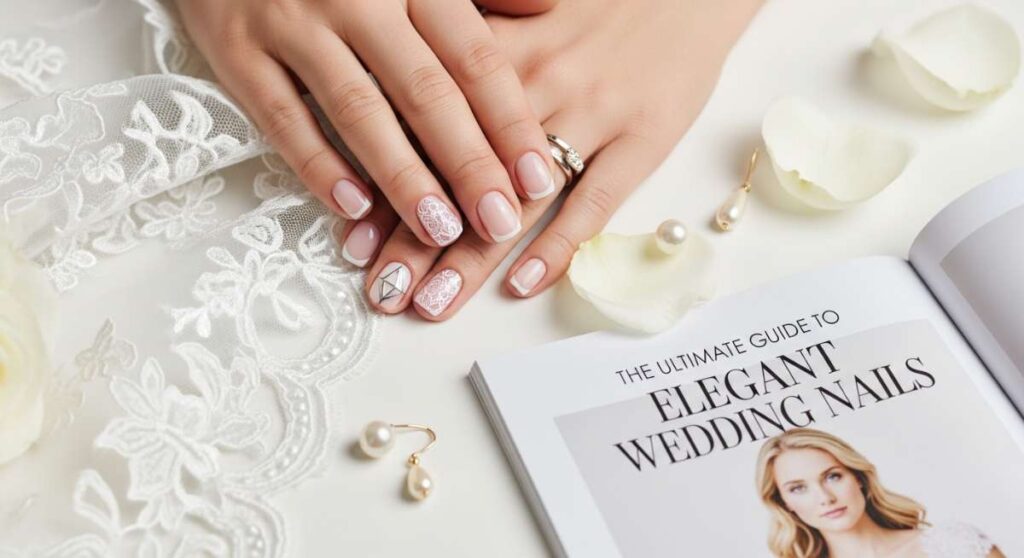
From Classic Lace to Modern Chic: Elegant Wedding Nail Inspiration for Every Bride
Hello my loves! There is something so incredibly magical about the quiet moments before you walk down the aisle—the soft rustle of silk, the scent of fresh peonies, and that delicate shimmer on your fingertips as you reach for your bouquet. Your wedding nails aren’t just a manicure; they are the gentle frame for your beautiful new ring and a reflection of the love story you’re about to celebrate. It’s like a soft, cloud-soft embrace for your hands on the biggest day of your life.
I know how overwhelming the planning can feel, but choosing your bridal look should be a moment of pure joy and self-care. Whether you are dreaming of a timeless white lace aesthetic or a modern pop of color, I’ve gathered some of my favorite inspirations to help you feel like the most radiant version of yourself. Grab a cup of tea, settle in, and let’s find the perfect set for your special day.
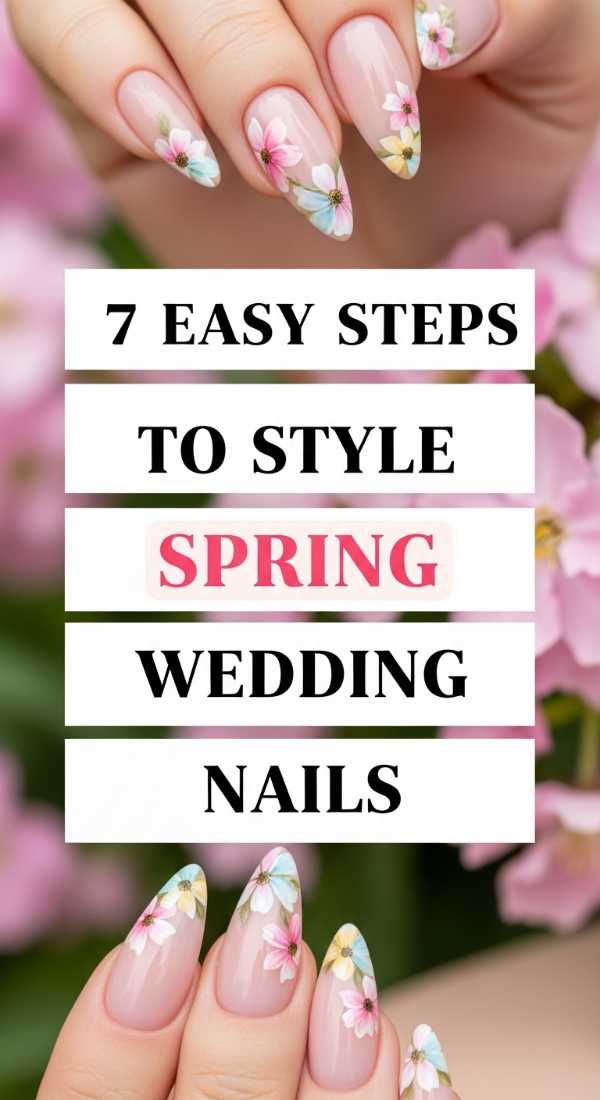
7 easy steps to style spring wedding nails
Why to love these Nails:
Spring is all about new beginnings and soft, whispering colors. These nails capture the essence of a garden in bloom, bringing a touch of nature’s awakening to your bridal look with delicate pastels and floral hints.
Essential Items:
- Soft lavender or mint green polish
- Fine-tipped nail art brush
- Pressed flower decals
- Sheer base coat
- Glossy top coat
How to Prepare:
- Cleanse nails and push back cuticles gently.
- Apply a sheer base coat to create a smooth canvas.
- Paint two thin layers of your chosen pastel shade.
- Using the fine brush, add tiny white dots to mimic baby’s breath.
- Carefully place a pressed flower decal on the ring finger.
- Seal everything with a high-shine top coat.
- Moisturize with a light floral-scented cuticle oil.
Budget Range
- Essie ‘Pastel’ Collection ($9.00)
- Amazon Pressed Flower Decals ($6.00)
- Sally Hansen Top Coat ($7.00)
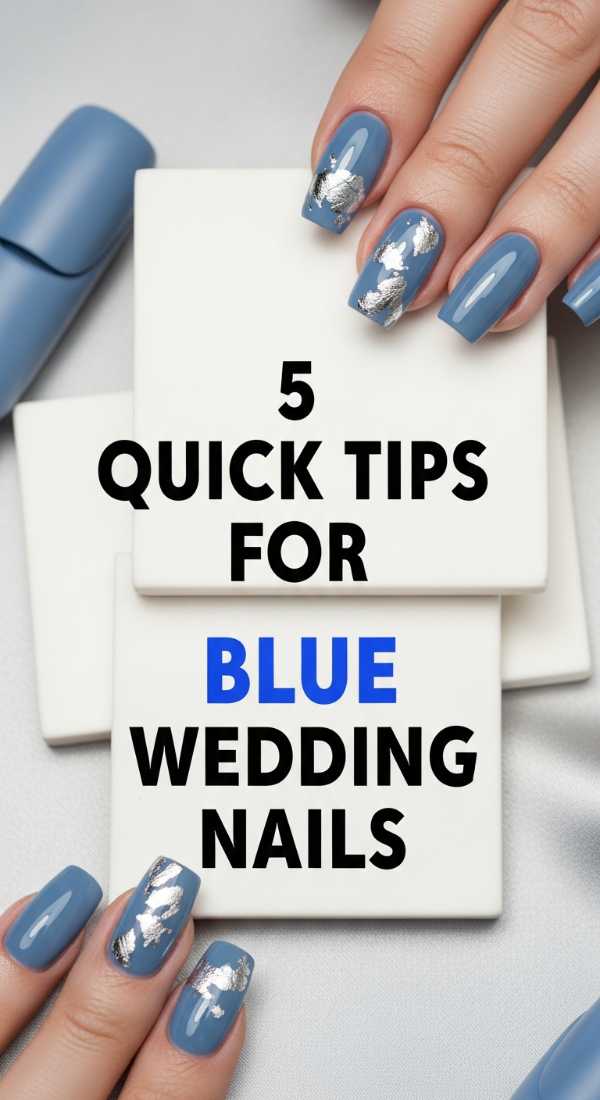
5 quick tips for blue wedding nails
Why to love these Nails:
There is nothing more poetic than incorporating your ‘Something Blue’ right onto your fingertips. It’s a subtle, modern tradition that adds a cool, calming energy to your ensemble while looking absolutely stunning in photos.
Essential Items:
- Pale sky blue lacquer
- Silver micro-glitter
- Manicure cleanup brush
- Nourishing base coat
How to Prepare:
- Shape nails into a soft oval to complement the cool tone.
- Apply a protective base coat to prevent staining.
- Paint two layers of sky blue, letting them dry fully.
- Dab a tiny bit of silver glitter at the base for a gradient effect.
- Clean up the edges with your brush dipped in remover for a crisp finish.
Budget Range
- OPI ‘It’s a Boy’ Blue ($11.00)
- Holo Taco Silver Flake ($13.00)
- Pure Acetone ($4.00)
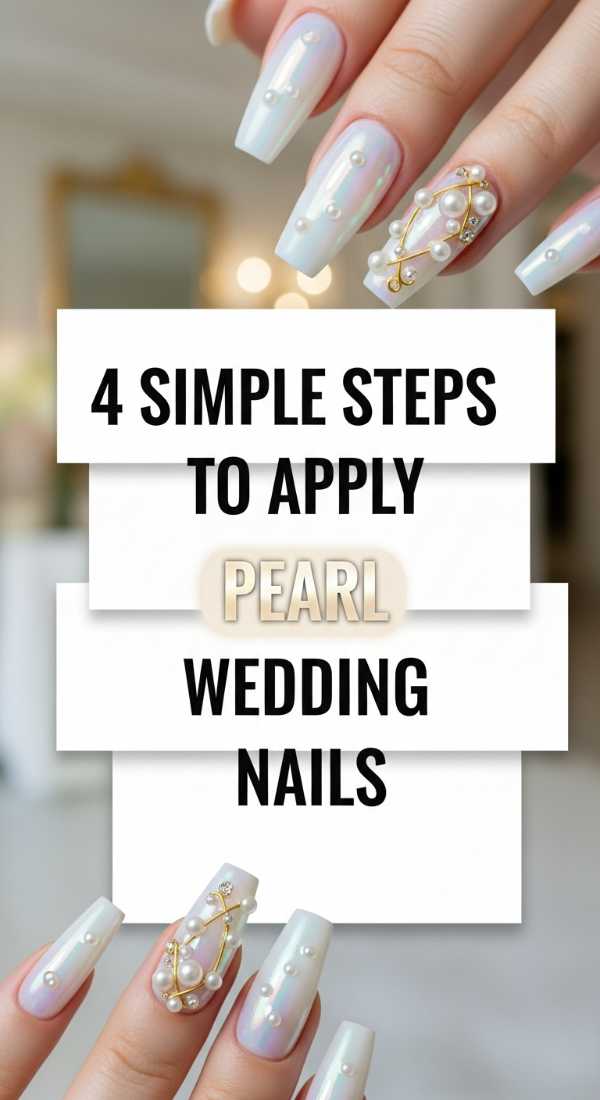
4 simple steps to apply pearl wedding nails
Why to love these Nails:
Pearls are the epitome of timeless grace. Adding them to your nails creates a 3D texture that catches the light beautifully, mimicking the luster of a vintage heirloom necklace.
Essential Items:
- Flat-back mini pearls
- Nail glue or thick top coat
- Tweezers or a wax picker tool
- Iridescent white polish
How to Prepare:
- Apply your iridescent base color and let it dry completely.
- Place a small dot of glue where you want the pearl to sit.
- Use your wax tool to pick up the pearl and press it into the glue.
- Apply a thick top coat around the base of the pearl to secure it.
Budget Range
- Zoya ‘Leah’ Iridescent ($12.00)
- Nail Art Pearl Kit ($8.00)
- Makartt Nail Glue ($7.00)
6 ways to create classy white wedding nails
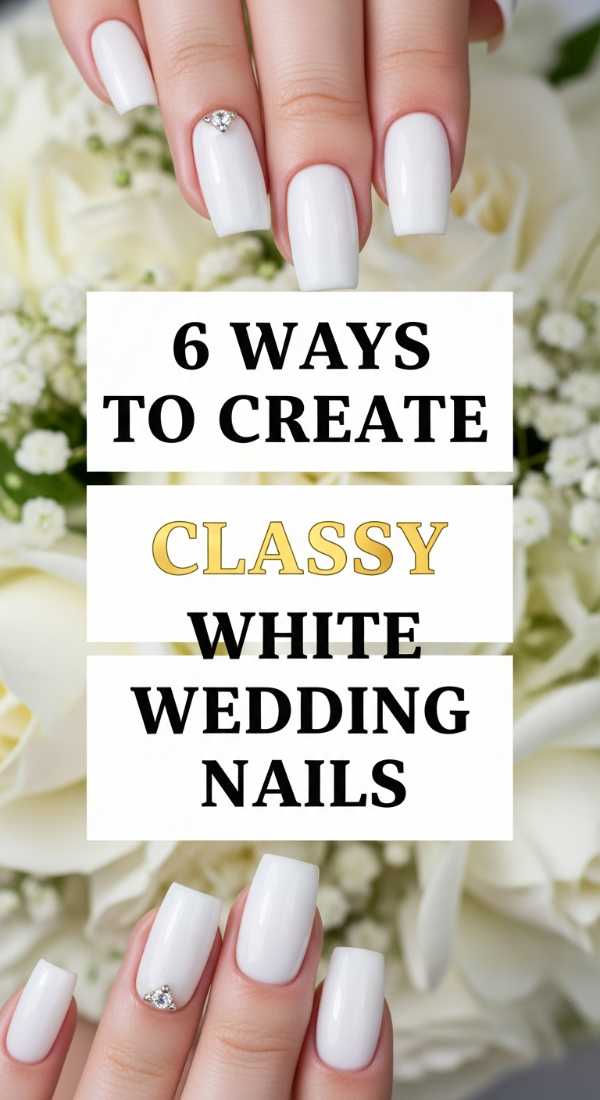
Why to love these Nails:
The classic white mani is the ultimate bridal staple. It’s clean, sophisticated, and makes your tan and your ring pop with effortless elegance.
Essential Items:
- Opaque stark white polish
- Matte and Glossy top coats
- Striping tape
- Buffer block
How to Prepare:
- Buffer the nail surface for a perfectly smooth application.
- Apply a ridge-filling base coat.
- Paint two coats of white, ensuring no streaks are visible.
- Use striping tape to create a ‘negative space’ V-shape.
- Apply matte top coat on one half and glossy on the other for texture.
- Remove tape while the polish is slightly tacky.
Budget Range
- Funny Bunny by OPI ($11.00)
- Orly Ridgefiller ($15.00)
- Striping Tape Set ($5.00)
3 minutes to master elegant pink wedding nails
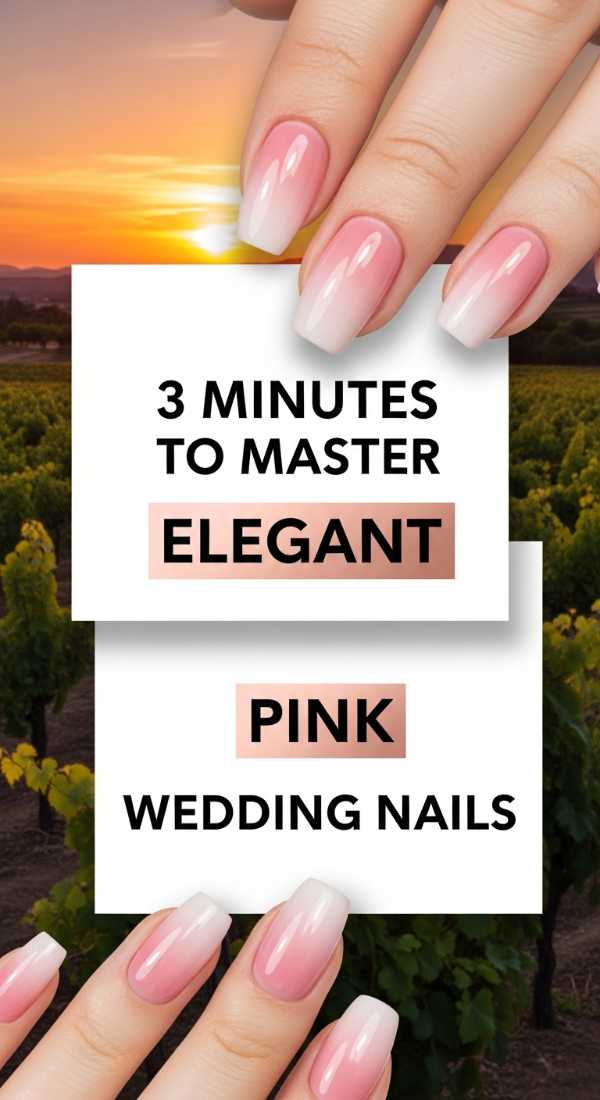
Why to love these Nails:
Pink is the color of romance and soft blushes. This look is for the bride who wants a healthy, natural glow that feels like a warm hug for her hands.
Essential Items:
- Sheer rosewater tint
- Buffing cream
- High-gloss sealant
How to Prepare:
- Buff nails until they shine naturally.
- Swipe one single coat of rosewater tint for a ‘your nails but better’ look.
- Finish with a thick gloss to give a jelly-like depth.
Budget Range
- Dior Nail Glow ($30.00)
- Revlon Clear Gloss ($6.00)
5 rules for styling beach wedding nails
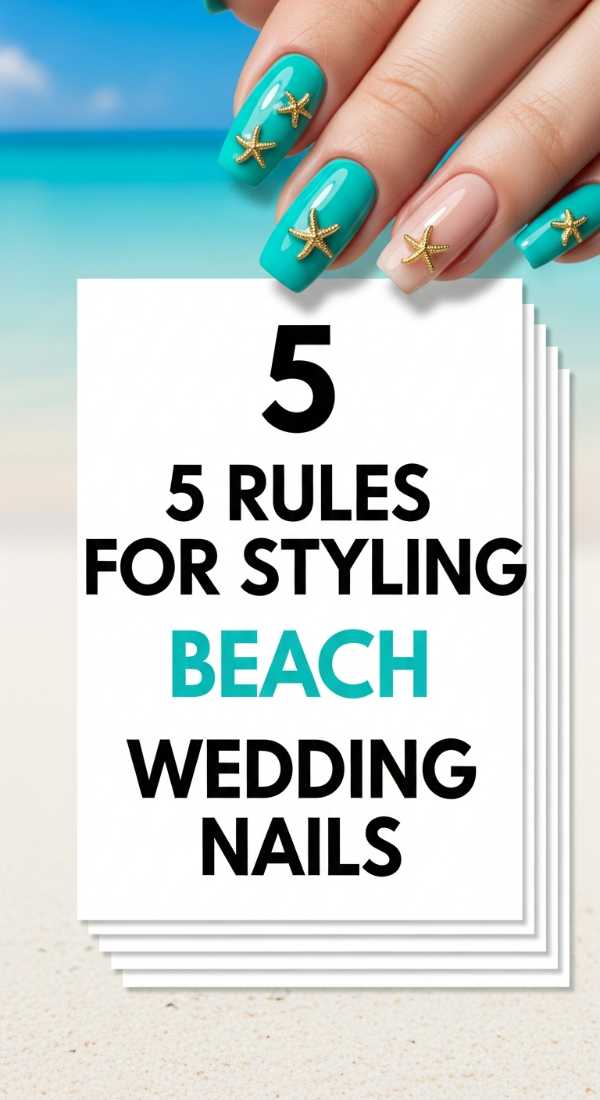
Why to love these Nails:
For a seaside ceremony, you want nails that reflect the sand and surf. These are durable, shimmering, and look incredible against the backdrop of the ocean.
Essential Items:
- Sand-toned nude polish
- Gold leaf flakes
- UV-resistant top coat
How to Prepare:
- Choose a nude shade that matches your skin tone perfectly.
- Apply the base color in two thin layers.
- Randomly apply gold leaf to mimic sunlight on water.
- Use a UV-resistant top coat to prevent yellowing from the sun.
- Apply SPF to your hands to keep the skin glowing.
Budget Range
- ILNP Sandy Baby ($10.00)
- Gold Leaf Sheet ($4.00)
- Sun Bum Hand Cream ($12.00)
8 steps to simple wedding nails for bride

Why to love these Nails:
Sometimes, simplicity is the loudest form of beauty. This minimalist approach ensures that nothing distracts from the emotion of the day.
Essential Items:
- Clear strengthening treatment
- Nail file (glass)
- Cuticle remover gel
- Soft white pencil
How to Prepare:
- File nails into a uniform short round shape.
- Apply cuticle remover and gently push back.
- Wash hands thoroughly.
- Use the white pencil under the nail tip for a natural French look.
- Apply one coat of strengthener.
- Apply one coat of sheer nude.
- Add a final layer of clear gloss.
- Massage in vitamin E oil.
Budget Range
- Burt’s Bees Cuticle Cream ($6.00)
- Glass Nail File ($10.00)
- Essie Hard to Resist ($11.00)
4 easy methods for black wedding nails
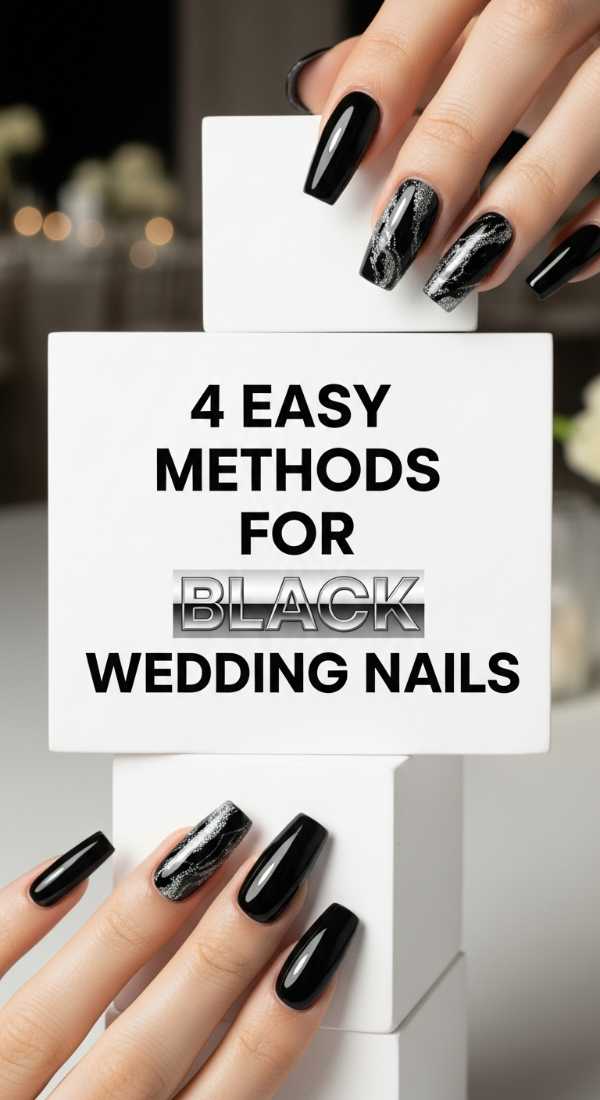
Why to love these Nails:
For the modern, edgy bride, black nails are a bold and chic statement. It’s sophisticated, high-fashion, and looks incredible with a minimalist silk slip dress.
Essential Items:
- Jet black cream polish
- Gold foil accents
- Cleanup pen
How to Prepare:
- Apply a heavy-duty base coat.
- Apply two coats of jet black, carefully avoiding the cuticles.
- Use a cleanup pen to fix any stray marks.
- Add a single gold foil stripe down the center of the ring finger.
Budget Range
- Essie Licorice ($9.00)
- Olive & June Cleanup Brush ($8.00)
5 secrets for wedding nails square design
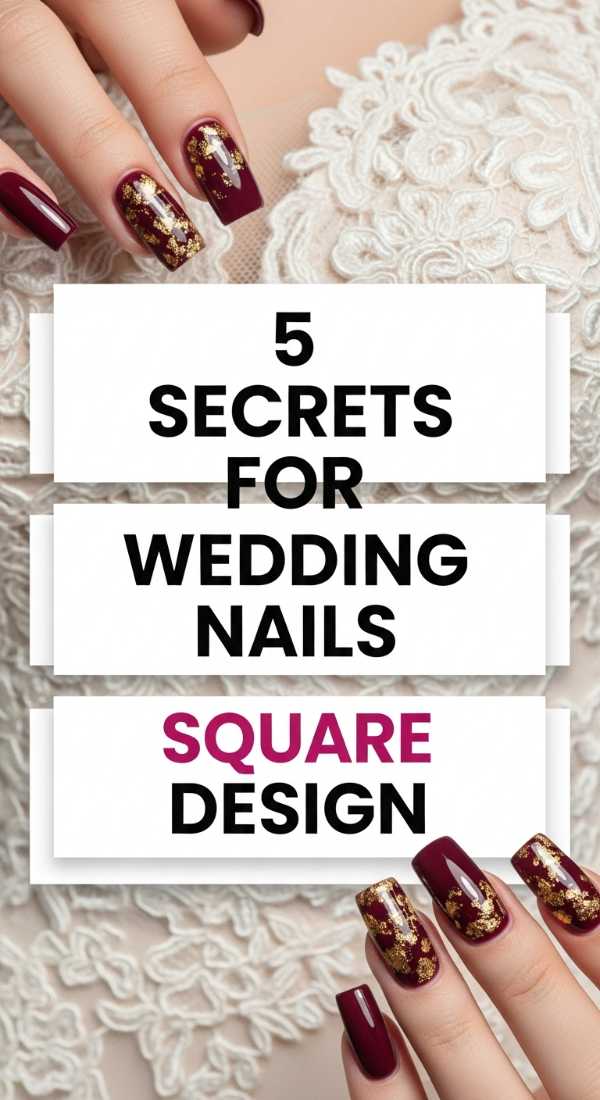
Why to love these Nails:
Square nails offer a structured, architectural look that feels very contemporary. It’s a great way to make shorter nails look deliberate and styled.
Essential Items:
- Straight-edge nail clipper
- Coarse and fine grit files
- Creamy beige polish
How to Prepare:
- Clip nails straight across.
- File the sides perfectly vertical.
- Softly round the very corners so they don’t snag your veil.
- Apply a creamy, opaque beige.
- Finish with a super-hard top coat to maintain the edge.
Budget Range
- Tweezerman Clippers ($12.00)
- OPI ‘Samoan Sand’ ($11.00)
6 tips for fun wedding nails for bridesmaids

Why to love these Nails:
Your bridesmaids are your support system! Let them show their personalities with fun, coordinated looks that complement your bridal theme without overshadowing it.
Essential Items:
- Mismatched pastel set
- Fine glitter topper
- Nail stickers
How to Prepare:
- Assign a color family (e.g., ‘sunset tones’) to the group.
- Each bridesmaid chooses one shade from the palette.
- Add a ‘unity’ element, like a swipe of silver glitter on every pinky.
- Use fun stickers like tiny hearts or ‘I Do Crew’.
- Keep shapes similar across the group for a cohesive photo.
- Seal with a fast-dry top coat so you can get back to champagne!
Budget Range
- Target ‘Mismatched’ Polish Set ($15.00)
- Seche Vite Fast Dry ($9.00)
With Love and Light
Finding the right wedding nails is such a beautiful part of your journey to the altar. Whether you chose a classic pearl or a bold black edge, I hope you feel confident, loved, and absolutely breathtaking. Remember, my loves, the most beautiful thing you can wear on your wedding day is your smile and the joy in your heart. These little details just help that inner light shine a bit brighter. Sending you so much love for your big day!