
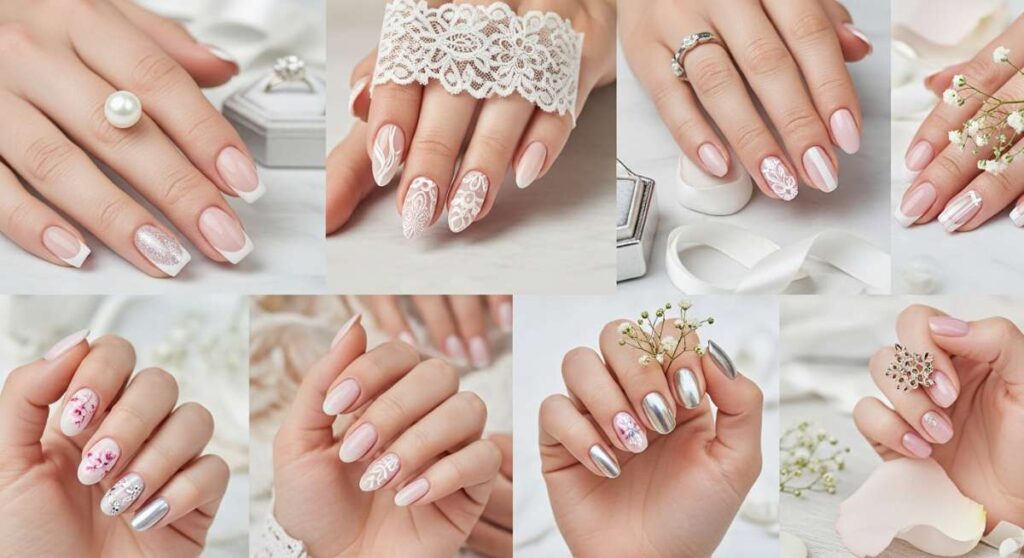
Bridal Bliss: Stunning Wedding Nail Designs You’ll Want to Pin Immediately
Hello, my loves! Can we just take a soft, deep breath together for a moment? There is something so incredibly magical about the season of ‘I do’—the way the air feels heavy with promise and the light seems to catch every little sparkle with a bit more grace. When we think of weddings, we often get swept up in the grandeur of the gown or the scent of the peonies, but your hands tell such a beautiful part of your story. They are what hold your bouquet, what feel the weight of a new gold band, and what will be captured in those intimate, close-up photos you’ll cherish forever.
I wanted to curate a space today that feels like a warm, cloud-soft embrace for your creativity. Whether you are the one walking down the aisle, a sister standing by her side, or a guest celebrating love from the front row, your nails are the finishing touch to your soul’s expression. I’ve gathered my favorite inspirations to help you find that perfect look—the one that makes you look down at your hands and feel an immediate rush of bridal bliss.
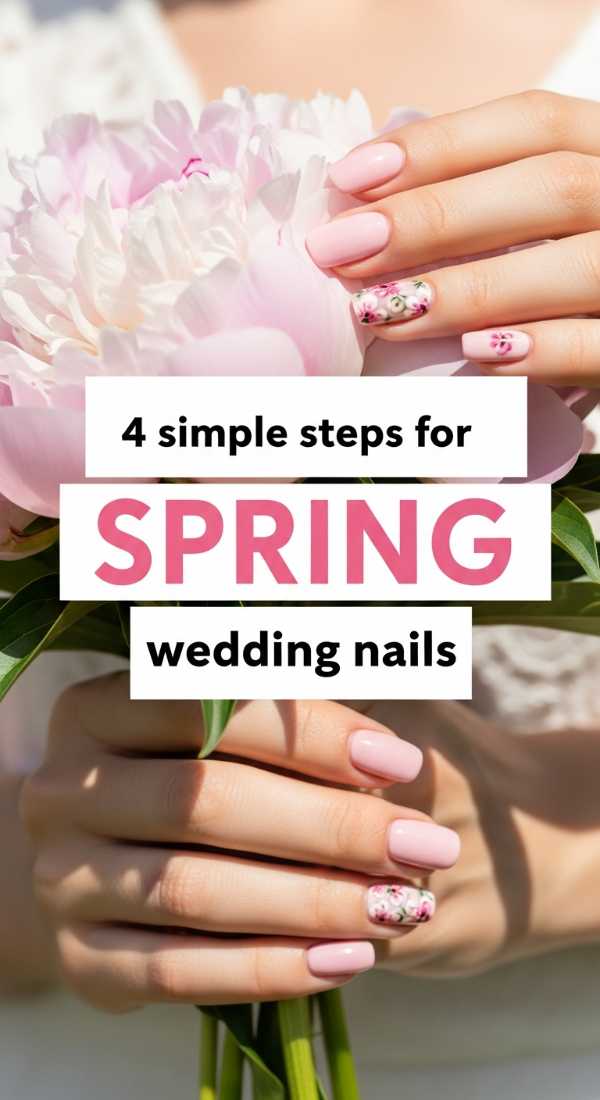
Blooms & Bliss: 4 Simple Steps for Spring Wedding Nails
Why to love these Nails:
These nails feel like a whisper of a spring morning in a blooming garden. They are light, airy, and perfect for the bride who wants to carry the essence of renewal and soft florals right at her fingertips without being too bold.
Essential Items:
- Pastel lavender or peach polish
- Fine-tipped nail art brush
- White acrylic paint or polish
- Glossy top coat
How to Prepare:
- Clean and shape nails into a soft almond or oval.
- Apply two thin coats of your chosen pastel base.
- Using the fine brush, dot small white petals in the corners of your ring finger.
- Seal the design with a high-shine top coat for a dewy finish.
Budget Range
- Essie Pastel Collection ($9.00)
- Nail Art Brush Set ($6.00)
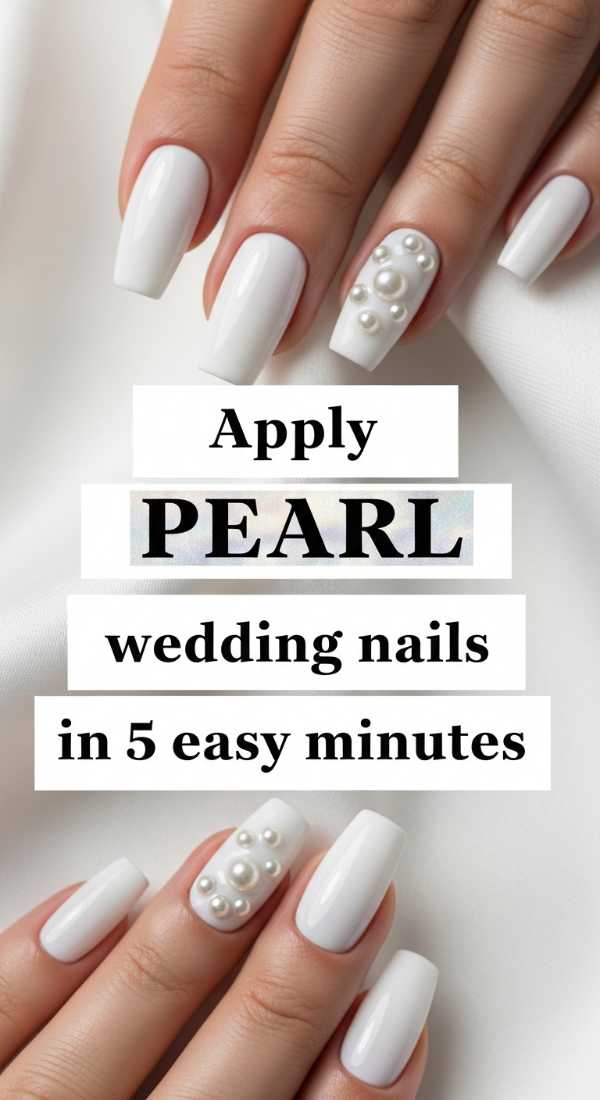
Iridescent Dreams: Apply Pearl Wedding Nails in 5 Easy Minutes
Why to love these Nails:
Pearl nails offer a timeless, vintage-inspired elegance that catches the light in the most sophisticated way. They add a 3D texture that feels luxurious and artisanal, perfect for a classic white-tie wedding.
Essential Items:
- Sheer ‘milky’ white polish
- Flat-back pearl rhinestones (various sizes)
- Nail glue or a thick top coat
- Tweezers
How to Prepare:
- Apply a single coat of milky white polish and let dry completely.
- Place a small dot of glue where you want the pearl.
- Use tweezers to gently press the pearl onto the nail.
- Repeat for a scattered ‘raindrop’ effect across two accent nails.
- Apply a top coat around the base of the pearls to secure them.
Budget Range
- Zoya ‘Lucy’ Milky Polish ($12.00)
- Mixed Pearl Nail Decals ($5.00)
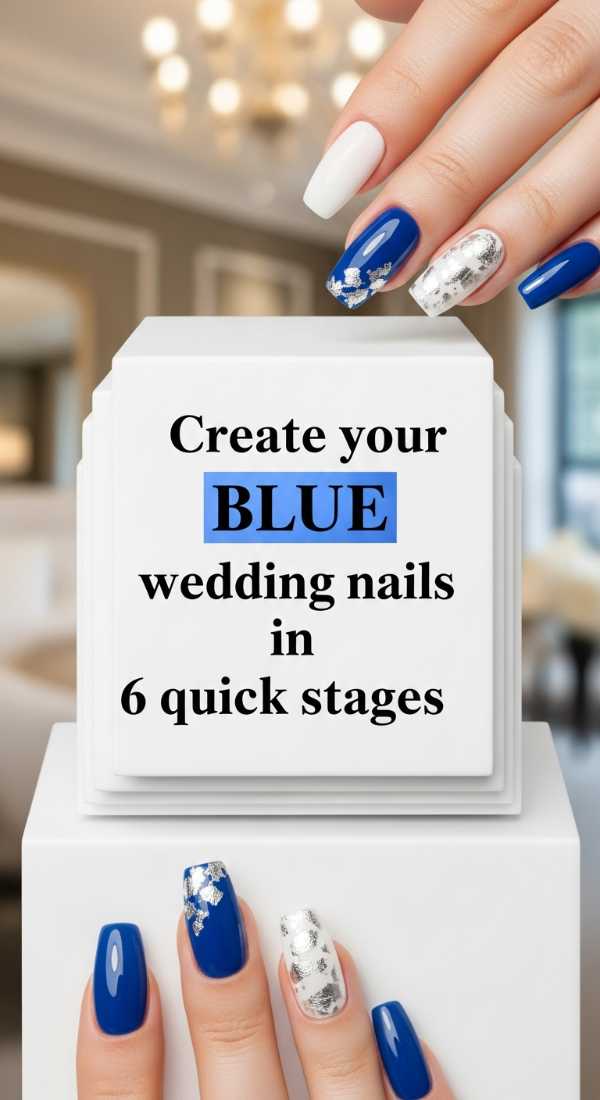
Something Blue: Create Your Blue Wedding Nails in 6 Quick Stages
Why to love these Nails:
I adore the tradition of ‘something blue,’ and bringing it to your manicure is such a chic, modern nod to heritage. It’s a subtle pop of color that looks stunning against a crisp white dress.
Essential Items:
- Pale cornflower blue polish
- Silver glitter striping tape
- Clear base coat
- Buffing block
How to Prepare:
- Buff the nail surface for a smooth canvas.
- Apply a protective base coat.
- Paint two coats of cornflower blue.
- Once dry, apply a horizontal strip of silver tape near the tip.
- Trim the edges of the tape carefully.
- Finish with a gel-effect top coat to prevent peeling.
Budget Range
- OPI ‘It’s a Boy!’ ($11.50)
- Metallic Nail Tape ($4.00)
The Gracious Guest: 3 Effortless Ways to Style Wedding Nails
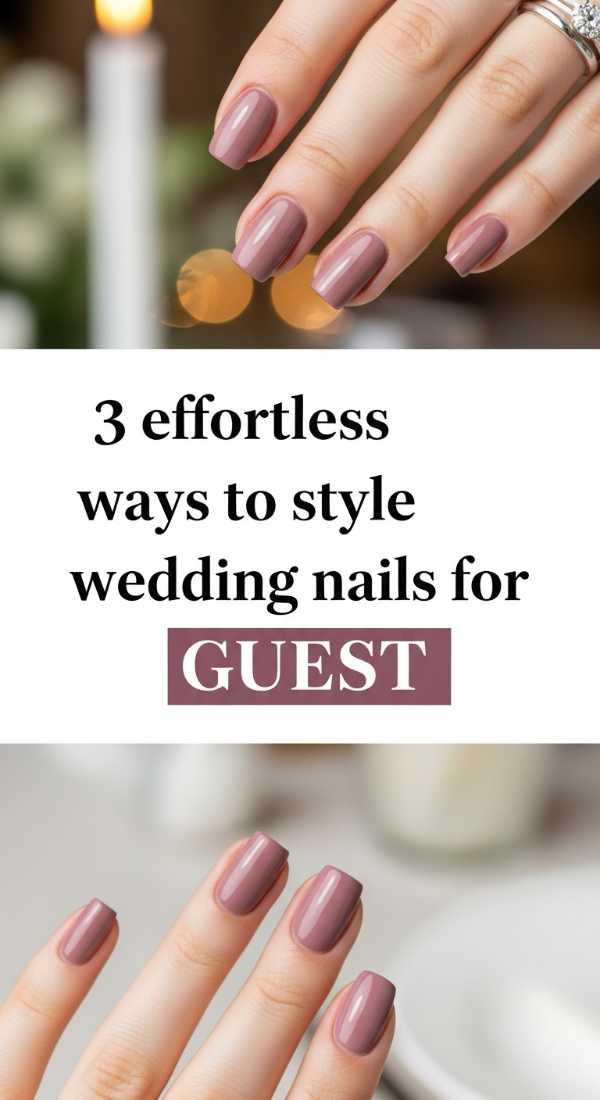
Why to love these Nails:
As a guest, you want to look polished and thoughtful without outshining the bride. These styles focus on muted tones and clean lines that complement any cocktail or formal attire.
Essential Items:
- Mauve or dusty rose polish
- Gold leaf flakes
- Matte top coat
How to Prepare:
- Apply two coats of a muted mauve polish for a sophisticated neutral look.
- Gently press a few gold leaf flakes onto the wet ring finger nail for a touch of festivity.
- Apply a matte top coat over all nails to give it a modern, velvet-like finish.
Budget Range
- Sally Hansen Mauve Over ($7.00)
- Gold Leaf Nail Foil ($5.50)
Seaside Serenade: Design Fun Beach Wedding Nails in 7 Steps
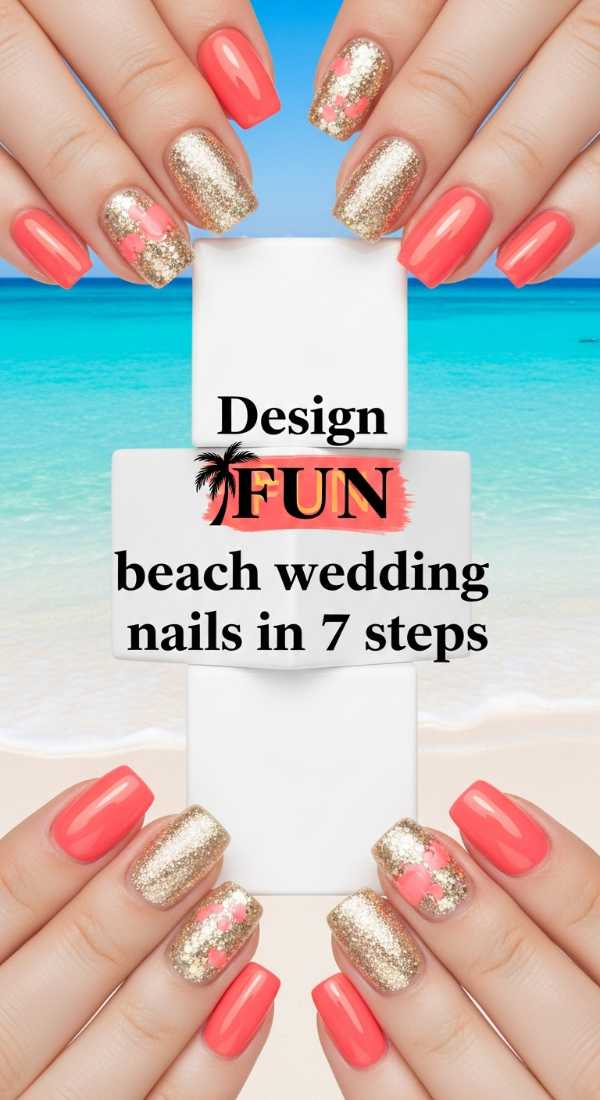
Why to love these Nails:
Beach weddings are all about textures—sand, salt, and sun. This design incorporates coral hues and shimmering accents that mimic the sun dancing on the waves.
Essential Items:
- Coral or seafoam polish
- Gold shimmer polish
- Sponge for ombre
- Starfish decals
How to Prepare:
- Shape nails into a practical short square.
- Apply a base of coral polish.
- Dab a small amount of gold shimmer onto a sponge.
- Lightly press the sponge onto the tips for a gradient effect.
- Place a tiny starfish decal on the thumb.
- Clean up edges with a brush dipped in remover.
- Seal with a UV-protectant top coat to prevent sun-fading.
Budget Range
- Revlon ‘Cantaloupe’ ($6.00)
- Nail Art Sponges ($3.00)
Pure Sophistication: Wedding Nails for Bride Elegant in 5 Moves

Why to love these Nails:
For the bride who believes that less is more, this design is the epitome of grace. It enhances the natural beauty of your hands, making them look elongated and pristine.
Essential Items:
- Sheer pink or nude polish
- White tip guide stickers
- Precision white polish pen
- High-gloss top coat
How to Prepare:
- Prep by pushing back cuticles and filing to a soft point.
- Apply two coats of sheer nude.
- Place a guide sticker just below the free edge.
- Swipe the white polish pen across the tip for a crisp line.
- Remove the sticker and apply a thick, glossy top coat for a salon finish.
Budget Range
- Dior Abricot Base Coat ($30.00)
- French Manicure Guides ($4.00)
Bold Romance: Master Black Wedding Nails Square in 4 Easy Steps
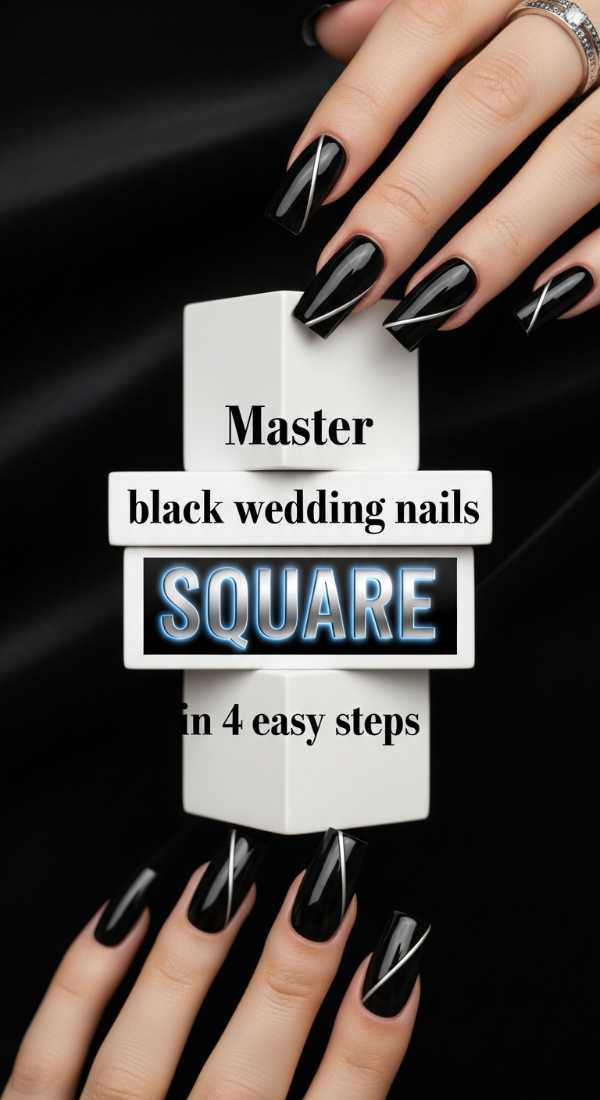
Why to love these Nails:
Who says you can’t wear black at a wedding? For a modern, edgy, or winter wedding, black square nails are incredibly striking and fashion-forward. They create a stunning contrast with a white gown.
Essential Items:
- Jet black lacquer
- Square nail file
- Cuticle oil
- Long-wear top coat
How to Prepare:
- File nails into a sharp, precise square shape.
- Apply two coats of high-pigment black lacquer.
- Wait for it to dry completely to avoid smudging.
- Massage cuticle oil around the edges to give that ‘just-left-the-spa’ glow.
Budget Range
- Wet n Wild Black Cream ($2.00)
- Glass Nail File ($10.00)
Minimalist Magic: Perfect Simple Wedding Nails for Bride in 3 Tips
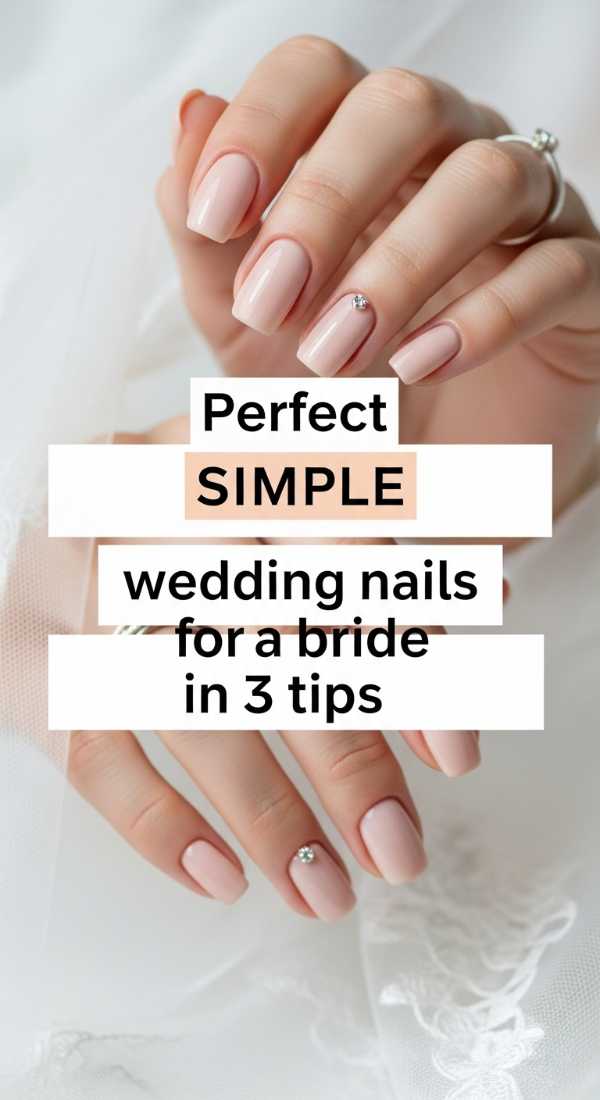
Why to love these Nails:
Sometimes, the most beautiful thing you can wear is confidence and a clean look. These tips are for the bride who wants her ring to be the absolute star of the show.
Essential Items:
- Buffing cream
- Clear pink tint polish
- Nail strengthener
How to Prepare:
- Focus on the shape: ensure all nails are uniform in length and perfectly rounded.
- Use a buffing cream to create a natural, healthy shine before polishing.
- Apply one coat of a clear pink tint to add a healthy ‘glow’ to the nail bed.
Budget Range
- L’Occitane Nail & Cuticle Oil ($20.00)
- Revlon Clear Tint ($6.00)
The Pro Touch: Get Elegant Wedding Nails with 6 Pro Techniques
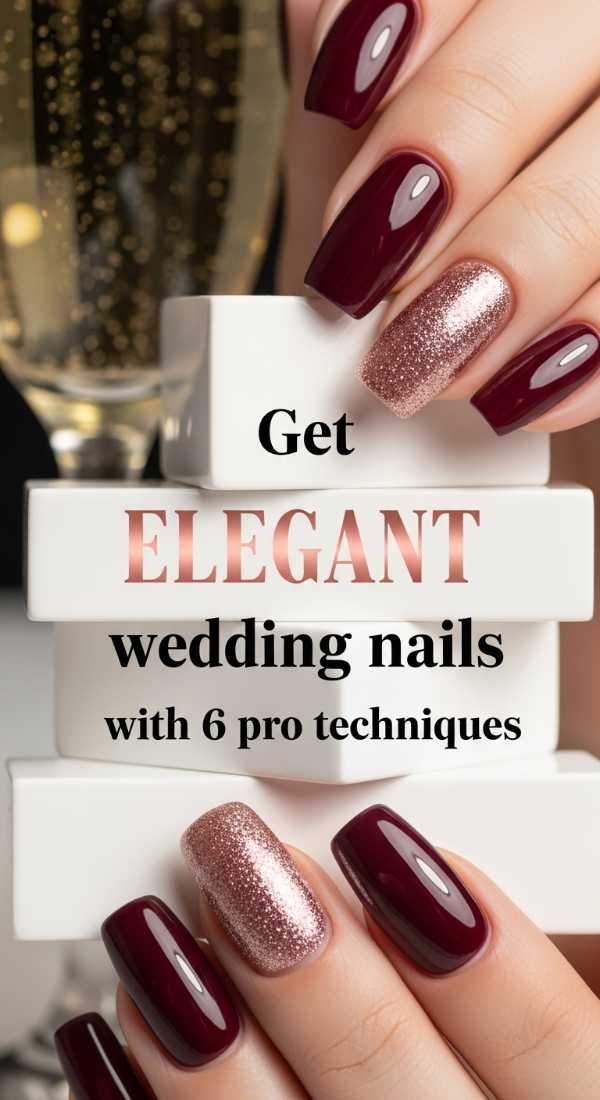
Why to love these Nails:
These techniques ensure your manicure lasts through the rehearsal dinner, the ceremony, and the honeymoon. It’s all about the professional foundation for long-lasting beauty.
Essential Items:
- Nail dehydrator
- Gel base and top coat
- LED/UV Lamp
- Lint-free wipes
How to Prepare:
- Use a dehydrator to remove natural oils from the nail plate.
- Apply a thin layer of gel base coat and cure.
- Apply color in very thin layers to prevent lifting.
- ‘Wrap’ the tip by swiping the brush along the very edge of the nail.
- Cure for the full recommended time.
- Wipe away the ‘tacky’ layer with a lint-free wipe for ultimate shine.
Budget Range
- SUNUV LED Lamp ($25.00)
- Gelish Mini Starter Kit ($35.00)
Shimmering Vows: Apply Wedding Nails for Bride in 5 Sparkling Steps
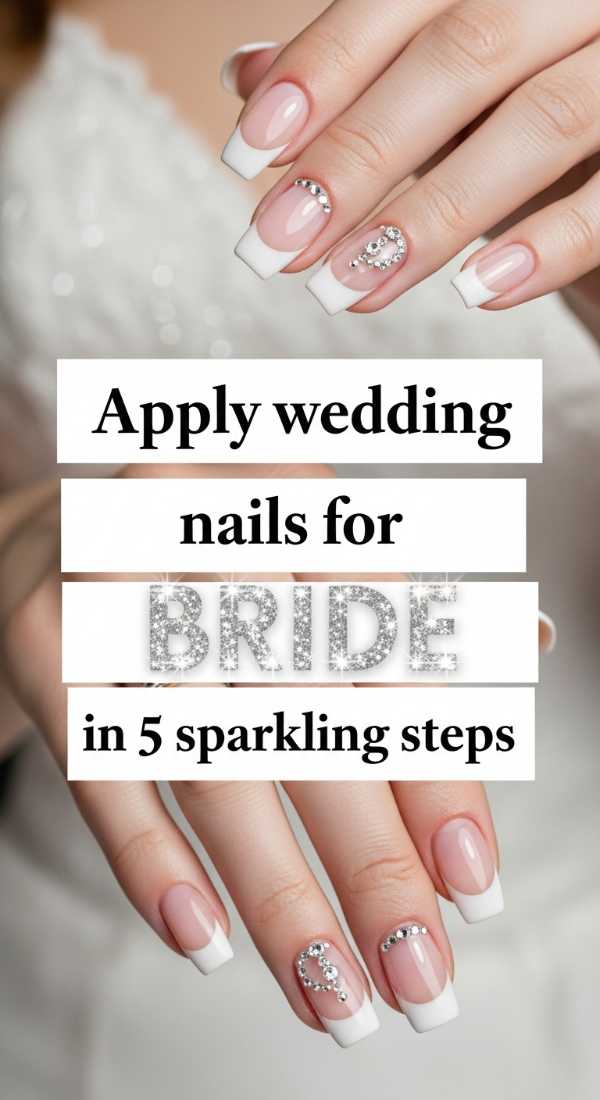
Why to love these Nails:
A little sparkle never hurt anyone, especially on your wedding day! This look is festive, joyful, and looks incredible under the reception lights during your first dance.
Essential Items:
- Opaque white polish
- Fine silver glitter polish
- Makeup sponge
- Cleanup brush
How to Prepare:
- Apply two coats of opaque white as your base.
- Paint silver glitter onto the corner of a makeup sponge.
- Dab the glitter from the base of the nail upward, fading out halfway.
- Use a cleanup brush dipped in acetone to tidy the cuticles.
- Finish with a thick gel-top coat to smooth out the glitter texture.
Budget Range
- China Glaze ‘White on White’ ($7.50)
- Holo Taco Glitter Polish ($13.00)
A Beautiful Beginning
My loves, as you prepare for this beautiful chapter, remember that these small details are just the frame for the masterpiece that is your love. Whether you choose a bold black square or a soft spring bloom, let it be a reflection of the joy you feel inside. May your hands feel as beautiful as your heart when you say those life-changing words. I can’t wait to see which of these you choose to pin and make your own! Sending you so much light and bridal bliss.
Frequently Asked Questions
How far in advance should I do my wedding nails?
I recommend doing your nails 1-2 days before the ceremony. This ensures they are fresh and chip-free while giving you one less thing to worry about on the morning of the wedding.
Should the bride and bridesmaids have matching nails?
Not necessarily! While it’s lovely to have a cohesive color palette, it’s often more beautiful to let each person’s personality shine through. Maybe keep them in the same ‘tonal family’ like all pastels or all neutrals.
How can I make my DIY manicure look professional?
The secret is all in the prep and the cleanup. Take your time pushing back your cuticles, and always use a small brush dipped in nail polish remover to clean up any mistakes around the edges for a crisp, salon-quality finish.