
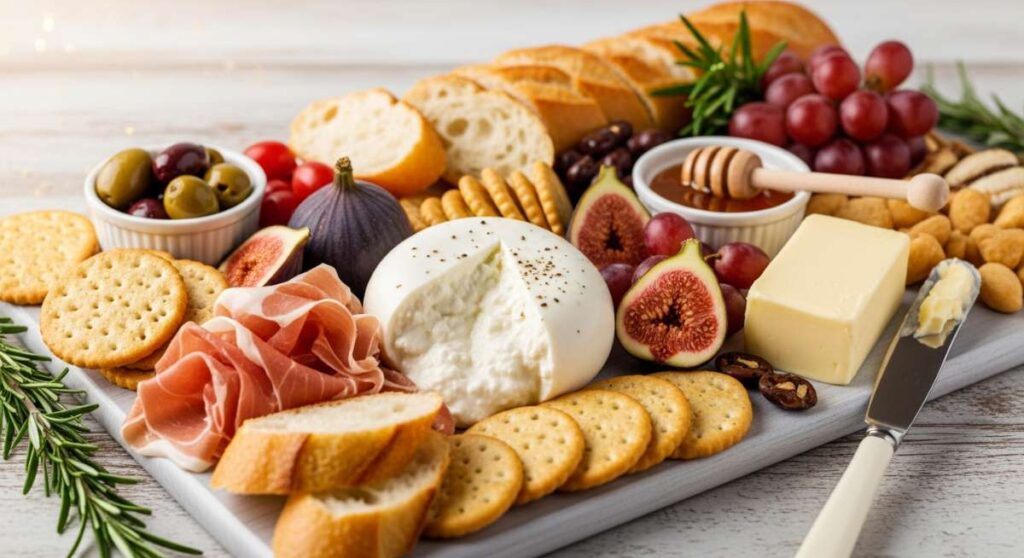
There’s something truly magical about a table filled with food that invites people to linger, pick, and share stories. We’ve all seen the viral butter boards and charcuterie spreads taking over our feeds, but there is a new evolution in the air—one that trades the heavy salts for the bright, sun-drenched flavors of a summer orchard. Moving from butter to burrata, and then into the realm of artisanal pastries, is about more than just aesthetics; it’s about creating a tactile, sensory experience that celebrates the slow pace of a perfect afternoon.
I remember the first time I set out a board filled not with crackers, but with warm, flaky tarts and crusty sourdough. The room shifted from a standard dinner party to a cozy, interactive feast where everyone felt like they were part of the process. This trend is all about the ‘Simple Food Board’—a collection of homemade bakes that look like a work of art but feel like home. It’s about the smell of browning butter and the sight of macerated berries glistening under the kitchen lights.
How to bake strawberry tarts
Why we love this
There is nothing quite like the shatter of a perfectly chilled pastry crust giving way to a pool of sweet, macerated strawberries. These tarts capture the very essence of early summer, offering a vibrant pop of red that draws everyone to the snack board immediately. The aroma of toasted butter mingling with the floral scent of fresh berries is intoxicating, and the texture—a contrast between the crisp, sandy tart shell and the velvety fruit—is pure bliss. Enjoying a slice feels like a sun-soaked picnic in the countryside, making it the ultimate center-piece for any viral food spread.
Ingredients
- 1 ½ cups all-purpose flour
- ½ cup cold unsalted butter, cubed
- ¼ cup granulated sugar
- 1 large egg yolk
- 2 cups fresh strawberries, sliced
- 2 tablespoons strawberry jam (for glazing)
- 1 tablespoon lemon juice
How to make it
- Begin by preparing the shortcrust pastry: in a food processor, pulse the flour, sugar, and cold cubed butter until the mixture resembles coarse sand with pea-sized bits of butter remaining. This ensures a flaky, tender texture.
- Add the egg yolk and a tablespoon of ice water, pulsing just until the dough begins to clump together. Turn it onto a floured surface, shape into a disk, wrap in plastic, and chill for at least 30 minutes to relax the gluten.
- Preheat your oven to 375°F (190°C). Roll out the chilled dough to a 1/8-inch thickness and press it into individual tart tins or one large fluted tart pan, trimming the edges cleanly.
- Prick the bottom of the crust with a fork (docking) and blind bake with pie weights for 15 minutes, then remove the weights and bake for another 5-8 minutes until the base is a pale golden brown.
- In a bowl, toss the sliced strawberries with lemon juice and a sprinkle of sugar. Arrange them tightly in the cooled tart shell in a circular pattern.
- Melt the strawberry jam in the microwave for 20 seconds, then gently brush it over the berries to create a professional, glossy sheen that protects the fruit and adds a concentrated burst of flavor.
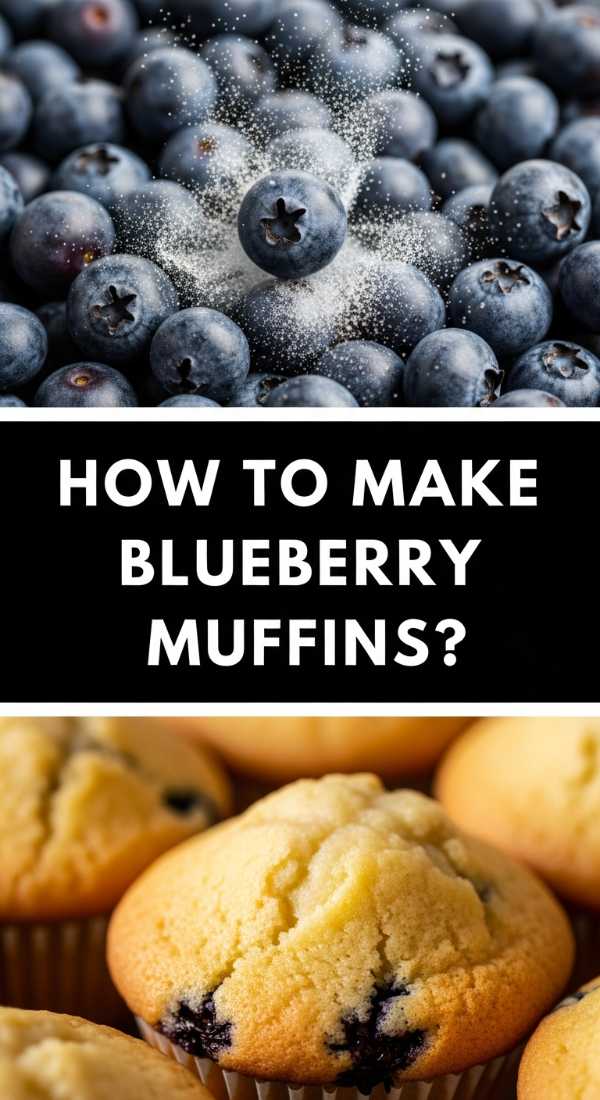
How to make blueberry muffins

Why we love this
Blueberry muffins are the ultimate comfort food, providing a soft, pillowy crumb that practically melts in your mouth while the berries provide little explosions of tart juice. When they are fresh from the oven, the kitchen fills with a warm, vanilla-laced scent that is undeniably inviting. We love how the purple streaks of the berries marble through the golden batter, and the slight crunch of a sugared muffin top adds a sophisticated textural element. They are the perfect ‘grab-and-go’ addition to a snack board that bridges the gap between breakfast and a light afternoon treat.
Ingredients
- 2 cups all-purpose flour
- 1 cup granulated sugar
- 2 teaspoons baking powder
- ½ cup melted butter
- 1 cup Greek yogurt
- 2 large eggs
- 1 ½ cups fresh blueberries
- 1 teaspoon vanilla extract
How to make it
- Preheat your oven to 400°F (200°C) and line a muffin tin with paper liners. High heat is the secret to getting those tall, bakery-style muffin tops that look so impressive on a board.
- In a large bowl, whisk together the flour, sugar, and baking powder. In a separate bowl, whisk the melted butter, eggs, Greek yogurt, and vanilla until smooth and emulsified.
- Gently fold the wet ingredients into the dry ingredients using a spatula. Be extremely careful not to overmix; stop just when the last streaks of flour disappear to ensure a light, airy crumb rather than a dense one.
- Toss the blueberries in a teaspoon of flour before folding them into the batter; this prevents them from sinking to the bottom of the muffin during the baking process.
- Fill each muffin tin to the very top. Bake for 18-22 minutes. Check for doneness by inserting a toothpick; it should come out clean or with a few moist crumbs, and the tops should spring back when lightly touched.
- Allow them to cool in the pan for 5 minutes before transferring to a wire rack. This prevents the bottoms from becoming soggy due to trapped steam.
How to bake peach cobbler

Why we love this
Peach cobbler is like a warm hug in a bowl, featuring tender, caramelized slices of peach nestled under a golden, biscuit-like topping. The way the peach juices bubble up and thicken into a natural syrup is hypnotic, and the aroma of cinnamon and nutmeg creates a nostalgic atmosphere that is impossible to resist. When served warm on a board with a side of cold burrata or mascarpone, the temperature contrast is divine. It is rustic, unpretentious, and celebrates the juicy, sun-ripened sweetness of late-summer stone fruits in the most decadent way possible.
Ingredients
- 6-8 large peaches, sliced
- 1 cup granulated sugar (divided)
- 1 teaspoon ground cinnamon
- 2 cups all-purpose flour
- 1 tablespoon baking powder
- ½ cup cold butter, shredded
- ¾ cup boiling water
How to make it
- Preheat your oven to 425°F (220°C). Start by tossing the sliced peaches with half a cup of sugar and the cinnamon in a 9×13 inch baking dish. Bake the peaches alone for 10 minutes to start the caramelization process and soften the fruit.
- While the peaches are pre-baking, mix the flour, the remaining half cup of sugar, and baking powder in a bowl. Use a pastry cutter to work in the cold, shredded butter until the mixture looks like coarse crumbs.
- Carefully stir in the boiling water until a thick, sticky dough forms. This ‘boiling water’ method creates a unique, fluffy biscuit texture that is traditional to southern-style cobblers.
- Remove the hot peaches from the oven and drop spoonfuls of the dough over the top. Do not spread it flat; the irregular ‘cobbled’ look is what gives this dish its name and charm.
- Bake for another 20-25 minutes. You are looking for a deep golden brown on the crust and thick, slow-popping bubbles from the peach syrup around the edges.
- Let it stand for at least 15 minutes before serving to allow the juices to set, making it easier to portion out onto your snack board.
How to make cherry galettes
Why we love this
The cherry galette is the effortlessly chic cousin of the traditional pie, offering a rustic, free-form shape that looks stunning on a wooden board. We love the deep, wine-colored hue of the roasted cherries and the way the flaky pastry edges fold haphazardly over the fruit, dusted with coarse sparkling sugar. Each bite offers a balance of tart fruit and buttery, salty crust. The aroma of roasting stone fruit is sophisticated and sweet, making this a favorite for those who want a dessert that feels artisanal and handcrafted without the stress of a perfect pie crimp.
Ingredients
- 1 store-bought or homemade pie crust
- 3 cups pitted cherries (fresh or frozen)
- ¼ cup sugar
- 1 tablespoon cornstarch
- 1 tablespoon lemon zest
- 1 egg (for egg wash)
- Turbinado sugar (for topping)
How to make it
- Preheat your oven to 400°F (200°C) and line a baking sheet with parchment paper. If using frozen cherries, ensure they are fully thawed and drained of excess liquid to avoid a ‘soggy bottom.’
- In a medium bowl, toss the cherries with the sugar, cornstarch, and lemon zest. The cornstarch is vital as it reacts with the heat to thicken the cherry juices into a glossy sauce.
- Roll out your pie dough on the parchment paper into a rough 12-inch circle. It doesn’t need to be perfect; the beauty of a galette is in its imperfections.
- Mound the cherry mixture into the center of the dough, leaving a 2-inch border all the way around.
- Gently fold the edges of the dough over the cherries, pleating as you go. The center should remain open so the steam can escape and the fruit can reduce.
- Brush the crust with a beaten egg and sprinkle generously with turbinado sugar. Bake for 30-35 minutes until the crust is a dark golden brown and the fruit center is bubbling vigorously.
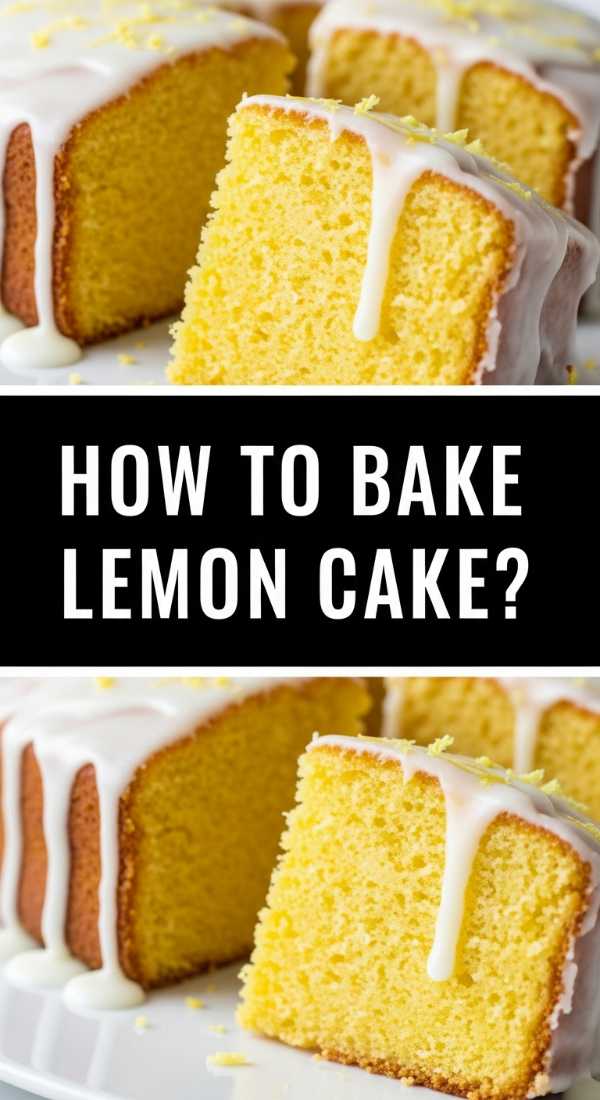
How to bake lemon cake

Why we love this
A lemon cake is like a burst of sunshine on a plate, providing a bright, acidic zing that cuts through the richness of other board components like cheeses or nuts. The texture is incredibly moist and tender, often enhanced by a soaking syrup that ensures every bite is infused with citrus oil. The fragrance of freshly zested lemons is invigorating and clean, making the kitchen feel fresh and lively. It’s an elegant, understated bake that looks beautiful when garnished with thin citrus wheels or delicate edible flowers, adding a touch of sophisticated flair to your viral board.
Ingredients
- 1 ½ cups all-purpose flour
- 1 cup granulated sugar
- 1 cup Greek yogurt
- 3 large eggs
- ½ cup vegetable oil
- 2 tablespoons lemon zest
- 1/3 cup fresh lemon juice
- 1 teaspoon baking powder
How to make it
- Preheat your oven to 350°F (175°C) and grease a loaf pan thoroughly. In a large bowl, rub the lemon zest into the sugar with your fingertips until the sugar is fragrant and moist; this releases the essential oils for maximum flavor.
- Whisk in the yogurt, eggs, oil, and lemon juice until the mixture is smooth and yellow.
- Sift the flour and baking powder directly into the wet ingredients. Sifting is crucial here to ensure a light, airy crumb that isn’t weighed down by clumps of flour.
- Fold the mixture gently until just combined. Over-mixing at this stage will develop the gluten and lead to a tough, bready cake rather than a tender sponge.
- Pour the batter into the pan and bake for 45-50 minutes. The cake is done when a skewer inserted into the center comes out clean and the edges have slightly pulled away from the sides of the pan.
- While the cake is still warm, you can drizzle a mixture of lemon juice and powdered sugar over the top to create a crackly, tart glaze that seeps into the top layer.
How to make raspberry scones
Why we love this
Raspberry scones are the epitome of high-tea elegance, boasting a crumbly, buttery exterior and a soft, cream-enriched heart. We love the way the raspberries turn into jammy pockets of tartness during the bake, bleeding beautiful pink swirls into the dough. They aren’t overly sweet, which makes them the perfect partner for a dollop of clotted cream or a spread of local honey on your snack board. The smell of baking cream and berries is cozy and welcoming, evoking feelings of a slow Sunday morning spent with a hot cup of tea and good company.
Ingredients
- 2 cups all-purpose flour
- 1/3 cup sugar
- 1 tablespoon baking powder
- ½ cup cold unsalted butter, cubed
- ½ cup heavy cream (plus more for brushing)
- 1 cup fresh raspberries
- 1 egg
How to make it
- Preheat your oven to 400°F (200°C). In a large bowl, whisk together the flour, sugar, and baking powder.
- Add the cold, cubed butter. Using your hands or a pastry blender, work the butter into the flour until the pieces are no larger than a pea. This cold butter is what creates steam vents, resulting in a flaky scone.
- In a small measuring cup, whisk the heavy cream and egg together. Pour this into the flour mixture and stir with a fork until a shaggy dough begins to form.
- Gently, and I mean gently, fold in the fresh raspberries. Try not to crush them too much, though a little juice bleeding into the dough is visually stunning.
- Turn the dough onto a floured surface and pat it into a 1-inch thick disk. Cut into 8 wedges. Space them out on a baking sheet to allow for proper air circulation and even browning.
- Brush the tops with a little extra heavy cream and bake for 15-18 minutes until the edges are golden and the centers are set. Cool slightly before serving so the structure firms up.
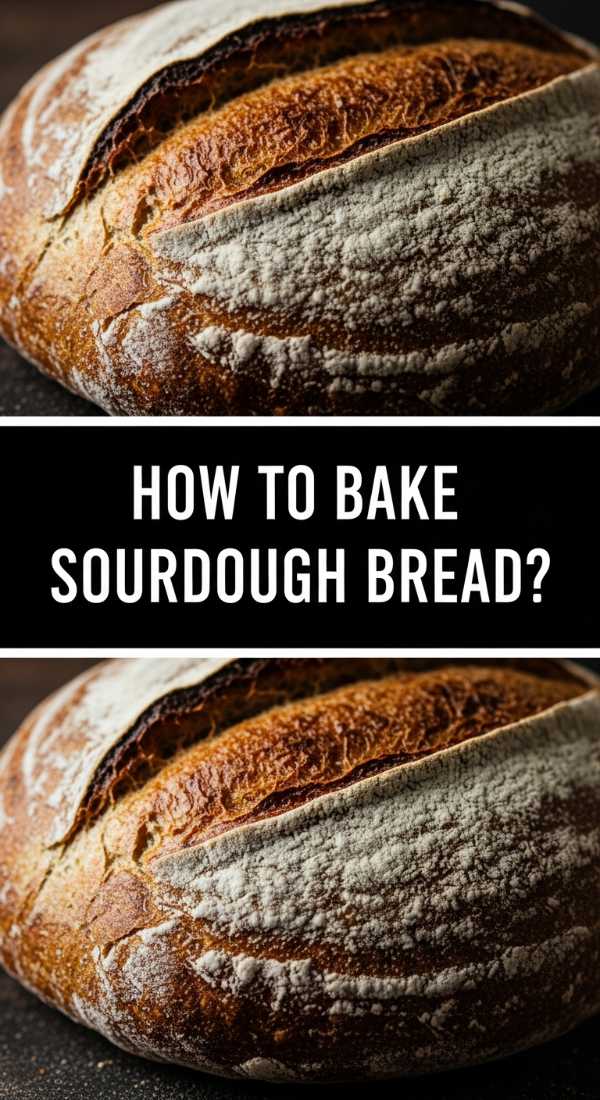
How to bake sourdough bread

Why we love this
Sourdough is the king of the snack board, providing the structural base for everything from burrata to berry compotes. We love its complex, tangy flavor profile and that iconic, crackly crust that sings when you cut into it. The chewy, open crumb (the ‘holes’) is perfect for catching melted butter or olive oil. Baking sourdough is a labor of love that fills the home with a deep, yeasty aroma that feels grounded and ancient. It turns a simple board into a gourmet experience, offering a satisfying crunch that balances out the softer textures of fruits and cakes.
Ingredients
- 100g active sourdough starter
- 350g warm water
- 500g bread flour
- 10g sea salt
How to make it
- In a large bowl, whisk your active, bubbly starter into the warm water until dissolved. Add the flour and mix by hand until a shaggy mass forms. Let this rest for 30 minutes (autolyse) to allow the flour to fully hydrate.
- Sprinkle the salt over the dough and begin a series of ‘stretch and folds.’ Reach under the dough, pull it up, and fold it over itself. Do this 4 times, rotating the bowl, every 30 minutes for 2 hours. This builds strength without heavy kneading.
- Cover and let the dough rise at room temperature (bulk fermentation) until it has grown by about 50% and looks bubbly and jiggly. This usually takes 4-6 hours depending on the warmth of your kitchen.
- Shape the dough into a tight ball by tensioning it against the counter. Place it in a floured proofing basket (banneton), cover, and refrigerate overnight. This ‘cold proof’ for 12-24 hours develops the sour flavor and makes the dough easier to score.
- Preheat a Dutch oven inside your oven to 450°F (230°C). Carefully flip the dough into the pot, score the top with a sharp blade to control the rise, and bake with the lid on for 20 minutes. The steam trapped inside is what creates the crispy crust.
- Remove the lid and bake for another 20-25 minutes until the crust is a deep, dark mahogany. Let it cool completely (at least 2 hours) before slicing, or the interior will become gummy.
How to make apricot tarts
Why we love this
Apricot tarts offer a sophisticated, slightly exotic flair to your board with their velvety texture and honey-like sweetness. When roasted, apricots take on a jammy consistency that pairs beautifully with nutty bases like frangipane or almond cream. We love the vibrant orange hue they bring to the table, and the slight tartness of the skin provides a wonderful contrast to sweet glazes. The aroma of baked stone fruit and toasted almonds is reminiscent of a French patisserie, making this tart feel like a truly special indulgence for your guests.
Ingredients
- 1 sheet puff pastry, thawed
- 6-8 fresh apricots, halved and pitted
- ½ cup almond flour
- 2 tablespoons honey
- 1 egg (for egg wash)
- Sliced almonds for garnish
How to make it
- Preheat your oven to 400°F (200°C). Roll out the puff pastry on a parchment-lined sheet and score a 1-inch border around the edge with a knife, taking care not to cut all the way through.
- Inside the border, sprinkle the almond flour. This acts as a ‘buffer,’ absorbing the apricot juices so the pastry stays crisp rather than soggy.
- Arrange the apricot halves cut-side up on top of the almond flour. Drizzle the honey directly over the fruit to encourage caramelization and add a floral sweetness.
- Brush the border of the pastry with egg wash to ensure a shiny, deep golden color. Sprinkle the sliced almonds over the fruit and the border for added texture.
- Bake for 20-25 minutes. Watch for the pastry to puff up significantly and turn a rich golden brown, and for the apricots to look soft and slightly shriveled at the edges.
- Let the tart cool for 10 minutes. The honey and juices will thicken into a natural syrup as it cools, making it easier to slice into elegant rectangles for the board.
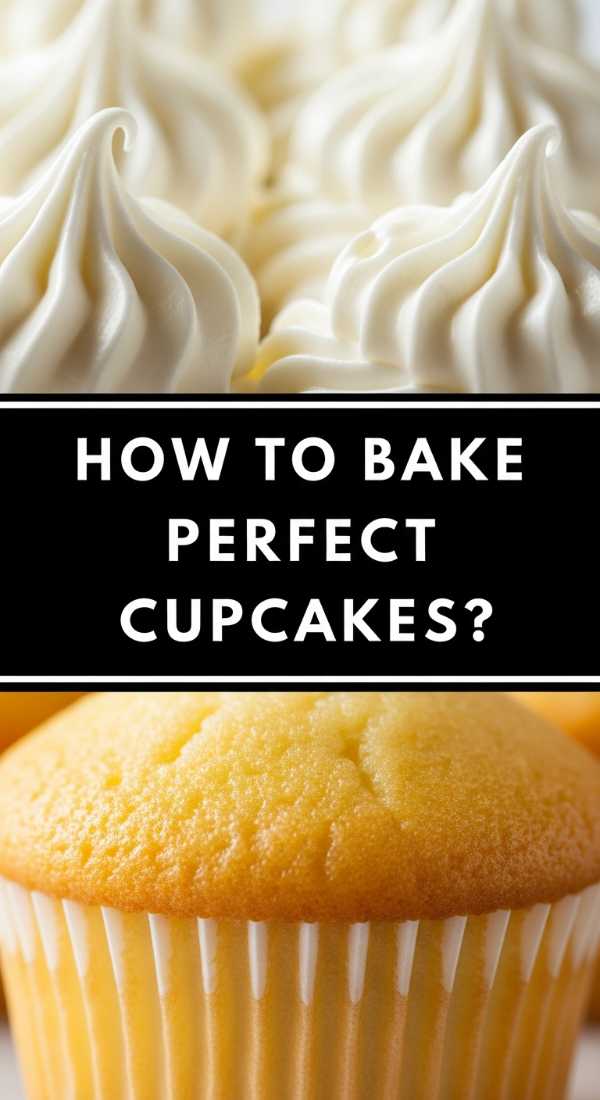
How to bake vanilla cupcakes
Why we love this
Vanilla cupcakes are a timeless classic that brings a sense of pure, unadulterated joy to any gathering. We love their fine, buttery crumb and the way a high-quality vanilla bean flecked frosting looks so inviting. They are the perfect canvas for creative decorating—think fresh berries, edible gold leaf, or sprigs of mint to match your board’s aesthetic. The scent of warm vanilla sugar is universally loved and creates an atmosphere of celebration and comfort. They are manageable, individual portions that make serving a breeze while adding a touch of whimsy to the layout.
Ingredients
- 1 ½ cups cake flour (for a finer crumb)
- 1 cup granulated sugar
- 1 ½ teaspoons baking powder
- ½ cup softened unsalted butter
- 2 large eggs
- ½ cup whole milk
- 1 tablespoon vanilla bean paste
How to make it
- Preheat your oven to 350°F (175°C) and line a cupcake tin. Using cake flour instead of all-purpose flour is a professional tip for achieving that ultra-soft, professional bakery texture.
- Cream the softened butter and sugar together for at least 3-5 minutes until the mixture is pale and fluffy. This aeration is key to a light cupcake.
- Add the eggs one at a time, beating well after each addition to ensure the emulsion doesn’t break. Stir in the vanilla bean paste—the tiny black specks add a visual cue of high quality.
- Alternately add the dry ingredients (flour, baking powder) and the milk in three batches, starting and ending with the dry. Mix only until the streaks of flour disappear.
- Fill the liners about two-thirds full to allow room for the cupcakes to rise without spilling over. Bake for 18-20 minutes.
- Test with a toothpick; it should come out clean. Allow them to cool completely on a wire rack before frosting. If the cake is even slightly warm, the buttercream will melt and slide off.
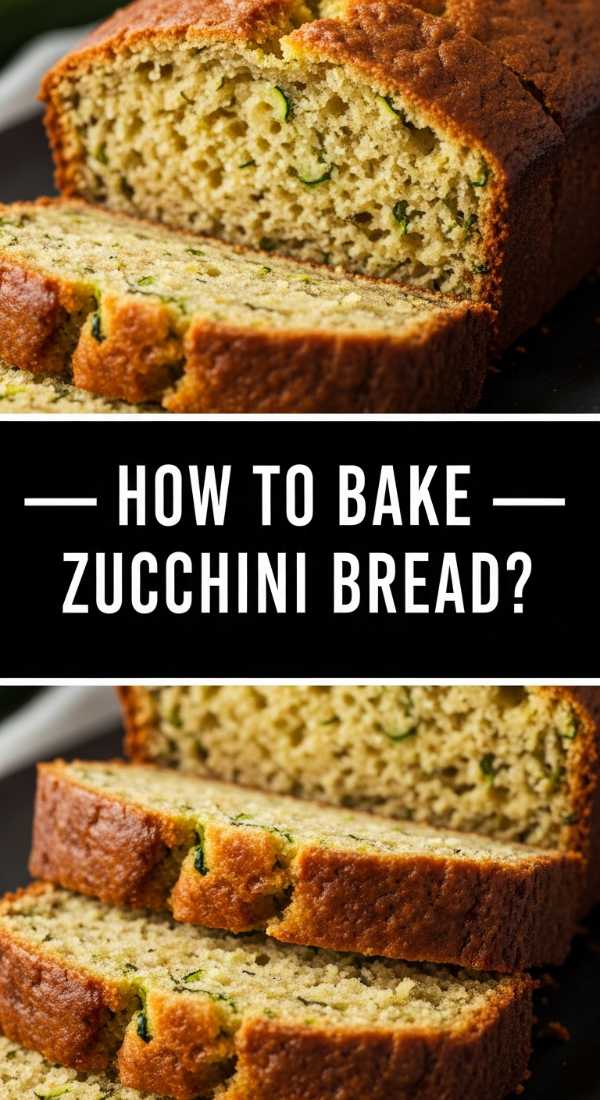
How to make zucchini bread
[IMAGE_10]
Why we love this
Zucchini bread is the ‘hidden gem’ of the baking world, offering a remarkably moist texture and a warm, spiced flavor profile that surprises everyone who tries it. We love how the grated zucchini disappears into the batter, leaving behind only moisture and tiny flecks of green that look beautiful and rustic. It feels wholesome yet indulgent, especially when toasted and smeared with salted butter on a snack board. The aroma of cinnamon and nutmeg baking away is deeply comforting, making this loaf a fantastic choice for a transition from summer into the cooler autumn months.
Ingredients
- 1 ½ cups all-purpose flour
- ½ teaspoon baking soda & baking powder
- 1 teaspoon ground cinnamon
- ½ cup vegetable oil
- 1 cup granulated sugar
- 1 large egg
- 1 ½ cups grated zucchini (squeezed dry)
- ½ cup chopped walnuts
How to make it
- Preheat your oven to 350°F (175°C) and grease a standard loaf pan. Grate the zucchini using the fine side of a box grater.
- Crucial step: Place the grated zucchini in a clean kitchen towel and squeeze out as much water as possible. Zucchini is mostly water, and skipping this will lead to a dense, soggy loaf.
- In one bowl, whisk together the flour, baking soda, baking powder, and cinnamon. In another, beat the egg, oil, and sugar until well combined.
- Stir the dry ingredients into the wet until just moistened, then fold in the squeezed zucchini and the chopped walnuts. The walnuts provide a necessary textural contrast to the soft bread.
- Pour the batter into the pan and bake for 50-60 minutes. Because of the moisture in the zucchini, this bread takes longer to bake through.
- Cool in the pan for 10 minutes, then transfer to a rack. This bread actually tastes even better the next day once the spices have had time to mellow and the moisture has redistributed, making it a great make-ahead option.
Conclusion
Mastering the snack board trend is all about moving beyond the basics and embracing the tactile joy of homemade bakes. Whether it’s the crunch of a sourdough crust or the jammy center of an apricot tart, these elements turn a simple meal into a memorable event. By focusing on seasonal fruits and artisanal techniques, you can create a viral-worthy spread that tastes even better than it looks. So, clear off your biggest wooden board, preheat your oven, and start building your own edible masterpiece.
Frequently Asked Questions
Can I make these items in advance? Yes! Most of the tarts and breads can be made a day ahead. For things like the galette or scones, they are best served fresh, but you can prep the dough in advance and bake right before guests arrive.
How do I keep my board from looking messy? Start with your largest items first (the loaves and tarts) and fill in the gaps with smaller items like muffins, cupcakes, and bowls of fruit or dip. Use parchment paper under oily items to keep your board clean.
What is the best cheese to pair with these sweet bakes? Creamy, mild cheeses like burrata, mascarpone, or goat cheese work beautifully with fruit-based tarts and scones. For the sourdough and zucchini bread, a sharp cheddar or a wedge of brie is a fantastic choice.