
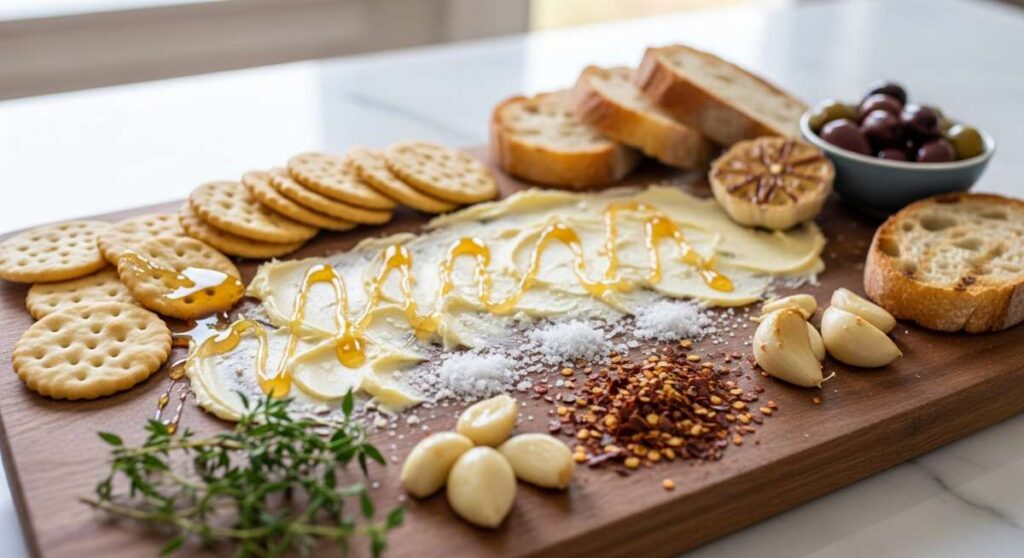
Remember when snacking meant grabbing a handful of chips out of a crinkly bag? Those days are long gone, replaced by an era where food isn’t just fuel—it’s an art form. We’ve all seen them: those mesmerizing butter boards, charcuterie spreads, and vibrant platter layouts that dominate our feeds, making us feel like every meal should be a celebration of color and texture. There is something deeply communal and tactile about gathering around a board, picking at little bites, and sharing stories while the sun dips low in the sky.
Bringing the magic of the internet’s favorite viral food boards into your own kitchen isn’t about perfection; it’s about the joy of the process. It’s the sound of a crisp apple snapping, the aroma of browning butter, and the sight of a perfectly swirled matcha latte. This post is your ultimate guide to creating a Pinterest-worthy lifestyle at home, one delicious, aesthetically pleasing bite at a time. Let’s dive into the recipes that define the modern grazing table and elevate your weekend hosting game.
How to brew creamy matcha?

Why we love this
There is a profound, meditative quality to whisking a bowl of matcha that instantly elevates a morning routine from mundane to ritualistic. The vibrant, emerald-green hue is a visual promise of antioxidants and steady energy, while the aroma is a grounding mix of sweet hay and toasted grass. As you take that first sip, the texture is incredibly silky—a cloud-like foam that coats the palate with a complex balance of umami and subtle sweetness. It’s more than a caffeine fix; it’s a moment of pure, vibrant serenity in a busy world.
Ingredients
- 2 grams ceremonial grade matcha powder
- 2 ounces hot water (approx. 175°F/80°C)
- 6 ounces oat or almond milk
- 1 teaspoon honey or maple syrup (optional)
- Ice cubes (for iced version)
How to make it
- Sift the matcha powder through a fine-mesh strainer into a wide-bottomed bowl or chawan to remove any clumps, ensuring a smooth finish.
- Pour in the hot water—ensure it is not boiling, as water that is too hot will scorch the delicate leaves and create a bitter taste.
- Use a bamboo whisk (chasen) to whisk vigorously in a ‘W’ or ‘M’ motion rather than a circular one; continue for about 30-60 seconds until a thick, frothy layer of tiny bubbles forms on the surface.
- In a separate glass, froth your choice of milk until it is light and airy, using a handheld frother if necessary.
- Pour the matcha over ice or directly into a mug, then gently top with the frothed milk and sweetener, watching the green and white swirls mingle beautifully.
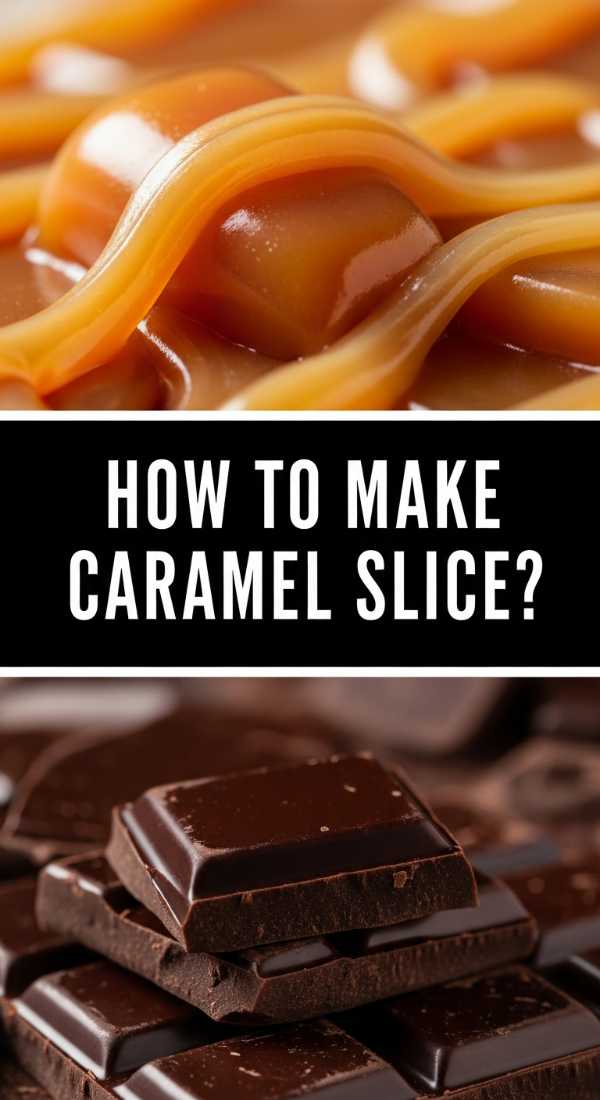
How to make caramel slice?
Why we love this
The caramel slice is the undisputed king of the dessert board, offering a triple-threat of textures that dance across your tongue. You start with a buttery, crumbly shortbread base that melts away, followed by a thick, gooey layer of rich, golden caramel that is both salty and sweet. Finally, a crisp snap of dark chocolate provides the perfect bitter counterpoint to the decadence beneath. It’s the kind of treat that fills the kitchen with the scent of toasted sugar and vanilla, making everyone gravitate toward the counter before it’s even cooled.
Ingredients
- 1 cup all-purpose flour
- 1/2 cup desiccated coconut
- 1/2 cup brown sugar
- 125g melted butter
- 395g sweetened condensed milk
- 2 tablespoons golden syrup
- 60g butter (for caramel)
- 200g dark chocolate chips
- 1 tablespoon coconut oil
How to make it
- Preheat your oven to 350°F (180°C) and line a square baking tin with parchment paper, leaving an overhang for easy removal later.
- Combine flour, coconut, brown sugar, and melted butter in a bowl; press firmly into the base of the tin and bake for 12-15 minutes until lightly golden.
- While the base cools slightly, combine condensed milk, golden syrup, and 60g butter in a small saucepan over medium-low heat.
- Whisk the caramel mixture constantly for about 8-10 minutes; you are looking for the color to deepen to a rich amber and the mixture to thicken significantly—do not let it burn on the bottom.
- Pour the hot caramel over the base and bake for another 10 minutes to set; once cooled, melt the chocolate with coconut oil and spread a smooth, glossy layer over the top before refrigerating until firm.
How to cook chicken soup?

Why we love this
Chicken soup is the culinary equivalent of a warm hug on a rainy afternoon, filling the home with an aroma that feels safe and nostalgic. The broth should be a clear, shimmering gold, flecked with bright orange carrots and green herbs, offering a depth of flavor that only comes from slow simmering. Each spoonful delivers tender shreds of chicken and perfectly softened vegetables, creating a symphony of savory notes that soothe the soul and nourish the body. It’s a timeless classic that turns simple ingredients into a masterpiece of comfort.
Ingredients
- 1 whole chicken (or 2 lbs bone-in thighs)
- 3 large carrots, sliced
- 3 stalks celery, chopped
- 1 large yellow onion, diced
- 4 cloves garlic, smashed
- 2 bay leaves
- Fresh parsley and dill
- Salt and black peppercorns
How to make it
- Place the chicken, onion, garlic, and bay leaves in a large stockpot and cover with cold water by at least two inches.
- Bring to a gentle boil, then immediately reduce the heat to a very low simmer; skim off any grey foam that rises to the top to ensure the clearest possible broth.
- Let the chicken simmer for about 60-90 minutes until the meat is falling off the bone; remove the chicken to a plate to cool, and strain the broth through a fine sieve, discarding the spent aromatics.
- Return the strained broth to the pot, add the fresh carrots and celery, and simmer for 15-20 minutes until the vegetables are tender but not mushy.
- Shred the cooled chicken meat, discarding skin and bones, and add it back to the pot along with a generous handful of fresh chopped herbs and salt to taste just before serving.
How to bake fudgy brownies?

Why we love this
A truly great brownie is an exercise in chocolate indulgence, featuring a thin, crackly top that shatters like tissue paper to reveal a dense, fudgy interior. The scent is intoxicating—deep cocoa notes mingled with the richness of browned butter and a hint of vanilla bean. As you bite into a corner piece, you get that perfect mix of chewy edges and a center that is almost like ganache, coating your mouth in a luxurious, dark sweetness. It is the ultimate crowd-pleaser that looks stunning stacked high on a wooden serving board.
Ingredients
- 1 cup unsalted butter, melted and browned
- 2 cups granulated sugar
- 3 large eggs (room temperature)
- 1 teaspoon vanilla extract
- 3/4 cup Dutch-processed cocoa powder
- 1/2 cup all-purpose flour
- 1/2 teaspoon sea salt
- 1 cup dark chocolate chunks
How to make it
- Preheat your oven to 325°F (165°C); browning the butter is the secret step—melt it over medium heat until it foams and turns a nutty brown, then let it cool slightly.
- Whisk the cooled brown butter and sugar vigorously in a large bowl for at least 2 minutes; this aeration is what creates that iconic crinkle-top.
- Add the eggs one at a time, beating well after each addition, then stir in the vanilla until the batter is glossy.
- Gently fold in the sifted cocoa powder, flour, and salt using a spatula—stop as soon as no white streaks remain to avoid overworking the gluten and making them cakey.
- Fold in the chocolate chunks, pour into a lined 8×8 inch pan, and bake for 25-30 minutes; a toothpick inserted should come out with a few moist crumbs, never wet batter.
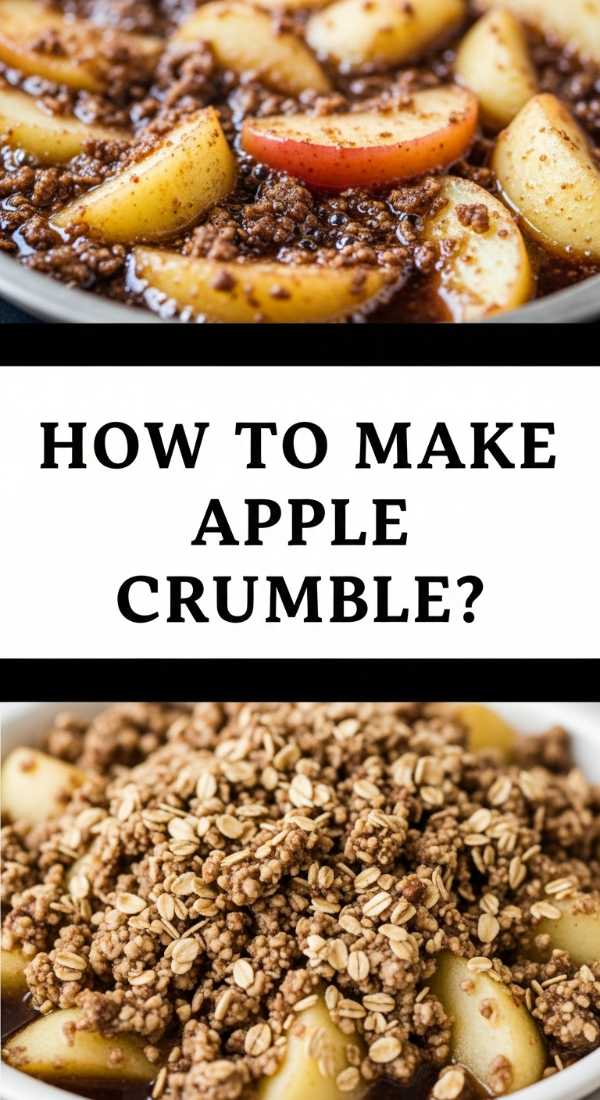
How to make apple crumble?
Why we love this
There is nothing quite like the rustic charm of an apple crumble fresh from the oven, its juices bubbling up around the edges of a golden, craggy crust. The air fills with the spicy, warm scent of cinnamon and nutmeg, while the apples soften into a jammy, tart-sweet filling that contrasts beautifully with the buttery oat topping. Every bite offers a satisfying crunch followed by the velvet smoothness of cooked fruit, especially when topped with a melting scoop of vanilla bean ice cream. It is the quintessential autumn dessert that feels both humble and sophisticated.
Ingredients
- 6 Granny Smith apples, peeled and sliced
- 1/2 cup granulated sugar
- 1 tablespoon ground cinnamon
- 1 cup rolled oats
- 1 cup all-purpose flour
- 1/2 cup packed brown sugar
- 1/2 cup cold unsalted butter, cubed
- Pinch of salt
How to make it
- Preheat your oven to 375°F (190°C) and toss the sliced apples with the granulated sugar and cinnamon in a large baking dish until evenly coated.
- In a separate bowl, combine the oats, flour, brown sugar, and salt; mix well to ensure the spices and sugars are distributed.
- Using your fingertips or a pastry cutter, work the cold, cubed butter into the dry mixture until it resembles coarse breadcrumbs with some pea-sized lumps remaining for texture.
- Spread the crumble mixture evenly over the apples, pressing down very lightly to ensure it adheres to the fruit.
- Bake for 35-45 minutes until the fruit is tender and the topping is a deep golden brown; let it sit for 10 minutes before serving to allow the juices to thicken.
How to make street tacos?

Why we love this
Street tacos are the heartbeat of vibrant food culture, offering an explosion of bright flavors and textures in a single, handheld bite. The smell of charred corn tortillas and sizzling, marinated meat is instantly mouth-watering, promising a balance of savory, spicy, and zesty notes. With a garnish of crisp white onion, fresh cilantro, and a squeeze of lime, each taco becomes a refreshing yet deeply satisfying experience. They are perfect for boards because they invite guests to customize their own, creating a colorful and interactive dining experience.
Ingredients
- 1 lb flank steak or chicken thighs, diced small
- 2 tablespoons oil
- 1 tablespoon cumin and chili powder
- Small corn tortillas
- 1 finely diced white onion
- 1 bunch fresh cilantro, chopped
- 3 limes, cut into wedges
- Radishes, thinly sliced
How to make it
- Marinate your choice of meat in oil, cumin, chili powder, and salt for at least 30 minutes to allow the flavors to penetrate the fibers.
- Heat a cast-iron skillet over high heat until it’s smoking slightly; sear the meat in batches to ensure it browns and develops a crust rather than steaming.
- While the meat rests, heat a dry skillet over medium-high and warm the corn tortillas for about 30 seconds per side until they develop charred ‘freckles’ and become pliable.
- Assemble the tacos by placing a generous spoonful of meat onto two stacked tortillas (the street style way) to prevent tearing.
- Top with a sprinkle of onion and cilantro, add a few radish slices for crunch, and serve immediately with lime wedges for that essential hit of acidity.
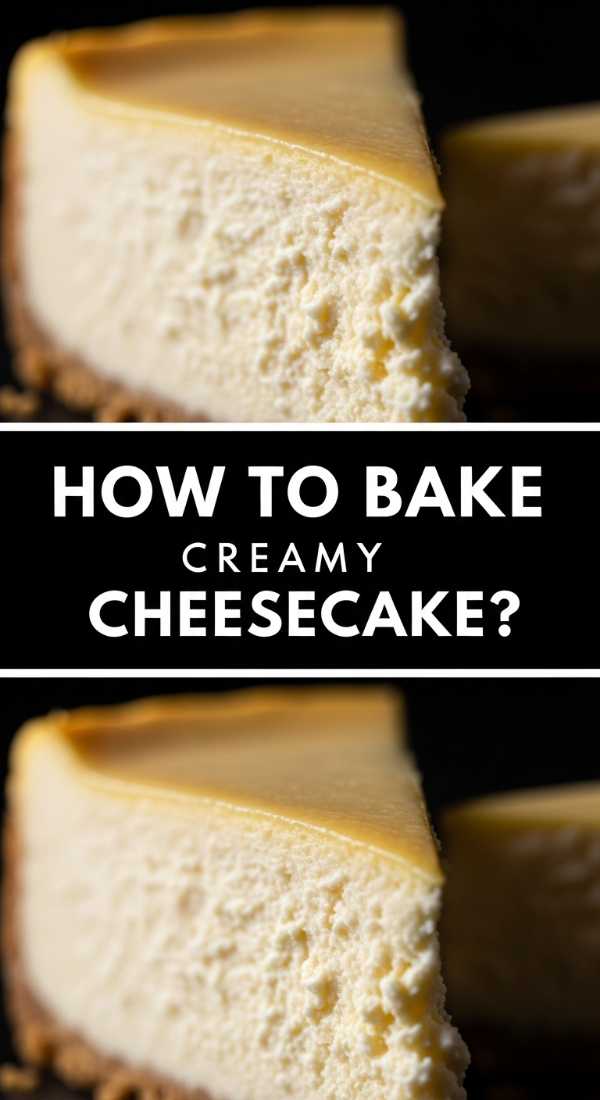
How to bake creamy cheesecake?
Why we love this
A perfect cheesecake is a masterclass in silky elegance, standing tall with a smooth, pale surface and a buttery, compressed graham cracker base. Its texture is incredibly dense yet creamy, melting slowly on the tongue with a tangy richness that is balanced by a hint of lemon zest. The aroma of baked cream and vanilla is subtle and inviting, making it the perfect canvas for seasonal fruit compotes or a simple drizzle of salted caramel. It’s a decadent showstopper that rewards the patient baker with unmatched dessert satisfaction.
Ingredients
- 1.5 cups graham cracker crumbs
- 1/4 cup melted butter
- 24 oz cream cheese, softened
- 1 cup granulated sugar
- 1 cup sour cream
- 3 large eggs
- 1 tablespoon vanilla extract
- 1 teaspoon lemon zest
How to make it
- Preheat oven to 325°F (160°C); mix graham crumbs and melted butter, press firmly into a springform pan, and bake for 10 minutes, then let cool completely.
- Beat the softened cream cheese and sugar together on medium speed until completely smooth—it is vital there are no lumps at this stage.
- Add the sour cream, vanilla, and lemon zest, mixing just until combined; then add eggs one at a time on low speed, mixing only until the yellow disappears to avoid incorporating too much air.
- Wrap the outside of the pan in heavy-duty foil and place in a larger roasting pan filled with an inch of hot water (a water bath) to ensure even, crack-free cooking.
- Bake for 60-70 minutes until the edges are set but the center still has a slight jiggle; turn off the oven and leave the door ajar for one hour to cool slowly before refrigerating overnight.
How to make fluffy pancakes?

Why we love this
Fluffy pancakes are the ultimate weekend luxury, rising tall and airy on the griddle until they are perfectly golden brown. There’s a nostalgic joy in watching the steam rise from a fresh stack, the butter melting into every nook and cranny before being drenched in amber maple syrup. The texture is soft and sponge-like, absorbing flavors beautifully while maintaining a slight crispness on the outer edges. Whether dotted with blueberries or chocolate chips, they turn an ordinary morning into a celebratory feast that feels like home.
Ingredients
- 1.5 cups all-purpose flour
- 3.5 teaspoons baking powder
- 1 tablespoon white sugar
- 1.25 cups milk
- 1 egg
- 3 tablespoons melted butter
- 1 teaspoon vanilla extract
- Pinch of salt
How to make it
- In a large bowl, sift together the flour, baking powder, salt, and sugar to ensure a light, airy batter.
- Make a well in the center and pour in the milk, egg, melted butter, and vanilla; whisk gently until just combined—a few small lumps are perfectly fine and actually help with the lift.
- Heat a non-stick griddle or frying pan over medium-low heat and lightly coat with butter or oil.
- Pour 1/4 cup of batter for each pancake; wait until you see bubbles forming on the surface and the edges look matte and set before flipping.
- Flip carefully and cook for another 1-2 minutes until golden brown on both sides; keep them warm in a low oven until the whole batch is ready to be plated on your brunch board.
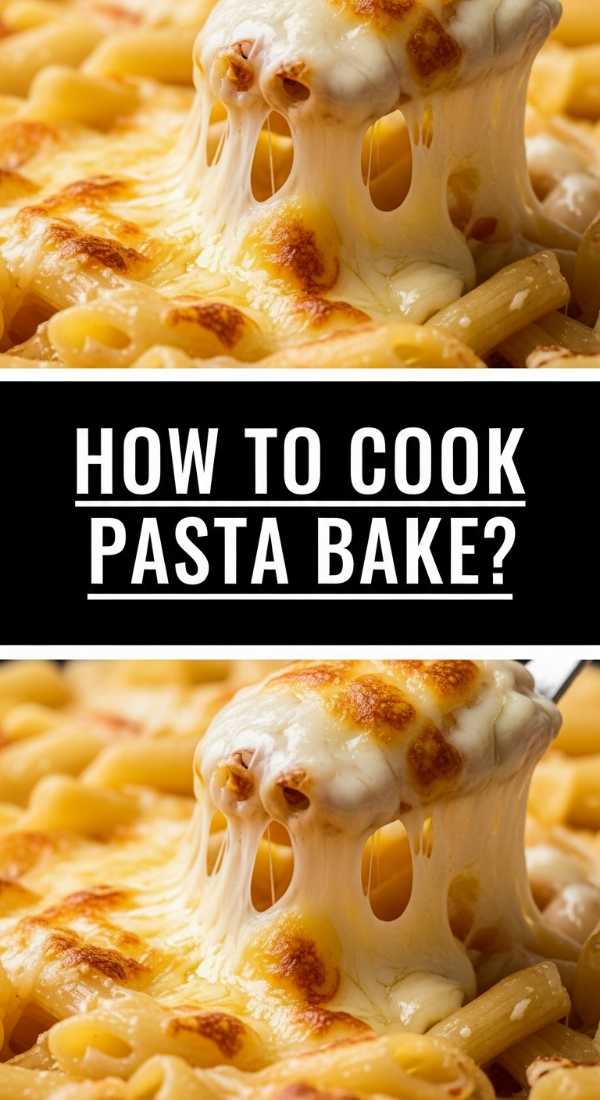
How to cook pasta bake?
Why we love this
A pasta bake is the definition of a crowd-pleasing comfort meal, featuring rigatoni or penne swaddled in a rich, herb-infused marinara and topped with a thick blanket of molten cheese. As it bakes, the top layer of pasta gets slightly crispy and the cheese develops those irresistible browned spots that everyone fights over. The aroma of garlic, oregano, and toasted mozzarella fills the house, signaling that a hearty, satisfying meal is on the way. It’s easy to serve, easy to love, and even better the next day.
Ingredients
- 1 lb ziti or rigatoni pasta
- 24 oz marinara sauce
- 15 oz ricotta cheese
- 2 cups shredded mozzarella
- 1/2 cup grated parmesan
- 1 egg, lightly beaten
- 2 cloves garlic, minced
- Fresh basil for garnish
How to make it
- Preheat your oven to 375°F (190°C) and boil a large pot of salted water.
- Cook the pasta for 2 minutes less than the package instructions for ‘al dente’; the pasta will continue to cook and absorb sauce in the oven, so this prevents mushiness.
- In a medium bowl, mix the ricotta, egg, minced garlic, and half of the parmesan until creamy and well-combined.
- Toss the cooked pasta with the marinara sauce and the ricotta mixture in a large baking dish until every noodle is coated in cheesy goodness.
- Top with the remaining mozzarella and parmesan; bake for 20-25 minutes until the cheese is bubbling and golden, then garnish with fresh basil before serving.
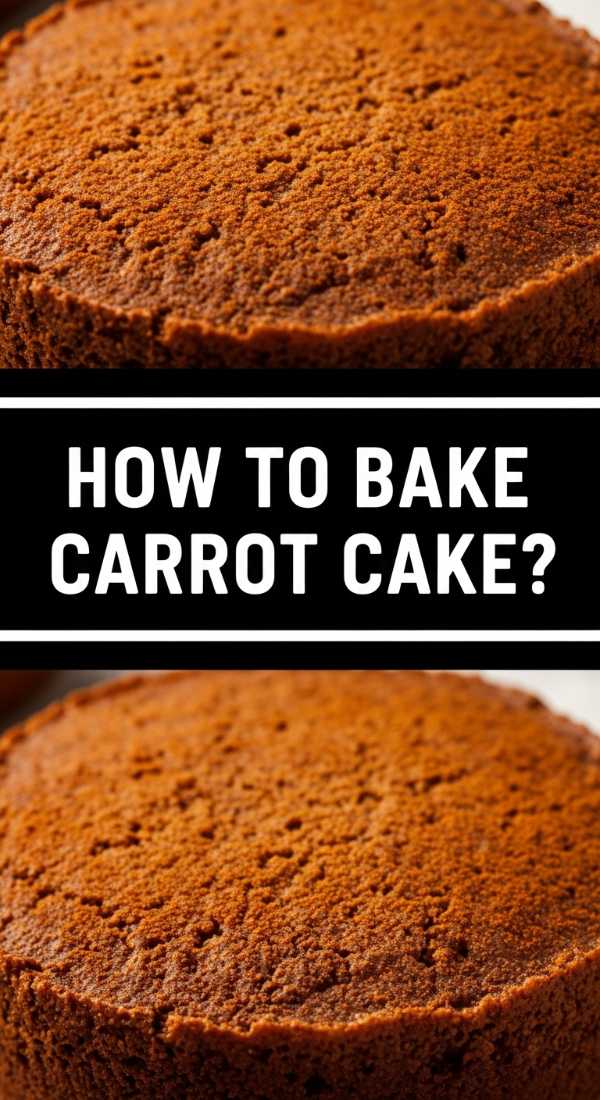
How to bake carrot cake?
Why we love this
Carrot cake is a beautifully complex dessert that balances the earthiness of fresh carrots with the warmth of cinnamon, ginger, and nutmeg. It’s incredibly moist and dense, with a tender crumb that is often punctuated by the crunch of toasted walnuts or the sweetness of raisins. The crowning glory is the thick, tangy cream cheese frosting that provides a cool, velvety contrast to the spiced cake. It’s a sophisticated treat that feels celebratory and wholesome all at once, making it a stunning centerpiece for any dessert spread.
Ingredients
- 2 cups all-purpose flour
- 2 teaspoons baking soda
- 2 teaspoons ground cinnamon
- 1/2 teaspoon salt
- 1.25 cups vegetable oil
- 2 cups granulated sugar
- 4 large eggs
- 3 cups finely grated raw carrots
- 1 cup chopped walnuts (optional)
- 8 oz cream cheese, 1/2 cup butter, 3 cups powdered sugar (for frosting)
How to make it
- Preheat oven to 350°F (175°C) and grease two 9-inch round cake pans; whisk together flour, baking soda, cinnamon, and salt in a medium bowl.
- In a large bowl, beat the oil and sugar together, then add eggs one at a time, beating well after each addition until the mixture is light and fluffy.
- Gradually fold the dry ingredients into the wet ingredients, then stir in the finely grated carrots and walnuts until evenly distributed.
- Divide the batter between the two pans and bake for 30-35 minutes; a tester should come out clean. Allow cakes to cool in the pans for 10 minutes before transferring to a wire rack to cool completely.
- Whip the softened cream cheese and butter together until smooth, then sift in the powdered sugar and beat until light and airy; frost the cooled layers generously, adding extra walnuts on top for decoration.
The Art of the Board
Creating these dishes is only half the fun—the real magic happens when you arrange them. Whether you’re building a savory taco board or a sweet pancake spread, remember to play with heights, colors, and textures. Add small bowls for sauces, scatter fresh herbs for a pop of green, and don’t be afraid of a little intentional messiness. These recipes are the building blocks of a lifestyle that celebrates the beauty in the every day. So, grab a board, invite your friends, and start creating your own viral food moments.