
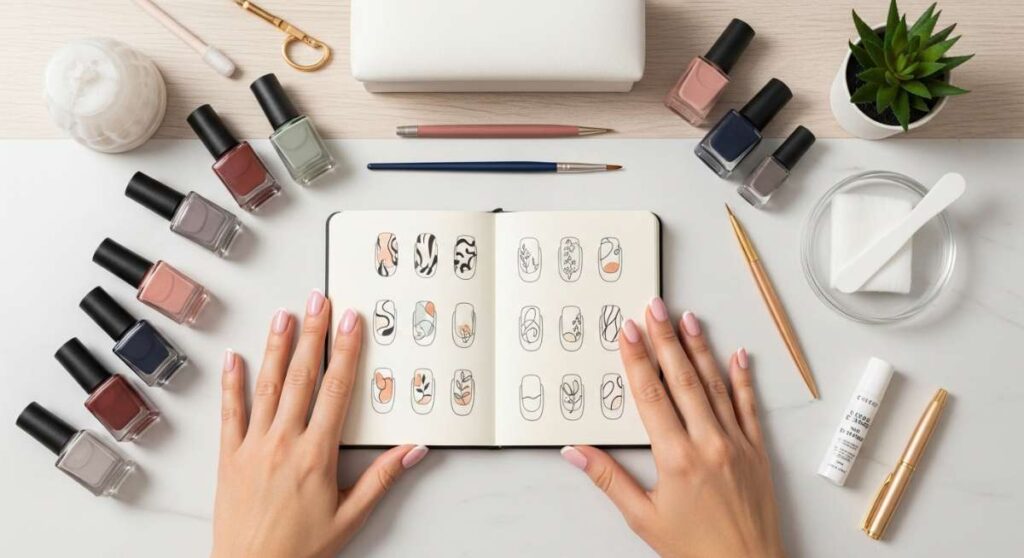
From Amateur to Artist: The Blueprint for Salon-Level Nails at Home
Hello, my sweet loves. There is something so incredibly meditative about the ritual of painting your own nails, isn’t there? It’s more than just a beauty routine; it is a soft exhale at the end of a long week, a quiet moment where you focus entirely on your own hands and the art you’re creating. I remember when I first started, my cuticles were a mess and my polish always seemed to bubble, but through trial, error, and a lot of patience, I found my rhythm. I want that same peace and confidence for you.
In this space today, we are moving away from the rush of the salon and leaning into the cozy luxury of your own living room. Whether you are sipping on a warm matcha or listening to your favorite acoustic playlist, let’s transform your vanity into a sanctuary. I’ve gathered every secret and every technique I know to help you bridge the gap between ‘DIY’ and ‘Professional’.
Sit back, relax, and let your creative spirit bloom. We are going to explore everything from the softest pastels to the most elegant bridal finishes, ensuring your hands reflect the beautiful soul you are. You’ve got this, and I am right here with you, every brushstroke of the way.
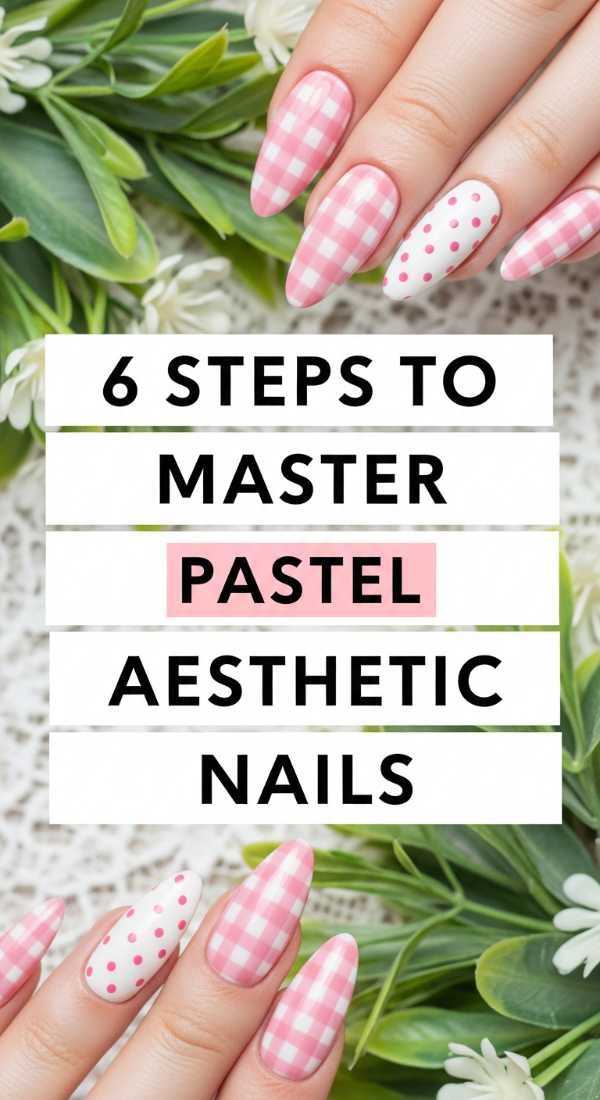
Mastering the Softness: 6 Steps to Master Pastel Aesthetic Nails
Why to love these Nails:
Pastels are like a gentle morning mist for your fingertips. They bring a soft, airy vibration to your overall look, making everything feel a bit more whimsical and lighthearted. These shades are perfect for when you want to feel polished but remain approachable and sweet.
Essential Items:
- Soft lavender or mint polish
- Ridge-filling base coat
- High-gloss top coat
- Cleanup brush
- Pure acetone
- Cuticle oil
How to Prepare:
- Gently push back cuticles and apply a ridge-filling base coat for a smooth canvas.
- Apply one very thin, almost sheer layer of pastel polish.
- Wait exactly two minutes for the first layer to set.
- Apply a second, slightly thicker layer to achieve full opacity.
- Use a cleanup brush dipped in acetone to crisp up the edges around the cuticle.
- Seal with a thick top coat to prevent the ‘chalky’ look common with pastels.
Budget Range
- Essie ‘Mint Candy Apple’ ($9.00)
- Sally Hansen Color Therapy Top Coat ($8.00)
- Holo Taco Ridge Filler ($11.00)
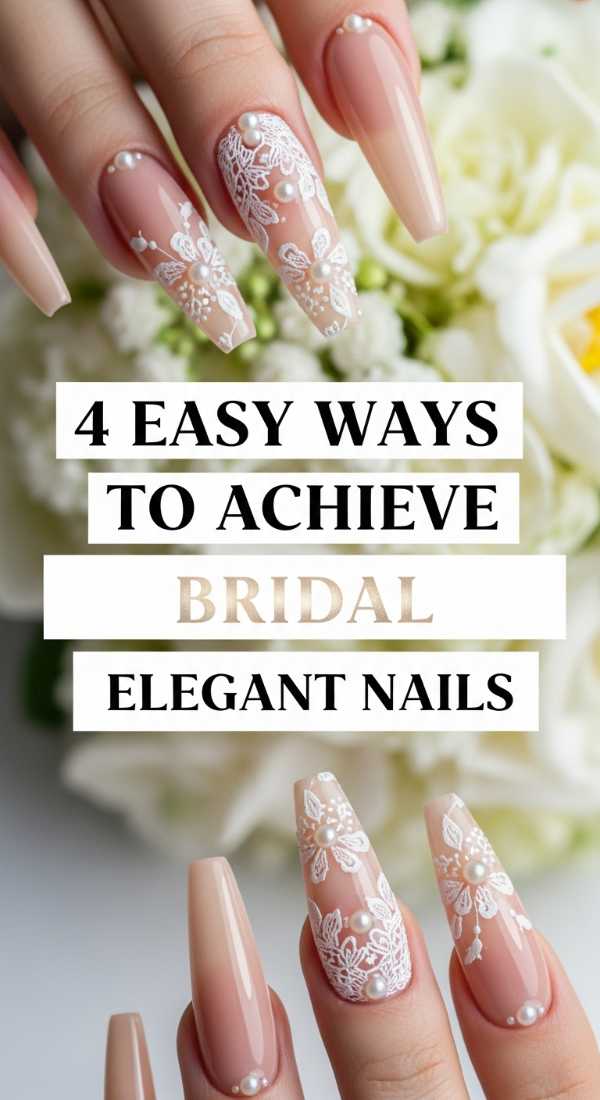
Walking Down the Aisle: 4 Easy Ways to Achieve Bridal Elegant Nails
Why to love these Nails:
There is a timelessness to bridal nails that transcends the wedding day itself. It’s about that ‘clean girl’ aesthetic—refined, sophisticated, and glowing with health. Even if you aren’t a bride, these styles make you feel like the main character of a classic romance novel.
Essential Items:
- Sheer milky white polish
- Fine iridescent shimmer
- Glass nail file
- Buffing block
How to Prepare:
- Shape your nails into a soft oval or almond using a glass file to prevent peeling.
- Apply two coats of a milky, semi-sheer white to create a ‘jelly’ effect.
- Dust a tiny amount of iridescent shimmer only on the tips for a hidden glow.
- Finish with a UV-filter top coat to ensure the white stays bright and doesn’t yellow.
Budget Range
- Zoya ‘Bela’ ($12.00)
- OPI ‘Funny Bunny’ ($11.00)
- Wet n Wild Shine Top Coat ($2.00)
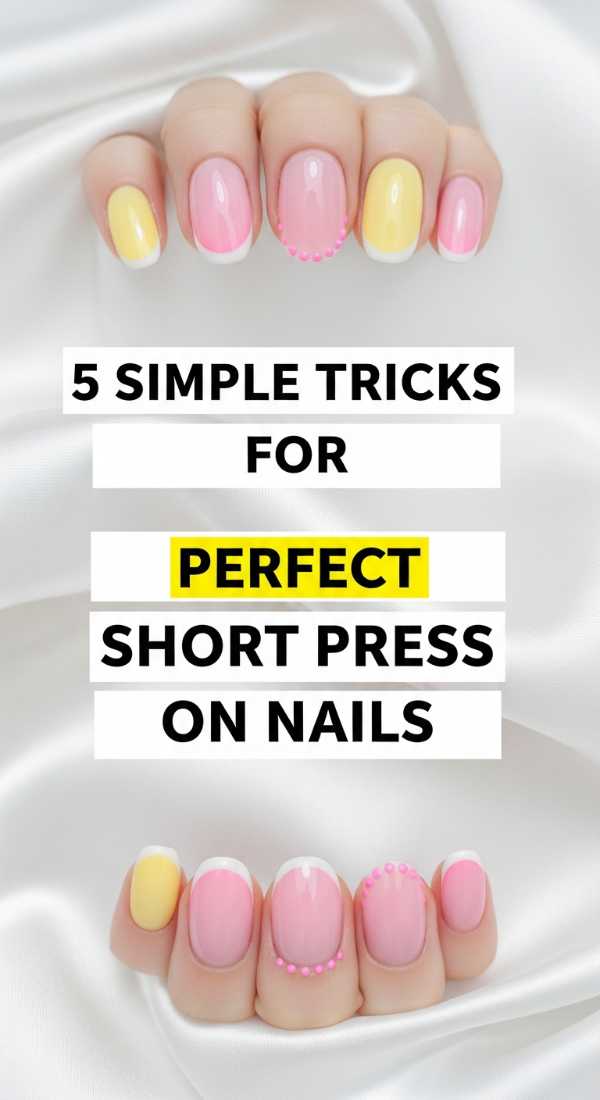
Small but Mighty: 5 Simple Tricks for Perfect Short Press On Nails
Why to love these Nails:
Short press-ons are the unsung heroes of a busy lifestyle. They offer the durability of acrylics without the time commitment, and when done right, they look indistinguishable from a professional gel manicure. They are practical, chic, and oh-so-easy to swap out.
Essential Items:
- High-quality short press-on kit
- Alcohol prep pads
- Nail dehydrator
- Buffer
- Strong brush-on glue
How to Prepare:
- Size all ten nails beforehand, ensuring the edges align perfectly with your side walls.
- Buff the surface of your natural nails lightly to create ‘grip’.
- Dehydrate the nail plate thoroughly with alcohol to remove all oils.
- Apply glue to both your natural nail and the back of the press-on for maximum bond.
- Hold each nail down with firm pressure for at least 30 seconds to eliminate air bubbles.
Budget Range
- Static Nails Reusable Pop-On Manicure ($16.00)
- Kiss Bare But Better Collection ($8.99)
- NYK1 Nail Bond Glue ($14.00)
The Long Game: 7 Secrets to Maintain Long Nail Trends Effortlessly
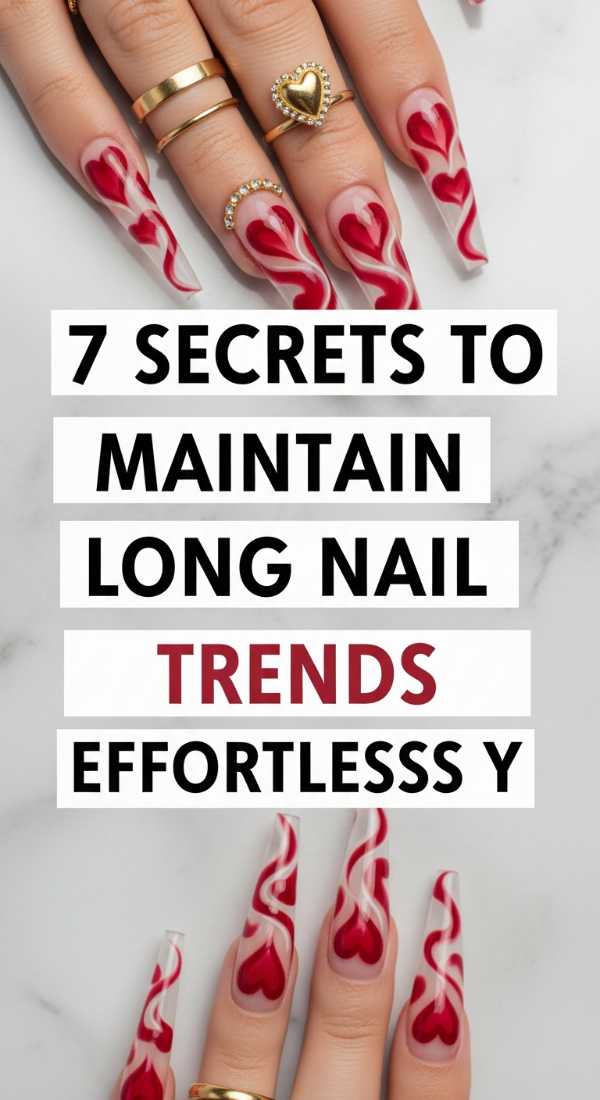
Why to love these Nails:
Long nails provide such a stunning canvas for art and lengthen the look of your fingers beautifully. There’s a certain power and grace that comes with a longer length, and maintaining them at home is a true labor of love that pays off in pure glamour.
Essential Items:
- Jojoba-based cuticle oil
- Reinforcement gel or ‘Builder in a Bottle’
- Silk wraps (for repairs)
- Electric nail file (optional)
- Gloves for cleaning
How to Prepare:
- Apply a thin layer of builder gel over your natural nail to provide structural support.
- Always file in one direction with a high-grit file to prevent micro-fractures.
- Apply cuticle oil at least three times a day—hydration is the key to flexibility.
- Never use your nails as tools (no soda cans or peeling stickers!).
- Wear rubber gloves whenever your hands are submerged in water or chemicals.
- Repair any tiny side-wall snags immediately with a small dab of nail glue and a silk wrap.
- Refresh your top coat every 3 days to keep the structure rigid and protected.
Budget Range
- Orly Builder in a Bottle ($20.00)
- Bliss Kiss 7-Piece Squeeze Pen Set ($25.00)
- Flowery Blue Files ($5.00)
Botanical Bliss: 3 Quick Techniques for Floral Nude Nails
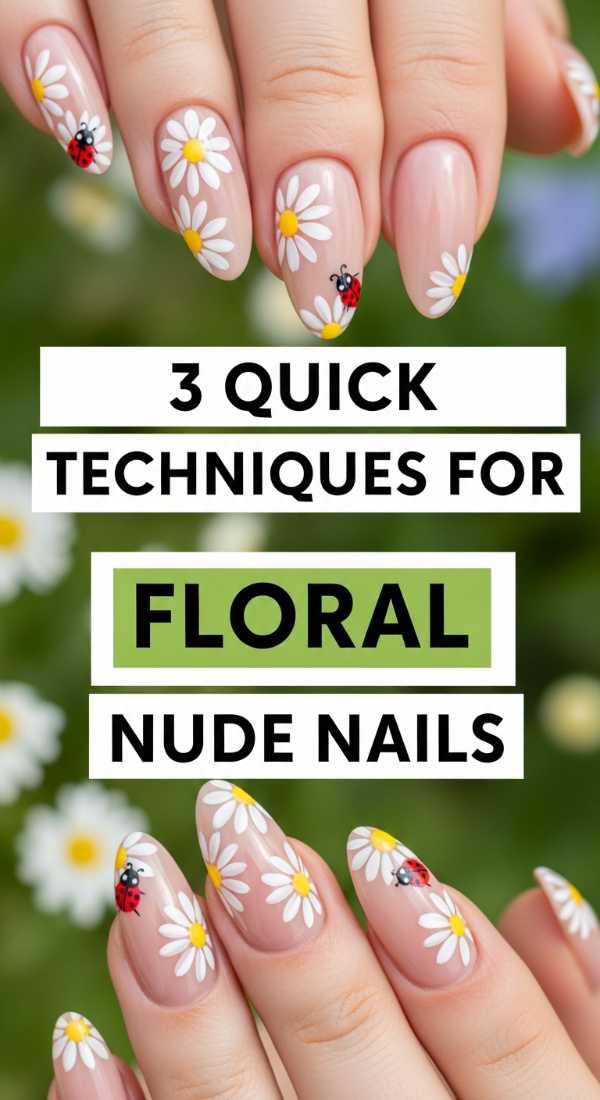
Why to love these Nails:
Combining the earthy groundedness of nude tones with the delicate beauty of florals creates a look that is both organic and high-fashion. It feels like wearing a tiny, enchanted garden on your hands, bringing a bit of nature’s peace into your daily tasks.
Essential Items:
- Nude polish that matches your undertone
- Dotting tool
- Fine detail brush
- White and green acrylic paint or polish
How to Prepare:
- Paint your base nude and let it dry completely (matte base works best for painting).
- Use a dotting tool to place five small dots in a circle to form simple petals.
- Drag a fine brush from the center of the dots outward to create a delicate leaf silhouette.
Budget Range
- Butter London ‘Steady On’ ($18.00)
- Nail Art Dotting Tool Set ($6.00)
- Cirque Colors ‘Linen’ ($12.50)
Pure Opulence: 8 Luxury Nails Polish Ideas for a Chic Look
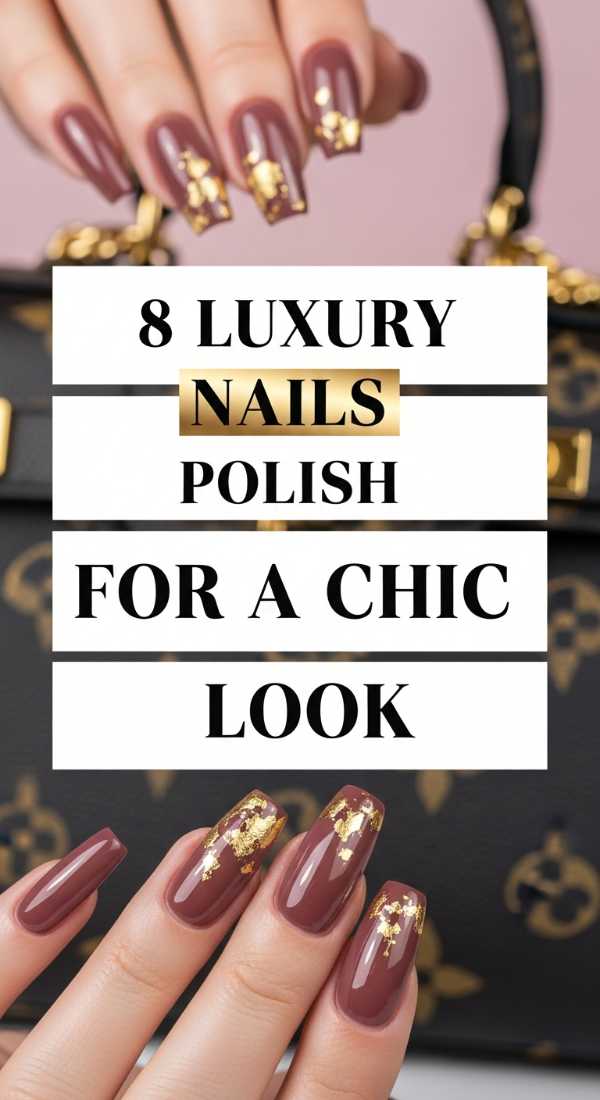
Why to love these Nails:
Luxury isn’t always about price; it’s about the depth of color and the richness of the finish. These shades are curated to look expensive, making your hands look like they belong in a high-end jewelry advertisement. They are bold, confident, and utterly chic.
Essential Items:
- Deep pigments
- Wide-fan brushes
- Glass bottles
How to Prepare:
- Try a Deep Bordeaux for a classic ‘old money’ feel.
- Opt for Champagne Gold for a subtle, sparkling metallic touch.
- Midnight Navy provides a softer alternative to black.
- Forest Green in a cream finish looks incredibly lush against gold rings.
- Charcoal Silk gives a modern, architectural vibe.
- Burnt Terracotta is perfect for a warm, earthy luxury.
- Royal Purple in a demi-matte finish screams royalty.
- Classic Crimson—the ultimate ‘power’ nail that never goes out of style.
Budget Range
- Chanel Le Vernis ($32.00)
- Dior Vernis ($30.00)
- Revlon ‘Cherries in the Snow’ ($6.00)
The Muse Within: 10 Beauty Inspiration Tips for Aesthetic Nails
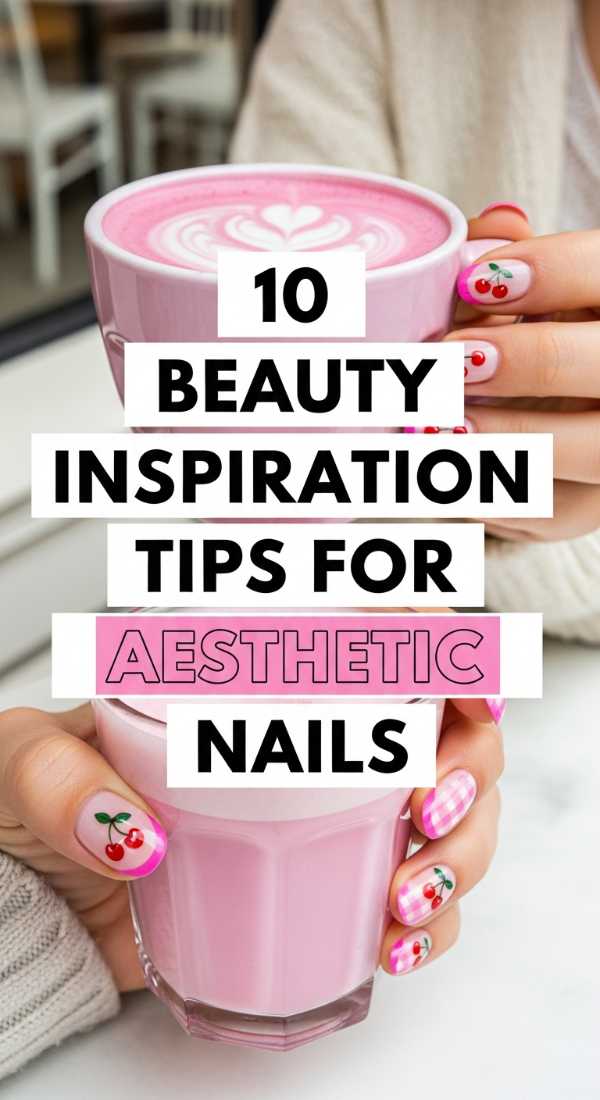
Why to love these Nails:
Sometimes the hardest part of DIY nails isn’t the painting—it’s the deciding! These inspiration tips are meant to wake up your inner artist and help you find a look that truly resonates with your mood and the season of life you are currently in.
Essential Items:
- Pinterest app
- Nature walk journal
- Color wheel
How to Prepare:
- Study color theory to find shades that make your skin tone ‘pop’.
- Take photos of textures in nature—like moss or stone—to mimic with polish.
- Look at fine art; what colors did Monet use together?
- Follow high-fashion runway trends for upcoming seasonal palettes.
- Match your nails to your favorite jewelry metals.
- Create a ‘Mood Board’ on Pinterest specifically for nail shapes.
- Experiment with negative space for a modern, ‘cool-girl’ aesthetic.
- Try mismatched ‘Skittle’ nails within the same color family.
- Add one tiny rhinestone to only the pinky nail for a ‘secret’ sparkle.
- Don’t be afraid to leave a ‘gap’ at the cuticle for a trendy, grown-out look.
Budget Range
- Pinterest (Free)
- Color Wheel Tool ($5.00)
- Assorted Rhinestone Pack ($7.00)
Timeless Precision: 5 Modern Steps for Elegant French Tip Nails
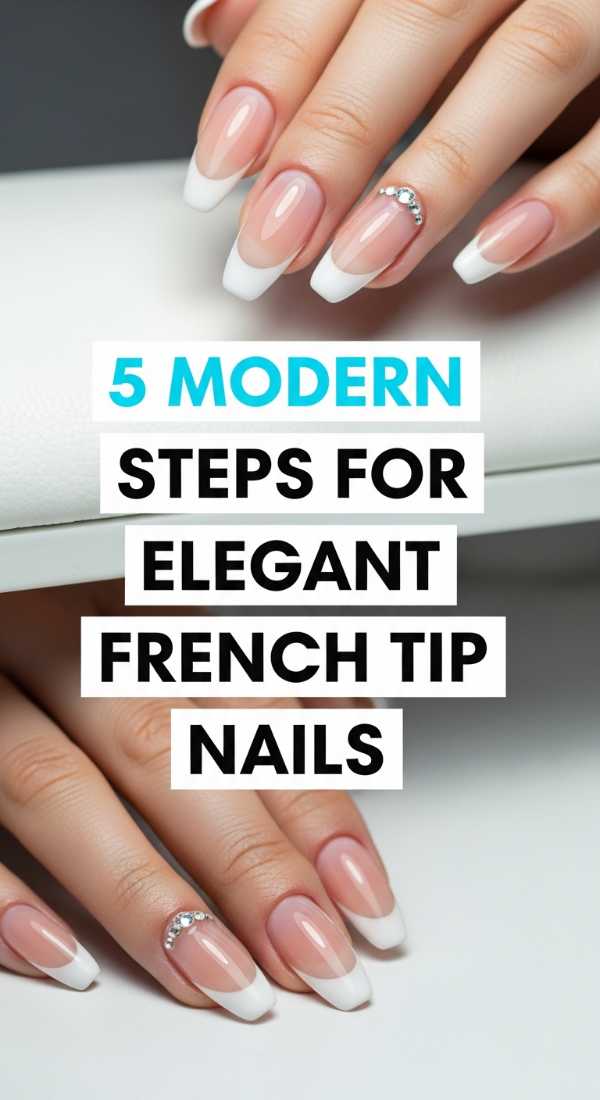
Why to love these Nails:
The French manicure has seen a massive revival, but with a modern twist. Today’s French is thinner, more delicate, and often uses unexpected colors. It’s the ultimate way to make your nails look elongated and your hands look professionally manicured.
Essential Items:
- Nude-pink base
- Crisp white polish
- Silicone nail stamper
- Thin liner brush
How to Prepare:
- Apply two coats of a sheer pinkish-nude to hide any natural nail imperfections.
- Apply a strip of white polish onto a silicone nail stamper.
- Gently press your nail tip into the stamper at a 45-degree angle to create the ‘smile line’.
- Refine the edges with a thin liner brush dipped in polish.
- Seal with a high-shine top coat to blend the transition between colors.
Budget Range
- Manucurist Paris ‘Green’ Polish ($14.00)
- Silicone Nail Stamper ($8.00)
- Orly ‘White Tips’ ($10.00)
Picnic Chic: 4 Easy Steps to Paint Pastel Gingham Nails
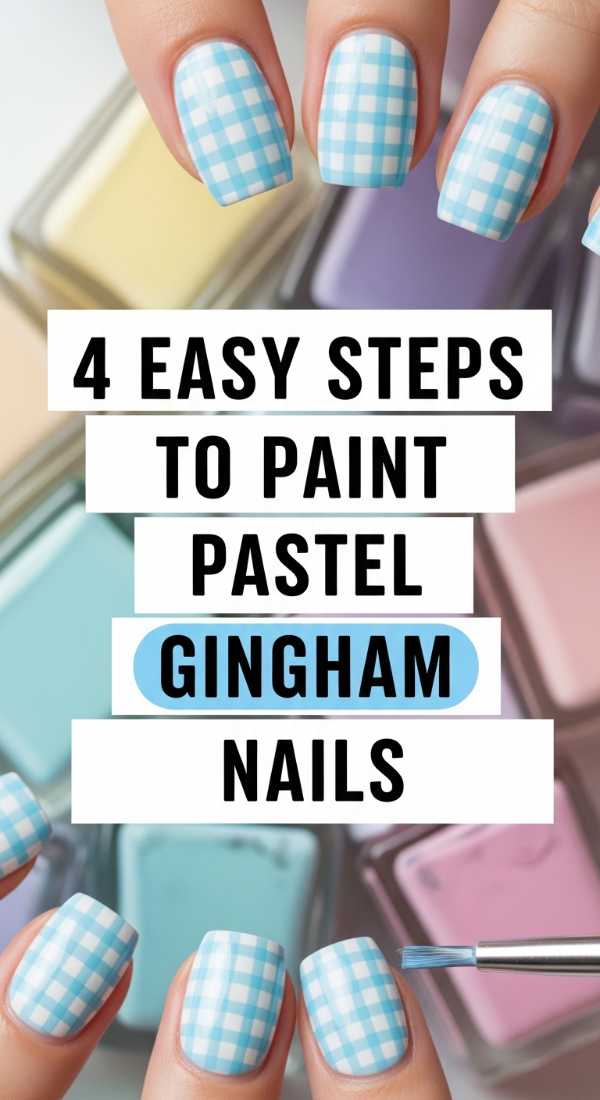
Why to love these Nails:
Gingham is the epitome of cottagecore charm. It’s playful, nostalgic, and surprisingly easy to achieve with a steady hand. These nails look like a summer afternoon spent in a meadow, and they never fail to get compliments.
Essential Items:
- White base polish
- Transparent pastel polish (or mix polish with clear)
- Striping brush
How to Prepare:
- Start with a solid white base and let it dry.
- Paint three vertical stripes of your sheer pastel color down the nail.
- Paint three horizontal stripes of the same color across the nail.
- Where the lines overlap, add a tiny dot of a darker shade of that color to create the ‘weave’ effect.
Budget Range
- Lights Lacquer ‘Paper Snow’ ($13.00)
- Beetles Nail Art Brushes ($9.00)
- China Glaze ‘Sunsational’ Collection ($7.00)
Artisan Touch: 6 Ways to Add Floral Details to Luxury Nails
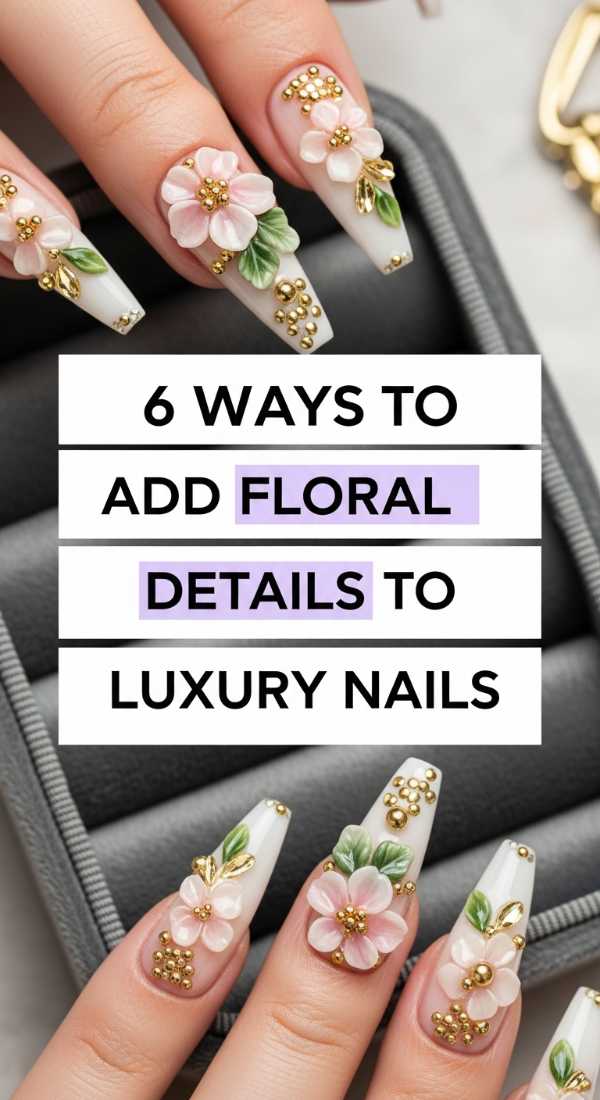
Why to love these Nails:
Adding floral details to a luxury base color creates a stunning contrast between ‘bold’ and ‘delicate’. It’s the difference between a standard manicure and a piece of wearable art. It shows attention to detail and a love for the finer things.
Essential Items:
- Gold leaf flakes
- Dried pressed flowers
- Nail glue
- Tweezers
How to Prepare:
- Place a single dried flower onto a tacky layer of polish using tweezers.
- Use gold leaf flakes to create a ‘frame’ around the floral center.
- Try stamping floral patterns over a dark, moody luxury base.
- Use water decals for intricate designs that look hand-painted.
- Apply a matte top coat over the base but a glossy top coat over the flower for 3D depth.
- Encapsulate chunky floral glitter under a layer of clear builder gel.
Budget Range
- Tifara Beauty Dried Flowers ($10.00)
- Gold Leaf Foil Sheets ($6.00)
- Born Pretty Stamping Plates ($5.00)
A Soft Send-off
My loves, I hope you feel inspired to take this time for yourself. Your hands do so much for the world—they work, they hug, they create—and they deserve to be treated with this kind of gentle care. Don’t worry about being perfect; the beauty is in the practice. Every time you pick up that brush, you are honoring your own creativity. Until next time, stay soft, stay bright, and keep blooming.