
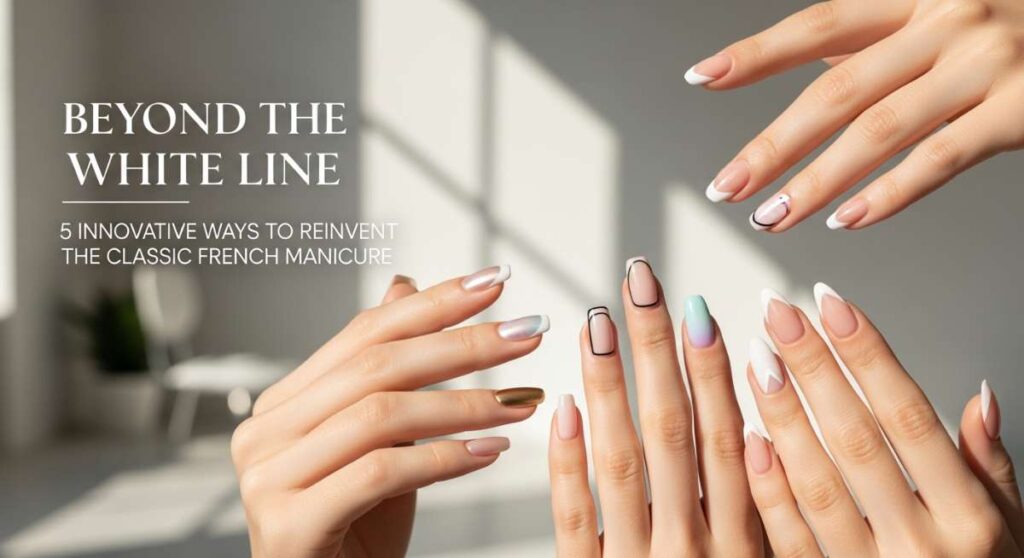
Beyond the White Line: 5 Innovative Ways to Reinvent the Classic French Manicure
Hi, my loves! There is something so incredibly soothing about a fresh manicure, isn’t there? It’s like a soft, cloud-soft embrace for your hands—a moment of pure, intentional self-care that makes us feel polished even on our messiest days. I’ve always held a special place in my heart for the classic French manicure; it’s the timeless cashmere sweater of the beauty world. It’s elegant, it’s quiet, and it always feels just right.
But lately, I’ve been sitting by my window with my morning tea, watching the light dance, and I felt a little spark of playfulness! I started wondering… how can we take that iconic white line and infuse it with a bit more of our unique magic? Sometimes our souls crave a little sprinkle of the new while still honoring the tradition we love. So, I’ve spent the week playing with brushes and polishes to bring you five dreamy ways to reinvent the look.
Grab your favorite cozy blanket and let’s dive into these modern French tip tutorials. We’re going beyond the basics to find a style that speaks to your beautiful heart. Let’s create something stunning together!
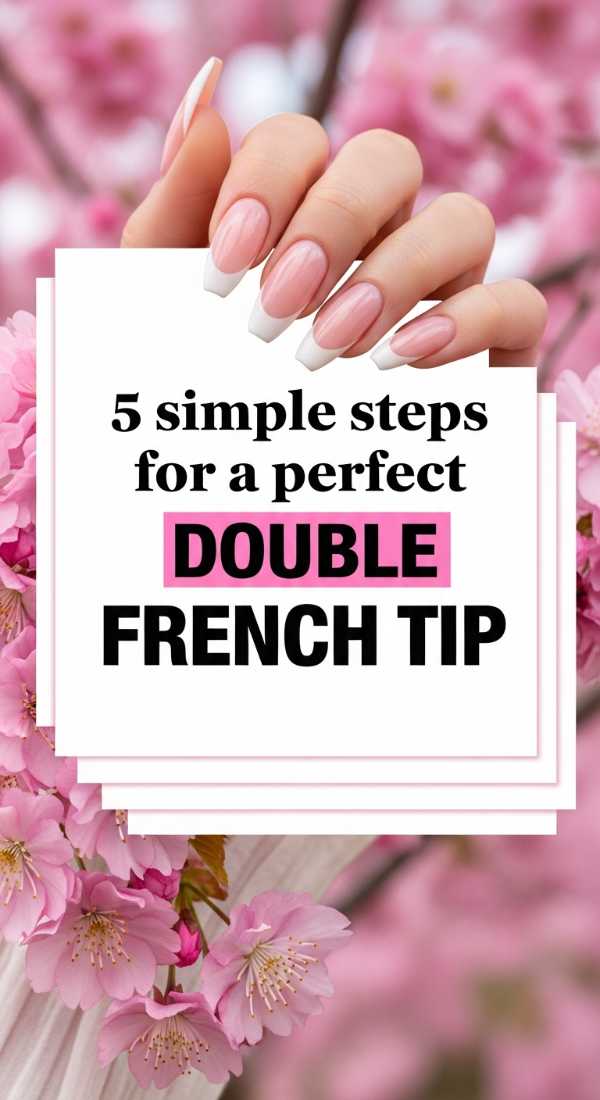
The Double-Lined Dream: 5 Simple Steps for a Perfect Double French Tip
Why to love these Nails:
There is something so twice-as-nice about a double line! It adds a geometric, modern flair to your hands while keeping that airy, light feeling we all crave. It’s like a little secret code for ‘I’m classic, but with a twist.’ It elongates the nail bed and adds a touch of architectural grace that catches the light beautifully.
Essential Items:
- Sheer nude or petal pink base polish
- Opaque white nail lacquer
- An ultra-fine detailing brush
- Clean-up brush and acetone
- High-shine top coat
How to Prepare:
- Apply two thin layers of your sheer base and let them dry completely.
- Using your detail brush, paint a traditional thin white arc at the very tip of the nail.
- Just below that first line, paint a second, thinner parallel line following the same curve.
- Dip your clean-up brush in acetone to sharpen any wobbles between the lines.
- Seal your masterpiece with a glossy top coat to blend the layers into a seamless finish.
Budget Range
- Essie Gel Couture ‘Fairy Tailor’ ($13.00) – The perfect dreamy base.
- Olive & June Detail Brush ($8.00) – For those precision lines.
- Holo Taco ‘Not Milky White’ ($11.00) – A super opaque one-coat white.
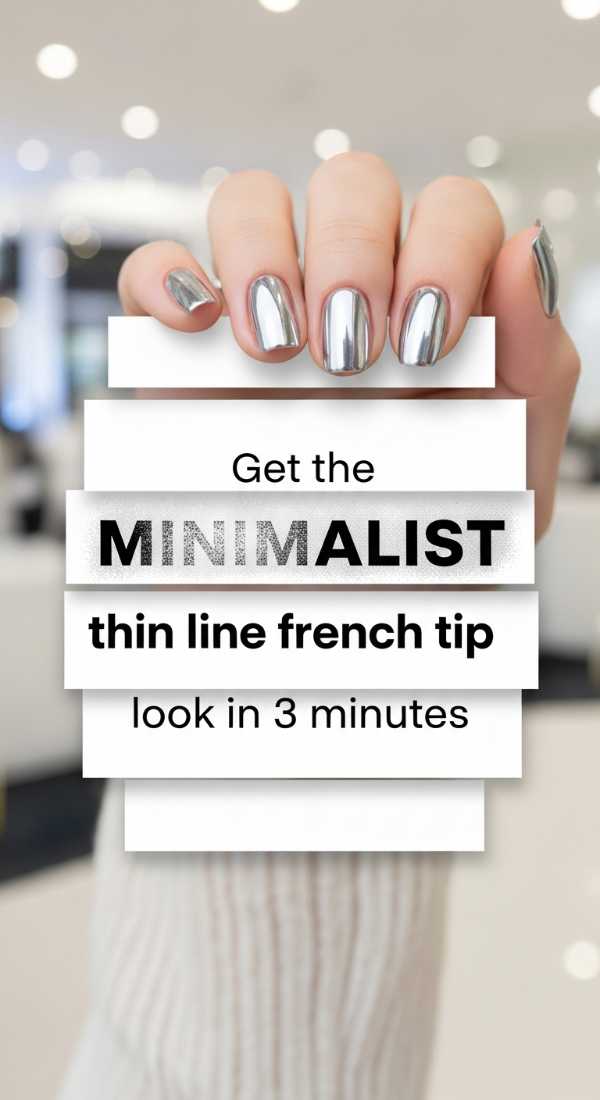
The Minimalist Whisper: Get the Thin Line French Tip Look in 3 Minutes
Why to love these Nails:
For my loves who believe less is more, the whisper-thin French tip is an absolute dream come true. It’s barely there, yet it transforms your hands into something so sophisticated and ‘quiet luxury.’ It’s the perfect look for the office or a soft brunch, providing just enough definition to make your nails look naturally perfect.
Essential Items:
- Strengthening base coat
- Stark white or cream polish
- A silicone nail stamper
- Quick-dry top coat
How to Prepare:
- Apply a clear or tinted base coat and wait 60 seconds.
- Paint a small horizontal line of white polish onto your silicone nail stamper.
- Gently press the tip of your nail into the stamper at a 45-degree angle to create a micro-thin edge.
Budget Range
- Sally Hansen Hard as Nails ($4.00) – A reliable, budget-friendly base.
- Pueen Silicone Nail Stamper ($7.50) – The secret tool for thin lines.
- Zoya ‘Purity’ ($12.00) – A gentle, non-toxic crisp white.
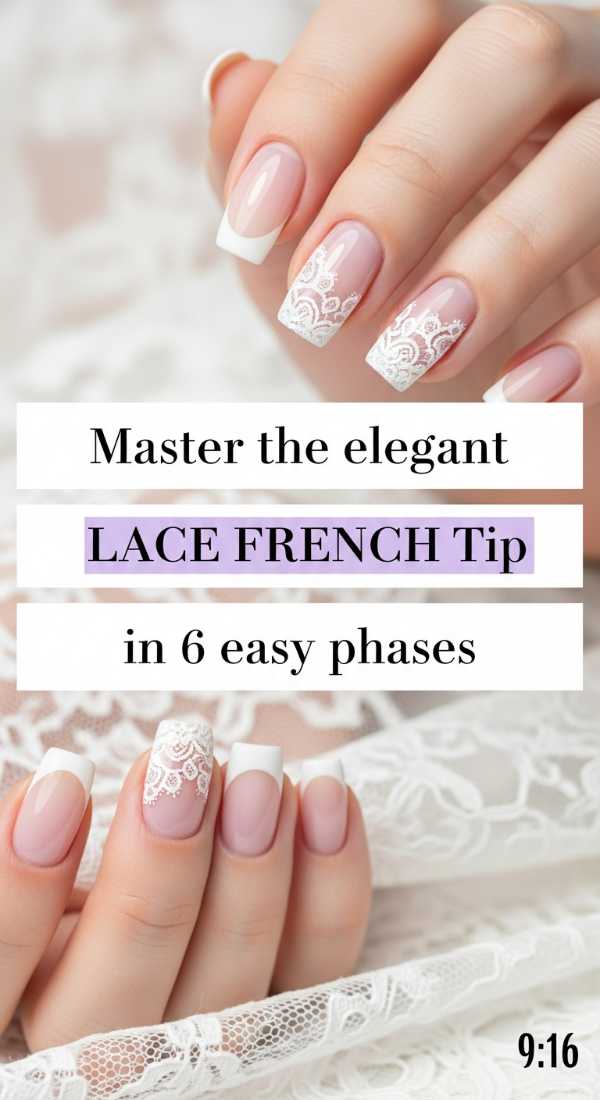
Vintage Romance: Master the Elegant Lace French Tip in 6 Easy Phases
Why to love these Nails:
This is for the romantics, the dreamers, and the ones who love the tiny details. Incorporating delicate lace patterns into your French tips creates a look that’s as soft as a vintage veil. It’s feminine, intricate, and surprisingly easy once you break it down into small, soulful steps.
Essential Items:
- Soft cream base polish
- White acrylic paint (it’s easier for fine details!)
- Dotting tool
- Micro-liner brush
How to Prepare:
- Start with a clean, buffed nail and your creamy base color.
- Paint a standard slightly thicker white tip as your foundation.
- Use your dotting tool to place tiny white dots along the inner edge of the tip.
- With the micro-liner, connect those dots with small, soft loops like a scallop.
- Add tiny ‘v’ shapes inside the loops to mimic a lace mesh.
- Finish with a matte top coat for an authentic fabric-like feel.
Budget Range
- OPI ‘Funny Bunny’ ($11.50) – The iconic soft white base.
- Nail Art Dotting Tool Set ($5.00 via Amazon) – Versatile and essential.
- Chanel Le Gel Coat ($32.00) – For a luxury, long-lasting seal.
The Architectural Edge: How to Align Straight Line French Tip Nails Like a Pro
[IMAGE:9]
Why to love these Nails:
Precision meets peace of mind. While the traditional French is curved, a straight-across line feels bold and avant-garde. It’s perfect for shorter nails or square shapes, giving a crisp, clean finish that looks like it was done by a master technician in a high-end studio.
Essential Items:
- Nail guide tape or masking tape
- Rich, opaque polish in any color
- Flat-edge brush
- Tweezers
How to Prepare:
- Apply your base color and ensure it is 100% dry (this is vital!).
- Place a piece of guide tape horizontally across the nail, leaving only the tip exposed.
- Paint the exposed tip with two thin layers of your chosen color.
- While the polish is still slightly tacky, use tweezers to pull the tape away in one smooth motion.
- Use a flat-edge brush dipped in remover to ensure the line is perfectly straight.
Budget Range
- Orly Bonder Base Coat ($15.00) – Ensures the tape won’t lift your polish.
- Washi Tape ($3.00) – A gentle alternative to heavy adhesives.
- Cirque Colors ‘Carpe Diem’ ($12.50) – The perfect white for straight lines.
A Kaleidoscope of Calm: 7 Stunning Variations of Line French Tip Nails to Try
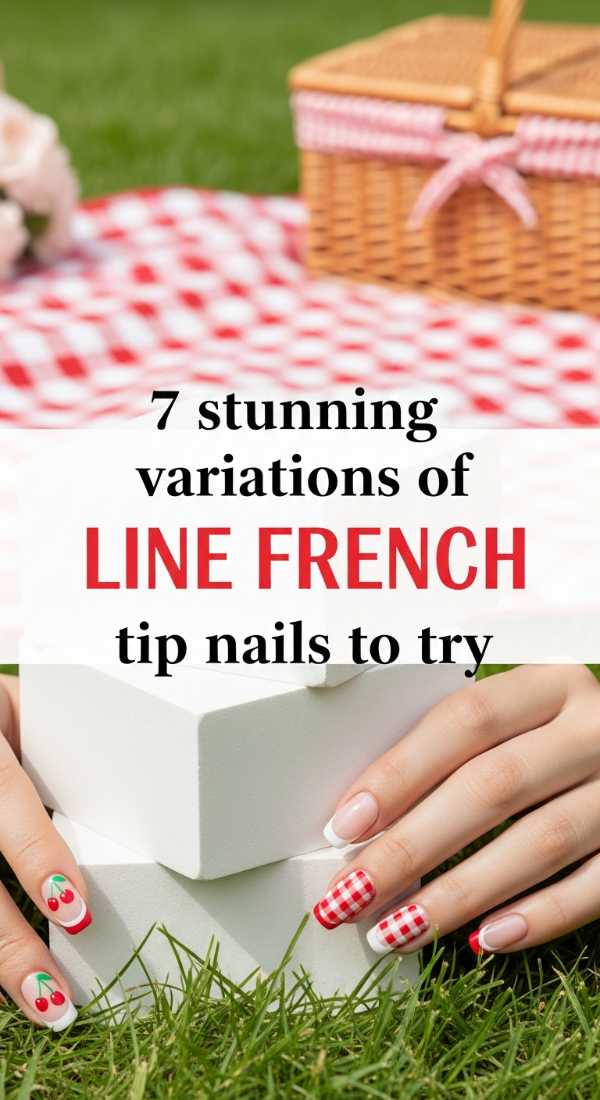
Why to love these Nails:
Why stick to white when the whole rainbow is waiting? These variations explore how a simple change in hue or texture can shift your entire mood. From neon pops to moody metallics, playing with variations allows you to match your nails to your soul’s current season.
Essential Items:
- A curated palette of your favorite seasonal colors
- Gold or silver striping tape
- Matte and Glossy top coats
- Sponge for gradient effects
How to Prepare:
- Pick a theme (e.g., Pastel Dreams, Midnight Gold, or Earthy Tones).
- For a metallic twist, apply a gold striping tape right at the smile line of your tip.
- Try a ‘sideways’ French by painting the line vertically along the side of the nail.
- Experiment with a matte base and a glossy tip in the same color for a tactile, subtle contrast.
Budget Range
- Lights Lacquer Polish Bundles ($52.00) – Beautifully curated color stories.
- KADS Nail Striping Tape ($6.00) – Easy way to add metallic accents.
- Wet n Wild Wild Shine ($1.50) – Perfect for experimenting with many colors cheaply.
A Final Note of Love
Whatever style you choose, my loves, remember that your hands are the tools you use to touch the world. Whether you’re typing a kind email, making a cup of tea, or hugging a friend, let your nails be a reflection of the beauty you carry inside. I hope these tutorials inspire you to take a moment for yourself this weekend. You deserve to feel beautiful, right down to your fingertips! Tag me in your photos—I can’t wait to see your magic.
Commonly Asked Questions
- How do I keep my hand steady when drawing thin lines?
- Rest your pinky finger on the table or your other hand for stability! Taking a deep, slow breath as you make the stroke also helps calm any tiny jitters.
- Can I do these looks on short nails?
- Absolutely! In fact, the minimalist thin line and the straight-edge French look particularly stunning and modern on shorter, natural nails.
- What is the best brush for these details?
- Look for a ‘000’ or ‘liner’ brush from an art store or a dedicated nail brand. The longer the bristles, the easier it is to pull a long, smooth line.
- How long should I wait before applying a top coat?
- Wait at least 5-10 minutes. If you rush, the top coat brush might smear your beautiful lines. Use a light hand and ‘float’ the top coat over the nail!