
There is a specific kind of magic that happens when you step out of your back door and into a world of your own creation. Imagine the morning air, thick with the scent of damp earth and blooming jasmine, while the first rays of sunlight filter through the leaves of your favorite oak tree. Your garden isn’t just a patch of grass; it’s a living, breathing extension of your soul, a sanctuary where the chaos of the digital world dissolves into the gentle rustle of wind through the ferns and the distant chime of a bell.
Whether you have a sprawling estate or a tiny balcony in the heart of the city, there is an incredible power in ‘digging in.’ Creating a garden is an act of hope and a daily invitation to slow down, breathe deeply, and reconnect with the rhythms of nature. It’s about more than just aesthetics; it’s about the feeling of cool soil between your fingers and the joy of seeing a tiny seed transform into a towering bloom. Today, we’re exploring ten enchanting garden designs that will transform your outdoor space into a personal Eden, filled with texture, fragrance, and undeniable charm.
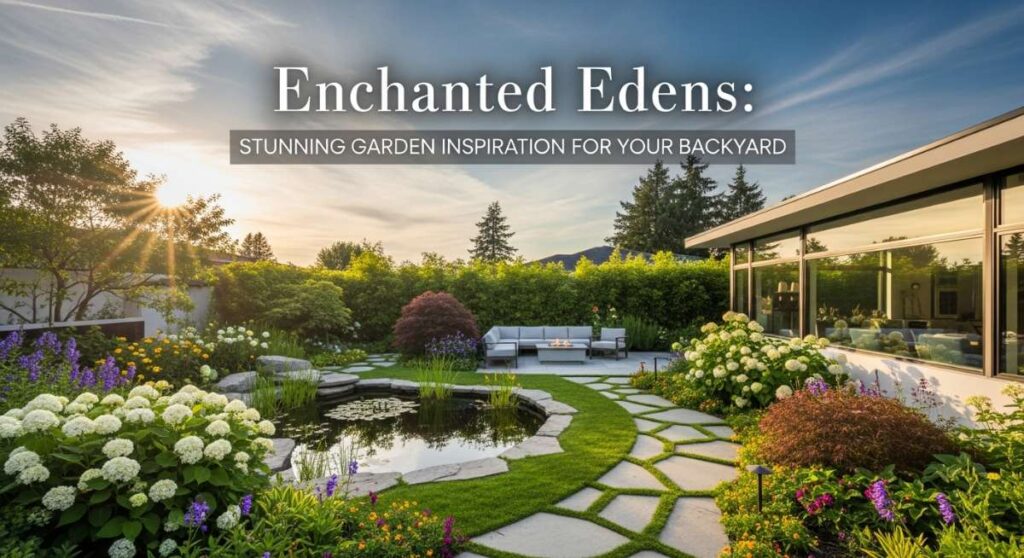
How to Design a Butterfly Garden Layout for a Vibrant Backyard Oasis
Why we love this
There is nothing quite like the whimsical dance of a Monarch or a Swallowtail drifting through your backyard on a lazy Sunday afternoon. A butterfly garden is a living kaleidoscope, bursting with saturated colors and the delicate, rhythmic movement of wings. The aroma is often heavy with the honey-sweet scent of Buddleia and the spicy notes of Zinnia, creating a sensory experience that feels both grounded and ethereal. It turns your yard into a bustling highway of life, where every petal serves as a landing pad and every breeze carries the promise of a new visitor.
Essential Elements:
- Milkweed (essential for Monarch larvae)
- Nectar-rich perennials (Purple Coneflower, Black-eyed Susans)
- Flat ‘landing’ stones for sunning
- Shallow water basin with pebbles
- Windbreaks like shrubs or fences
- Organic, pesticide-free soil
How to make it
- Select a location that receives at least 6 to 8 hours of direct sunlight, as butterflies are cold-blooded and need the warmth to fly.
- Prepare the soil by tilling to a depth of 12 inches and mixing in organic compost; ensure the soil temperature is at least 60°F before planting for optimal root establishment.
- Plant in ‘drifts’ or large clusters of the same color, which makes it easier for butterflies to spot their favorite nectar sources from the air.
- Incorporate ‘host plants’ like Milkweed or Dill specifically for caterpillars, placing them in the center of the garden to protect them from wind.
- Place flat, dark-colored stones in the sunniest spots to provide ‘basking stations’ where butterflies can raise their body temperature.
- Maintain a shallow ‘puddling station’ by filling a ceramic bowl with sand and water, allowing the butterflies to drink and extract essential minerals.
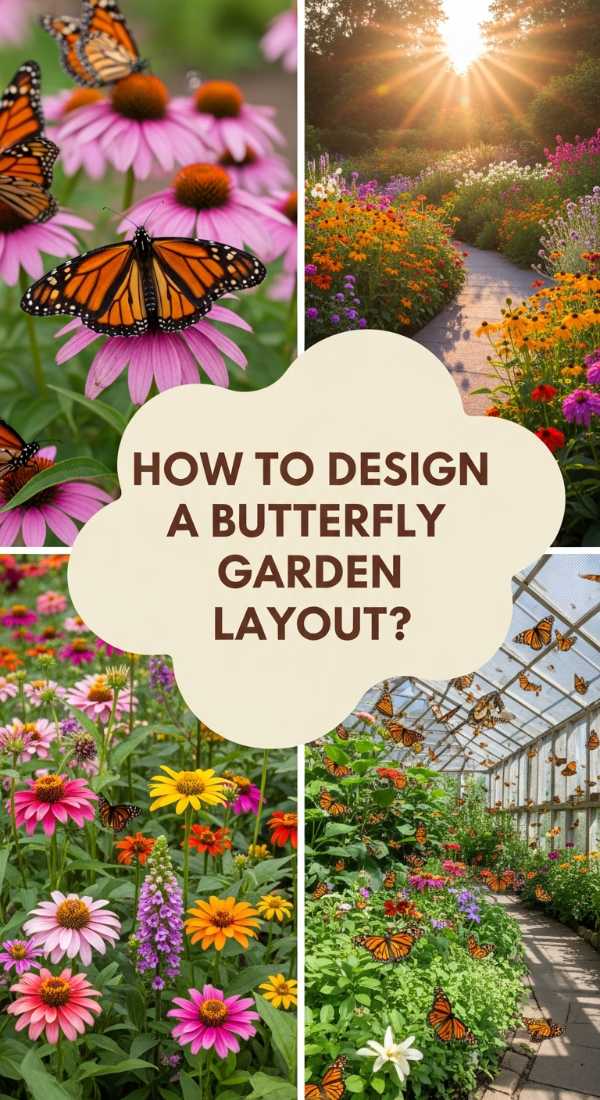
How to Create a Zen Garden Design for Absolute Mental Clarity
Why we love this
Stepping into a Zen garden is like taking a deep, restorative breath for your brain. This design focuses on the ‘ma’—the space between things—emphasizing minimalism, texture, and the quiet power of stone and sand. The visual rhythm of raked gravel mimics the flow of water, providing a focal point for meditation that clears away the clutter of modern life. It feels cool, structured, and profoundly peaceful, offering a tactile experience where the crunch of gravel and the stillness of a singular mossy rock create a profound sense of ‘oneness’ with the environment.
Essential Elements:
- Fine white gravel or decomposed granite
- Large, weathered ‘feature’ rocks
- Wooden or bamboo rake
- Moss or low-lying groundcover
- Stone lanterns (Ishidoro)
- Simple wooden bench
How to make it
- Clear a flat area and install a weed barrier followed by a 3-4 inch layer of fine, light-colored gravel or sand.
- Select an odd number of rocks (three or five) of varying sizes and bury them partially—about 1/3 of the way down—to make them look like they are emerging naturally from the earth.
- Position your ‘islands’ of stone off-center to create a sense of natural asymmetry and visual flow.
- Using a wide-toothed wooden rake, create circular patterns around the rocks to represent ripples, and straight lines in the open spaces to represent the horizon.
- Keep the perimeter clean with a simple timber or stone border to contain the gravel and maintain the crisp, minimalist lines.
- Visit the garden daily to re-rake the patterns, using the repetitive motion as a mindfulness exercise to reset your mental state.
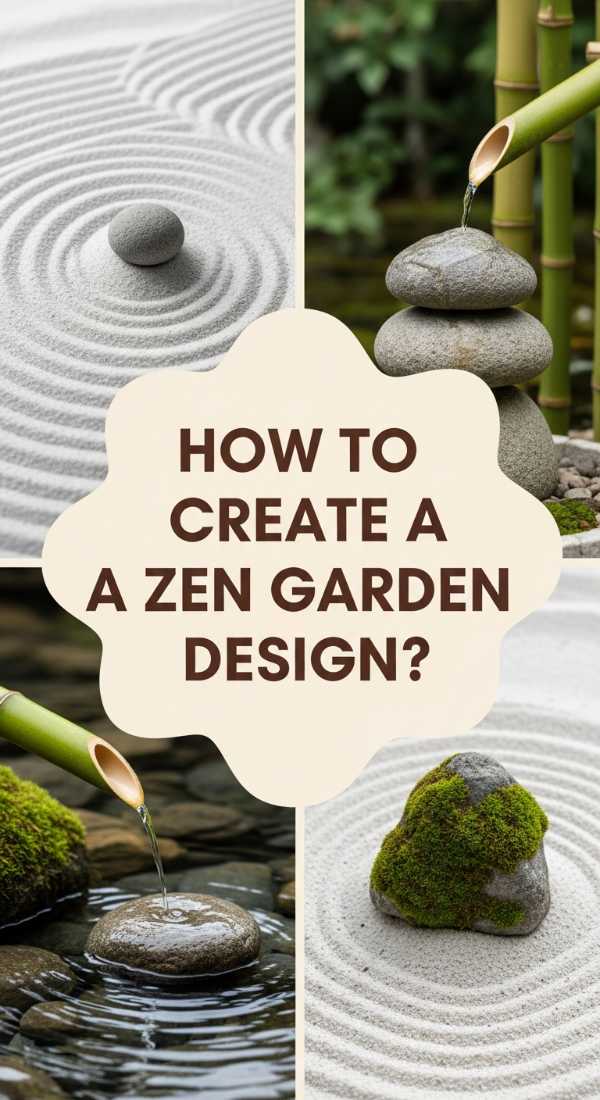
How to Master a Shade Garden Design Layout for Cool Summer Retreats
Why we love this
When the summer sun becomes a bit too much, the shade garden offers a lush, emerald-colored refuge that feels several degrees cooler than the rest of the world. It’s a texture-lover’s paradise, where the broad, velvety leaves of Hostas meet the delicate, lace-like fronds of Ostrich Ferns. The scent here is different—earthy, damp, and fresh—like the air deep within a forest. It’s a quiet, contemplative space where silver-edged foliage glows in the dim light, creating a shimmering effect that feels like a hidden, secret grotto tucked away from the midday heat.
Essential Elements:
- Variegated Hostas for light contrast
- Ferns (Ostrich, Maidenhair, or Japanese Painted)
- Bleeding Hearts (Dicentra)
- Astilbe for vertical texture
- Mulch (shredded bark or leaf mold)
- Stepping stones
How to make it
- Identify the ‘quality’ of your shade—dappled, part-shade, or deep shade—by monitoring the light movement over a 24-hour period.
- Amend the soil with a thick layer of composted leaves or peat moss to mimic the nutrient-rich floor of an ancient forest, ensuring high moisture retention.
- Plant ‘light-reflecting’ foliage, such as plants with white or silver variegation, in the darkest corners to brighten the space visually.
- Layer your plants by height: place taller shrubs like Hydrangeas in the back, mid-sized Ferns in the center, and low creepers like Ajuga at the front.
- Apply a 2-inch layer of organic mulch around the base of the plants to keep the root systems cool and prevent moisture evaporation during the peak of summer.
- Install a winding path of light-colored flagstones to lead the eye through the greenery and provide a clean walking surface in damp conditions.
How to Build a Lush Herb Garden Design for Fresh Culinary Delights
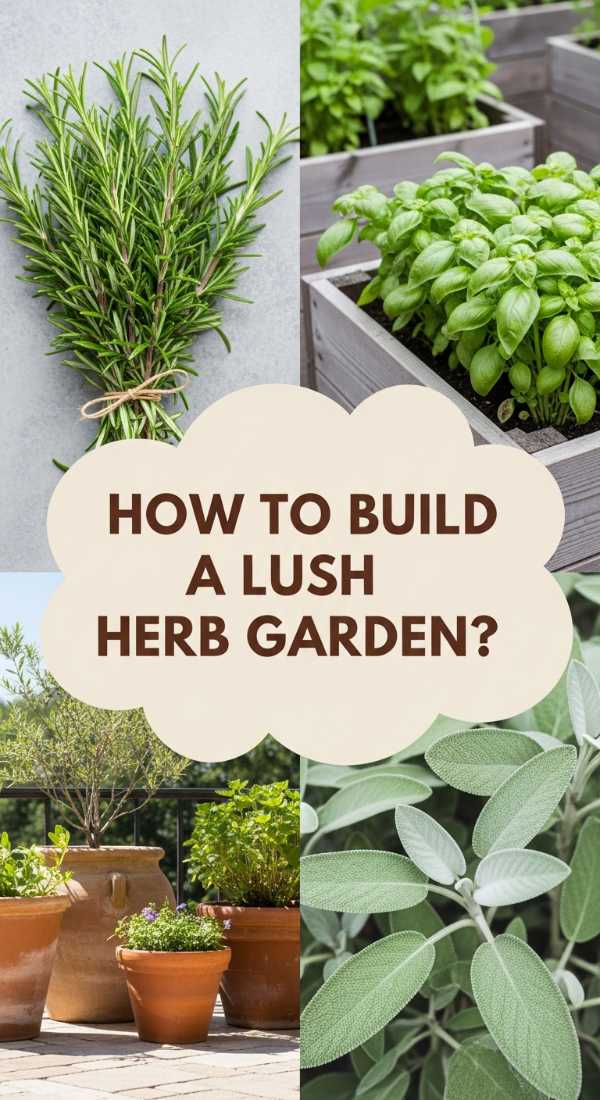
Why we love this
An herb garden is the ultimate gift to the home chef, turning every meal into a gourmet experience. The air here is an intoxicating blend of sharp rosemary, sweet basil, and peppery thyme, releasing a burst of fragrance every time you brush against a leaf. It’s a tactile, interactive garden where the foliage is meant to be touched, tasted, and shared. There is a rustic, cottage-core beauty in rows of terracotta pots or organized wooden raised beds overflowing with green vitality, making your backyard feel like a functional extension of your kitchen pantry.
Essential Elements:
- Terracotta pots or raised cedar beds
- Culinary herbs (Basil, Thyme, Rosemary, Mint, Sage)
- High-drainage potting mix
- Labels or garden markers
- Pruning shears
- Full sun exposure
How to make it
- Position your herb garden as close to the kitchen door as possible to ensure you actually use the fresh ingredients while cooking.
- Ensure each container has at least one large drainage hole; herbs hate ‘wet feet’ and will succumb to root rot if the water stays stagnant.
- Mix a handful of coarse sand or perlite into your potting soil to improve aeration and drainage, especially for Mediterranean herbs like Rosemary.
- Plant Mint in its own dedicated container, as its runners are extremely aggressive and will quickly choke out other herbs in a shared bed.
- Harvest your herbs frequently by pinching off the top sets of leaves just above a node; this encourages ‘bushy’ growth rather than spindly, leggy stems.
- Monitor the soil moisture daily; while most herbs like to dry out between waterings, Basil requires consistent moisture and will wilt quickly if neglected.
How to Style a Tiny Garden Design for Maximum Outdoor Luxury
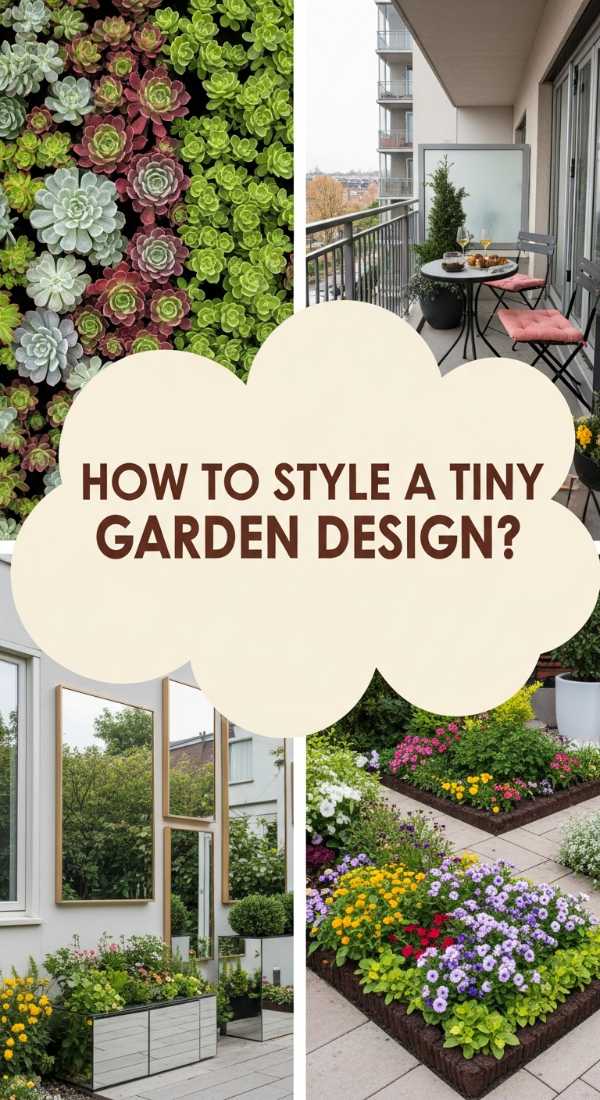
Why we love this
A tiny garden proves that style isn’t about square footage; it’s about the intention and quality of every square inch. We love how a small balcony or patio can be transformed into a high-end lounge through vertical layering and smart furniture choices. It feels intimate and curated, like a private boutique hotel suite under the stars. The use of climbing vines and hanging lanterns draws the eye upward, making the space feel expansive and airy, while the inclusion of soft textiles and glowing lights adds a layer of cozy luxury that larger gardens often struggle to achieve.
Essential Elements:
- Vertical trellises or ‘living walls’
- Multi-functional furniture (storage benches)
- Outdoor rugs and throw pillows
- String lights or LED candles
- Dwarf plant varieties
- Mirrors to create the illusion of depth
How to make it
- Map out your ‘zones’—even in a small space, you should have a dedicated area for sitting and a separate area for greenery.
- Utilize vertical space by installing wall-mounted planters or a tall trellis; this provides a lush backdrop without sacrificing valuable floor real estate.
- Choose a unified color palette for your pots and textiles (e.g., all white or all terracotta) to keep the space from feeling cluttered or visually overwhelming.
- Select ‘dwarf’ or ‘columnar’ plant varieties that are specifically bred to stay compact and won’t outgrow their containers within a single season.
- Hang a weather-proof mirror on a fence or wall to reflect the light and the greenery, instantly doubling the perceived size of the garden.
- Add a high-quality outdoor rug to define the ‘living’ area, choosing a pattern that leads the eye toward the farthest point of the space to elongate the view.
How to Plan a Cottage Garden Design for Whimsical English Charm
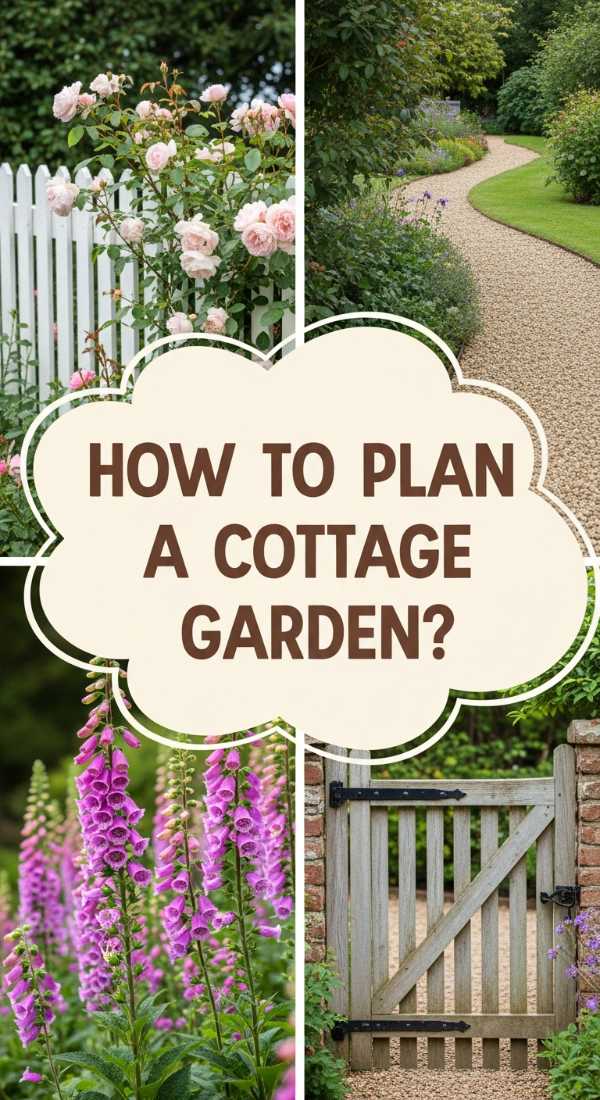
Why we love this
The cottage garden is a celebration of beautiful chaos and nostalgic charm. It’s a riot of color where foxgloves, roses, and delphiniums spill over picket fences in an effortless, romantic display. There is something deeply comforting about the ‘overgrown’ look—it feels lived-in, warm, and unapologetically feminine. The air is thick with the heavy perfume of antique roses and the gentle hum of bumblebees, creating a dreamlike atmosphere that feels like it’s straight out of a Victorian storybook. It’s the perfect design for those who want a garden that feels like a warm hug.
Essential Elements:
- Densely planted perennials (Peonies, Phlox, Hollyhocks)
- Climbing roses and Clematis
- Weathered wooden or white picket fencing
- Natural stone or brick pathways
- Rustic birdhouses or sundials
- Self-seeding annuals (Cosmos, Poppies)
How to make it
- Ignore traditional ‘rows’ and instead plant in dense, informal clusters, allowing plants to lean into one another for support and a ‘wild’ look.
- Amend your soil with rich compost and well-rotted manure to support the high nutritional demands of heavy-blooming perennials.
- Install a focal point, like a weathered wooden arbor or a simple birdbath, to provide a sense of structure amidst the floral abundance.
- Incorporate ‘self-seeding’ flowers like Poppies or Forget-me-nots that will drop seeds and return in unexpected places next year, enhancing the natural feel.
- Use natural materials for paths—irregular flagstones or reclaimed bricks allow moss to grow in the cracks, adding to the aged, whimsical aesthetic.
- Deadhead (remove spent blooms) regularly throughout the summer to encourage the plants to produce a second or third flush of flowers.
How to Craft a Mediterranean Garden Design for Sun Drenched Serenity

Why we love this
A Mediterranean garden transports you to the hills of Tuscany or the coast of Greece with its warm, earthy tones and drought-tolerant beauty. We love the contrast between the silver-blue foliage of Lavender and the warm terracotta of the pots and tiles. It’s a sensory trip characterized by the scent of drying herbs and the crunch of gravel underfoot. This design is built for heat, making it feel incredibly sturdy and resilient, while the inclusion of a simple water feature provides a cooling acoustic backdrop that makes the hottest afternoon feel like a seaside retreat.
Essential Elements:
- Terracotta pots of varying sizes
- Drought-tolerant plants (Lavender, Rosemary, Olive trees)
- Pea gravel or crushed limestone paths
- Ochre or warm-toned stone walls
- Simple bubbling stone fountain
- Citrus trees (Lemon or Lime)
How to make it
- Ensure your garden site has excellent drainage; if you have heavy clay soil, build raised beds filled with a mix of topsoil and grit.
- Use gravel as a mulch rather than wood chips; this reflects heat back up to the plants and keeps the base of the stems dry, preventing rot.
- Group plants with similar water needs together, placing the most drought-tolerant species in the sunniest, most exposed areas.
- Incorporate an Olive tree or a Cypress as a vertical anchor to provide height and that iconic Mediterranean silhouette.
- Install a simple, low-volume water feature—even a small stone basin with a solar pump—to provide a cooling ‘psychological’ effect in the heat.
- Limit your color palette to blues, purples, and silvery-greys, punctuated by the warm orange of terracotta and the bright yellow of citrus fruits.
How to Arrange a Rock Garden Design for Rugged Natural Beauty
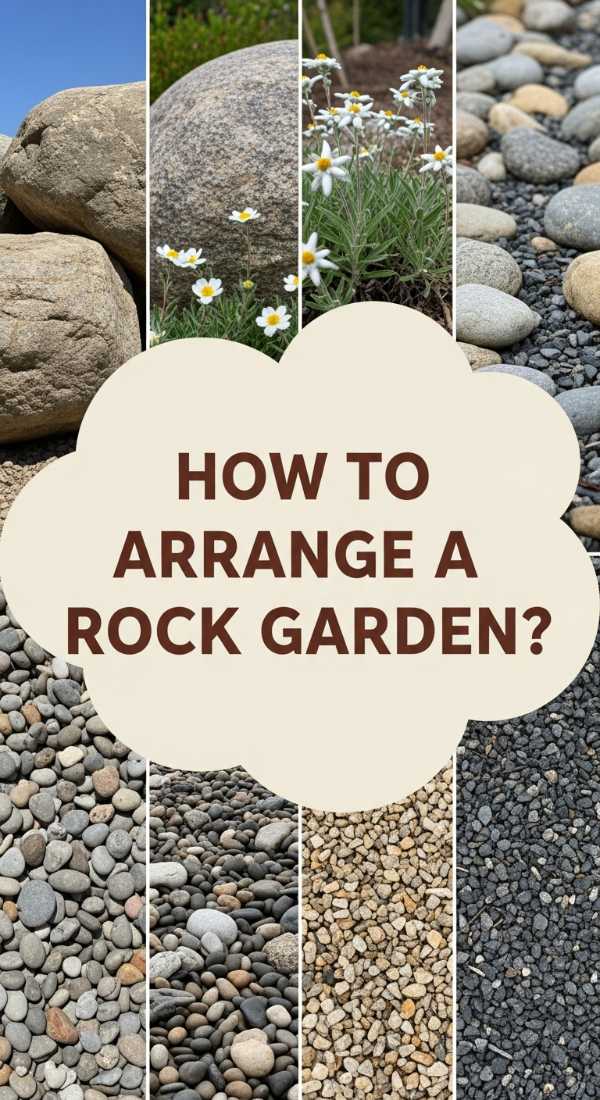
Why we love this
Rock gardens are a masterclass in structural beauty, using the raw, unyielding power of stone to highlight the delicate resilience of alpine plants. There is a rugged, mountainous feel to this design that brings a sense of grand scale to even a small backyard. We love the way tiny succulents and creeping Thyme tuck themselves into the crevices of massive boulders, creating a miniature world of discovery. It’s low-maintenance but high-impact, offering a stark, architectural look that changes beautifully with the shadows of the sun, making it feel like a piece of living sculpture.
Essential Elements:
- Varying sizes of natural stone (boulders, cobbles, and grit)
- Alpine plants and succulents (Sedum, Sempervivum)
- Low-growing ornamental grasses
- Sharp-draining soil mix (sand, gravel, and loam)
- Landscape fabric (optional for weed control)
How to make it
- Choose a sloped area of the yard if possible, or build a mound of soil (a berm) to create the elevation necessary for a realistic rock formation.
- Place your largest ‘keystone’ boulders first, burying them deep enough so they look like ‘outcrops’ of bedrock rather than stones dropped on top of the grass.
- Fill the spaces between the large rocks with a specialized ‘gritty’ soil mix consisting of one part coarse sand, one part compost, and one part native soil.
- Plant small, slow-growing succulents and rock-loving perennials in the ‘pockets’ or crevices between the stones, pressing them firmly into the grit.
- Top-dress the entire area with a layer of smaller river rocks or crushed stone to unify the look and prevent soil from washing away during rain.
- Avoid over-watering; rock garden plants are adapted to harsh conditions and only need supplemental water during extreme, prolonged droughts.
How to Develop a Pollinator Garden Design for Healthy Local Ecosystems

Why we love this
Creating a pollinator garden is like writing a love letter to the planet. It’s a design with a purpose, focusing on native plants that provide essential fuel for bees, butterflies, and hummingbirds. We love the wild, unbridled energy of this space—the tall stalks of Goldenrod, the vibrant orange of Butterfly Weed, and the constant, busy hum of life. It feels ‘active’ and important, offering a front-row seat to the intricate workings of nature. There’s a deep satisfaction in knowing that your choice of flowers is directly supporting the health of your local environment and ensuring the future of our food systems.
Essential Elements:
- Native wildflowers (specific to your region)
- Single-petal flowers (easier for bees to access)
- Consecutive bloomers (spring through late fall)
- Bee hotels or hollow nesting stems
- A source of clean, shallow water
- Zero chemical pesticides
How to make it
- Research and select at least 70% native plants, as local pollinators have evolved specifically to feed on and pollinate these specific species.
- Plan for a ‘succession of blooms’—ensure you have at least three different species blooming in the spring, three in the summer, and three in the late fall.
- Plant in large clusters rather than scattering individual flowers; pollinators are more likely to visit a ‘target’ of flowers that is at least 3 feet in diameter.
- Leave some areas of bare soil or hollow-stemmed plants over the winter; many native bees nest in the ground or inside dead plant stalks.
- Install a ‘bee hotel’ or a simple stack of drilled logs in a south-facing, protected spot to provide essential nesting habitat for solitary bees.
- Eliminate all use of neonicotinoids and other chemical sprays, as these are toxic to the very creatures you are trying to attract and protect.
How to Construct a Rain Garden Design for Sustainable Eco Friendly Living
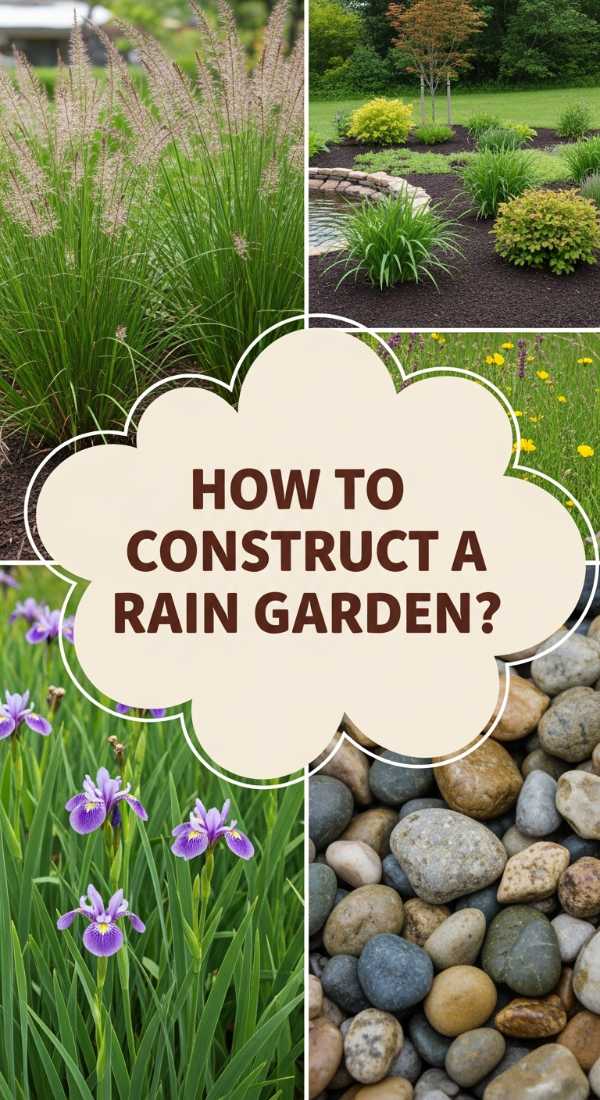
Why we love this
A rain garden is the perfect marriage of form and function, turning a potential drainage problem into a lush, eco-friendly masterpiece. We love the way it transforms after a heavy storm, acting as a natural sponge that filters runoff while looking absolutely stunning. It’s often filled with deep-rooted grasses, sedges, and water-loving blooms like Iris and Joe Pye Weed. The aesthetic is deep, green, and thriving, reminiscent of a healthy wetland or a riverbank. It’s a design that makes you feel good about your impact on the world, managing water responsibly while providing a dense habitat for local wildlife.
Essential Elements:
- A natural or dug-out shallow depression
- Water-tolerant plants (Sedges, Rushes, Swamp Milkweed)
- Deep-rooted native perennials
- Shredded hardwood mulch (it won’t float away)
- River rocks for the ‘inlet’ area
How to make it
- Locate a spot at least 10 feet away from your home’s foundation where water naturally collects or where a downspout can be directed.
- Dig a shallow basin, about 4 to 8 inches deep, with a flat bottom to allow water to spread out and soak in evenly across the entire surface.
- Mix the excavated soil with sand and compost to create a highly permeable ‘filter’ that allows water to disappear within 24 to 48 hours.
- Place ‘moisture-loving’ plants in the deepest part of the basin and ‘moisture-tolerant’ plants on the sloping sides where the soil stays slightly drier.
- Line the area where water enters the garden (the inlet) with heavy river rocks to prevent the force of the water from eroding the soil and uprooting new plants.
- Mulch with 2-3 inches of hardwood chips; unlike pine bark, hardwood is heavy and interlocking, meaning it won’t float and wash away during a heavy downpour.
Cultivating Your Own Slice of Paradise
Designing a garden is a journey of patience, creativity, and a little bit of dirt under the fingernails. Whether you choose the structured peace of a Zen garden or the whimsical abundance of a cottage layout, remember that your garden is a living thing that will grow and change alongside you. Start small, listen to your land, and don’t be afraid to experiment. Your enchanted Eden is waiting to be planted—one seed at a time.