
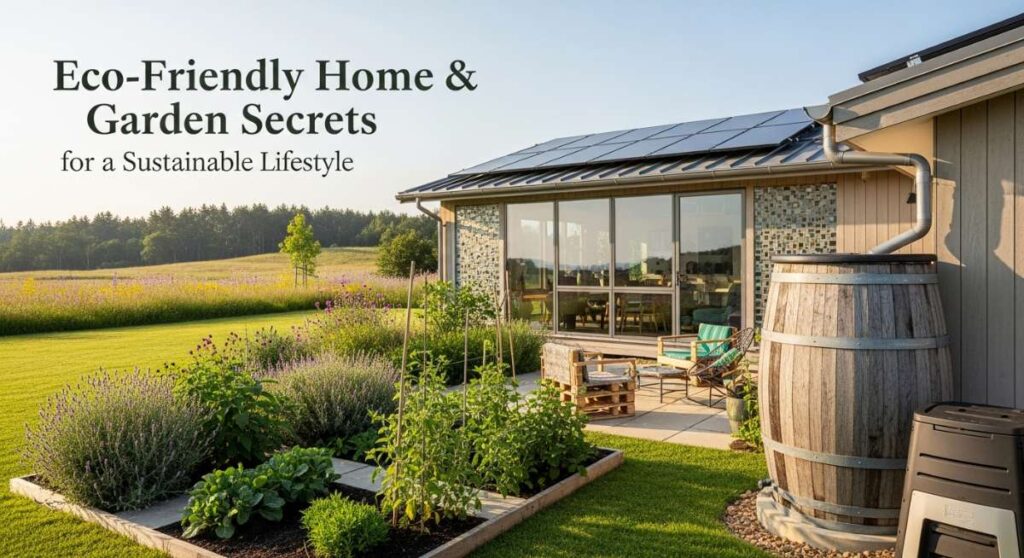
Welcome back to my little corner of the internet, sweet friends! Lately, I’ve been feeling a deep pull toward making my home not just a place to live, but a living, breathing sanctuary that honors the earth. There is something so incredibly soul-soothing about walking into a room that feels like a warm hug, knowing that every choice you’ve made—from the color of your deck to the way you drain your garden—is in harmony with nature. It’s about creating a space where the air feels lighter and your heart feels fuller.
Today, I am beyond excited to share my favorite eco-friendly secrets for turning your home and garden into a sustainable paradise. We’re diving deep into the aesthetic of slow living, where we prioritize beauty without compromise. Whether you’re dreaming of a tropical escape or a perfectly organized craft nook, these ideas are designed to help you cultivate a life of intentionality and joy. Let’s transform our spaces together, one mindful choice at a time!
How to Achieve an Island Theme Style for Pure Relaxation

Why we love this
There is an undeniable magic in the way an island-inspired room captures the essence of a sun-drenched afternoon by the shore. We love this style because it utilizes natural, breathable materials like rattan, jute, and reclaimed wood that feel incredible against the skin and look effortlessly chic. Imagine the scent of salt air and coconut wax candles wafting through a room filled with lush, oversized monsteras and the soft, tactile crunch of a seagrass rug beneath your bare feet. It’s a design philosophy that forces you to slow down, breathe deeply, and embrace the rhythm of the tides right in your living room.
Essential Elements:
- Sustainable rattan or wicker furniture
- Organic cotton or linen textiles in sandy neutrals
- Large-leaf indoor plants (Monstera, Bird of Paradise)
- Natural fiber rugs (Jute or Sisal)
- Repurposed driftwood accents
- Soft, warm ambient lighting
How to make it
- Start by clearing your space of any heavy, synthetic materials to create a blank canvas of light and air.
- Choose a foundational piece of furniture made from fast-growing, sustainable rattan, ensuring it is positioned to catch the most natural light in the room.
- Layer your textiles using only organic fibers; drape a lightweight linen throw over the seating to provide a soft, cooling texture for summer lounging.
- Introduce ‘living’ decor by potting large tropical plants in terracotta or clay pots, which allow the roots to breathe and add an earthy aroma to the air.
- Incorporate driftwood or shells collected from your travels as centerpieces, placing them on reclaimed wood surfaces to bridge the gap between the indoors and the wild coast.
How to Incorporate a Red Entry Divider for Dramatic Flow

Why we love this
A bold, red entry divider is the ultimate statement piece for those who want to infuse their home with energy and a sense of purposeful transition. We love the way a deep crimson or terracotta red draws the eye, acting as a vibrant heartbeat for the home while keeping different living zones distinct and organized. The visual weight of the red provides a stunning contrast against neutral walls, creating a sophisticated ‘gallery’ feel that makes every entry feel like a grand event. It’s a powerful way to use color psychology to stimulate conversation and warmth the moment someone steps through your door.
Essential Elements:
- Eco-friendly, low-VOC red paint in a matte or satin finish
- A salvaged wooden screen or a modern slat room divider
- Leveling tools for precise installation
- Sanding blocks for surface preparation
- Protective non-toxic sealant
How to make it
- Select a divider made from sustainably sourced timber or recycled metal to ensure your dramatic choice remains eco-conscious.
- Prepare the surface by lightly sanding the material with a fine-grit sandpaper, creating a smooth ‘tooth’ for the paint to adhere to without the need for harsh chemical primers.
- Apply the first coat of low-VOC red paint using a high-quality microfiber roller for an even, streak-free finish; let it dry completely for at least 4 hours.
- Lightly buff the first coat and apply a second layer, watching for any drips or pools in the corners to ensure a professional, high-end look.
- Position the divider perpendicular to your entry door to create a ‘foyer effect,’ securing it to the floor or ceiling with hidden brackets to ensure stability and flow.
How to Feature a Blue Entry Divider for Serene Spaces

Why we love this
If the red divider is the heartbeat, the blue entry divider is the soul—a calming, watery threshold that invites you to leave the chaos of the outside world behind. We adore how shades of dusty cerulean or deep navy can mimic the horizon line, instantly lowering the heart rate and signaling a transition into a place of rest. The texture of a painted blue divider, especially when hit by the afternoon sun, creates a shimmering, ethereal effect that makes a narrow entryway feel expansive and cool. It’s the perfect solution for creating a ‘mental reset’ zone as you move from the public world into your private sanctuary.
Essential Elements:
- Non-toxic blue pigment paint (Mineral or Milk paint)
- Translucent glass inserts or open shelving divider
- Natural beeswax polish for a soft sheen
- Soft-bristled brushes for detailed trim work
How to make it
- Choose a shade of blue that reflects your favorite body of water, whether it’s a pale misty teal or a profound midnight blue.
- If using a wooden divider, apply a thin layer of natural milk paint, which allows the grain of the wood to peek through, giving it a weathered, coastal character.
- For a modern look, install a floor-to-ceiling slat divider, ensuring the gaps between slats are wide enough to let light pass through while still providing a visual boundary.
- Seal the finish with a natural beeswax polish, rubbing it in circular motions with a soft cloth to create a glow that looks beautiful under both natural and artificial light.
- Place a small, low-maintenance succulent or an air plant on a nearby ledge to contrast the cool blue with a pop of living green.
How to Implement Drainage Ideas for a Healthy Yard

Why we love this
There is nothing more satisfying than a garden that works with the rain rather than against it, and clever drainage is the secret to a lush, thriving landscape. We love these ideas because they prevent soggy soil and basement leaks while creating beautiful, functional features like dry creek beds and rain gardens. Imagine the sound of rainwater trickling over smooth river stones, being filtered naturally back into the earth rather than rushing into a storm drain. It’s a sustainable way to nourish your plants, protect your home’s foundation, and add a rugged, naturalistic texture to your outdoor space that looks stunning even when dry.
Essential Elements:
- Permeable landscape fabric
- Various sizes of river rock and gravel
- Native, water-loving plants (like Sedges or Irises)
- Perforated drainage pipe (French drain style)
- Shovel and trenching tool
How to make it
- Identify the natural low spots in your yard where water tends to pool after a heavy downpour and map out a path for a dry creek bed.
- Dig a trench about 12-18 inches deep and 2 feet wide, sloping it gently away from your home’s foundation at a rate of 1 inch for every 10 feet.
- Line the trench with permeable landscape fabric to prevent weeds while allowing water to seep through into the ground.
- Fill the base with a layer of coarse gravel, then layer larger river rocks on top, arranging them to look like a natural stream bed with ‘banks’ and ‘curves.’
- Plant native, deep-rooted perennials along the edges of your rock path; these plants will soak up the excess moisture and stabilize the soil with their root systems.
How to Coordinate Two Tone Deck Color Ideas for Modern Luxury

Why we love this
Two-tone decking is the height of modern outdoor luxury, offering a custom, high-end look that defines different zones without the need for walls. We love the sophisticated interplay between a dark, charcoal frame and a warm, honey-toned floorboard—it creates a visual depth that makes a standard deck feel like an architecturally designed masterpiece. The contrast emphasizes the clean lines of your home’s exterior while providing a chic backdrop for minimalist furniture. It’s an eco-friendly way to use different wood stains to highlight the natural beauty of the grain while extending the lifespan of the wood through high-quality, protective pigments.
Essential Elements:
- Water-based, eco-friendly exterior wood stains (two contrasting colors)
- High-quality painter’s tape (for crisp lines)
- Long-handled stain applicators or pads
- Pressure washer for prep
- Sustainably harvested wood decking (like Cedar or Ipe)
How to make it
- Start by pressure washing the entire deck surface to remove old finish, dirt, and debris; allow the wood to dry completely for 48 hours for maximum stain absorption.
- Apply the darker ‘border’ color first to the outer perimeter boards and the stairs, using a precision brush for the edges to ensure no bleeding occurs.
- Once the border is dry, carefully apply painter’s tape along the inner edge of the border boards to protect them from the second color.
- Stain the main floor area with the lighter, complementary shade, working in the direction of the wood grain and applying two thin coats rather than one thick one.
- Remove the tape while the second coat is still slightly tacky to achieve a perfectly sharp, professional transition between the two tones.
How to Arrange Front Door Baskets with Flowers for Charming Entryways
Why we love this
A flower-filled basket hanging on your front door is the ultimate ‘welcome home’ gesture, radiating charm and seasonal beauty before you even step inside. We love this alternative to a traditional wreath because it offers a more organic, overflowing silhouette that feels fresh and gathered from a cottage garden. The scent of fresh blooms greeting you as you turn the key is a daily dose of aromatherapy that lifts the spirit instantly. Plus, using a woven basket allows for easy swapping of seasonal flowers, meaning your entryway can evolve from the soft pastels of spring to the moody jewel tones of autumn with minimal effort.
Essential Elements:
- Flat-backed wicker or seagrass basket
- Floral foam or a small plastic liner
- Seasonal, locally grown flowers
- Trailing greenery (Ivy or Eucalyptus)
- Sturdy over-the-door hook
How to make it
- Choose a basket with a flat back so it rests flush against your door without banging when the door opens and closes.
- Insert a waterproof liner or a piece of soaked floral foam into the bottom of the basket to keep your blooms hydrated for several days.
- Start your arrangement by tucking long, trailing greens like ivy or jasmine around the edges, allowing them to spill over the front for a romantic, ‘wild’ look.
- Add your focal flowers (like peonies or roses) in the center, varying the heights to create a three-dimensional effect that looks beautiful from all angles.
- Fill in any gaps with smaller filler flowers like baby’s breath or lavender, then mist the entire arrangement with water to keep the petals crisp and fragrant.
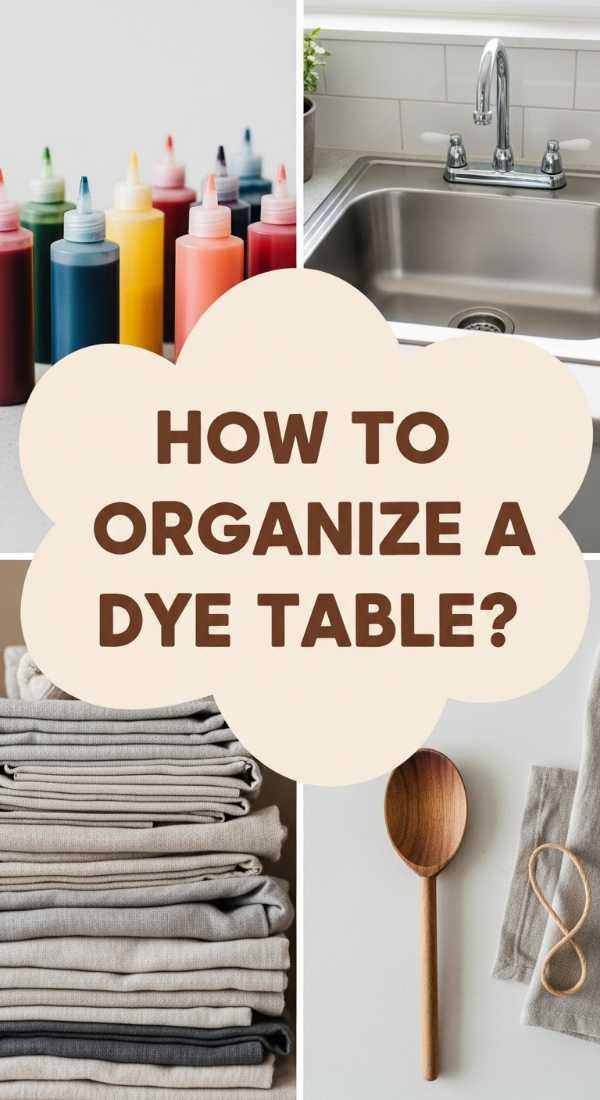
How to Organize a Dye Table for Seamless Crafting
Why we love this
There is something profoundly grounding about the art of natural dyeing, and having a dedicated, organized table makes the process a dream rather than a chore. We love how a well-set-up dye station brings the beauty of the laboratory into the home, with glass jars filled with dried marigolds, avocado pits, and onion skins acting as decor. An organized table allows for a seamless flow between simmering the dyepot and rinsing the fabric, turning a messy hobby into a meditative ritual. It’s the heart of a slow-fashion lifestyle, where you can breathe new life into old linens using nothing but water and plants.
Essential Elements:
- Stainless steel or glass dye pots (non-reactive)
- Labeled jars for natural dyestuffs
- Drying rack or tension rod
- Digital scale for measuring mordants
- Waterproof table protector or reclaimed wood work surface
How to make it
- Designate a sturdy table near a water source or ventilation; cover it with a heavy-duty, reusable drop cloth to protect the surface from splashes.
- Arrange your ‘dyestuff gallery’ on a shelf above the table, using clear glass jars so you can easily see the colors of the dried petals and roots you have available.
- Set up a ‘mordant station’ on one side where you can safely weigh out alum or soy milk, which are essential for helping the natural colors bond to the fiber.
- Place your heating element (like an induction hot plate) in the center, ensuring there is plenty of space on either side for the ‘wet’ and ‘dry’ phases of the project.
- Install a small drying rack or a simple wooden dowel above the table to hang your freshly dyed swatches, allowing you to watch the colors shift and settle as they dry.
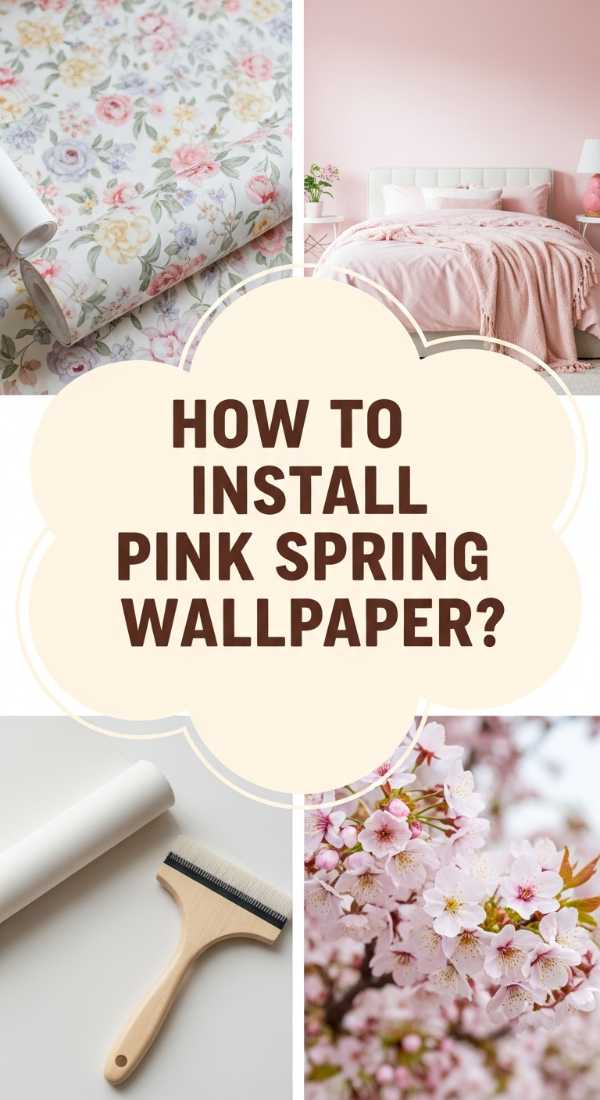
How to Install Pink Spring Wallpaper for Floral Radiance
Why we love this
Pink spring wallpaper is like a permanent bloom for your walls, bringing a soft, rosy radiance into your home that feels both nostalgic and incredibly fresh. We love the way a delicate floral pattern can transform a small powder room or a bedroom into a secret garden, reflecting the soft light of dawn. Opting for eco-friendly, PVC-free wallpaper ensures that your aesthetic choice is also a healthy one, keeping indoor air quality high while you enjoy the intricate details of painted petals and leaves. It’s an instant mood-booster that makes every day feel like the first warm morning of April, regardless of the weather outside.
Essential Elements:
- PVC-free, water-based ink wallpaper
- Non-toxic, cornstarch-based wallpaper paste
- Smoothing tool (squeegee)
- Sharp utility knife with extra blades
- Plumb line or level
How to make it
- Prepare your walls by cleaning them with a simple vinegar and water solution to remove any dust, ensuring the surface is completely dry and smooth.
- Use a plumb line to mark a perfectly vertical starting point on the wall; this is crucial for ensuring your floral pattern doesn’t look tilted.
- Apply the non-toxic paste directly to the wall (if using paste-the-wall paper) or to the back of the paper, letting it ‘book’ for a few minutes to expand.
- Carefully align the first strip with your plumb line, using a smoothing tool to push out air bubbles from the center toward the edges in a gentle, firm motion.
- Match the pattern meticulously for the second strip, overlapping slightly if the manufacturer suggests, and trim the excess at the ceiling and baseboard with a fresh, sharp blade for a seamless finish.
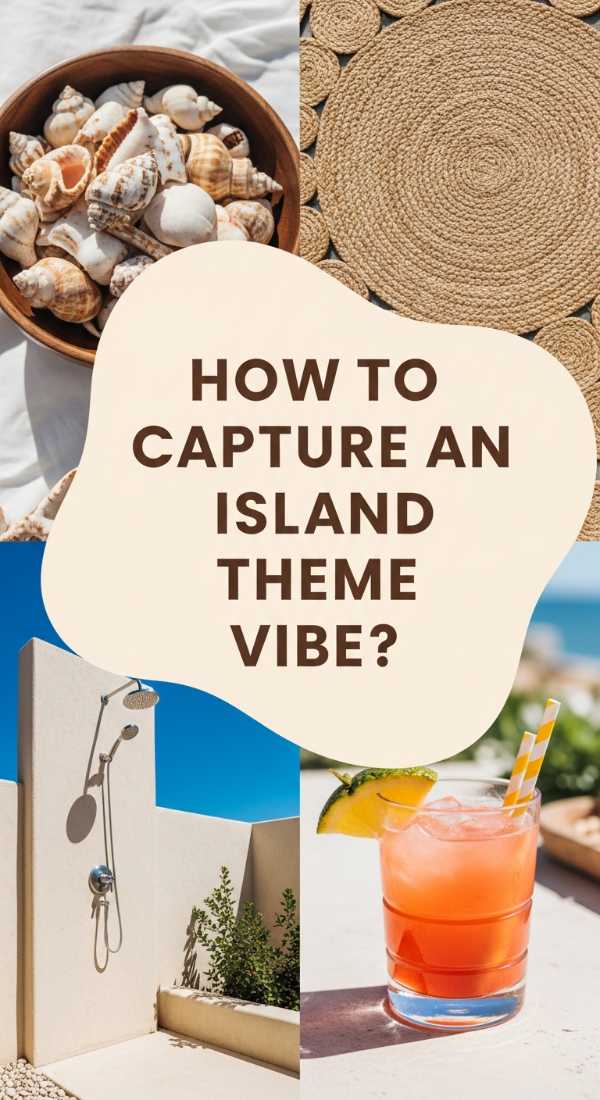
How to Capture an Island Theme Vibe for Permanent Vacation

Why we love this
Capturing an ‘island vibe’ is less about a specific set of furniture and more about a state of mind—a commitment to a permanent vacation lifestyle where ease and beauty are paramount. We love this approach because it focuses on sensory layers: the sound of a bamboo wind chime, the sight of sunlight filtered through linen curtains, and the feeling of open space. It’s about curating a home that doesn’t feel cluttered or demanding, but rather invites you to kick off your shoes and stay a while. By using sustainable, earth-derived elements, you create a home that feels connected to the tropics and the natural world, fostering a sense of peace that lasts all year long.
Essential Elements:
- Sheer, billowy window treatments
- Acoustic elements like bamboo chimes or tabletop fountains
- Woven textures (rattan, seagrass, hemp)
- Fragrance notes of sandalwood, lime, and jasmine
- Minimalist, low-profile furniture
How to make it
- Swap out heavy drapes for sheer linen or cotton panels that catch the breeze and allow soft, diffused light to fill the room throughout the day.
- Introduce a water feature or a set of high-quality wind chimes near a window to create a continuous, soothing soundscape that mimics the rustle of palms.
- Incorporate ‘texture islands’ by grouping a woven chair, a jute rug, and a stone side table together, creating a tactile sanctuary for reading or meditation.
- Use natural essential oil diffusers to scent the air with citrus and botanical notes, avoiding synthetic sprays to keep the environment pure and fresh.
- Keep your surfaces intentionally clear, displaying only a few meaningful pieces like a large conch shell or a bowl of local citrus to maintain a sense of airy, uncluttered freedom.
How to Pair Two Tone Deck Color Ideas for Cohesive Outdoor Living
[IMAGE_10]
Why we love this
When you pair two deck colors with a focus on cohesion, you’re not just building a platform; you’re creating an outdoor room that feels like a natural extension of your indoor living space. We love the way subtle variations—like a warm cedar main deck with a cool grey ‘picture frame’ border—can mirror the colors of your home’s stone accents or siding. This design strategy defines ‘zones’ for dining and lounging without the need for physical barriers, maintaining an open-concept feel that is perfect for entertaining. It’s a sophisticated, eco-friendly way to use high-quality stains to protect your wood while showcasing a thoughtful, designer-level attention to detail.
Essential Elements:
- Coordinating wood stains (check undertones for harmony)
- High-density foam rollers
- Tack cloth for dust removal
- Painter’s tape for delicate surfaces
- Eco-friendly deck cleaner
How to make it
- Analyze the undertones of your home’s exterior—if your siding is cool-toned, choose a grey or slate for your deck border to tie the look together.
- After cleaning and sanding, apply the secondary ‘accent’ color to the railings and the outer-most boards first, as these are the hardest to reach later.
- Use a tack cloth to meticulously wipe away any dust or debris between coats, ensuring the finish is as smooth as glass and perfectly reflects the light.
- When applying the primary color to the main floor area, use a long-handled roller to maintain consistent pressure, which prevents ‘lap marks’ where the stain overlaps.
- Allow the entire deck to cure for at least 72 hours before placing any furniture; use felt pads under heavy planters to protect the two-tone finish from scratches and moisture traps.
Bringing the Dream Home
Creating a sustainable, beautiful home is a journey, not a destination. By incorporating these eco-friendly secrets—from the vibrant energy of a red divider to the serene flow of a rain garden—you are building a space that reflects your values and nurtures your spirit. Remember, the most viral-worthy homes aren’t just about the ‘look’; they are about the feeling of peace and purpose they provide. Go forth and create your own sanctuary!