
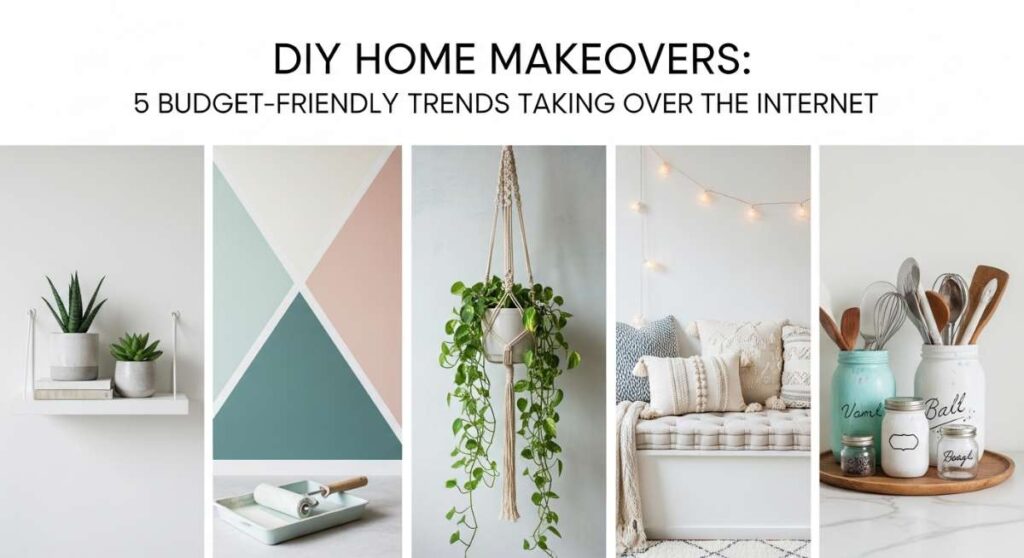
There is something truly magical about the moment you step back and look at a space you transformed with your own two hands. We live in a world that moves so fast, but DIY home makeovers allow us to slow down, pick up a hammer or a paintbrush, and pour our own personality into the very walls that shelter us. It is not just about the aesthetic; it is about the feeling of pride that swells in your chest every time you walk through the front door and see a reflection of your own creativity and hard work.
Lately, the internet has been buzzing with budget-friendly ways to elevate our living spaces without breaking the bank. From the curb appeal of our front yards to the functional corners of a backyard homestead, these trends are taking over because they are accessible, beautiful, and deeply satisfying to complete. Whether you are a seasoned pro or picking up a drill for the first time, these projects are designed to inspire you to create a home that feels uniquely yours.
How to Design Flower Beds for Maximum Curb Appeal
Why we love this
There is nothing quite like the intoxicating aroma of fresh mulch mixed with the sweet, delicate scent of blooming jasmine as you pull into your driveway after a long day. Imagine the sight of layered textures—the velvety leaves of dusty miller contrasting against the glossy, deep green of boxwoods—all bathed in the golden hue of the setting sun. Designing your own flower beds creates a living tapestry that welcomes you home with a burst of color and a sense of serenity that only nature can provide, making your home the envy of the entire neighborhood.
Essential Elements:
- High-quality garden soil and organic compost
- A variety of perennials and annuals (height-staggered)
- Premium wood mulch (dark brown or black)
- Natural stone or metal edging
- Gardening spade and landscape fabric
How to make it
- Begin by outlining the shape of your flower beds using a garden hose or spray paint to create soft, organic curves rather than rigid straight lines for a professional look.
- Remove any existing grass or weeds within the perimeter using a sharp spade, ensuring you dig deep enough to remove root systems and prevent regrowth.
- Amend the soil by mixing in a 3-inch layer of organic compost and high-quality topsoil, tilling it to a depth of 6-8 inches to ensure a nutrient-rich environment for your plants.
- Arrange your plants while they are still in their nursery pots; place the tallest specimens in the back, mid-sized plants in the center, and low-growing groundcovers at the front edge to create depth.
- Dig holes twice as wide as the root ball of each plant, gently loosen the roots, and set them into the ground at the same depth they were in the pot, then firm the soil around them.
- Install your chosen edging material along the perimeter to keep grass out and mulch in, ensuring a clean, crisp transition between the lawn and the bed.
- Apply a 2-to-3-inch layer of mulch across the entire bed, being careful not to pile it against the stems of the plants, then water deeply to settle the soil and hydrate the new additions.
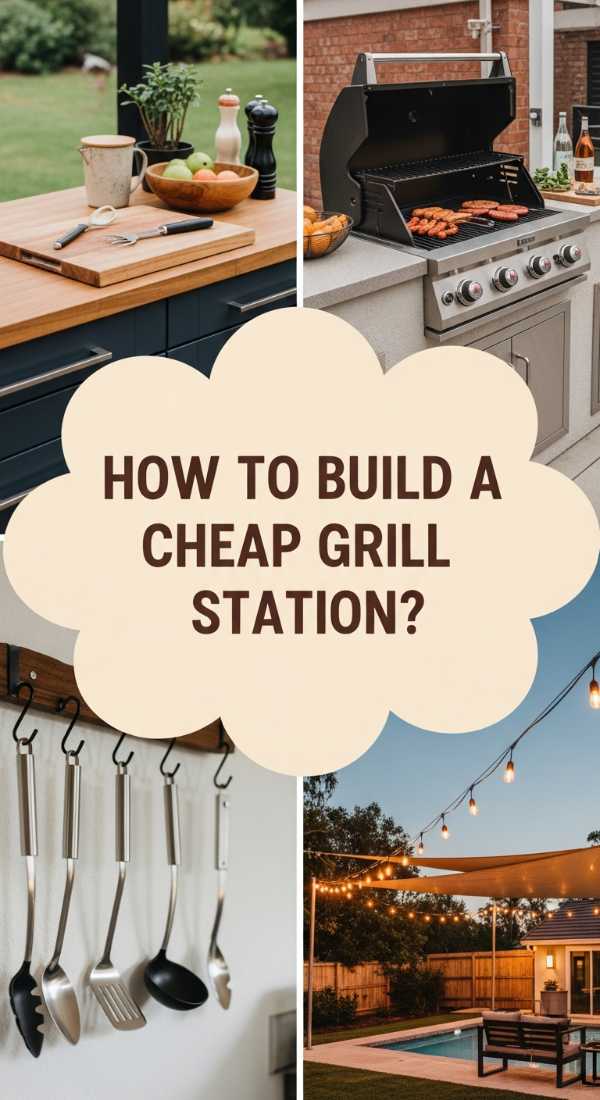
How to Create a DIY Grill Station for Outdoor Entertaining

Why we love this
Picture the sizzle of marinated vegetables hitting a hot grate while the smoky, savory aroma of charcoal fills the air, drawing friends and family toward the patio. A custom grill station isn’t just a piece of furniture; it is the heart of your outdoor living space, offering the smooth, cool touch of a stone countertop and the sturdy, rustic feel of cedar wood. It transforms a simple cookout into a professional culinary experience, providing the perfect stage for clinking glasses, shared laughter, and the unforgettable taste of fire-kissed meals enjoyed under the stars.
Essential Elements:
- Pressure-treated 4×4 posts and 2×4 framing lumber
- Cedar or composite decking boards for cladding
- Concrete board and outdoor-rated tile or stone for the countertop
- Stainless steel hooks and drawer pulls
- Exterior grade wood screws and heavy-duty casters (optional)
How to make it
- Design your blueprint based on the height of your grill and the available space, typically aiming for a standard counter height of 36 inches for ergonomic comfort.
- Construct the base frame using 4×4 posts for the corners and 2×4 cross-members, securing them with pocket hole screws or galvanized exterior screws for maximum stability.
- Install a middle shelf using plywood or decking boards to create storage for charcoal, wood chips, or heavy cast iron pans, ensuring it is level and securely fastened.
- Apply the exterior cladding, such as cedar slats or stone veneer, to the sides of the frame, leaving a small gap between wood slats for air circulation and natural expansion.
- Cut a piece of concrete backer board to fit the top of your station, then apply outdoor-rated thin-set mortar to lay your tile or stone countertop, allowing it to cure for 24 hours.
- Grout the tile lines using a waterproof grout and seal the entire countertop to protect it from grease stains and harsh weather conditions.
- Mount stainless steel hooks on the sides for hanging tongs and brushes, and add a bottle opener or towel rack as a finishing touch before positioning your grill.
How to Modernize a Seventies Ranch for Timeless Style

Why we love this
Stepping into a modernized ranch is like taking a deep breath of fresh air; gone are the dark, cramped hallways and the musty scent of dated shag carpeting. Instead, you are greeted by the crisp, clean lines of bright white trim against soft, warm neutral walls that catch the morning light in every corner. The tactile satisfaction of running your hand over smooth, matte black hardware and the visual harmony of light oak flooring creates a home that feels both nostalgic and completely current, blending mid-century charm with a sophisticated, airy elegance.
Essential Elements:
- High-quality interior paint (matte or eggshell finish)
- Modern matte black or brushed gold hardware
- Lightweight MDF or wood craftsman-style trim
- Updated light fixtures (sputnik or minimalist globes)
- New interior doors (shaker style)
How to make it
- Start by removing dated elements like popcorn ceilings using a scraper and water, then sand the surface smooth and prime it for a fresh coat of bright white ceiling paint.
- Replace thin, scalloped baseboards and window casings with wider, flat-profile craftsman-style trim to instantly ground the rooms and add architectural interest.
- Paint the walls in a cohesive, light-reflecting color palette such as warm whites, soft greys, or muted greiges to make the traditionally low ceilings feel much higher.
- Swap out every yellowed plastic light switch and outlet cover with modern, clean-lined versions, and replace dated brass boob-lights with contemporary pendants or recessed lighting.
- Update the kitchen and bathroom cabinets by painting them a sophisticated navy or forest green and installing sleek, elongated drawer pulls.
- Remove old carpeting and install wide-plank luxury vinyl tile or engineered hardwood in a light oak finish to create a seamless flow throughout the entire house.
- Replace hollow-core flat doors with solid Shaker-style doors, finishing them with high-quality hinges and lever-style handles for a premium, heavy-duty feel.
How to Construct a DIY Wood Trellis for Vertical Gardening
Why we love this
There is a profound beauty in watching a garden grow upward, with delicate green tendrils of sweet peas or climbing roses slowly weaving their way through a handcrafted wooden lattice. The trellis itself offers a rugged, earthy texture that ages beautifully over time, providing a structural backbone to the wild, flowing nature of the vines. As the seasons pass, it becomes a living wall of scent and color, offering a private sanctuary where you can feel the coolness of the shade and hear the gentle rustle of leaves against the wood.
Essential Elements:
- Pressure-treated 2×2 lumber or cedar lath strips
- Exterior wood glue and 1-inch galvanized finish nails
- Wood stain or outdoor sealant
- Heavy-duty wall anchors or wooden stakes
- Measuring tape and a miter saw
How to make it
- Determine the desired height and width of your trellis based on the plant species; heavier vines like wisteria require a much sturdier frame than light morning glories.
- Cut your perimeter frame pieces from 2×2 lumber, mitering the corners at 45 degrees for a professional, clean joint, then glue and nail them together.
- Lay out your vertical lath strips across the frame with even spacing—typically 4 to 6 inches apart—and secure them at the top and bottom with finish nails.
- Overlay the horizontal lath strips across the vertical ones to create a classic grid or a trendy diamond pattern, ensuring every intersection is nailed for structural integrity.
- Sand any rough edges or splinters and apply two coats of high-quality exterior stain or a clear UV-resistant sealant to protect the wood from rot and sun damage.
- If attaching to a wall, use spacers to create a 2-inch gap between the trellis and the house to allow for air circulation and prevent moisture buildup on your siding.
- Secure the base of the trellis into the ground with pressure-treated stakes or mount it firmly to the wall anchors, then plant your climbers at the base and gently train the first few stems.
How to Install a Coop Poop Shelf for Easier Cleaning

Why we love this
Homesteading is a labor of love, and anything that turns a messy chore into a quick, five-minute task is a game-changer for the modern chicken keeper. Imagine opening your coop in the morning to the sound of happy clucking and the fresh, clean scent of pine shavings, rather than the overwhelming odor of waste. A poop shelf provides a smooth, easy-to-scrape surface that catches everything overnight, keeping the floor pristine and the air clear. It is the ultimate practical upgrade that ensures your feathered friends are healthy and your morning routine is as smooth as silk.
Essential Elements:
- Plywood or OSB cut to fit under the roosting bars
- Self-adhesive vinyl flooring or linoleum remnants
- Heavy-duty shelf brackets or wooden cleats
- Construction adhesive and a staple gun
- PDZ (Sweet PDZ) or sand for the surface
How to make it
- Measure the area directly beneath your chickens’ roosting bars, ensuring the shelf will be wide enough to catch all droppings (usually 18-24 inches wide).
- Cut your plywood to size and wrap the top and sides with a single piece of vinyl flooring, securing it on the underside with a staple gun to create a completely waterproof, non-porous surface.
- Install wooden cleats or heavy-duty metal brackets onto the coop walls about 8 to 12 inches below the roosting bars, ensuring they are level and can support the weight of the shelf.
- Place the vinyl-wrapped shelf onto the brackets, securing it with screws from underneath so it remains stable but can be removed for deep cleaning if necessary.
- Apply a thin layer of Sweet PDZ (stall refresher) or construction-grade sand over the vinyl; this helps to dry out droppings instantly and makes scooping them a breeze.
- Incorporate a routine of using a handheld sifter or a small rake to clear the shelf every morning, which takes less than 60 seconds and keeps the coop smelling fresh.
- Periodically wipe down the vinyl surface with a mixture of water and white vinegar to sanitize the area and maintain a healthy environment for your flock.
Conclusion: Your Home, Your Masterpiece
Embarking on a DIY journey is about more than just home improvement; it is about the stories you build into every corner of your living space. Whether you are planting a vibrant garden, building a station for summer cookouts, or modernizing an older home, you are creating a sanctuary that reflects your soul. So, grab your tools, trust your vision, and start crafting the home of your dreams one project at a time.