

We’ve all been there: staring at that big, white, empty wall in the living room while scrolling through Pinterest, only to realize that the stunning canvas everyone is raving about costs more than a month’s rent. It’s disheartening when your heart wants a ‘Vogue’ interior but your bank account is screaming ‘thrift store.’ But here’s the secret the pros don’t want you to know—you don’t need a gallery-owner’s budget to create a space that feels curated, intentional, and expensive AF.
Decorating your home should be an emotional journey, a way to wrap your soul in a physical environment that reflects who you are. When we look at our walls, we should see memories, textures, and colors that spark joy, not a reminder of what we couldn’t afford. By mixing a little DIY magic with strategic styling, we can turn any ‘meh’ apartment or house into a high-end sanctuary that smells of luxury and looks like a million bucks.
How to Elevate a Patio Space for Endless Summer Evenings
Why we love this
There is nothing quite like the sensory experience of a summer twilight, where the air is thick with the scent of blooming jasmine and the distant hum of cicadas. By bringing wall art outdoors, you transform a simple patio into an extension of your living room, creating a tactile sanctuary where the rough texture of weather-treated wood meets the soft glow of amber string lights. The visual feast of a well-decorated exterior wall provides a focal point that grounds the space, making your evening cocktails feel like a VIP experience at a Mediterranean resort.
Essential Elements:
- Weatherproof cedar planks or reclaimed wood pallets
- UV-resistant outdoor acrylic paints or stains
- Heavy-duty exterior mounting hardware
- Solar-powered LED accent spotlights
- Potted trailing ivy or succulents for vertical texture
How to make it
- Begin by measuring your exterior wall space to ensure the scale of your art doesn’t overwhelm the seating area; a 2:3 ratio usually works best for outdoor balance.
- Prepare your wood by sanding it down with a 120-grit sandpaper to remove any splinters, then apply a clear, water-based sealant to protect it from humidity and rain.
- Lay your planks horizontally and secure them with cross-beams on the back, using galvanized screws that won’t rust over time.
- Apply a ‘wash’ technique with your paint—dilute your acrylic paint with 50% water—and brush it on in long, sweeping motions to let the natural wood grain peek through for an organic, high-end look.
- Mount the piece using a French Cleat system, which distributes the weight evenly and ensures the art stays level even during windy summer storms.
- Finally, position a solar spotlight at the base of the wall to graze the surface with light, highlighting the texture and creating dramatic shadows after sunset.
How to Curate a Family Photo Gallery for a Heartfelt Home

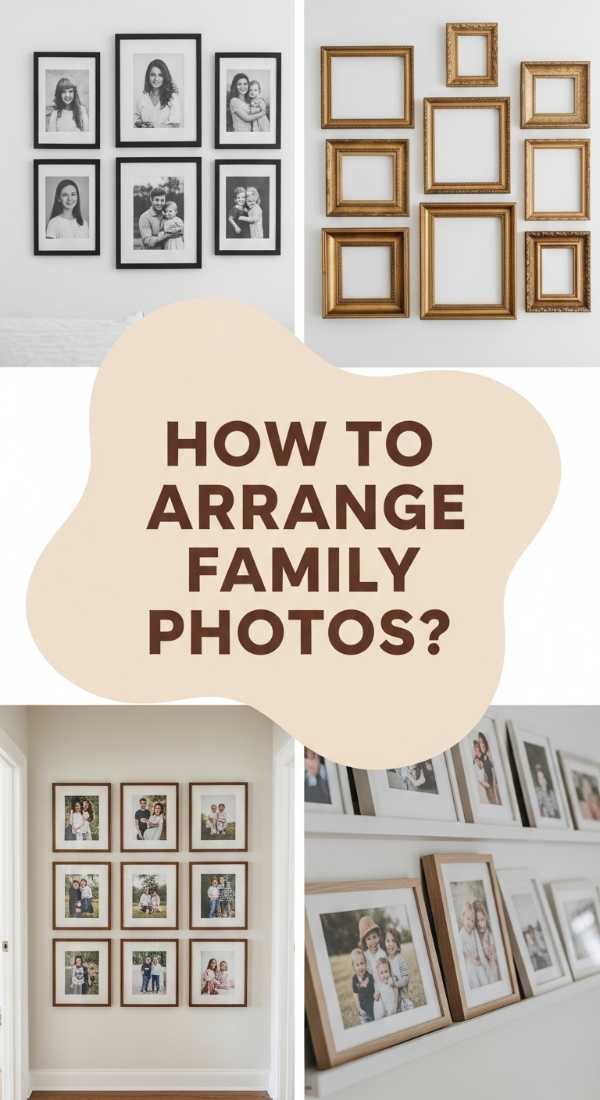
Why we love this
A gallery wall of family photos is more than just decor; it is a visual heartbeat that pulses with the warmth of shared laughter and the nostalgia of sun-drenched afternoons. When done with oversized white mats and sleek black frames, it creates a rhythm of sophisticated symmetry that feels like a professional museum installation. The subtle aroma of old printed paper and the crisp, clean lines of the frames provide a grounding presence in a hallway, turning a transit space into a walk through your most cherished milestones.
Essential Elements:
- Uniform frames (all the same color and material)
- Oversized white or cream-colored acid-free mats
- High-resolution black and white printed photographs
- A level, measuring tape, and painter’s tape
- Foam adhesive spacers for depth
How to make it
- Select your photos and convert them all to a consistent black and white filter to hide variations in lighting and quality, ensuring a cohesive look.
- Order prints that are at least one size smaller than your frames—for example, use 5×7 prints in 11×14 frames with wide mats—to create that expensive ‘art gallery’ negative space.
- Lay your frames out on the floor first to experiment with the grid; a 3×3 or 2×4 grid is the most traditional way to achieve a high-end, structured aesthetic.
- Use painter’s tape to mark the exact corners of each frame on the wall, ensuring there is exactly 2 inches of space between every single frame for perfect mathematical alignment.
- Hammer in your hooks, ensuring you account for the wire tension so the frames hang at the exact height of your tape marks.
- Use a small level on top of every frame and apply a tiny bit of museum wax or a Command strip to the bottom corners to prevent the photos from shifting when people walk by.
How to Style an Above Bed Sanctuary for Peaceful Dreams
Why we love this
The bedroom is your ultimate retreat, and the space above the headboard is the crown jewel of that sanctuary. We love using soft, textural wall hangings like oversized woven tapestries or muted canvas triptychs because they absorb sound, creating a literal and figurative hush that settles over the room. The sight of gentle, flowing fabrics combined with the faint scent of lavender linen spray evokes a feeling of being enveloped in a cloud, providing a visual ‘hug’ that prepares your mind for deep, restorative rest.
Essential Elements:
- Large-scale textile hanging or a set of three matching canvases
- A sturdy wooden dowel or a decorative brass rod
- Magnetic quilt hangers for a modern touch
- Integrated warm-toned puck lights
- Natural linen or cotton materials
How to make it
- Identify the width of your headboard; your wall art should span approximately two-thirds to three-quarters of that width to maintain visual weight.
- If using a textile, iron it on a low heat setting to remove every single wrinkle, as shadows in the fabric can make a DIY project look ‘cheap’ rather than ‘chic.’
- Install your rod or dowel at least 8 to 12 inches above the headboard to prevent anyone from bumping their head while sitting up in bed.
- For a triptych (three panels), ensure the center panel is perfectly centered with the middle of the bed, and use a spacer block to keep exactly 3 inches between the panels.
- Install battery-operated LED puck lights with a remote onto the ceiling above the art to wash the texture in a soft glow, mimicking the lighting design of a luxury hotel.
- Check the security of the mount by gently tugging; in a bedroom, safety is paramount, so use wall anchors if you are drilling into drywall.
How to Design a Stairs Gallery for a Grand Entrance

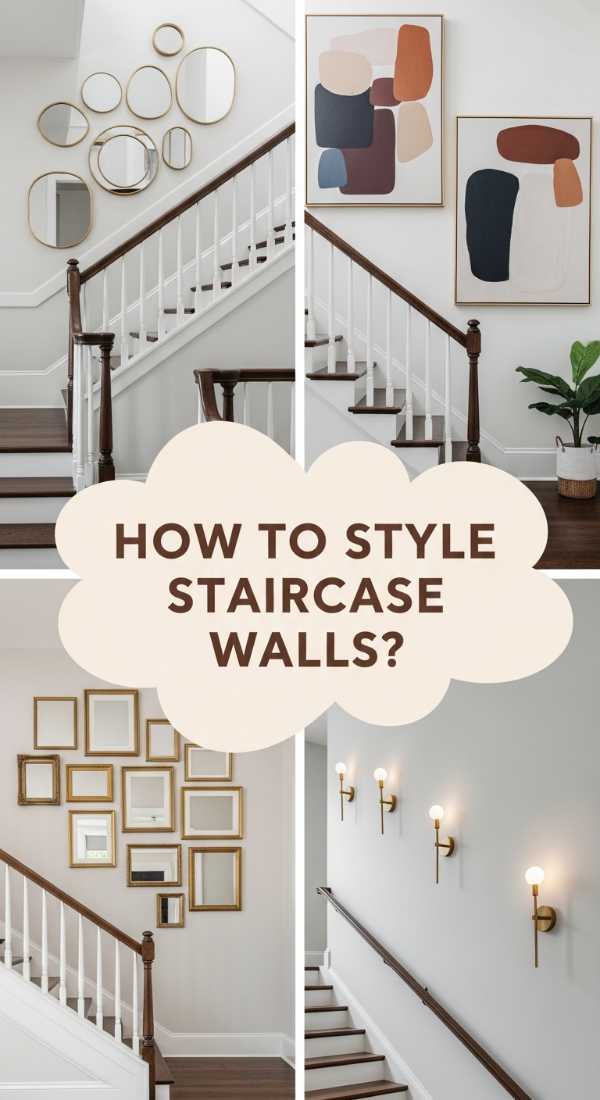
Why we love this
Staircases are often the most overlooked ‘real estate’ in a home, but they offer a unique vertical canvas that can create a sense of movement and grandeur. As you ascend, the varying heights of the artwork lead your eye upward, making the ceiling feel infinitely higher and the entrance more expansive. The mixture of glass reflections and the solid thud of footsteps on wood creates a cinematic experience that tells guests they have arrived somewhere truly special and curated.
Essential Elements:
- An assortment of frames in varying sizes but a unified color palette
- Archival-quality art prints or sketches
- Heavy-duty wall anchors
- A long piece of butcher paper for templating
- Pencil and low-tack masking tape
How to make it
- Trace every frame onto your butcher paper and cut out the templates, labeling each one so you know which piece of art it represents.
- Determine your ‘baseline’ by measuring up 58 inches from each stair tread and marking a light pencil line; this creates a diagonal axis that follows the pitch of the stairs.
- Tape your paper templates along this diagonal line, starting from the middle of the staircase and working your way out to the top and bottom.
- Step back frequently to the bottom of the stairs to check the ‘flow’; you want the art to feel like a rising wave rather than a cluttered pile.
- Once satisfied, nail directly through the paper templates to ensure the placement is millimetre-perfect, then rip the paper away.
- Ensure all frames are secured with two points of contact (top and bottom) so they don’t rattle or tilt when people run up and down the stairs.
How to Infuse Mexican Heritage for a Vibrant Living Space
Why we love this
There is a soul-stirring energy in Mexican-inspired decor, where the vibrant pigments of cobalt blue, terracotta, and sunshine yellow collide with the earthy aroma of clay and hand-woven wool. This style celebrates the ‘perfect imperfection’ of the human touch, making a living space feel lived-in, storied, and incredibly welcoming. The tactile nature of raised ceramic tiles or Otomi-embroidered wall hangings adds a layer of rich history that standard department store art simply cannot replicate.
Essential Elements:
- Hand-painted Talavera ceramic tiles
- Framed Otomi textiles or colorful serapes
- Wrought iron wall sconces
- Terracotta wall planters
- A bold, warm-toned accent wall color (like deep ochre)
How to make it
- Start by selecting a focal point, such as a large framed piece of Otomi fabric, and mount it at eye level (approx. 57-60 inches from the floor).
- Create a ‘floating’ tile border by adhering individual Talavera tiles to a thin piece of plywood using construction adhesive, then framing the plywood for a high-end mosaic look.
- Use a matte-finish paint for the wall behind the art; a flat ‘Cochineal Red’ or ‘Agave Green’ provides a velvety backdrop that makes the colors of the art pop.
- Incorporate 3D elements like a decorative wrought iron cross or a sun-shaped mirror to break up the flat surfaces of the frames.
- Mix textures by hanging a small woven basket next to a framed print to emphasize the ‘artesanal’ feel of the collection.
- Light the area with warm-spectrum bulbs (2700K) to enhance the richness of the reds and oranges in the heritage pieces.
How to Transform a Dorm Room for Ultimate Study Inspiration
Why we love this
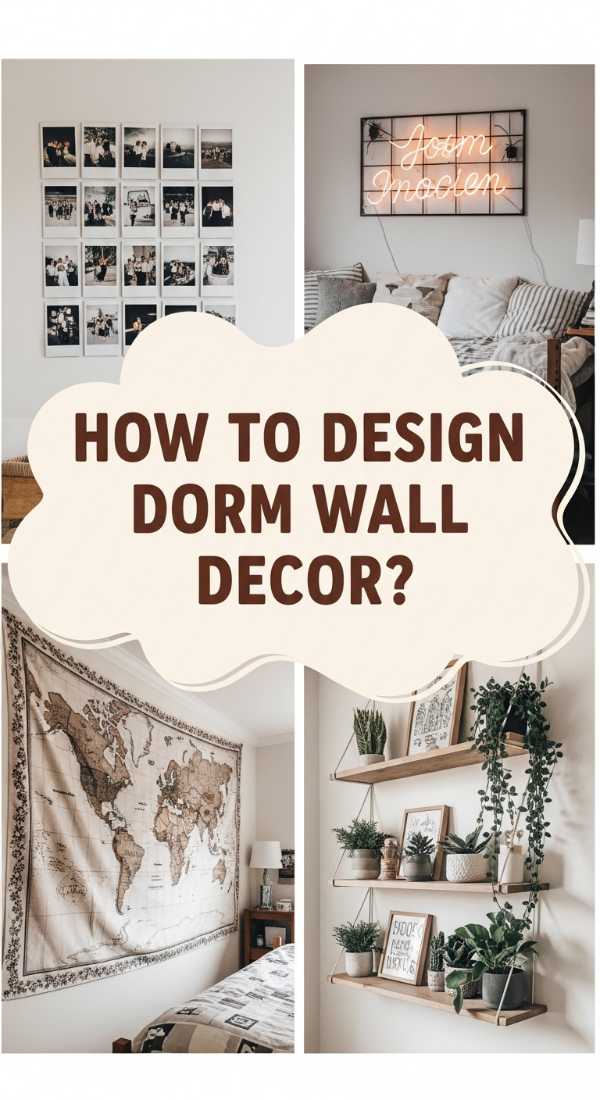
Dorm rooms are notoriously cold and institutional, but clever wall art can turn a ‘concrete box’ into a sophisticated studio that smells of fresh coffee and ambition. We love using removable elements that allow for total personalization without risking a security deposit. By creating a visual mood board of your goals and inspirations, you create a psychological ‘trigger’ that signals your brain it’s time to focus, all while making your small space look like a high-end boutique office.
Essential Elements:
- Damage-free Command hooks and strips
- Removable peel-and-stick wallpaper or fabric
- Washi tape in metallic gold or black
- Grid-style wire wall organizers
- Lightweight foam-core boards
How to make it
- Apply a panel of removable wallpaper to the wall directly behind your desk to create a ‘zone’ that separates your study area from your sleeping area.
- Create ‘faux frames’ by taping your prints or photos directly to the wall and using black washi tape to create a 1-inch border around them; it looks modern and sleek for pennies.
- Mount a gold-toned wire grid using clear Command hooks to hold your syllabus, inspiring quotes, and polaroids without cluttering your desk surface.
- For a larger ‘statement’ piece, mount a lightweight fabric tapestry using binder clips hung on small nails or hooks, which gives the wall a soft, expensive texture.
- Arrange your art in a ‘staggered’ layout to make the small space feel more dynamic and less cramped.
- Add a battery-operated clip light to your wire grid to highlight your favorite memories and provide task lighting for late-night study sessions.
How to Create a Coastal Escape for Breezy Seaside Vibes
Why we love this
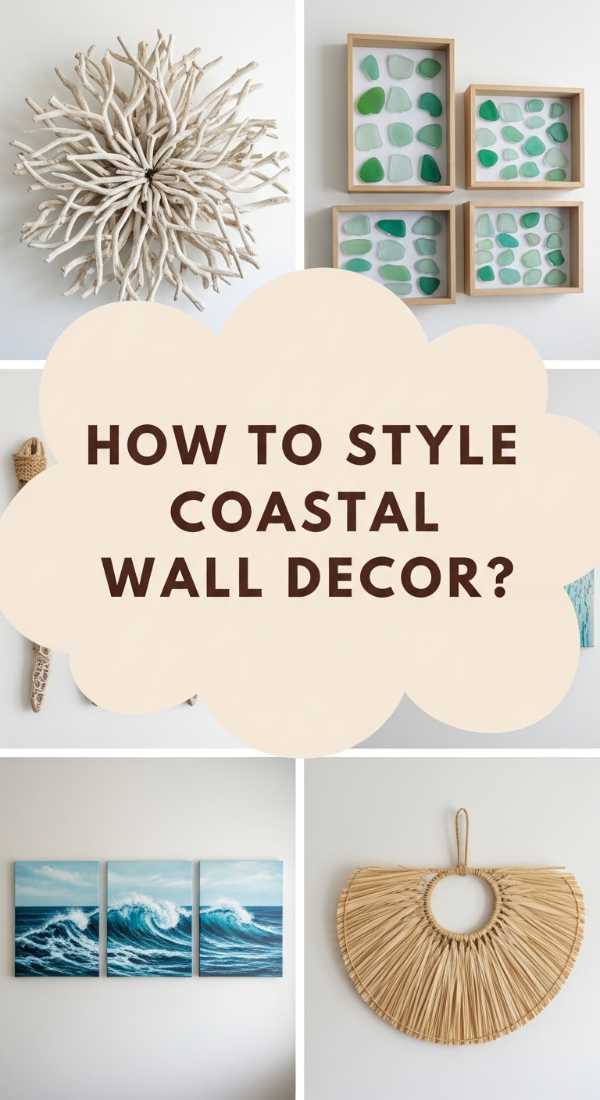
A coastal-themed wall doesn’t have to be about anchors and ‘Beach This Way’ signs; it’s about capturing the ethereal quality of the ocean—the scent of salt spray, the bleached texture of driftwood, and the calming palette of seafoam and sand. By using natural materials and expansive, airy imagery, you can lower the visual ‘temperature’ of a room. This approach creates a serene atmosphere that feels like a permanent vacation, making every breath in the room feel a little deeper and more relaxed.
Essential Elements:
- Natural driftwood pieces (cleaned and dried)
- Framed oversized coral or botanical sea-fan prints
- Shadow boxes with collected shells or sea glass
- Jute or seagrass wall hangings
- White-washed wooden frames
How to make it
- Select your ‘anchor’ piece—preferably an oversized, misty ocean photograph in a thin, white-washed frame—and hang it as the central focus.
- Mount a horizontal piece of driftwood above the frame by using hidden ‘L’ brackets or heavy-duty fishing line for a floating effect.
- Create a ‘specimen’ wall by placing three identical shadow boxes in a row, each containing a single, large white starfish or sea fan against a navy blue background.
- Space your elements widely; coastal decor thrives on ‘breathability,’ so avoid overcrowding the wall to keep that airy, seaside feeling.
- Incorporate a round jute mirror to mimic the look of a porthole while adding a rustic, sandy texture to the arrangement.
- Ensure your lighting is cool-toned (around 3500K-4000K) to replicate the bright, crisp light of a morning at the beach.
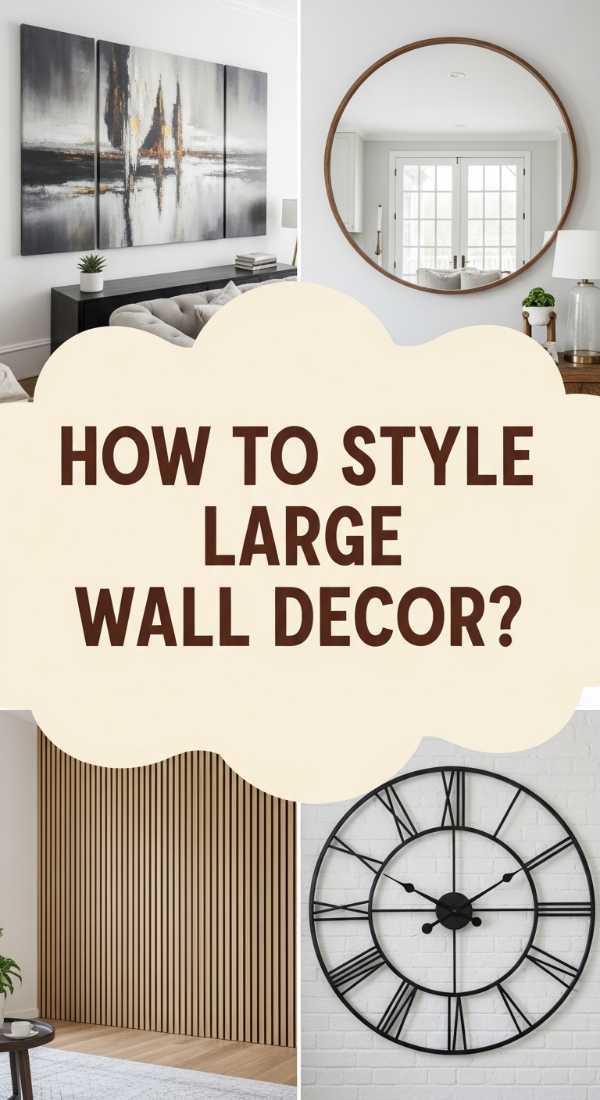
How to Master Large Wall Decoration for a Bold Statement
Why we love this
There is an undeniable ‘wow factor’ in large-scale art that commands the attention of everyone who enters the room. It eliminates the visual ‘noise’ of many small pieces and replaces it with a singular, confident expression of style. The feeling of standing before a massive canvas is transformative, almost like being in a private gallery where the aroma of high-quality oil paints and the sheer scale of the work make the walls feel like they are expanding. It is the ultimate ‘expensive’ look on a budget.
Essential Elements:
- Engineering prints (oversized, low-cost architectural prints)
- DIY wooden frame strips (1×2 lumber)
- Staple gun and wood glue
- Matte black spray paint for the frame
- A large drop cloth or canvas tarp
How to make it
- Print a high-resolution photo as an ‘engineering print’ at a local print shop; these are massive (up to 3×4 feet) and cost very little because they are printed on thin paper.
- Build a simple ‘box frame’ by cutting your 1×2 lumber to match the dimensions of your print, joining the corners with wood glue and small finish nails.
- Spray paint the frame in a matte black or metallic brass finish, ensuring you apply two thin coats for a professional, non-drip surface.
- Mount your print to a piece of foam board or thin plywood using spray adhesive, working from the center outward to eliminate air bubbles.
- Insert the mounted print into your DIY frame and secure it from the back with a staple gun.
- When hanging, use a heavy-duty ‘D-ring’ hanger on both sides of the frame to ensure it stays perfectly flush against the wall despite its size.
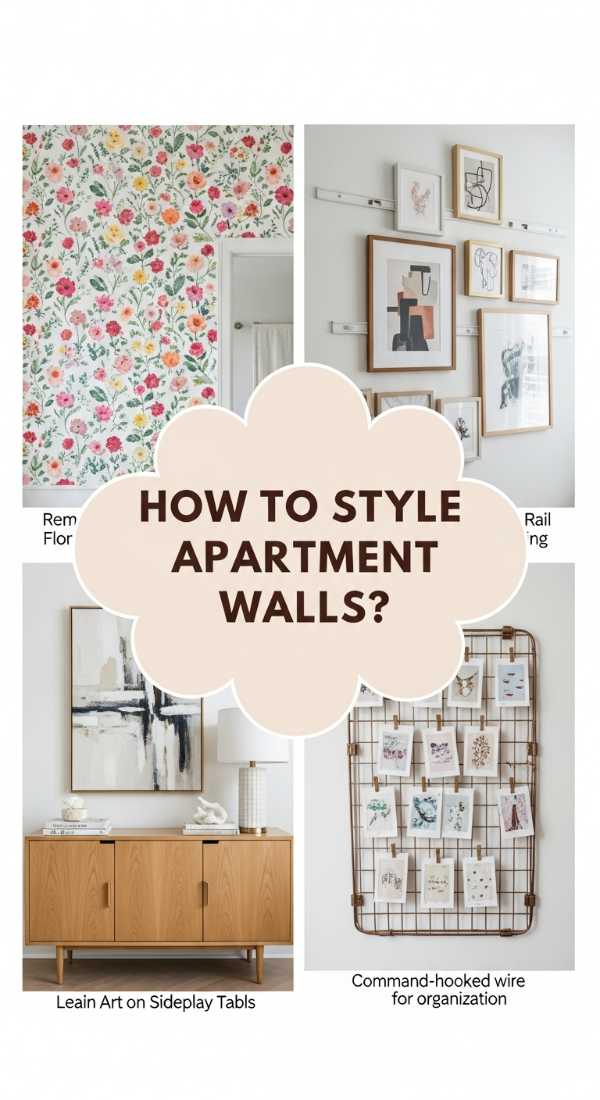
How to Personalize an Apartment Wall for a Luxe Custom Look
Why we love this
Apartment living often feels temporary, but personalizing your walls makes a rental feel like a permanent estate. We love the ‘leaning’ technique—placing large mirrors or framed art on the floor or atop furniture—because it feels effortless, bohemian, and incredibly chic. It avoids the ‘stiffness’ of traditional hanging and allows the textures of the wall and the art to interact in a way that feels curated over time. It’s a sophisticated way to show off your personality without ever picking up a drill.
Essential Elements:
- Oversized floor mirror with a vintage frame
- Large-scale ‘leaner’ art pieces
- Command ‘Picture Hanging Strips’ (heavy duty)
- Small decorative easels for shelf art
- Vinyl wall decals in geometric or organic shapes
How to make it
- Select a large, heavy mirror to lean against your main wall; this doubles the light in the room and makes the apartment feel twice as large.
- Layer your art: place a smaller framed print slightly overlapping the corner of the leaned mirror to create depth and a ‘designer’ layered look.
- Use Command strips to hang a series of lightweight, frameless canvases in a random, organic cluster to avoid the ‘perfect grid’ which can look too clinical in a small apartment.
- Incorporate ‘living art’ by hanging a lightweight propagation station (glass tubes in wood) to add the freshness of green leaves to your wall.
- If you have a bookshelf, remove the books from one section and place a framed piece of art inside the shelf to create a ‘niche’ gallery look.
- Always use felt pads on the bottom of leaning items to protect your apartment floors and prevent the art from sliding.
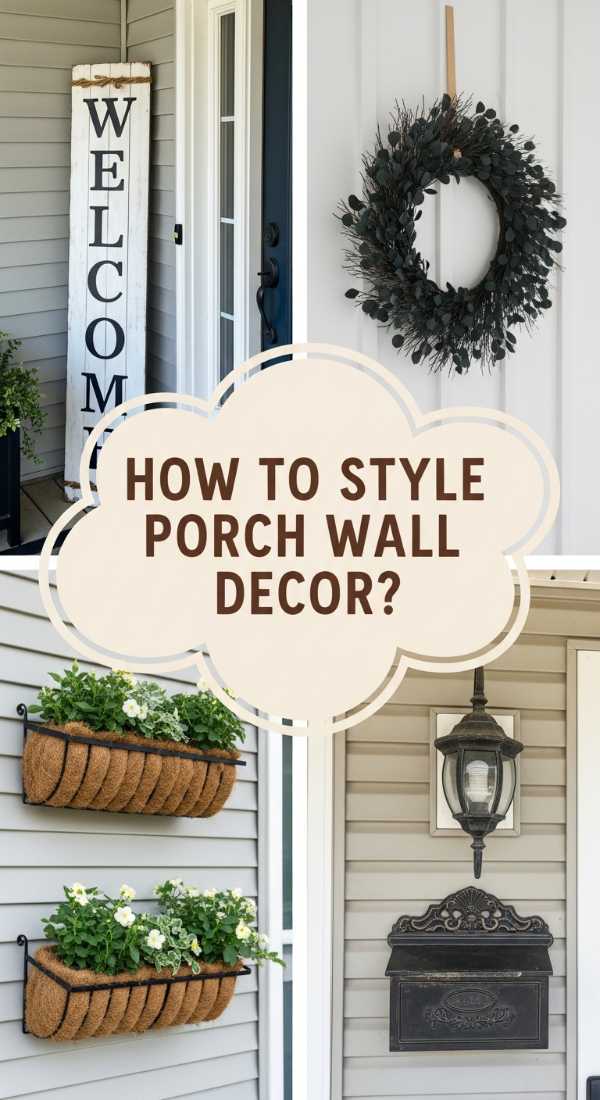
How to Welcome Guests with a Porch Refresh for Instant Charm
[IMAGE_10]
Why we love this
The front porch is the ‘handshake’ of your home, and wall decor here sets the emotional tone for everything that lies inside. We love the combination of rustic wooden signs and living walls because they bridge the gap between nature and architecture. The smell of fresh cedar mixed with the earthy dampness of potting soil creates an immediate sense of ‘home,’ telling your guests that this is a place of warmth, comfort, and meticulous care. It’s the ultimate curb-appeal hack that looks far more expensive than it actually is.
Essential Elements:
- Vertical wall planters or a ‘living wall’ kit
- A large, hand-painted wooden ‘Welcome’ sign
- Outdoor-rated lanterns or sconces
- Woven outdoor wall baskets
- All-weather ribbons or seasonal wreaths
How to make it
- Sand a 4-foot tall pine board and stain it in a dark ‘Ebony’ or ‘Walnut’ finish to create a high-contrast backdrop for your lettering.
- Use a stencil or a steady hand to paint your house number or a greeting vertically down the board using white outdoor-grade paint.
- Attach a small metal hook to the top of the sign to hang a seasonal wreath, which adds a layer of 3D texture and color that you can change throughout the year.
- Install a vertical planter on the wall adjacent to the door, filling it with ‘Spiller’ plants like Creeping Jenny that will cascade down the wall for a lush look.
- Group three woven baskets of varying sizes on the wall in a triangular formation to create a ‘boho-chic’ texture that withstands the elements.
- Seal everything with a clear ‘Spar Urethane’ spray, which contains UV blockers to prevent the sun from fading your hard work.
Creating Your Own High-End Haven
Designing a home that looks ‘expensive AF’ isn’t about the price tag; it’s about the precision of your placement, the consistency of your palette, and the heart you put into every DIY project. By focusing on scale, texture, and sensory details, you can transform any blank wall into a masterpiece. Remember, the most luxurious thing about a home is the story it tells about the people living inside—so go ahead, grab that hammer and start telling yours.
Frequently Asked Questions
Q: How high should I hang my wall art?
A: The golden rule is ‘eye level,’ which is generally 57 to 60 inches from the floor to the center of the artwork. If hanging above furniture, leave 6-10 inches of space between the top of the furniture and the bottom of the frame.
Q: Can I mix different frame colors?
A: Yes, but keep a ‘common thread.’ For a high-end look, try mixing different styles (vintage and modern) but keep them all in the same color family, like all blacks or all warm woods.
Q: What is the best way to hang heavy art on drywall?
A: Always use a wall anchor or find a stud. Toggle bolts are the gold standard for heavy items as they expand behind the drywall to provide maximum support.