

There is a specific kind of magic that happens when the sun dips below the horizon, casting a golden hue over your own little corner of the world. We often scroll through glossy magazines or endless Pinterest boards, sighing at those high-end estates with their curated landscapes, thinking such beauty is reserved for the elite. But I’m here to tell you a secret: your backyard doesn’t need a million-dollar budget to feel like a high-end sanctuary; it just needs a little bit of soul, some sweat equity, and a touch of creative vision.
Over the years, I’ve learned that the most breathtaking outdoor spaces aren’t the ones with the most expensive furniture, but the ones that tell a story. Whether it’s the scent of blooming jasmine climbing a DIY trellis or the gentle splash of a handmade water feature, these elements create a sensory experience that feels luxurious because it’s personal. Today, we’re diving into some of my favorite projects that will transform your exterior into a viral-worthy retreat without draining your bank account.
How to Create a Backyard Oasis for Your Feathered Friends
Why we love this
There is nothing quite as serene as waking up to the gentle melody of songbirds right outside your window. This project transforms your garden into a living symphony, inviting the vibrant colors of cardinals and the delicate flutter of goldfinches into your daily life. You can almost feel the cool mist from a birdbath and smell the earthy richness of the seeds, creating a deep connection to nature that makes your morning coffee feel like a retreat in a hidden forest glade.
Essential Elements:
- A shallow stone or ceramic basin for bathing
- Variety of high-quality bird seeds (sunflower, nyjer, safflower)
- A sturdy wooden or metal pole for mounting
- Native pollinator plants (like coneflowers or bee balm) for natural shelter
- Non-toxic outdoor sealant
How to make it
- Select a location that is visible from your window but far enough from low bushes where cats might hide; ensure the ground is level for stability.
- Prepare the basin by cleaning it thoroughly and applying a thin layer of non-toxic sealant to ensure it is waterproof and easy to clean in the future.
- Install the mounting pole by driving it at least 12 inches into the ground to withstand wind; use a spirit level to ensure it is perfectly vertical.
- Secure the feeder or basin to the top using weather-resistant screws, ensuring there is no wobble which could startle the birds.
- Surround the base of the pole with native plants, which provides a visual cue of safety for the birds and softens the aesthetic of the hardware.
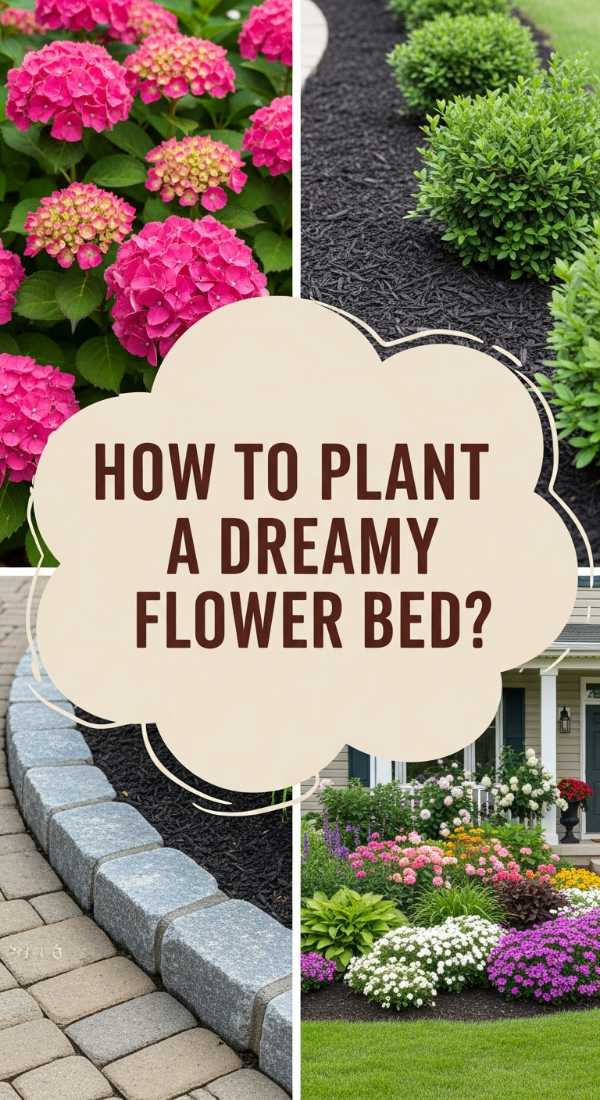
How to Design a Welcoming Front Yard for Ultimate Curb Appeal
Why we love this
First impressions are everything, and a well-designed front yard is like a warm embrace before you even reach the door. It’s the texture of crisp gravel crunching underfoot, the sight of symmetrical greenery framing your entryway, and the subtle, sophisticated scent of boxwood in the air. This project elevates the entire neighborhood’s vibe, making your home feel like a high-end boutique hotel where every guest feels immediately at ease and cherished.
Essential Elements:
- Solar-powered LED path lights
- Heavy-duty landscape fabric
- Premium dark mulch or river stones
- Two large, matching statement planters
- Low-maintenance evergreen shrubs
How to make it
- Clear all weeds and debris from the designated area, then lay down high-quality landscape fabric to prevent future growth; secure it with garden staples every 12 inches.
- Edge the walkway using stone or metal borders to create a sharp, professional definition between the path and the planting beds.
- Position your two statement planters symmetrically flanking the front door; fill them with high-quality potting soil and a mix of “thriller, filler, and spiller” plants.
- Spread a 3-inch layer of dark mulch or stones over the fabric; the depth is crucial for moisture retention and a polished, expensive look.
- Space your solar lights evenly along the path, angling them slightly toward the walkway to prevent glare while providing a soft, high-end evening glow.
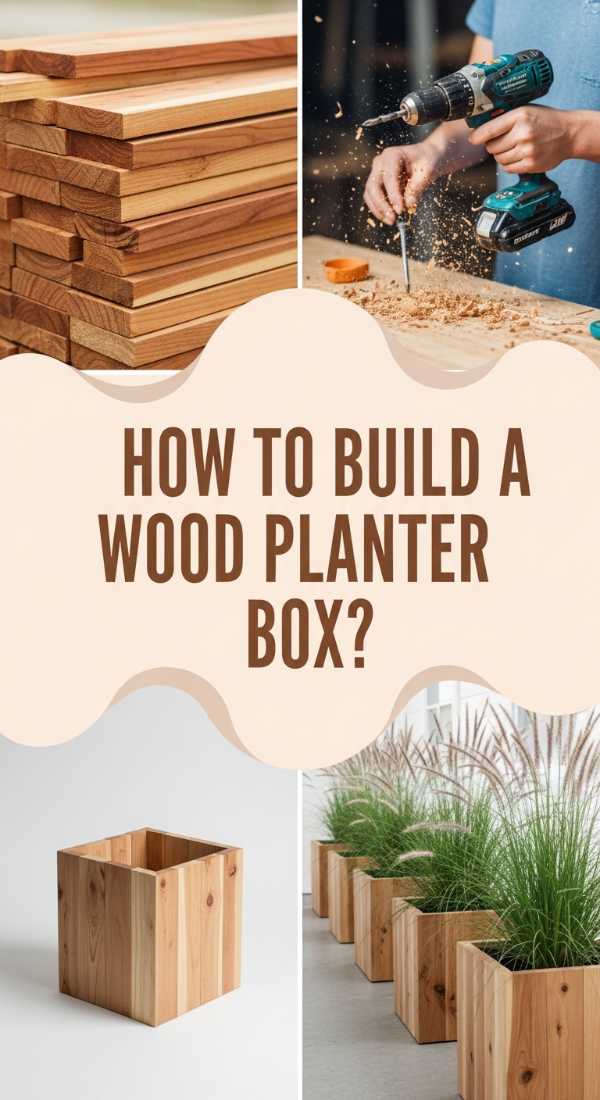
How to Build Custom Garden Planters for a Modern Outdoor Look
Why we love this
Custom planters bring an architectural edge to your patio that store-bought plastic pots simply cannot match. We love the raw, organic scent of freshly cut cedar and the smooth, professional finish of a well-sanded corner. These planters provide a structural weight to your garden, allowing you to play with heights and textures, turning simple ferns or ornamental grasses into dramatic focal points that look like they were commissioned by a landscape architect.
Essential Elements:
- Untreated Cedar or Redwood boards (naturally rot-resistant)
- Exterior-grade pocket hole screws
- Waterproof wood glue
- Plastic pond liner or heavy-duty landscape plastic
- Drill with pilot bit and a miter saw
How to make it
- Cut your cedar boards into equal lengths for the sides and ends using a miter saw; ensure all cuts are perfectly square to avoid gaps during assembly.
- Use a pocket hole jig to drill holes on the interior side of the end boards; this hides the hardware and gives the planter that sleek, high-end “custom built” appearance.
- Apply a bead of waterproof wood glue to the joints before driving the screws; tighten until the joint is flush but be careful not to overdrive and split the wood.
- Attach a slatted bottom with 1/4 inch gaps for drainage, then staple a plastic liner inside, poking holes through the bottom gaps to protect the wood from direct wet soil contact.
- Sand the exterior with 120-grit followed by 220-grit sandpaper until the wood feels like silk; finish with a clear UV-protectant sealer to maintain the warm wood tone.
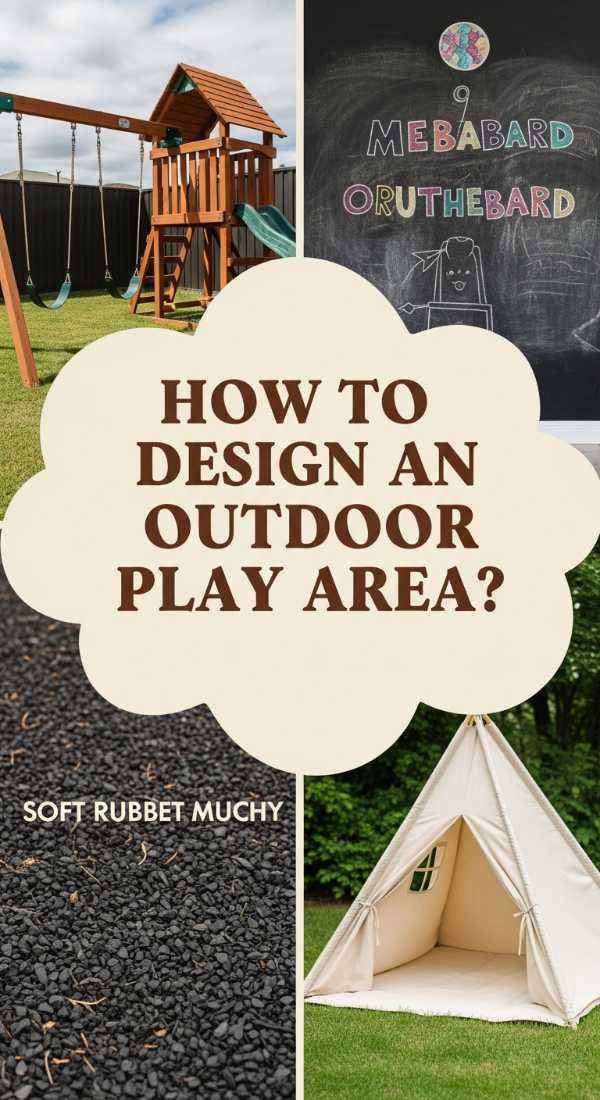
How to Construct a Magic Garden Play Zone for Boundless Joy

Why we love this
There is something deeply nostalgic about a secret garden space designed specifically for imagination. This zone is a feast for the senses: the soft, cool touch of moss, the shimmering reflection of sunlight on small glass pebbles, and the whimsical rustle of willow branches. It’s a place where children (and the young at heart) can lose themselves in a world of fairies and adventure, turning a simple corner of the yard into a legendary kingdom.
Essential Elements:
- Natural willow or bamboo fencing
- Stepping stones or smooth river rocks
- Non-toxic outdoor fairy lights
- A variety of mosses and groundcovers (like Irish Moss)
- Small wooden stumps or rounds
How to make it
- Define a semi-enclosed circular area using willow fencing to create a sense of “entering” a different world; bury the bottom 3 inches of the fence for stability.
- Clear the ground and lay a winding path of stepping stones; the irregular pattern encourages a slower, more exploratory pace through the zone.
- Tuck clumps of Irish Moss between the stones; press firmly into the soil and water immediately to help the roots establish in the humid crevices.
- Arrange wooden stumps of varying heights to serve as stools or “thrones,” ensuring they are sanded smooth to prevent splinters during play.
- Drape fairy lights through the overhead branches or fence line, securing them with zip ties; ensure the battery box is hidden in a weatherproof container.
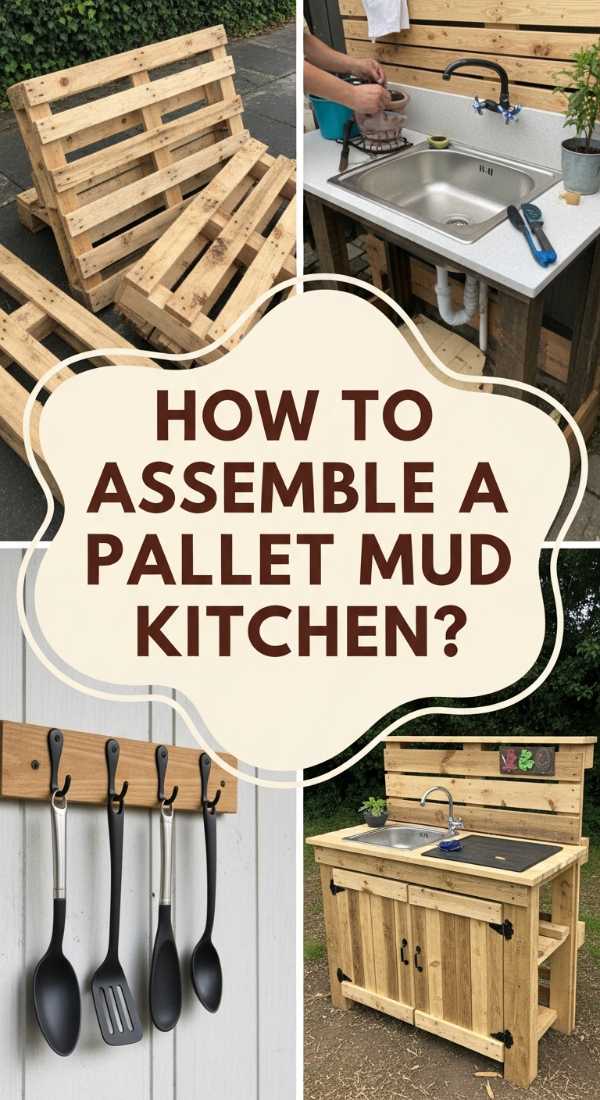
How to Style a Culinary Playhouse for Whimsical Garden Fun

Why we love this
A culinary playhouse—often called a mud kitchen—is the ultimate sensory experience for kids, blending the earthy scent of damp soil with the aromatic punch of fresh herbs like rosemary and mint. We love how this project encourages messy, tactile play while looking like a chic, rustic potting station. It’s where “mud pies” become gourmet delicacies and the sound of wooden spoons clinking against metal bowls fills the air with the pure joy of childhood experimentation.
Essential Elements:
- Upcycled wooden pallet or old potting bench
- Stainless steel mixing bowls (to be used as sinks)
- Outdoor-rated chalkboard paint
- Assorted old kitchen utensils (whisks, ladels, pans)
- Potted hardy herbs (Sage, Rosemary, Thyme)
How to make it
- Sand your wooden base thoroughly to remove any rough edges or old splinters; focus on the corners where little hands will be most active.
- Cut a circular hole in the countertop slightly smaller than the lip of your stainless steel bowl; drop the bowl in to create a permanent “sink” feature.
- Paint a small section of the backboard with chalkboard paint, applying three thin coats and allowing 4 hours of drying time between each for a smooth writing surface.
- Install small brass hooks along the top rail to hang the utensils; ensure they are spaced widely enough so children can easily grab and replace them.
- Integrate a “herb garden” shelf at eye level, so the kids can easily pluck leaves to add to their “recipes,” providing an immediate olfactory reward.
How to Arrange a Spa Sanctuary for Total Evening Serenity
Why we love this
Imagine the steam rising into the cool night air, the flickering light of candles reflecting off the water, and the scent of eucalyptus clearing your mind after a long day. This spa sanctuary is about creating a private escape that rivals any luxury resort. It’s the feeling of weightlessness in warm water and the visual peace of a clean, minimalist aesthetic that allows the stresses of the world to simply melt away under the stars.
Essential Elements:
- Stock tank or inflatable hot tub
- Cedar slat flooring or decking tiles
- Privacy screening (lattice or outdoor curtains)
- Citronella candles or essential oil diffuser
- Potted palms or bamboo for a tropical feel
How to make it
- Ensure the ground is perfectly level and can support the significant weight of water; a concrete pad or reinforced deck is ideal.
- Surround the base of the tub with interlocking cedar tiles; this provides a slip-resistant, warm surface for bare feet and hides any utilitarian edges.
- Erect privacy screens or hang heavy-duty outdoor curtains on a galvanized pipe rod to create an intimate, enclosed feeling.
- Position large potted palms around the perimeter to create a “jungle spa” vibe; ensure they are in heavy pots so they don’t tip in the wind.
- Set up a small side table for towels and candles; use battery-operated flickering candles for safety while maintaining that soft, romantic ambiance.
How to Upcycle Rustic Materials for the Perfect Childhood Workspace
Why we love this
There is a rugged beauty in reclaimed materials that new lumber just can’t replicate. This project celebrates the history of weathered wood and the industrial charm of galvanized metal. We love the sturdy, tactile nature of this workspace—it’s a place for hammering, painting, and creating that only gets better with every scratch and paint splatter, becoming a living record of a child’s creative journey.
Essential Elements:
- Reclaimed scaffolding boards or pallets
- Galvanized pipe legs and flanges
- Heavy-duty casters (optional, for mobility)
- Clear matte outdoor polyurethane
- Sandpaper (80, 120, and 220 grit)
How to make it
- Clean reclaimed boards with a stiff brush and mild soap; allow to dry completely for 48 hours to ensure no moisture is trapped in the grain.
- Sand the boards vigorously starting with 80-grit to remove splinters, moving to 220-grit until the surface is smooth enough to write on without snagging.
- Assemble the pipe legs using floor flanges on both the top and bottom; ensure all joints are tightened with a pipe wrench for absolute stability.
- Apply three coats of clear matte polyurethane; this protects the wood from the elements while preserving the “rustic” look without making it look plastic-y.
- Bolt the tabletop to the flanges using heavy-duty lag screws, ensuring the table is rock-solid and ready for heavy-duty creative projects.
How to Craft a Sensory Splash Station for Cool Summer Days

Why we love this
When the temperature rises, there is nothing more inviting than the sound of trickling water and the sight of clear, cool droplets dancing in the sun. This splash station is a sensory delight, combining the slick texture of wet stones with the refreshing chill of water. It’s a low-waste, high-engagement way to stay cool, turning your backyard into a sophisticated water gallery that appeals to all ages.
Essential Elements:
- Submersible water pump
- Large plastic reservoir (to be buried)
- Decorative river rocks and flat slate pieces
- PVC piping or clear tubing
- Outdoor-rated GFC outlet
How to make it
- Dig a hole deep enough to bury the plastic reservoir so the rim is flush with the ground; ensure the hole is level at the bottom.
- Place the submersible pump inside the reservoir and run the tubing up through a central point where you want the water to emerge.
- Cover the reservoir with a heavy-duty mesh or grate; this will support the weight of the rocks while allowing water to drain back into the tank.
- Stack flat slate pieces around the tubing to create a natural-looking “fountain” head; test the water flow to ensure it splashes beautifully over the edges.
- Surround the base with smooth river rocks to hide the grate; the visual cue of “wet stone” immediately lowers the perceived temperature of the space.
How to Grow a Living Screen for a Secluded Garden Retreat

Why we love this
A living screen is the height of garden luxury—it’s a breathing, growing wall that offers privacy while purifying the air. We love the rustle of leaves in the breeze and the heady, sweet fragrance of star jasmine or honeysuckle. It transforms a exposed yard into a secret sanctuary, where the deep greens of the foliage provide a restful backdrop for the eyes and a soft, organic boundary that feels much more expensive than a wooden fence.
Essential Elements:
- Trellis panels (wood or cattle panels for a modern look)
- Fast-growing climbers (Clematis, Jasmine, or Climbing Roses)
- High-nitrogen organic fertilizer
- Drip irrigation kit
- Sturdy garden stakes
How to make it
- Install the trellis panels at least 6 inches away from any existing walls to allow for air circulation, which prevents mold and plant disease.
- Amend the soil at the base with rich compost; the goal is a dark, loamy texture that crumbles easily in your hand.
- Plant your climbers every 18 inches; tease the roots gently before placing them in the hole to encourage outward growth.
- Weave the initial runners through the trellis grid manually, securing them loosely with soft garden twine; avoid tying too tight as the stems will thicken.
- Install a drip irrigation line along the base; consistent moisture is the “secret sauce” for rapid growth and that lush, high-end “green wall” look.
How to Illuminate Your Garden Path for a Magical Nighttime Glow
[IMAGE_10]
Why we love this
Lighting is the jewelry of the garden. It defines the space, creates depth, and adds a layer of safety that feels incredibly sophisticated. We love the way soft, low-voltage light catches the undersides of leaves and casts long, dramatic shadows across the lawn. It turns a daytime garden into a nighttime wonderland, making your outdoor space usable and enchanting long after the sun has set.
Essential Elements:
- Low-voltage transformer
- Direct-burial landscape wire (12 or 14 gauge)
- LED path lights and spotlights
- Waterproof wire connectors (grease caps)
- Small shovel or garden trowel
How to make it
- Map out your lighting plan by placing the fixtures on the ground during the day; space path lights 6-8 feet apart to avoid a “runway” look.
- Use a shovel to create a shallow 3-inch trench along the path for the wire; this depth is sufficient to hide the cable while remaining easy to service.
- Connect the fixtures to the main line using waterproof grease caps; ensure the connection is tight to prevent flickering caused by moisture.
- Mount the transformer in a discreet location near an outlet and set the timer or light sensor; check the connections at dusk to adjust the angles.
- Buried the wire and hand-tamp the soil; the visual cue for a professional job is a completely invisible wiring system with perfectly upright fixtures.
Conclusion: Your Dream Oasis Awaits
Creating a breathtaking outdoor space doesn’t require a lottery win; it requires the willingness to experiment and a love for the process. Each of these projects adds a layer of texture, sound, and beauty to your home, proving that luxury is a feeling, not a price tag. So, grab your gloves, head outside, and start building the sanctuary you’ve always dreamed of. Your future self, relaxing in the glow of your DIY garden, will thank you.