

Bloom in Style: The Ultimate April 2026 Manicure Lookbook
Oh, my loves, can you feel it? The air is finally softening, and there is a gentle hum of renewal everywhere we look. April 2026 has arrived like a cloud-soft embrace, whispering promises of cherry blossoms and rainy afternoons spent with a warm cup of matcha. It is that magical time of year when we shed our heavy winter layers and let our inner light shine through, starting right at our fingertips.
As we step into this beautiful season of growth, I wanted to curate something truly special for you—a guide that feels like a cozy chat between best friends. Our nails are more than just a beauty statement; they are tiny canvases for our joy. Whether you are sipping lattes at a sidewalk cafe or watching the spring rain dance against the window, these designs are meant to make you feel grounded, inspired, and utterly radiant. Let’s dive into our April nail journey together!
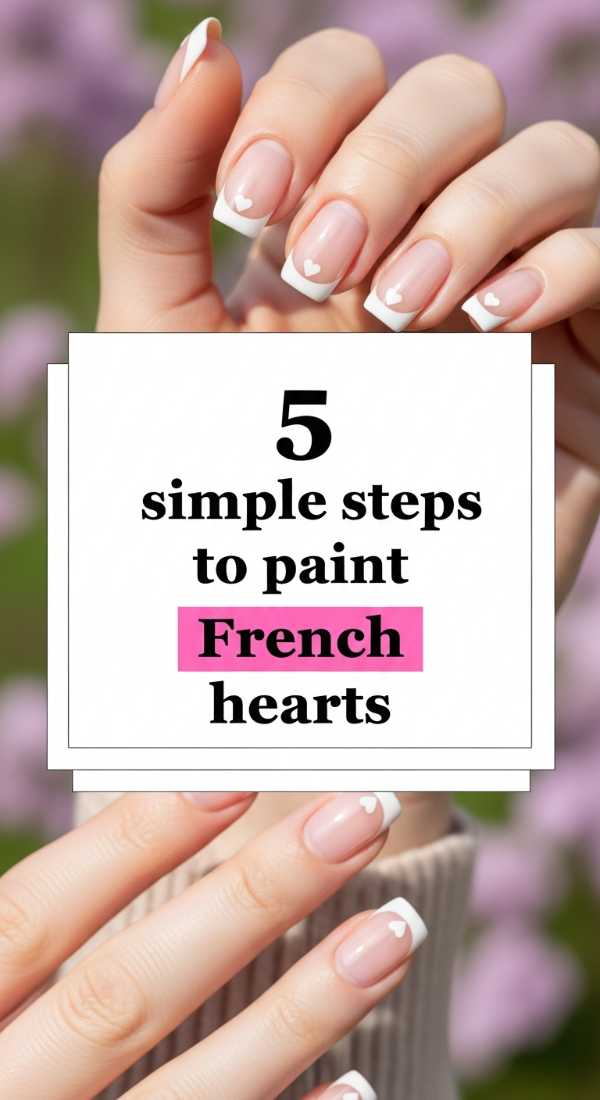
5 simple steps to paint French hearts
Why to love this Design:
This design is like a sweet, romantic secret held at your fingertips. It reimagines the classic French manicure with a playful, loving twist that feels incredibly modern yet timeless for April 2026. It’s perfect for those of us who believe in carrying a little extra love wherever we go.
Essential Elements:
- Soft blush pink base polish
- Crisp white or cherry red detail polish
- Fine-liner nail art brush
- Glossy top coat
How to Prepare:
- Cleanse your nails and apply a sheer nude or pink base coat.
- Dip your fine-liner brush into the heart color.
- Place two small dots side-by-side at the tip of the nail.
- Drag each dot downward into a ‘V’ shape to meet in the center.
- Seal the love with a high-shine top coat once dry.
Budget Range
- Essie ‘Sugar Daddy’ – $10
- Beetles Nail Art Liner Set – $8
- Seche Vite Dry Fast Top Coat – $9
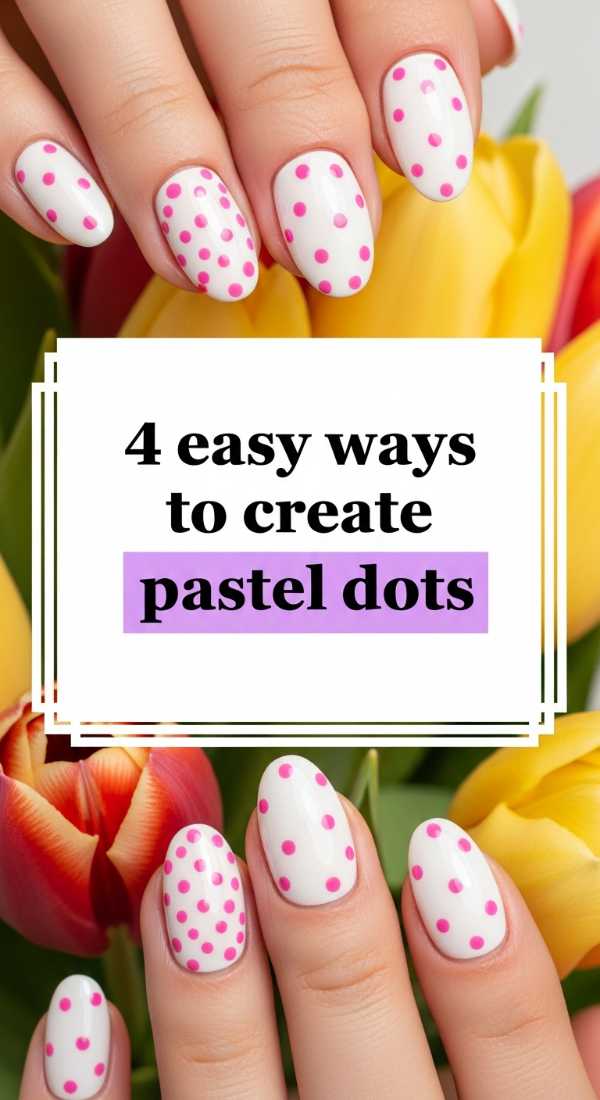
4 easy ways to create pastel dots
Why to love this Design:
There is something so whimsically nostalgic about polka dots, especially when they come in the shades of a spring meadow. This look is effortless, joyful, and reminds me of confetti floating on a breeze. It’s the ultimate ‘happy’ manicure for a bright April afternoon.
Essential Elements:
- A palette of 3-4 pastel polishes (mint, lavender, lemon, peach)
- A double-ended dotting tool
- Matte or glossy top coat
How to Prepare:
- Apply a clear or white base to make the pastels pop.
- Select your first color and use the large end of the dotting tool to place random circles.
- Switch to a smaller tip for a layered ‘bubble’ effect.
- Vary the spacing to keep it airy and light.
Budget Range
- Sally Hansen Insta-Dri Pastels – $6 each
- Generic Dotting Tool Set – $5
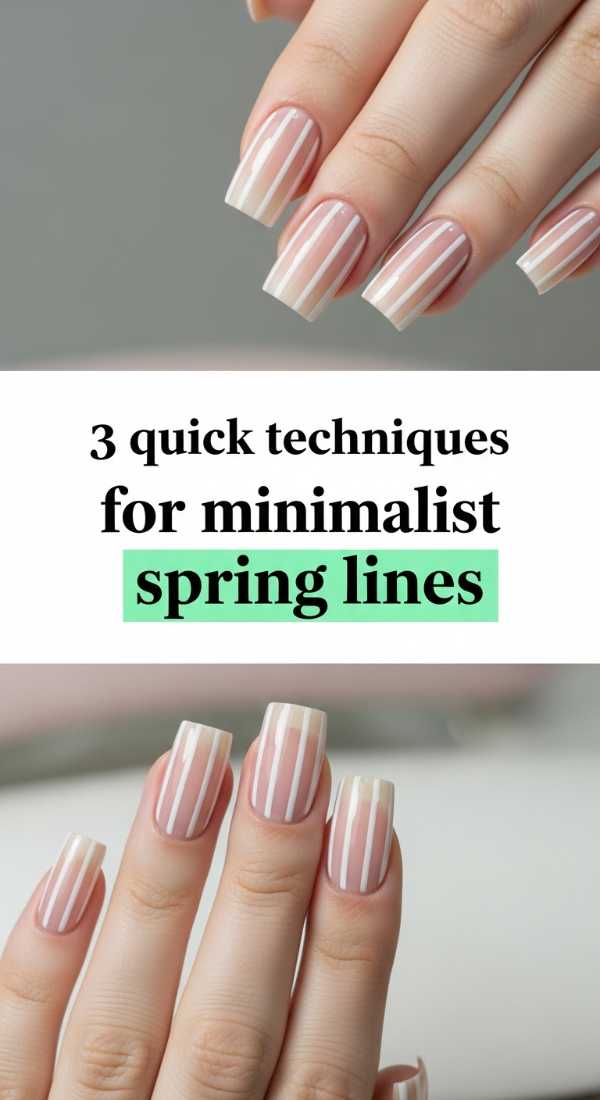
3 quick techniques for minimalist spring lines
Why to love this Design:
For my loves who adore the ‘quiet luxury’ aesthetic, minimalist lines are the way to go. They offer a structured contrast to the organic shapes of spring, providing a clean and sophisticated look that pairs perfectly with a crisp linen blazer.
Essential Elements:
- Neutral beige base coat
- Black or gold metallic striping polish
- Steady hand or striping tape
How to Prepare:
- Prep with a matte neutral base for a modern finish.
- Place a single vertical or horizontal line off-center on each nail.
- If using tape, press firmly, paint over, and peel immediately while wet.
Budget Range
- OPI ‘Pale to the Chief’ – $11
- Hololive Metallic Striper – $7
6 easy steps to master April florals

Why to love this Design:
Would it even be April without flowers? This design is like carrying a miniature garden with you. It’s soulful, feminine, and celebrates the blooming world outside. It’s my absolute favorite way to welcome the season of growth.
Essential Elements:
- Sage green for leaves
- Soft yellow for centers
- Petal colors of choice (lilac, rose)
- Toothpick or fine brush
How to Prepare:
- Apply a clear base.
- Dot 5 tiny circles in a ring for petals.
- Place a contrasting dot in the center of the ring.
- Use a toothpick to pull the petal edges slightly outward.
- Add tiny green flicks for leaves.
- Protect your garden with a gel-finish top coat.
Budget Range
- Zoya Naturel Collection – $12 per bottle
- Detailing Brush Set – $10
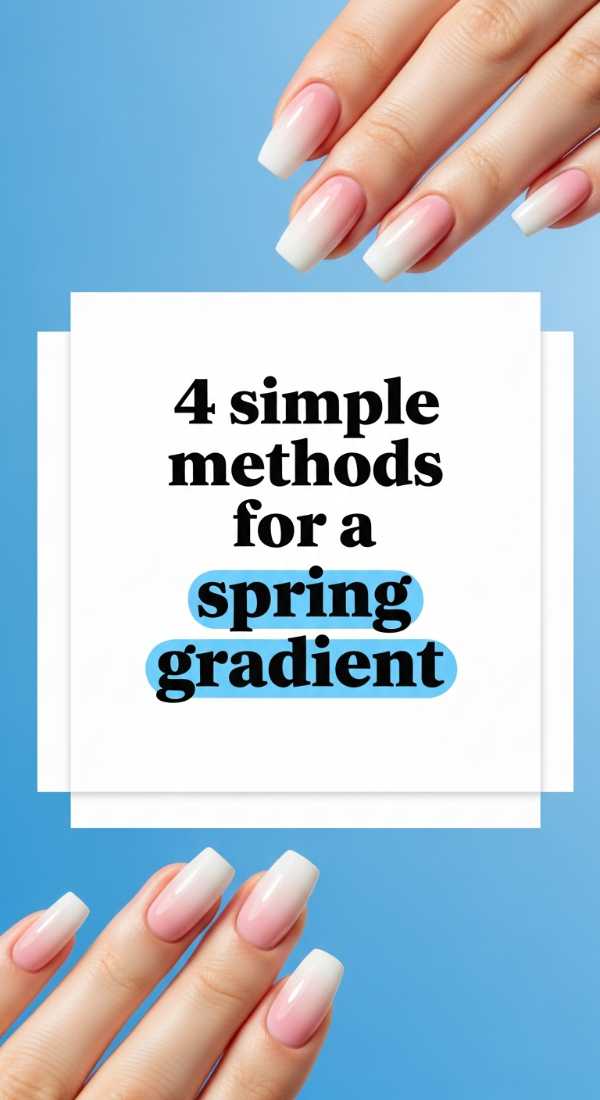
4 simple methods for a spring gradient
Why to love this Design:
Think of an April sunset—that soft melting of peach into violet. A gradient manicure captures that ethereal transition perfectly. It’s soft, diffused, and looks incredibly professional despite being so simple to achieve at home.
Essential Elements:
- Two coordinating pastel shades
- Latex-free makeup sponge
- Liquid latex (optional for easy cleanup)
How to Prepare:
- Apply the lighter shade as your base.
- Paint stripes of both colors directly onto a makeup sponge.
- Dab the sponge repeatedly onto the nail until blended.
- Clean up edges and apply a thick top coat to smooth the texture.
Budget Range
- Wet n Wild Wild Shine Polishes – $2 each
- Wedge Makeup Sponges (bulk) – $4
5 fast steps for cute April geometry

Why to love this Design:
This is for the modern soul who loves a bit of edge. By using soft April colors in sharp geometric shapes, you get a look that is both sweet and strong. It’s visually striking and feels like wearable art.
Essential Elements:
- Washi tape or nail vinyls
- Contrasting spring shades
- Fine-tip corrector pen
How to Prepare:
- Apply a base color and let it dry completely (this is key!).
- Section off triangles or squares using small bits of tape.
- Fill in the open areas with a second color.
- Remove tape slowly while the polish is still slightly tacky.
- Fix any wobbles with a corrector pen.
Budget Range
- Nail Vinyl Stencils – $6
- Olive & June Polish – $9
3 easy ways to apply April chrome
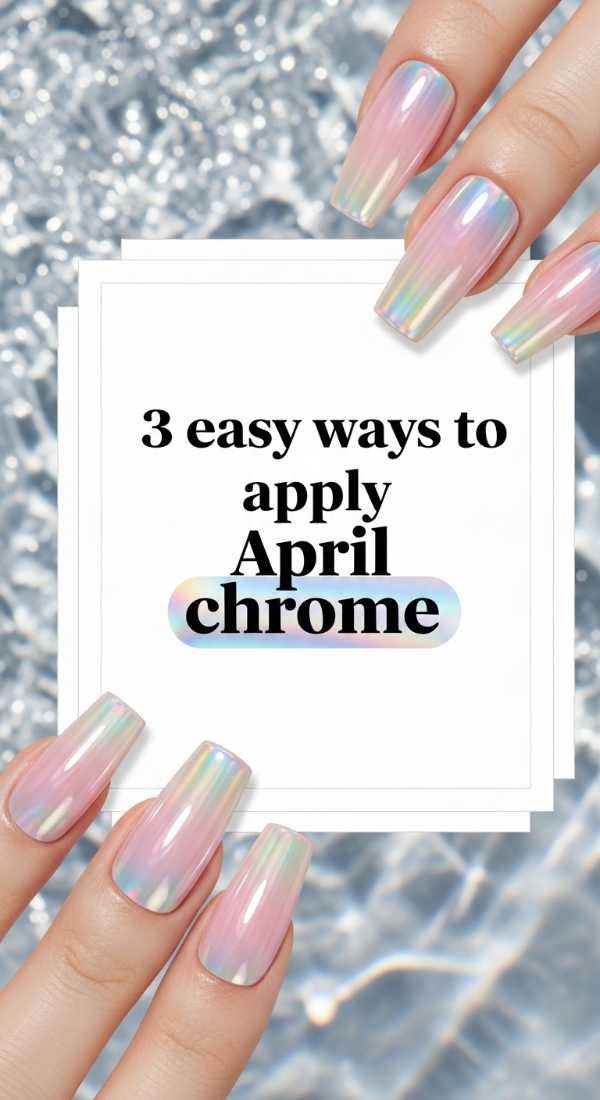
Why to love this Design:
Chrome is staying big in 2026, but for April, we are doing it ‘pearl-style.’ It gives your nails a celestial, glazed donut finish that glows beautifully in the spring sunlight. It’s pure magic in a jar.
Essential Elements:
- White or light blue gel polish
- Pearl chrome powder
- Eyeshadow applicator
How to Prepare:
- Apply and cure your base color (works best with gel).
- Rub a tiny amount of chrome powder onto the nail using an applicator.
- Buff until the surface is mirror-like and seal with a no-wipe top coat.
Budget Range
- Born Pretty Pearl Powder – $7
- Modelones Gel Base & Top – $12
5 simple tips for negative space designs
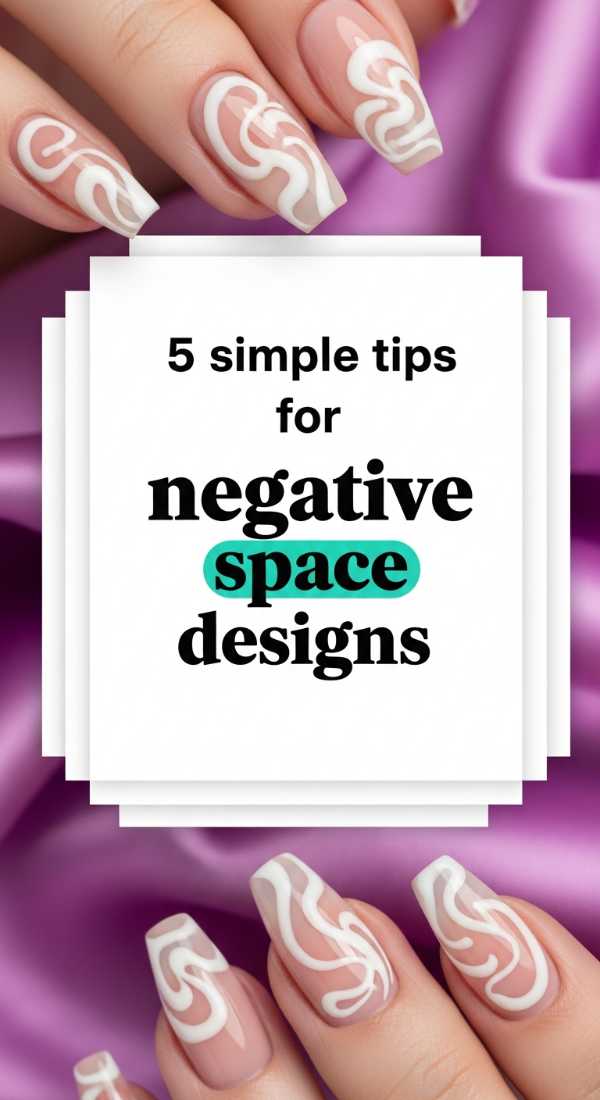
Why to love this Design:
Negative space is so refreshing! It lets your natural nail breathe and creates a ‘barely there’ look that is incredibly chic. It’s the ‘no-makeup makeup’ of the nail world, perfect for a clean, airy April vibe.
Essential Elements:
- Reinforcement stickers (the donut kind)
- Vibrant spring teal or coral
- Excellent quality base coat
How to Prepare:
- Apply a nourishing base coat.
- Place a sticker over the area you want to keep bare (like the moon or center).
- Paint around it with your color of choice.
- Peel the sticker and admire the clean lines.
- Finish with a high-gloss coat.
Budget Range
- Office Supply Reinforcement Stickers – $3
- Orly Bonder Base Coat – $10
4 quick steps to add April sparkle
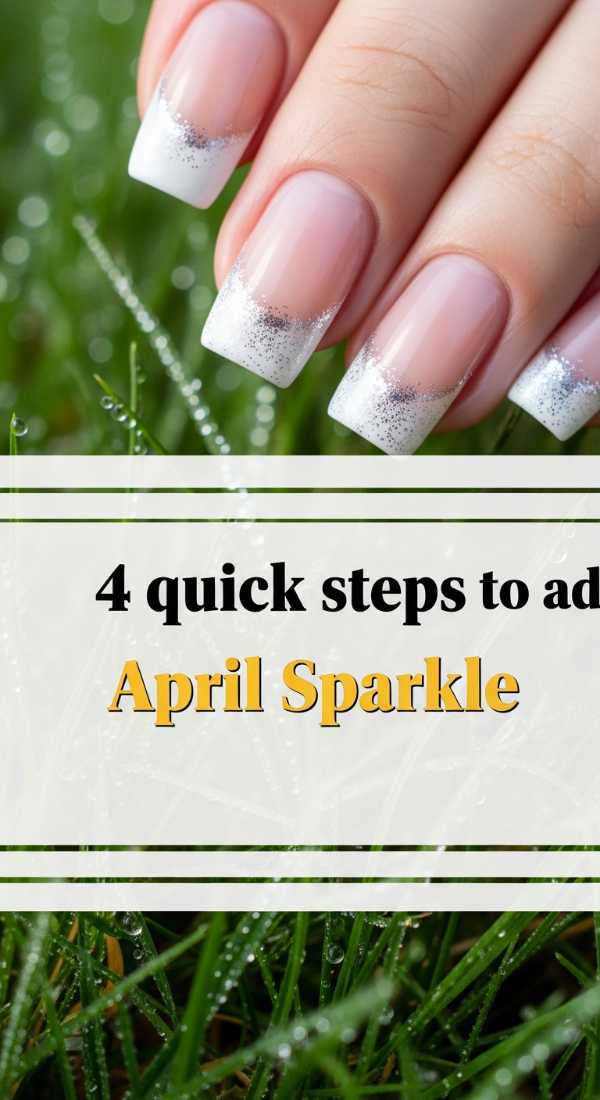
Why to love this Design:
Sometimes, we just need a little glitter to brighten a rainy day. This isn’t your heavy holiday glitter; it’s a light, holographic shimmer that mimics the dew on new grass. It’s subtle, dainty, and so very sweet.
Essential Elements:
- Fine holographic glitter topper
- Sheer ‘milky’ white polish
- Fan brush
How to Prepare:
- Apply two coats of milky white polish.
- While wet, use a fan brush to dust a tiny bit of glitter at the tips.
- Alternatively, use a glitter topper for a ‘one-swipe’ sparkle.
- Lock it in so it doesn’t snag your favorite spring knits.
Budget Range
- ILNP Holographic Topper – $10
- Cirque Colors ‘Carpe Diem’ – $12
7 easy steps to draw cute butterflies
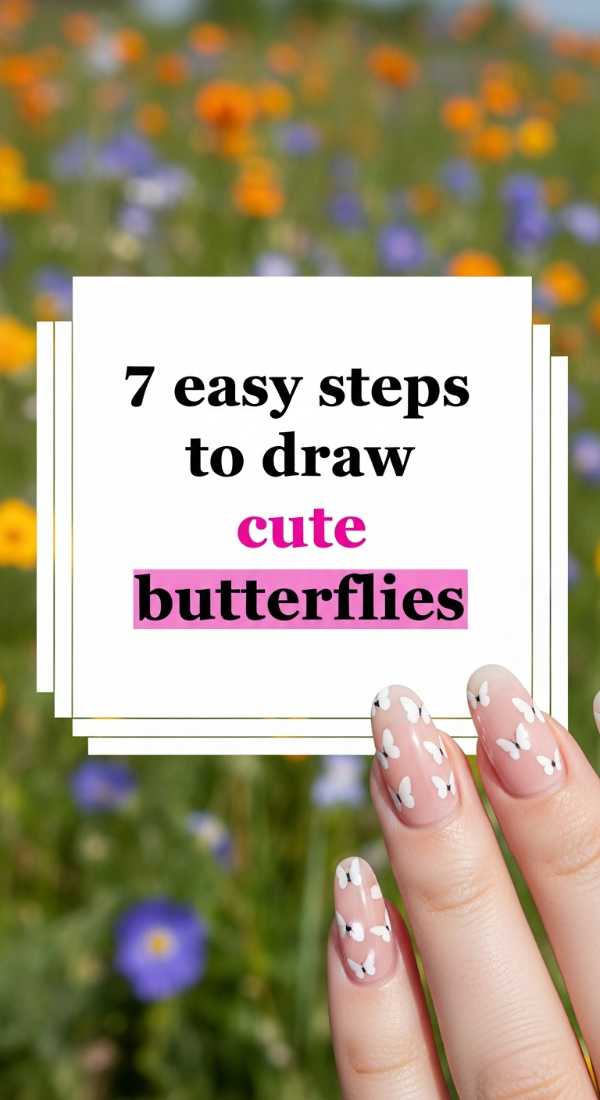
Why to love this Design:
Butterflies are the ultimate symbol of transformation and new beginnings—exactly what April is all about! They add a touch of fantasy and grace to your look. Every time you look down, you’ll be reminded of your own ability to soar.
Essential Elements:
- Ultra-fine detail brush
- Black acrylic paint (easier to control than polish)
- Iridescent base color
How to Prepare:
- Start with an iridescent base.
- Draw two small ‘B’ shapes facing away from each other.
- Thicken the outer edges of the ‘wings.’
- Add two tiny antennae at the top.
- Fill the wings with a splash of color if desired.
- Add tiny white dots for ‘sparkle’ on the wings.
- Top coat to protect your masterpiece.
Budget Range
- Apple Barrel Acrylic Paint – $1
- Professional Nail Art Brushes – $12
A Soft Farewell to Spring
As you experiment with these looks, remember that there is no right or wrong way to create. Your nails are an extension of your beautiful, unique spirit. Whether you choose a single heart or a full garden of florals, I hope these designs bring a little extra sunshine to your April. Take this time for yourself, my loves—put on some soft music, light a candle, and enjoy the meditative magic of the manicure. You deserve to bloom in every way possible. Until next time, stay radiant!