
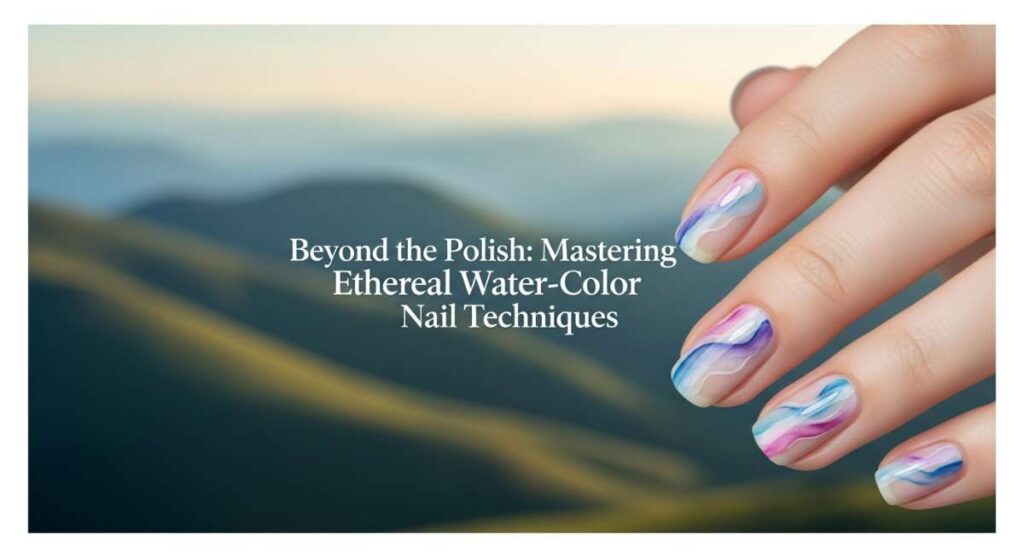
Beyond the Polish: Mastering Ethereal Water-Color Nail Techniques
Hello, my loves. Welcome back to our little corner of the world, where the light is always golden and the coffee is always warm. Today, I want to talk about something so intimate yet so expressive—the tiny canvases we carry with us every single day. There’s a certain magic in the ritual of painting our nails, isn’t there? It’s a slow, soft exhale in a busy world, a moment to sit with ourselves and create something beautiful just for the sake of it.
I’ve been dreaming of ethereal, water-color inspired aesthetics lately—those dreamy, blurred lines and soft hues that feel like a whisper against the skin. Whether you’re a seasoned artist or just starting to play with color, these techniques are about embracing the imperfect and finding joy in the process. Grab your favorite tea, find a sunny spot by the window, and let’s dive into these aesthetic nail tutorials together.
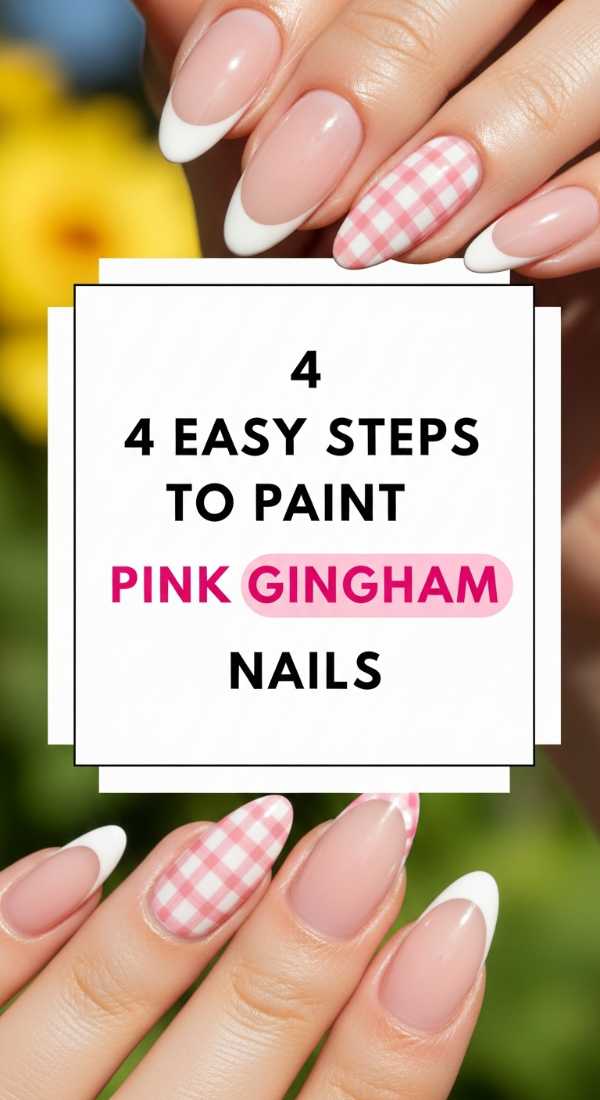
4 Easy Steps to Paint Pink Gingham Nails
Why to love these Nails:
These nails feel like a sunny picnic in a blooming orchard. They bring a touch of vintage charm and sweet nostalgia to your look, wrapped in a soft pink cloud that feels both playful and sophisticated. It’s the ultimate ‘cottagecore’ accessory for your hands.
Essential Items:
- Soft blush pink polish
- Medium rose pink polish
- Sheer white polish
- Ultra-fine liner brush
How to Prepare:
- Apply a sheer white or very pale pink base and let it dry completely.
- Using your medium rose polish and a liner brush, paint thin vertical stripes evenly across the nail.
- Paint identical horizontal stripes to create a grid pattern.
- Where the lines intersect, add a tiny square of a slightly darker pink to create that classic woven gingham depth.
Budget Range
- Essie ‘Soothe Bolt’ ($10)
- OPI ‘Pink in Bio’ ($12)
- Winstonia Detail Brushes ($8)
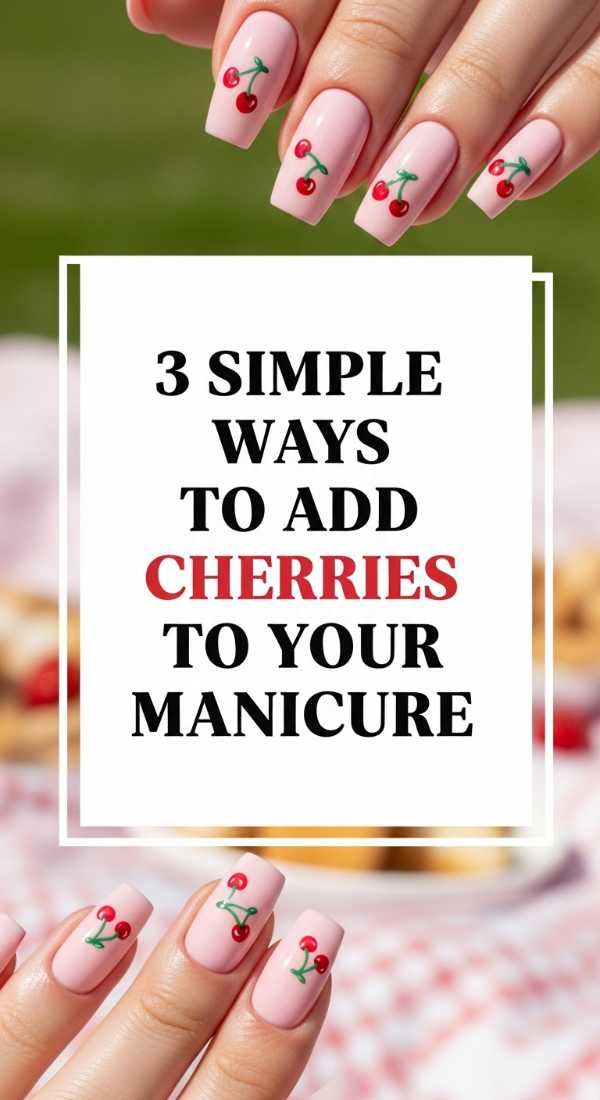
3 Simple Ways to Add Cherries to Your Manicure
Why to love these Nails:
There is something so undeniably joyful about a cherry motif. It’s a little pop of red energy that feels fresh, youthful, and just a bit cheeky. It’s like carrying a little piece of summer with you, no matter what the calendar says.
Essential Items:
- Bright red polish
- Forest green polish
- Dotting tool or toothpick
- Clear top coat
How to Prepare:
- Option 1 (The Classic): Use a large dotting tool to place two red circles side-by-side, then join them with a thin green ‘V’ stem.
- Option 2 (The Abstract): Use a single red dot at the corner of the nail for a minimalist, modern fruit look.
- Option 3 (The Sticker Hack): If your hands are shaky, apply a high-quality nail decal over a nude base and seal with a thick top coat for a professional finish.
Budget Range
- Zoya ‘Sizzling Red’ ($12)
- Sally Hansen ‘Green Thumb’ ($7)
- Nail Art Dotting Tool Set ($5)
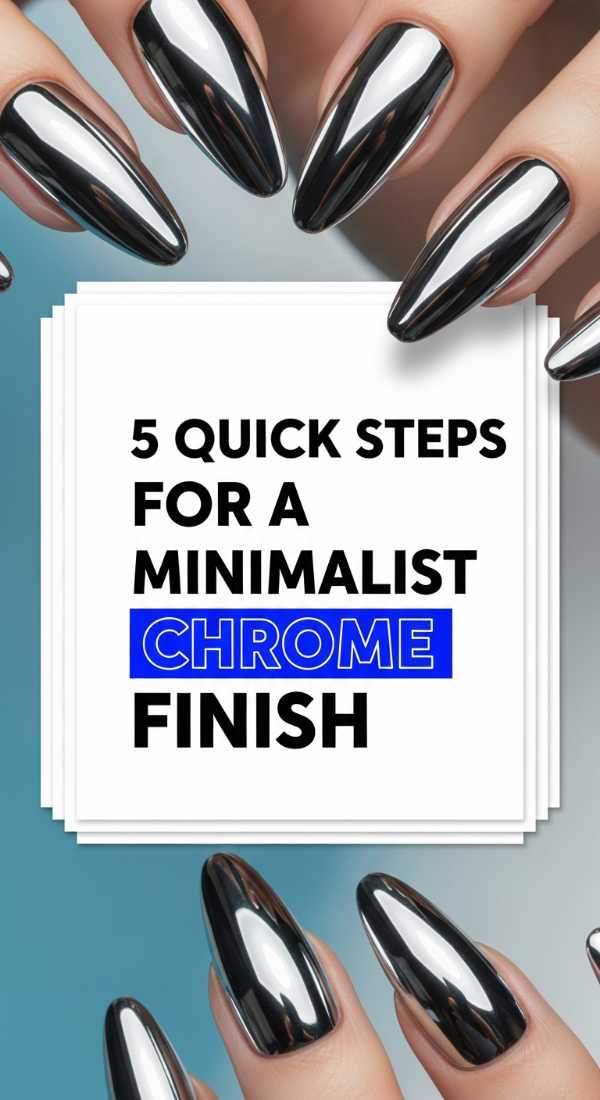
5 Quick Steps for a Minimalist Chrome Finish
Why to love these Nails:
This is for my loves who adore a bit of ‘cool girl’ energy. It’s sleek, it’s reflective, and it catches the light in the most mesmerizing way. It’s the kind of manicure that looks like you spent hours in a high-end salon when it actually took you minutes.
Essential Items:
- Neutral base color (nude or white)
- No-wipe gel top coat
- Chrome powder (pearl or silver)
- Eyeshadow applicator
How to Prepare:
- Apply your base color and cure (if using gel) or let dry.
- Apply a thin layer of no-wipe top coat and cure it for exactly the time recommended.
- Dip your applicator into the chrome powder and buff it firmly onto the nail surface until it shines like a mirror.
- Gently brush away excess powder with a soft fluff brush.
- Seal with another layer of top coat to lock in that metallic glow.
Budget Range
- Artdone Chrome Powder Set ($15)
- Beetles No Wipe Gel Top Coat ($9)
- Modelones Nude Gel Polish ($7)
6 Professional Tips for Perfect Bridal Nails
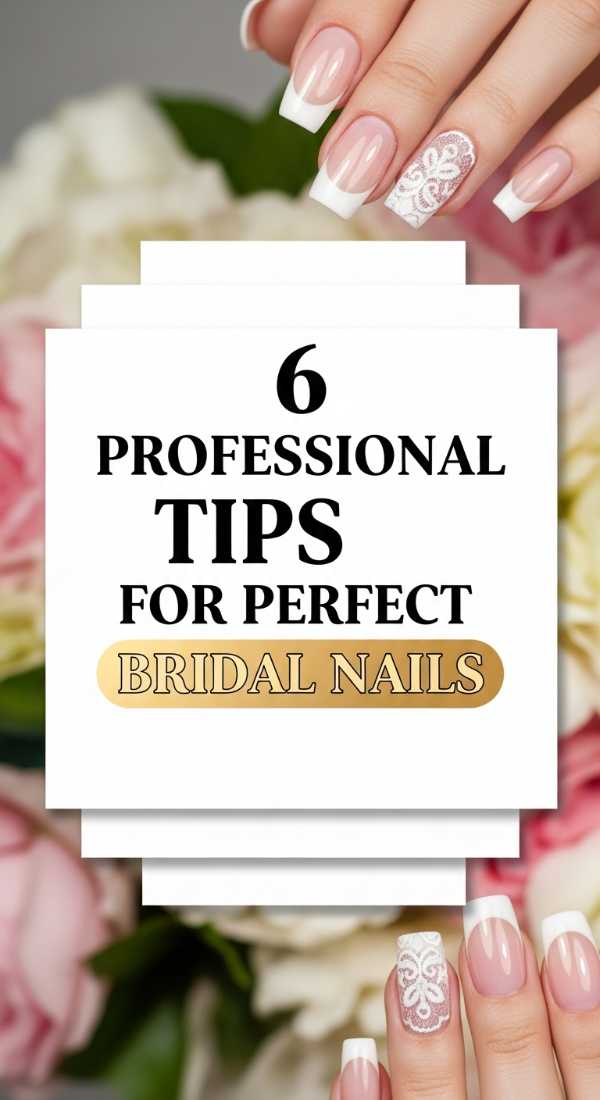
Why to love these Nails:
Bridal nails are all about timelessness and grace. They should feel like an extension of your own natural beauty—soft, clean, and glowing. It’s not just for weddings; it’s for any moment you want to feel your most elegant and serene self.
Essential Items:
- Sheer milky white or nude polish
- Cuticle oil
- Fine grit nail file
- Strengthening base coat
How to Prepare:
- Hydrate intensely: Start a week early with daily cuticle oil applications.
- Shape carefully: An oval or soft square shape elongates the fingers beautifully.
- Use a ridge-filling base coat for a perfectly smooth surface.
- Apply very thin, sheer layers of color to avoid bubbling or ‘thick’ looking nails.
- Clean the edges: Use a brush dipped in acetone for a crisp, professional line at the cuticle.
- Finish with a high-shine UV-resistant top coat to prevent yellowing.
Budget Range
- Dior Abricot Cuticle Cream ($30)
- CND Vinylux ‘Negligee’ ($11)
- Seche Vite Dry Fast Top Coat ($10)
4 Creative Ways to Style Pastel Polka Dots
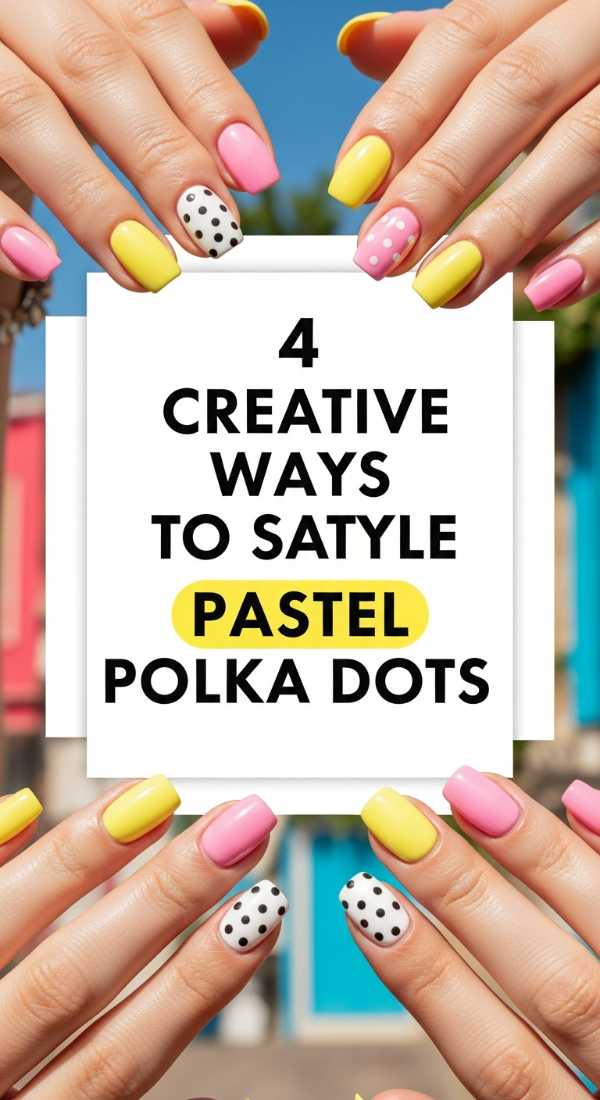
Why to love these Nails:
Polka dots are like bubbles of happiness! They are the easiest way to add personality to a manicure without needing a steady hand. Using pastels keeps it soft and ethereal rather than stark and graphic.
Essential Items:
- Selection of pastel polishes (mint, lilac, lemon)
- Dotting tools of various sizes
- Matte top coat (optional)
How to Prepare:
- The Uniform Look: Place dots in even rows for a structured, retro feel.
- The Confetti Look: Randomly scatter different sized dots across the nail for a playful vibe.
- The Gradient Dot: Start with large dots at the base and make them smaller and sparser as you reach the tip.
- The Accent Dot: Keep the nail nude and place one single, perfect pastel dot right above the cuticle.
Budget Range
- Holler and Glow Pastel Set ($12)
- Nail Art Dotting Pens ($6)
- Essie ‘Gel Couture’ Matte Top Coat ($13)
5 Steps to Create Detailed Ladybug Nail Art
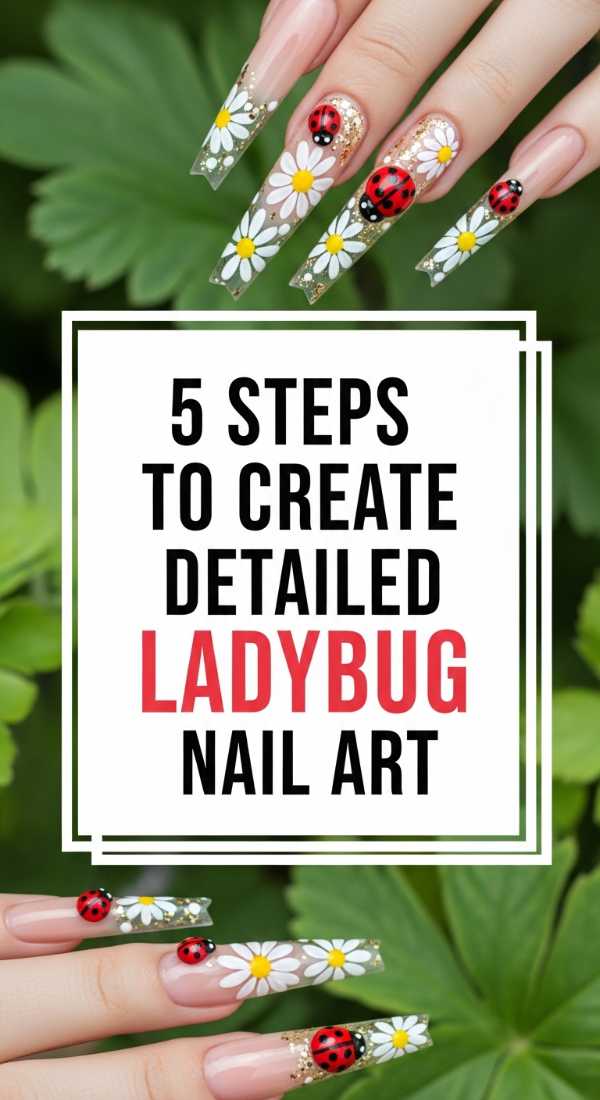
Why to love these Nails:
Ladybugs are symbols of good luck and the sweet simplicity of nature. Adding these to your nails is like a little secret garden at your fingertips. It’s whimsical, charming, and surprisingly easy once you break it down.
Essential Items:
- Vibrant red polish
- Opaque black polish
- Tiny dotting tool
- White polish for eyes
How to Prepare:
- Paint a red oval or the entire nail red as your base.
- Draw a thin black line down the center of the red area.
- Paint a black semi-circle at the tip or base for the ladybug’s head.
- Use your dotting tool to add several small black spots on either side of the center line.
- Add two tiny white dots on the head for eyes to bring your little friend to life.
Budget Range
- Revlon ‘Big Apple Red’ ($6)
- Orly ‘Liquid Vinyl’ ($12)
- Fine Detail Brushes ($10)
3 Easy Methods for Trendy Red Swirls
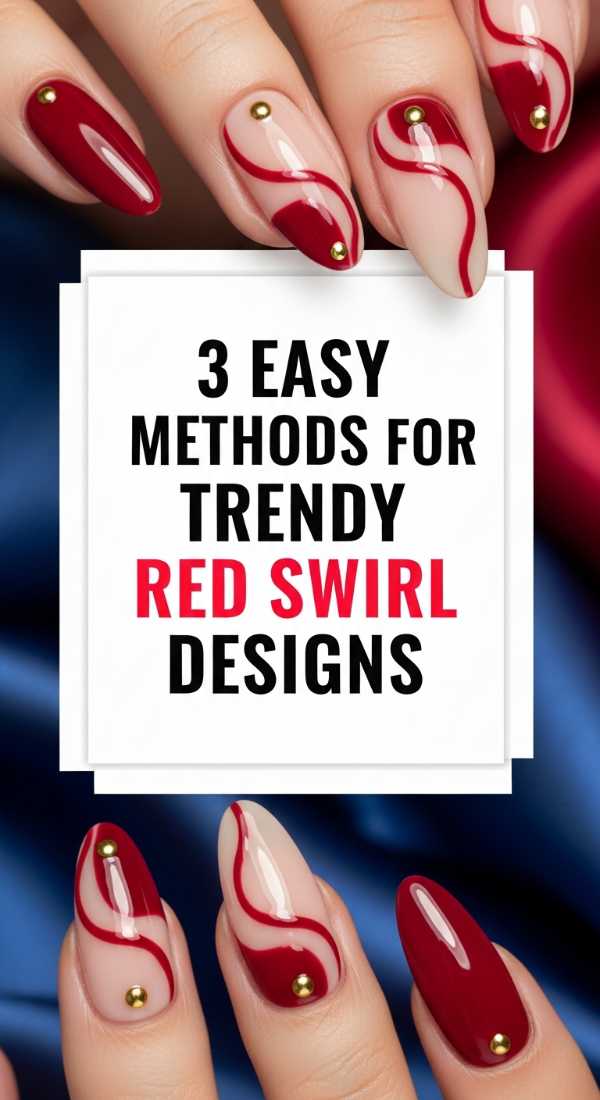
Why to love these Nails:
Red swirls are the epitome of ‘modern romantic.’ They have movement, energy, and a sophisticated flair. They look incredible on both short and long nails, adding a touch of abstract art to your everyday routine.
Essential Items:
- True red polish
- Clear or nude base
- Long-haired striping brush
How to Prepare:
- The S-Curve: Dip your striping brush in red and draw a fluid ‘S’ shape from one corner to the other.
- The Double Loop: Create two interlocking ‘C’ shapes for a more intricate, woven look.
- The Wispy Taper: Start thick at the edge of the nail and pull the brush quickly toward the center to create a fading tail.
Budget Range
- OPI ‘Big Apple Red’ ($11)
- Nail Art Striper Brush Set ($7)
- Olive & June ‘Pink Sands’ Base ($9)
7 Fresh Ideas for Your Summer Almond Manicure
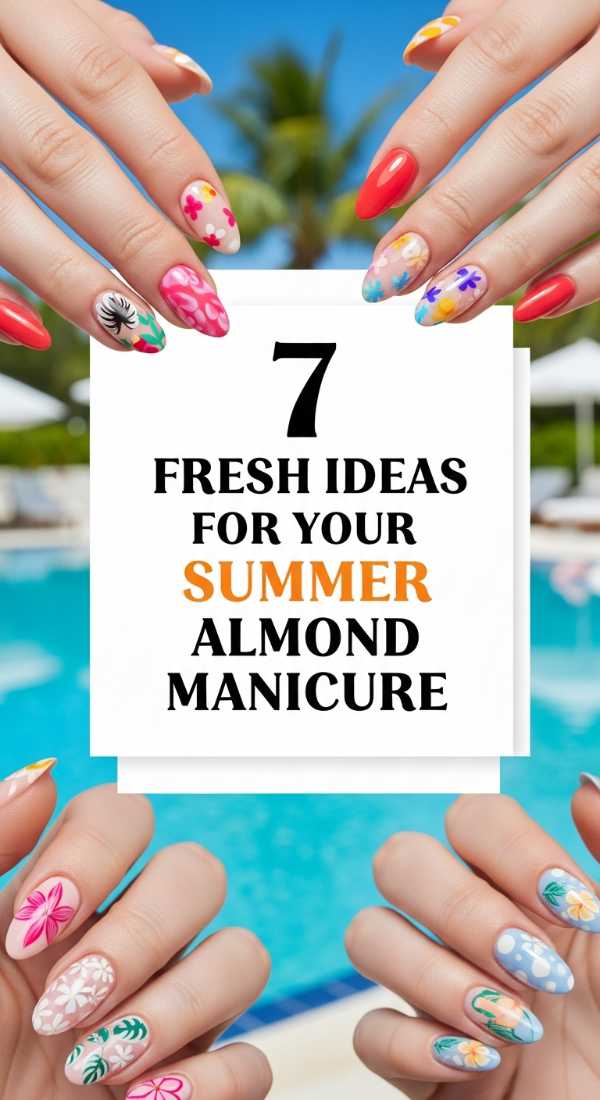
Why to love these Nails:
The almond shape is so flattering—it elongates the hand and provides the perfect canvas for summer creativity. It’s the ‘it’ shape of the season, blending elegance with a bit of a trendy edge.
Essential Items:
- Almond-shaped nail tips or file
- Neon and pastel summer shades
- Iridescent top coat
How to Prepare:
- Lemon Accents: Tiny yellow citrus slices on the ring finger.
- Sea Foam Tips: A soft turquoise french tip.
- Daisy Fields: Scattered white flowers over a clear base.
- Sunset Gradient: Blending orange into soft pink.
- Shell Texture: Using a 3D gel to create ‘ridges’ like a seashell.
- Neon Liners: A single neon green line following the curve of the almond tip.
- Glazed Peach: A soft peach base with a pearlescent chrome powder finish.
Budget Range
- Kiara Sky Gelly Tips ($25)
- Bio Seaweed Gel ‘Summer Set’ ($40)
- SunUV LED Lamp ($25)
5 Steps to Achieve a Classy Glitter Ombre Look
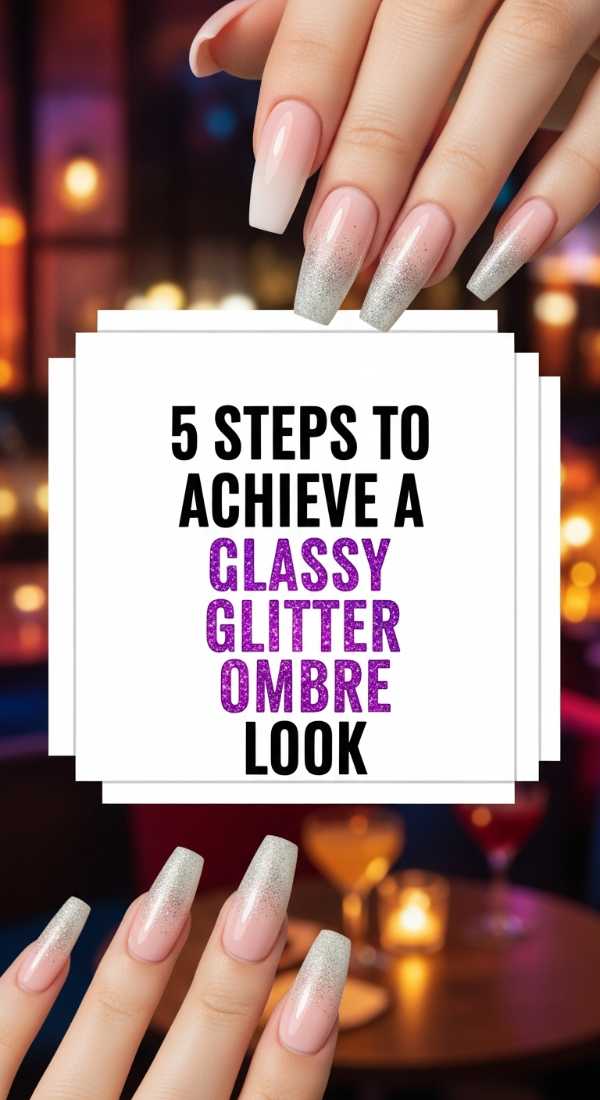
Why to love these Nails:
This is ‘grown-up’ glitter. It’s not chunky or overwhelming; it’s a soft dusting of light that sparkles as you move. It’s perfect for those who want a bit of glamour without feeling like they’re back in middle school.
Essential Items:
- Fine loose glitter or glitter polish
- Cosmetic sponge
- Nude base color
- Latex barrier (optional)
How to Prepare:
- Apply your base nude color and let it dry.
- Paint a small amount of glitter polish onto the edge of a cosmetic sponge.
- Dab the sponge onto the tip of your nail, concentrating the most glitter at the very end.
- Gently bounce the sponge upward toward the middle of the nail to create a fading effect.
- Finish with two coats of top coat to ensure a smooth, glass-like surface.
Budget Range
- ILNP Holographic Glitter ($10)
- Wedge Makeup Sponges ($4)
- Glisten & Glow Top Coat ($9)
4 Ways to Master Aesthetic Gel Nail Patterns
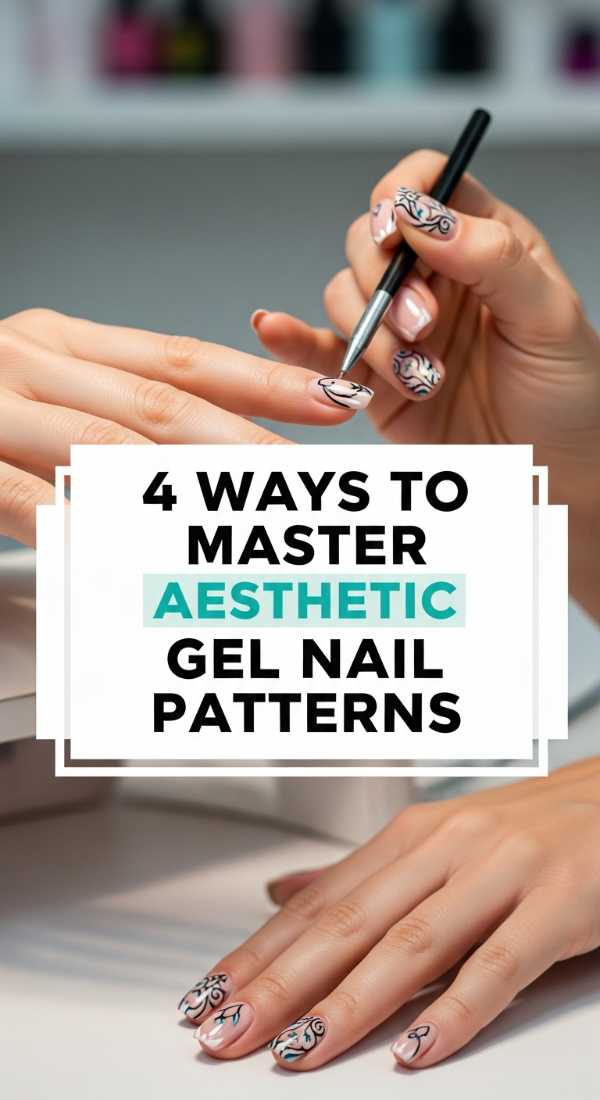
Why to love these Nails:
Gel patterns offer a depth and shine that regular polish just can’t match. They allow for ‘blooming’ effects and glass-like finishes that feel incredibly high-end and artistic. It’s the ultimate way to level up your home manicure game.
Essential Items:
- Gel polish starter kit
- Blooming gel (for marble effects)
- Thin nail art brushes
- LED/UV Lamp
How to Prepare:
- Marble Bloom: Apply blooming gel, then drop colors into it and watch them spread into ethereal clouds.
- Negative Space: Use tape or a brush to leave parts of the natural nail exposed for a modern, geometric look.
- Velvet Effect: Use a magnetic ‘cat eye’ gel to create a soft, shimmering texture.
- Micro-French: Use a gel liner brush to create an impossibly thin line at the very tip in a contrasting color.
Budget Range
- Beetles Gel Polish Starter Kit ($35)
- Born Pretty Blooming Gel ($8)
- Magnetic Wand for Cat Eye ($5)
Wrapping Your Tips in Softness
My loves, I hope these tutorials inspire you to take a little time for yourself this week. Whether you choose a simple polka dot or a complex gel marble, remember that the beauty lies in the act of creation. Your hands do so much for you—they hold tea cups, write letters, and hug the people you love. Treating them to a little art is a beautiful way to say thank you to yourself. Stay soft, stay creative, and I’ll see you in the next post.