
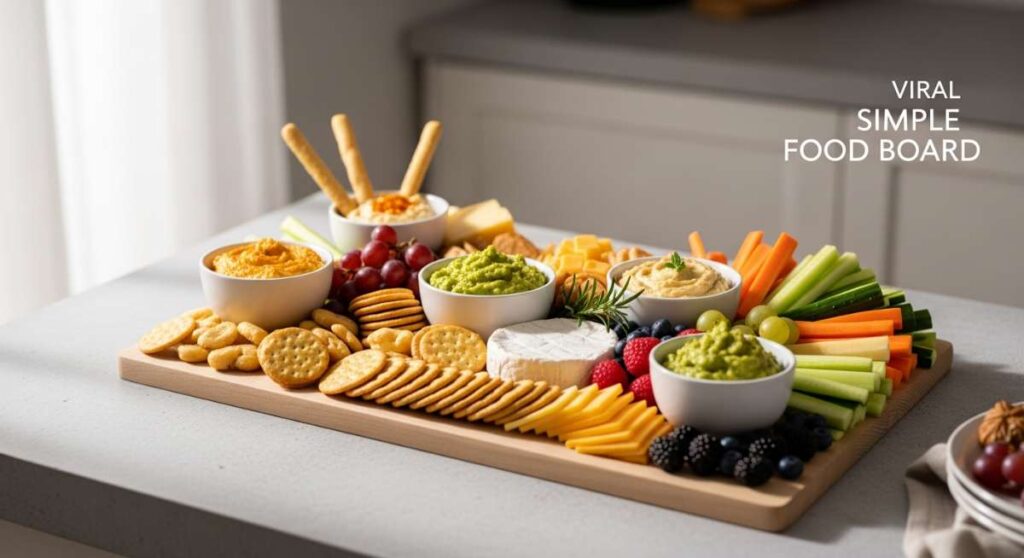
There is something undeniably magical about the way a simple food board brings people together. Whether it is the soft clinking of glasses on a sun-drenched patio or the shared laughter over a platter of appetizers that look almost too good to eat, these ‘TikTok-famous’ spreads have transformed the way we host. They take the pressure off a formal sit-down meal and replace it with a tactile, visual feast that invites everyone to graze, linger, and connect over vibrant colors and bold flavors.
I remember the first time I set out a themed board for a casual Friday night; the room instantly felt warmer. There’s a certain nostalgia in these simple food ideas—reminding us of childhood snacks but elevated with fresh, seasonal ingredients and a touch of modern flair. In this guide, we are diving into ten viral-inspired ideas that will help you master the art of the board, from savory dips to refreshing summer sips, ensuring your next gathering is as effortless as it is beautiful.
How to make creamy rotel dip?

Why we love this
This dip is the ultimate comfort food, offering a luxurious, velvet-smooth texture that coats every single chip with salty, spicy goodness. As it melts, the aroma of browned savory sausage mingles with the zesty, bright scent of green chiles and sun-ripened tomatoes, creating a nostalgic scent that fills the entire kitchen. Every bite provides a satisfying contrast between the richness of the melted cheese and the slight snap of the diced vegetables, making it impossible to stop at just one scoop. It is the heart of any game-day board, radiating warmth and a sense of effortless hospitality that makes everyone feel right at home.
Ingredients
- 1 lb ground breakfast sausage or lean ground beef
- 1 block (32 oz) Velveeta or processed cheese, cubed
- 2 cans (10 oz each) Ro-Tel diced tomatoes and green chilies, undrained
- 1/2 cup whole milk (optional, for creaminess)
- Fresh cilantro and sliced jalapeños for garnish
- Tortilla chips for serving
How to make it
- Place a large skillet over medium-high heat. Add the ground meat, breaking it apart with a wooden spoon or spatula into small, uniform crumbles. Cook for 7-9 minutes until no pink remains and the meat has developed a deep, caramelized brown color.
- Carefully drain the excess grease from the skillet to ensure the dip stays creamy and not oily. If using a slow cooker, transfer the browned meat now; otherwise, lower the skillet heat to low-medium.
- Add the cubed cheese to the meat. The cubes should be roughly 1-inch thick to ensure they melt evenly without scorching. Stir constantly as the cheese begins to soften and turn glossy.
- Pour in both cans of Ro-Tel, including the juices. The acidity in the tomato juice helps emulsify the cheese into a silky sauce. Continue to stir for 5-10 minutes until the mixture is completely homogenous and bubbling gently.
- If the dip feels too thick, whisk in the milk one tablespoon at a time until you reach a pourable yet thick consistency. Transfer to a heated serving bowl on your board and garnish immediately with cilantro to keep the colors vibrant.
How to cook summer pasta?
Why we love this
Summer pasta is a celebration of the garden, featuring a light, ethereal sauce that clings delicately to al dente strands. The scent is dominated by the fragrance of fresh-torn basil and the sharp, clean zest of lemon, which cuts through the richness of high-quality olive oil. As you twirl your fork, you notice the burst of blistered cherry tomatoes, which release their sweet juices to create a natural, rustic glaze. It feels light on the palate, perfectly capturing the essence of a warm July evening where the ingredients are allowed to speak for themselves without being weighed down by heavy creams.
Ingredients
- 1 lb spaghetti or linguine
- 1 pint cherry tomatoes, halved
- 4 cloves garlic, thinly sliced
- 1/4 cup extra virgin olive oil
- 1/2 cup fresh basil leaves, chiffonade
- 1 lemon, zested and juiced
- Red pepper flakes and shaved Parmesan cheese
How to make it
- Bring a large pot of heavily salted water (it should taste like the sea) to a rolling boil. Add the pasta and cook for 1-2 minutes less than the package directions to achieve a perfect ‘al dente’ bite that still has some structural integrity.
- While the pasta cooks, heat olive oil in a wide sauté pan over medium heat. Add the sliced garlic and a pinch of red pepper flakes. Sauté for only 60-90 seconds; the garlic should turn golden and fragrant but never brown, as brown garlic becomes bitter.
- Toss in the cherry tomatoes. Increase the heat slightly and cook for 4-5 minutes, pressing down on some tomatoes with your spoon to release their juices until they look shriveled and saucy.
- Before draining the pasta, reserve 1 cup of the starchy pasta water. This is the secret to a glossy sauce. Drain the pasta and add it directly into the tomato pan.
- Pour in half the pasta water and the lemon juice. Toss vigorously over medium heat for 2 minutes, allowing the pasta to finish cooking inside the sauce. Add more water if it looks dry. Remove from heat, fold in the fresh basil and lemon zest, and serve with a generous dusting of Parmesan.
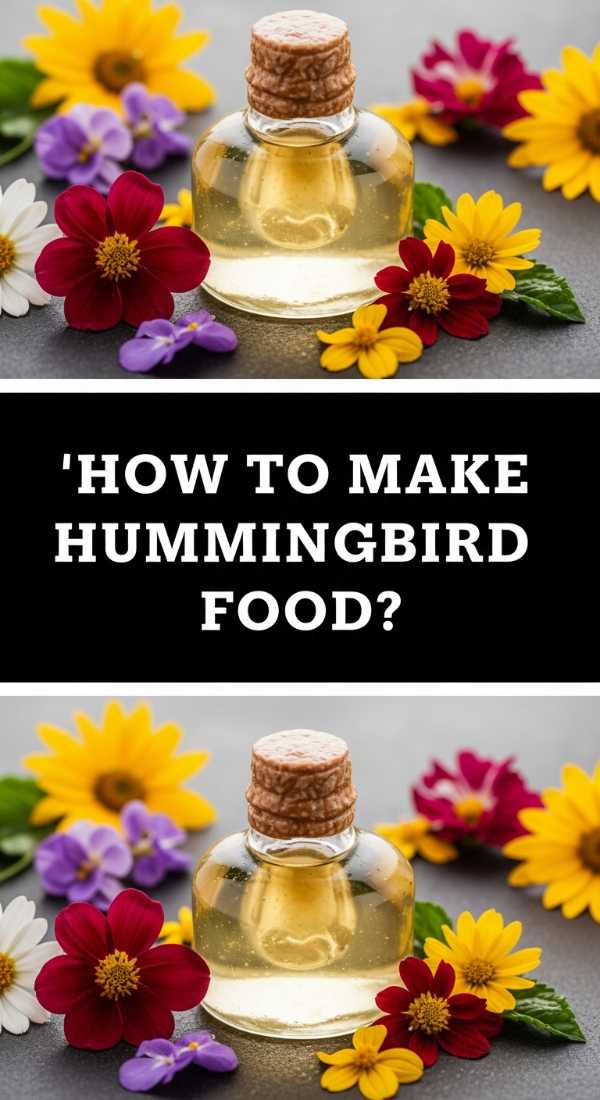
How to make hummingbird food?
Why we love this
While not for the human board, crafting hummingbird food is a beautiful ritual that brings the shimmering movement of nature right to your window. The process is simple and pure, resulting in a clear, sweet nectar that mimics the natural juices found in bright tubular flowers. There is a deep satisfaction in watching these tiny, iridescent creatures dart back and forth, fueled by the energy of your homemade blend. It adds an element of life and rhythm to your outdoor living space, turning a simple garden into a sanctuary of activity and delicate, buzzing wings.
Ingredients
- 1 cup white granulated sugar
- 4 cups filtered water
- No red dye or artificial sweeteners
How to make it
- In a medium saucepan, combine the sugar and water. It is vital to use refined white sugar specifically, as honey or organic sugars can contain iron levels that are toxic to birds.
- Place the pan over medium heat and stir constantly. You don’t need a vigorous boil; you simply want the water to reach a simmer to ensure the sugar crystals are completely dissolved, which prevents the nectar from fermenting too quickly.
- Once the liquid is crystal clear, remove the pan from the heat. Let the solution cool completely to room temperature. Never put hot nectar into a feeder, as it can warp the plastic and harm the birds.
- Clean your hummingbird feeder thoroughly with hot water and vinegar (no soap) to remove any mold or bacteria.
- Fill the feeder and store any extra nectar in a sealed glass jar in the refrigerator for up to two weeks. Change the nectar every 3-5 days, or more often in extreme heat, to keep your feathered friends healthy.
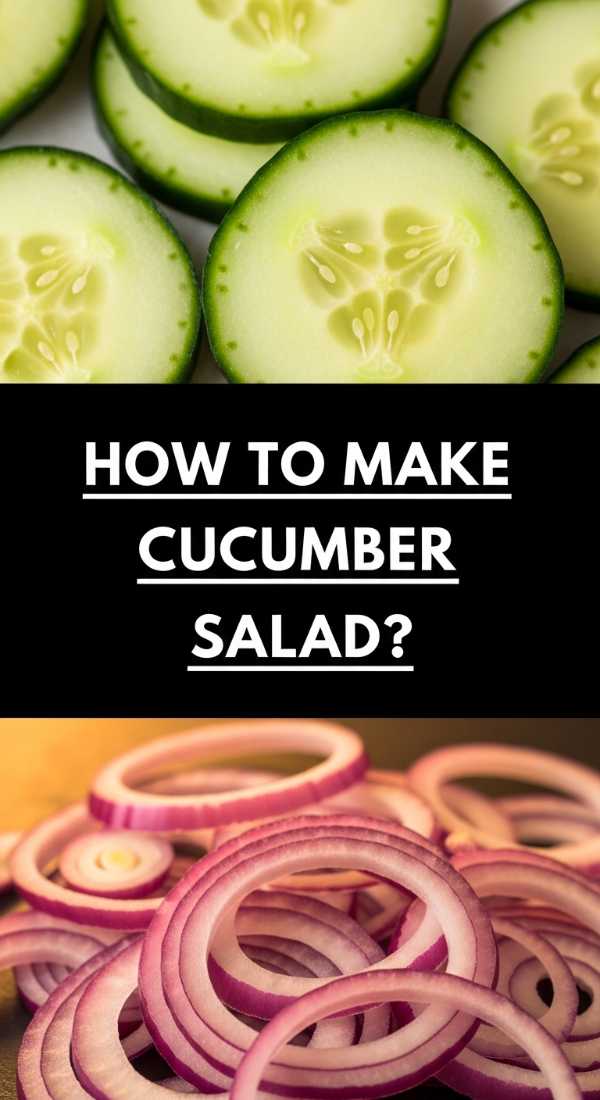
How to make cucumber salad?

Why we love this
This salad is the ultimate palate cleanser, offering a crisp, cooling crunch that acts as the perfect foil to grilled meats or spicy appetizers. The aroma is instantly refreshing—a sharp tang of white vinegar softened by the earthy, anise-like scent of fresh dill and the mild sweetness of red onion. Visually, the translucent, paper-thin slices of cucumber look like stained glass on the plate, shimmering under a light dressing. It is a dish that feels like a cold breeze on a humid day, providing a hydrating, bright, and snappy texture that keeps your taste buds awake and excited for the next bite.
Ingredients
- 2 large English cucumbers, thinly sliced
- 1/2 small red onion, sliced into thin moons
- 1/2 cup white vinegar or apple cider vinegar
- 2 tablespoons sugar
- 1 teaspoon salt
- 1/4 cup fresh dill, chopped
- Black pepper to taste
How to make it
- Wash the cucumbers thoroughly. Using a mandoline slicer set to the thinnest setting, slice the cucumbers into rounds. If you don’t have a mandoline, use a very sharp chef’s knife to get them as thin as possible; thinner slices absorb the marinade better.
- Place the cucumber slices in a colander and sprinkle with the salt. Let them sit for 15-20 minutes. This “sweating” process draws out excess water, ensuring your salad stays crunchy rather than soggy.
- In a small mixing bowl, whisk together the vinegar, sugar, and black pepper until the sugar is completely dissolved. Taste the dressing; it should be a balanced harmony of tart and sweet.
- Pat the cucumbers dry with a paper towel and place them in a large bowl with the red onions and fresh dill.
- Pour the dressing over the vegetables and toss gently to coat. For the best flavor, cover and refrigerate for at least 30 minutes before serving. This allows the onions to mellow and the cucumbers to become slightly pickled and infused with dill.
How to grill summer kabobs?

Why we love this
Kabobs bring a sense of playfulness and fire-kissed flavor to a summer board, featuring charred edges and tender, juicy centers. The smell of woodsmoke and caramelizing proteins is the quintessential scent of outdoor hosting, drawing everyone toward the grill. There is a beautiful contrast in textures here: the snap of a bell pepper, the soft sweetness of a grilled onion, and the succulent richness of marinated meat. Each skewer is a self-contained masterpiece of color, offering a smoky depth that only an open flame can provide, making them the undeniable star of any backyard gathering.
Ingredients
- 1.5 lbs steak tips, chicken breast, or shrimp
- 2 bell peppers (mixed colors), cut into chunks
- 1 red onion, cut into wedges
- 1 zucchini, sliced into thick rounds
- 1/2 cup balsamic vinaigrette or teriyaki sauce for marinating
- Wooden or metal skewers
How to make it
- If using wooden skewers, soak them in water for at least 30 minutes prior to grilling to prevent them from catching fire.
- Cut your protein and vegetables into uniform 1-inch pieces. Consistency is key; if the pieces are different sizes, some will burn before others are cooked through.
- Place the meat in a bowl with the marinade and let it sit for at least 30 minutes (or up to 4 hours in the fridge). This breaks down the fibers and infuses the center with flavor.
- Thread the ingredients onto the skewers, alternating between meat and vegetables. Do not crowd them too tightly; leaving a tiny bit of space allows the heat to circulate and brown all sides evenly.
- Preheat your grill to medium-high (about 400°F). Lightly oil the grates. Place skewers on the grill and cook for 8-12 minutes, turning every few minutes. Look for clear grill marks and an internal temperature of 165°F for chicken or 145°F for medium-rare steak. Let rest for 5 minutes before serving.
How to bake summer desserts?

Why we love this
Summer desserts are all about the marriage of buttery, flaky pastry and the explosive sweetness of sun-drenched fruit. As they bake, the kitchen fills with the scent of caramelizing sugars and warm vanilla, creating an inviting atmosphere that promises a sweet finale. These treats are designed to be rustic and unfussy, often featuring a golden-brown crust that shatters delightfully upon the first bite to reveal a jammy, vibrant filling. Whether it’s a galette or a fruit crumble, these desserts capture the peak of the season’s harvest in a way that feels both sophisticated and deeply soul-warming.
Ingredients
- 1 pre-made pie crust or puff pastry sheet
- 3 cups seasonal fruit (peaches, berries, or plums), sliced
- 1/4 cup granulated sugar (plus extra for sprinkling)
- 1 tablespoon cornstarch
- 1 teaspoon vanilla extract
- 1 egg (for egg wash)
How to make it
- Preheat your oven to 400°F (200°C) and line a baking sheet with parchment paper. High heat is essential for a crisp crust that doesn’t get soggy from fruit juices.
- In a medium bowl, toss your sliced fruit with the sugar, cornstarch, and vanilla. The cornstarch acts as a thickener, turning the escaping fruit juices into a glossy, thick syrup as it bakes.
- Roll out your pastry on the parchment paper. If making a galette, pile the fruit into the center, leaving a 2-inch border of dough all the way around.
- Gently fold the edges of the dough over the fruit, pleating as you go. It doesn’t have to be perfect; the rustic look is part of the charm.
- Beat the egg with a splash of water and brush the crust lightly. Sprinkle with a little extra sugar for a crunch. Bake for 25-30 minutes until the crust is a deep golden brown and the fruit filling is bubbling thick and slow in the center.
How to prep healthy meals?

Why we love this
There is a unique sense of peace that comes from a board filled with prepped, healthy components—a visual representation of self-care and vibrant health. The textures are diverse: the heartiness of quinoa, the crunch of raw radishes, and the creaminess of a perfectly ripe avocado. It smells like fresh herbs and citrus, a clean and energizing aroma that makes you feel good before you even take a bite. Prepping these meals transforms the week from a chaotic rush into a series of intentional, nourishing moments, proving that ‘healthy’ can be just as exciting and flavorful as any gourmet spread.
Ingredients
- 2 cups cooked grains (quinoa, farro, or brown rice)
- 1 lb roasted sweet potatoes or broccoli
- 2 cups leafy greens (kale or spinach)
- 1 cup chickpeas or black beans, rinsed
- Lemon-tahini dressing or balsamic glaze
- Pre-portioned containers
How to make it
- Start with a ‘batch-cooking’ mindset. Cook a large pot of your chosen grain using broth instead of water to infuse more flavor into every kernel. Fluff with a fork and let cool.
- Preheat oven to 425°F. Chop your sturdier vegetables (like sweet potatoes or carrots) into uniform cubes. Toss with olive oil, salt, and pepper, and roast for 20-25 minutes until the edges are caramelized and slightly charred.
- Prepare your protein—whether it’s seasoned chickpeas, boiled eggs, or grilled chicken—ensuring everything is seasoned well while still warm.
- Assembly is the final phase: Use clear containers and layer the grains at the bottom, followed by the roasted vegetables, the protein, and finally the fresh greens on top. Keeping greens on top prevents them from wilting against warm ingredients.
- Store dressings in small, separate containers. Only dress the meal right before eating to maintain the structural integrity and freshness of the vegetables.
How to mix summer drinks?
Why we love this
Summer drinks are the cooling heartbeat of any food board, characterized by the bright, effervescent pop of carbonation and the zing of fresh citrus. The sound of ice rattling against glass is the universal signal for relaxation, while the scent of muddled mint and sliced cucumber provides an instant sensory escape. These drinks are as much about the ritual as the flavor—watching the colors of fruit purees swirl into sparkling water to create an ombre effect. They are refreshing, sophisticated, and designed to be sipped slowly while the sun begins its slow descent on the horizon.
Ingredients
- 1 cup fresh fruit (strawberries, blueberries, or peaches)
- Fresh herbs (mint, basil, or rosemary)
- 2 cups sparkling water or club soda
- 1/4 cup simple syrup or agave nectar
- Fresh lime or lemon juice
- Plenty of ice
How to make it
- Begin by making a ‘base’ for your drink. In a sturdy glass or pitcher, add your fresh fruit and herbs. Use a muddler or the back of a wooden spoon to gently bruise the herbs and crush the fruit until the juices are released.
- Add the citrus juice and the sweetener. Stir well to ensure the syrup is integrated with the fruit acids.
- Fill your glasses to the brim with ice. For a professional touch, use large clear ice cubes which melt slower and don’t dilute the drink as quickly.
- Pour the sparkling water over the fruit base. The bubbles will naturally mix the layers, but give it one gentle stir with a long spoon to ensure the flavor is consistent from top to bottom.
- Garnish with a whole sprig of the herb you used and a thin slice of citrus on the rim. This provides an aromatic experience every time you take a sip.
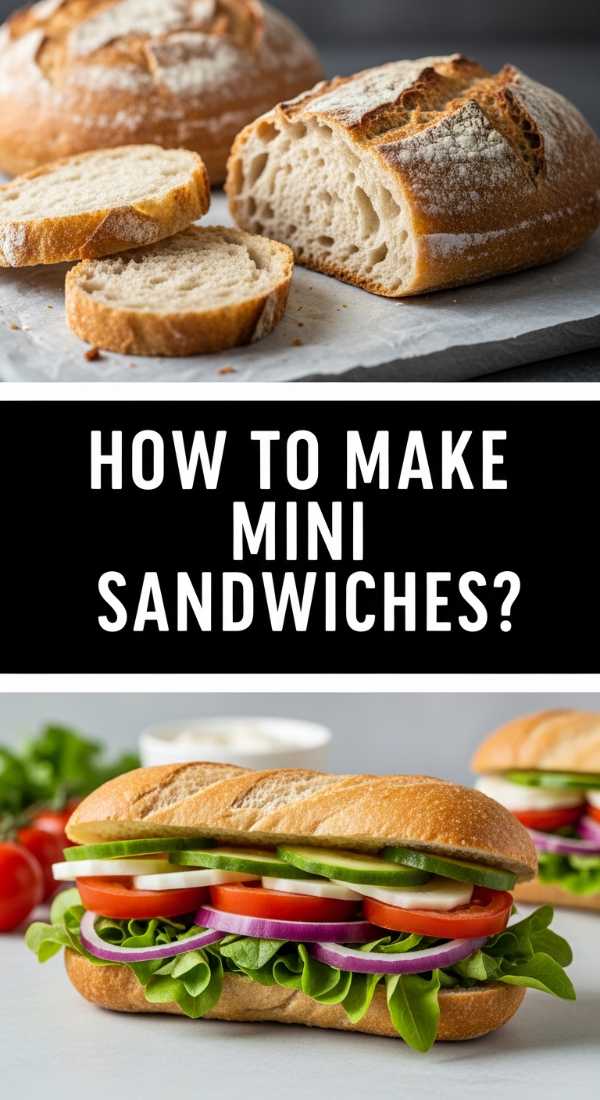
How to make mini sandwiches?

Why we love this
Mini sandwiches, or ‘tea sandwiches,’ offer a delicate and refined touch to a food board, providing bite-sized bursts of classic flavor combinations. Their texture is incredibly soft—think pillowy white bread and smooth spreads—interrupted by the occasional crunch of a cucumber or the saltiness of thin-sliced ham. They smell of fresh yeast and creamy herb butters, evoking a sense of timeless elegance. These little gems are perfect for grazing because they allow guests to sample a variety of flavors without committing to a full meal, making them the ultimate social food for lighthearted afternoon gatherings.
Ingredients
- 1 loaf thin-sliced white or whole wheat bread
- 8 oz cream cheese, softened
- 1/2 cup finely chopped herbs (chives, dill, or parsley)
- Thinly sliced deli meats (turkey, ham, or roast beef)
- Thinly sliced cucumber or radishes
- Butter, at room temperature
How to make it
- Lay out your bread slices in pairs. It is helpful to use bread that is slightly chilled, as it makes it easier to spread ingredients and cut cleanly later.
- Spread a very thin, even layer of room-temperature butter on every slice. This creates a moisture barrier that prevents the bread from getting soggy if the sandwiches sit on the board for a while.
- Mix your softened cream cheese with the chopped herbs. Spread this mixture generously on one side of each bread pair. Layer your meat or vegetables thinly; do not overstuff, as the sandwiches need to stay flat.
- Close the sandwiches and, using a very sharp serrated knife, carefully trim off all the crusts. The key to a viral-worthy look is perfectly straight, clean edges.
- Cut each large square into four smaller squares, triangles, or long rectangles. To keep them fresh on your board, cover them with a slightly damp paper towel until the very moment guests arrive.
How to cook summer soup?
[IMAGE_10]
Why we love this
Summer soup, like a classic Gazpacho or a chilled corn chowder, is a surprising and delightful addition to a food board that challenges the idea that soup must be hot. It is incredibly vibrant, often a shocking shade of garden red or golden yellow, and serves as a concentrated essence of peak-season produce. The texture is smooth and velvety, yet it leaves a refreshing, zingy tingle on the tongue from vinegar and raw garlic. It smells of the earth and the sun—fresh, green, and bright—offering a cooling sensation that is deeply satisfying when served in small, chilled shooter glasses alongside crunchy bread.
Ingredients
- 6 large ripe tomatoes (for Gazpacho) or 4 cups fresh corn kernels
- 1 bell pepper and 1 cucumber (for Gazpacho)
- 2 tablespoons sherry vinegar or lime juice
- 1/4 cup high-quality olive oil
- 1 clove garlic, minced
- Salt and pepper to taste
- Microgreens for garnish
How to make it
- For a chilled vegetable soup, start by rough-chopping all your produce. Since this will be blended, the cuts don’t need to be pretty, but the ingredients must be at the peak of ripeness for the best flavor.
- Place the vegetables, garlic, vinegar, and a generous pinch of salt into a high-speed blender. Blend on high until the mixture is completely liquefied and smooth.
- While the blender is running on a low setting, slowly drizzle in the olive oil. This ’emulsifies’ the soup, creating a creamy, luxurious mouthfeel without the need for any actual dairy.
- The most critical step: Chill the soup in the refrigerator for at least 3-4 hours. A summer soup must be served ice-cold to properly highlight the sharp, fresh flavors.
- Pour the soup into small glasses or ceramic bowls. Right before serving, add a tiny drizzle of olive oil on top and a few microgreens. This adds a professional aesthetic that makes the simple soup look like a gourmet appetizer.
Bringing the TikTok Aesthetic Home
Creating these boards is less about following a strict recipe and more about embracing the joy of the season. By mixing these viral ideas—from the savory pull of Rotel dip to the cooling sip of a summer mocktail—you create a dining experience that is interactive, beautiful, and delicious. So, grab your favorite wooden board, head to the farmer’s market, and start building your own masterpiece. Your guests (and your camera) will thank you!