
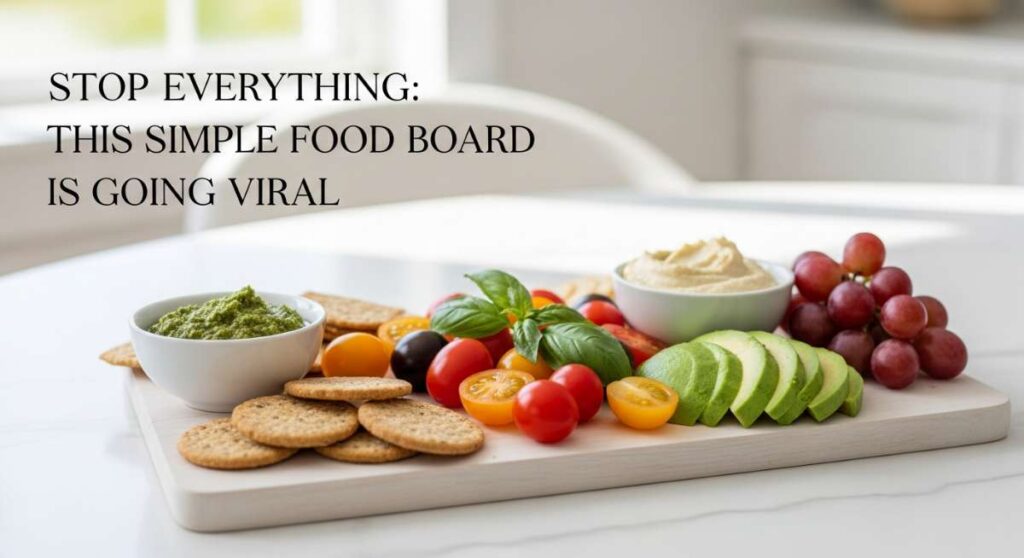
Stop Everything: This Simple Food Board is Going Viral
There is something truly magical about the way a simple collection of food can bring people together. I remember the first time I set out a large wooden board covered in various snacks and small meals; the room instantly transformed from a quiet gathering into a vibrant, buzzing hub of conversation and laughter. It’s not just about the food; it’s about the accessibility, the colors, and the sheer joy of picking exactly what you want from a beautiful spread.
Lately, social media has been buzzing with this one specific food board concept, and it’s easy to see why. It strikes that perfect balance between effortless elegance and comforting home cooking. Whether you’re hosting a backyard bash or just trying to make a Tuesday night feel a little more special, these viral recipes are the building blocks of a meal that people will be talking about for weeks. Let’s dive into the flavors that are making everyone hit the ‘save’ button.
How to make chicken caesar wraps?

Why we love this
There is an undeniable satisfaction in biting into a perfectly constructed chicken Caesar wrap, where the crunch of fresh romaine meets the savory depth of parmesan and tender chicken. The aroma of garlic-infused dressing hits you first, followed by the tactile contrast of a soft, warm tortilla and the crisp interior of the salad. It’s a handheld masterpiece that feels light yet incredibly filling, offering a cool, creamy mouthfeel that is punctuated by the salty punch of croutons tucked inside. Every bite feels like a refreshing summer afternoon spent on a sunny patio with good friends.
Ingredients
- 2 large flour tortillas
- 1 cup cooked chicken breast, sliced into strips
- 2 cups chopped romaine lettuce
- 1/4 cup Caesar dressing
- 1/4 cup shaved parmesan cheese
- 1/2 cup crushed croutons
- 1 tsp cracked black pepper
How to make it
- Start by warming your tortillas in a dry skillet over medium heat for about 30 seconds per side. This makes them pliable and prevents tearing during the rolling process.
- In a medium mixing bowl, toss the chopped romaine lettuce with the Caesar dressing until every leaf is lightly coated. Do not over-saturate, or the wrap will become soggy.
- Lay the warmed tortilla flat on a clean surface. Place a generous layer of the dressed lettuce in the center, leaving about two inches of space from the edges.
- Layer the sliced chicken strips on top of the lettuce, followed by the shaved parmesan cheese and the crushed croutons for that essential crunch.
- Fold the sides of the tortilla inward toward the center, then tightly roll from the bottom up, keeping the filling compressed.
- Slice diagonally with a sharp serrated knife to show off the beautiful layers and serve immediately.
How to make strawberry pie?

Why we love this
Few things capture the essence of a sun-drenched garden like a fresh strawberry pie, its ruby-red filling glistening under a lattice of golden, buttery crust. As it bakes, the kitchen fills with the intoxicating scent of caramelized sugar and vine-ripened fruit, a sweet and nostalgic aroma that promises comfort. The texture is a delightful dance between the flaky, salt-kissed pastry and the jammy, slightly tart berries that burst with juice. Eating a slice feels like a celebration of the season, especially when topped with a dollop of cold, velvety whipped cream that melts into the warm fruit.
Ingredients
- 2 deep-dish pie crusts (homemade or store-bought)
- 5 cups fresh strawberries, hulled and halved
- 3/4 cup granulated sugar
- 3 tbsp cornstarch
- 1 tbsp lemon juice
- 1/4 tsp salt
- 1 egg (for egg wash)
How to make it
- Preheat your oven to 425°F (220°C). Roll out your bottom crust and press it firmly into a 9-inch pie plate, trimming any excess overhang.
- In a large bowl, gently fold the strawberries with sugar, cornstarch, lemon juice, and salt. Let this mixture sit for 10 minutes; this allows the cornstarch to begin absorbing the juices, ensuring a set filling.
- Pour the strawberry mixture into the prepared bottom crust, mounding it slightly in the center for a professional look.
- Place the second crust over the top. You can leave it whole (with steam vents cut in) or cut it into strips to create a classic lattice pattern. Crimp the edges tightly to seal in the juices.
- Whisk the egg with a tablespoon of water and brush the entire top crust. Sprinkle with a little extra sugar for a sparkling, crunchy finish.
- Bake at 425°F for 15 minutes, then reduce the heat to 375°F (190°C) and bake for another 35-40 minutes until the crust is deep golden brown and the filling is bubbling through the vents.
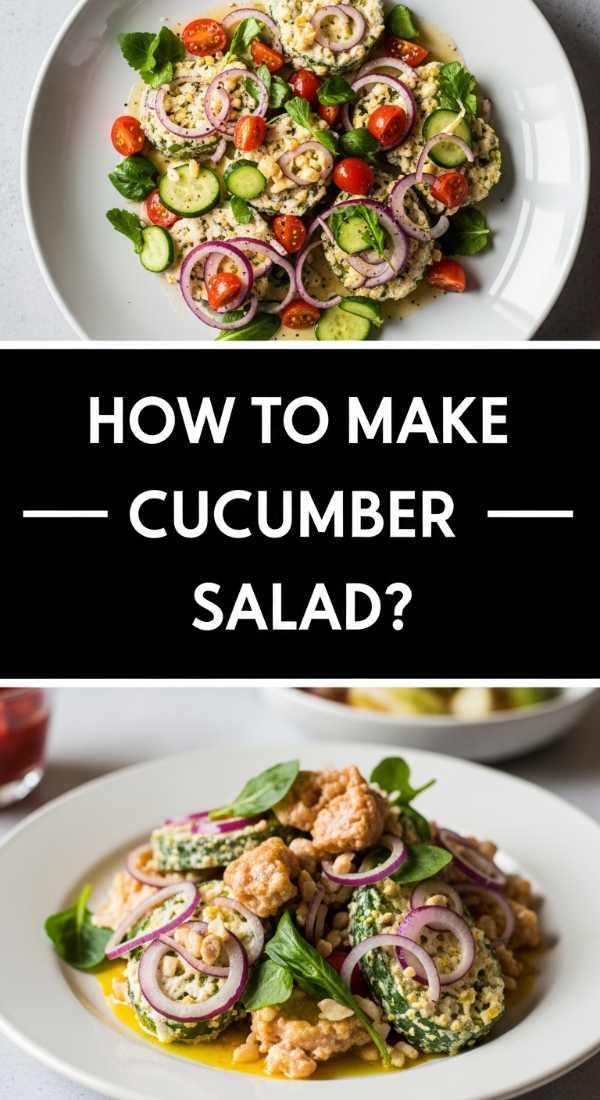
How to make cucumber salad?
Why we love this
A cucumber salad is the ultimate palate cleanser, offering a sharp, vinegary brightness that cuts through richer dishes on a food board. The sound of the crisp cucumber slices snapping is almost as satisfying as the taste, which is a harmonious blend of cooling vegetable notes and the zesty bite of red onion. Infused with fresh dill, the aroma is earthy and clean, reminiscent of a breezy morning at a farmer’s market. Each bite provides a rush of hydration and a sweet-and-sour tingle that leaves you feeling refreshed and ready for the next flavor on the board.
Ingredients
- 2 English cucumbers, thinly sliced
- 1/2 small red onion, thinly sliced into half-moons
- 1/2 cup white vinegar
- 2 tbsp granulated sugar
- 1 tsp salt
- 2 tbsp fresh dill, chopped
- 1/2 tsp red pepper flakes (optional)
How to make it
- Place the sliced cucumbers in a colander and sprinkle with the salt. Let them sit for about 15 minutes to draw out excess moisture; this step ensures your salad remains crunchy and not watered down.
- While the cucumbers drain, whisk together the white vinegar, sugar, and red pepper flakes in a small bowl until the sugar has completely dissolved.
- Pat the cucumbers dry with a paper towel and place them in a large glass bowl. Add the sliced red onions.
- Pour the vinegar mixture over the vegetables and toss gently to ensure everything is submerged or well-coated.
- Stir in the fresh chopped dill. The oils from the dill will infuse the liquid, creating a much deeper flavor profile over time.
- Cover and refrigerate for at least 30 minutes before serving. The colder the salad, the more refreshing the bite will be.
How to marinate grilled chicken?

Why we love this
Mastering the art of marinated grilled chicken is like unlocking a secret level of culinary bliss, where the meat becomes a vessel for intense, smokey, and herbaceous flavors. The scent of the marinade hitting the hot grates is enough to draw neighbors over, a mouthwatering mix of charred garlic and bright citrus. When done right, the chicken retains a succulent, juicy interior while the exterior develops a beautiful, caramelized crust that crackles slightly. It’s the kind of protein that anchors a meal, providing a savory, soul-satisfying experience that feels both rustic and refined.
Ingredients
- 1.5 lbs chicken thighs or breasts
- 1/3 cup extra virgin olive oil
- 1/4 cup fresh lemon juice
- 4 cloves garlic, minced
- 1 tbsp fresh rosemary, chopped
- 1 tbsp fresh thyme, chopped
- 1 tsp smoked paprika
- Salt and pepper to taste
How to make it
- In a medium glass bowl or a heavy-duty gallon-sized zip-top bag, combine the olive oil, lemon juice, minced garlic, rosemary, thyme, and smoked paprika. Whisk or shake until emulsified.
- Place the chicken pieces into the marinade. If using breasts, consider pounding them to an even thickness first to ensure uniform cooking.
- Seal the bag or cover the bowl and refrigerate. For best results, marinate for at least 4 hours, or up to 24 hours. The acidity of the lemon breaks down the proteins, while the oil carries the aromatics deep into the meat.
- Preheat your grill to medium-high heat (about 400°F). Lightly oil the grates to prevent sticking.
- Remove chicken from the marinade and let the excess drip off. Season both sides generously with salt and pepper.
- Grill the chicken for 6-8 minutes per side. Use a meat thermometer to ensure the internal temperature reaches exactly 165°F (74°C). Let the meat rest for 5 minutes before slicing to allow the juices to redistribute.
How to make pound cake?

Why we love this
Pound cake is the heavy hitter of the dessert world, prized for its dense, velvety crumb and a buttery richness that lingers on the tongue. There is something deeply nostalgic about its simple, sweet aroma—a mixture of high-quality vanilla and creamed butter that reminds you of a grandmother’s kitchen. The texture is firm yet soft, offering a weightiness that makes it the perfect vehicle for macerated berries or a simple dusting of powdered sugar. It’s a classic for a reason, providing a steady, reliable comfort that feels like a warm hug in cake form.
Ingredients
- 1 cup (2 sticks) unsalted butter, room temperature
- 1 cup granulated sugar
- 4 large eggs, room temperature
- 2 cups all-purpose flour
- 1/2 tsp salt
- 1 tsp pure vanilla extract
- 2 tbsp milk
How to make it
- Preheat your oven to 325°F (165°C). Lower temperatures are key for pound cake to prevent the outside from burning before the dense center is cooked. Grease and flour a 9×5 inch loaf pan thoroughly.
- In a large stand mixer, cream the softened butter and sugar together for at least 5 minutes. The mixture should look pale, fluffy, and significantly increased in volume. This aeration is what gives pound cake its lift.
- Add the eggs one at a time, beating well after each addition. If the batter looks curdled, add a tablespoon of your measured flour to help it bind.
- Whisk the flour and salt together in a separate bowl. With the mixer on low, gradually add the flour to the butter mixture, alternating with the milk and vanilla extract.
- Stop mixing as soon as the last streak of flour disappears. Overmixing at this stage will develop gluten and make the cake tough.
- Pour the batter into the prepared pan and smooth the top. Bake for 60-70 minutes. Test with a long wooden skewer; it should come out clean or with just a few moist crumbs. Let it cool in the pan for 10 minutes before transferring to a wire rack.
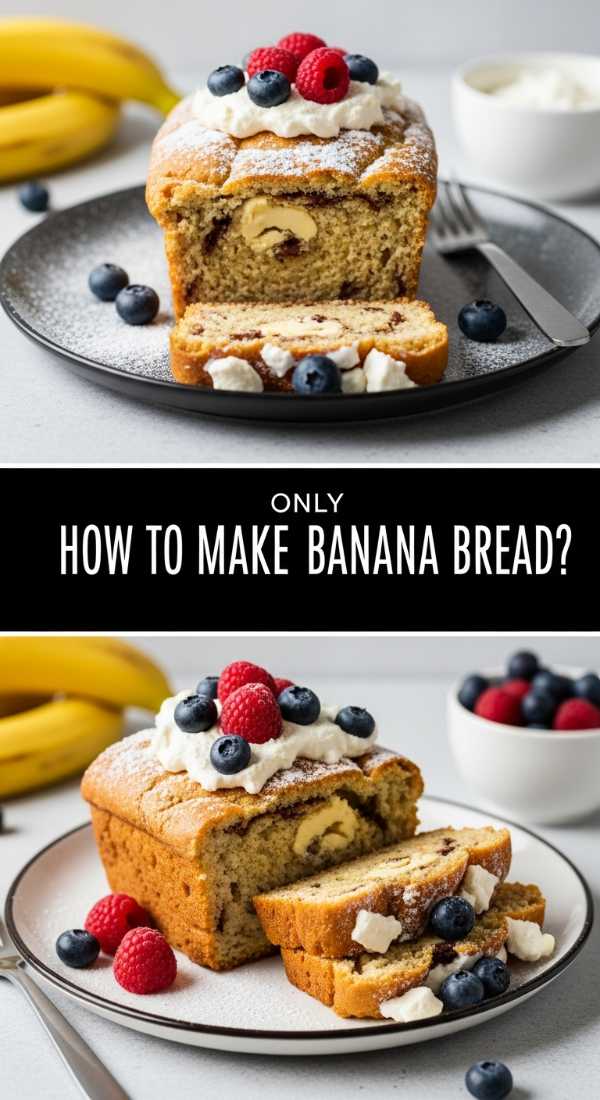
How to make banana bread?
Why we love this
Banana bread is the ultimate solution for those spotted, overripe bananas sitting on the counter, transforming them into a moist, fragrant loaf that tastes like pure coziness. As it bakes, the smell of ripening fruit and warm cinnamon wafts through the house, creating an atmosphere of homey tranquility. The texture is wonderfully dense and slightly tacky, with bits of caramelized banana providing bursts of sweetness throughout. It’s a versatile treat that works just as well for a quick breakfast as it does for a late-night snack, especially when toasted with a melting pat of salted butter.
Ingredients
- 3 very ripe bananas, mashed
- 1/2 cup melted unsalted butter
- 3/4 cup brown sugar
- 1 egg, beaten
- 1 tsp vanilla extract
- 1 tsp baking soda
- 1/2 tsp ground cinnamon
- 1.5 cups all-purpose flour
How to make it
- Preheat your oven to 350°F (175°C) and grease a 4×8 inch loaf pan with butter or non-stick spray.
- In a large mixing bowl, mash the ripe bananas using a fork or a potato masher until they reach a relatively smooth consistency with only small chunks remaining.
- Stir the melted butter into the mashed bananas until fully combined. This fat source ensures the bread stays moist for days.
- Mix in the brown sugar, beaten egg, and vanilla extract. The molasses in the brown sugar adds a deeper, more complex sweetness than white sugar.
- Sprinkle the baking soda and cinnamon over the wet mixture and stir. Then, gently fold in the flour using a spatula. Mix only until the flour is incorporated; do not overwork the batter.
- Pour the batter into the pan and bake for 50 to 60 minutes. Because banana bread is so moist, use a toothpick to check the center; it should come out without wet batter. Allow it to cool completely before slicing for the best texture.
How to make pina coladas?

Why we love this
One sip of a perfectly blended pina colada and you’re instantly transported to a white-sand beach with the sound of crashing waves in the distance. The drink is a tropical symphony of creamy coconut milk and the sharp, bright acidity of pineapple, creating a frosty texture that is both indulgent and refreshing. The aroma is purely vacation—sweet, fruity, and exotic. It feels like a liquid dessert, with a smooth, velvety finish that coats the palate and a chill that provides the ultimate relief on a sweltering summer afternoon. It is the gold standard of poolside relaxation.
Ingredients
- 2 cups frozen pineapple chunks
- 1/2 cup coconut cream (the thick canned variety)
- 1/2 cup pineapple juice
- 2 oz white rum (optional)
- 1 cup ice cubes
- Maraschino cherries and pineapple wedges for garnish
How to make it
- In a high-powered blender, combine the frozen pineapple chunks, coconut cream, and pineapple juice. Using frozen fruit instead of just ice prevents the drink from becoming watered down.
- If you are making an adult version, add the white rum. For a mocktail, you can add a splash of coconut water or extra pineapple juice.
- Add the ice cubes to the blender. Start on a low speed to break up the large chunks, then increase to high.
- Blend for about 45-60 seconds until the mixture is completely smooth and has a thick, slushy consistency. If it’s too thick, add a splash more juice; if too thin, add more frozen pineapple.
- Pour the mixture into chilled hurricane glasses or tall tumblers.
- Garnish with a fresh pineapple wedge and a maraschino cherry on top. Serve immediately with a straw for the full tropical experience.
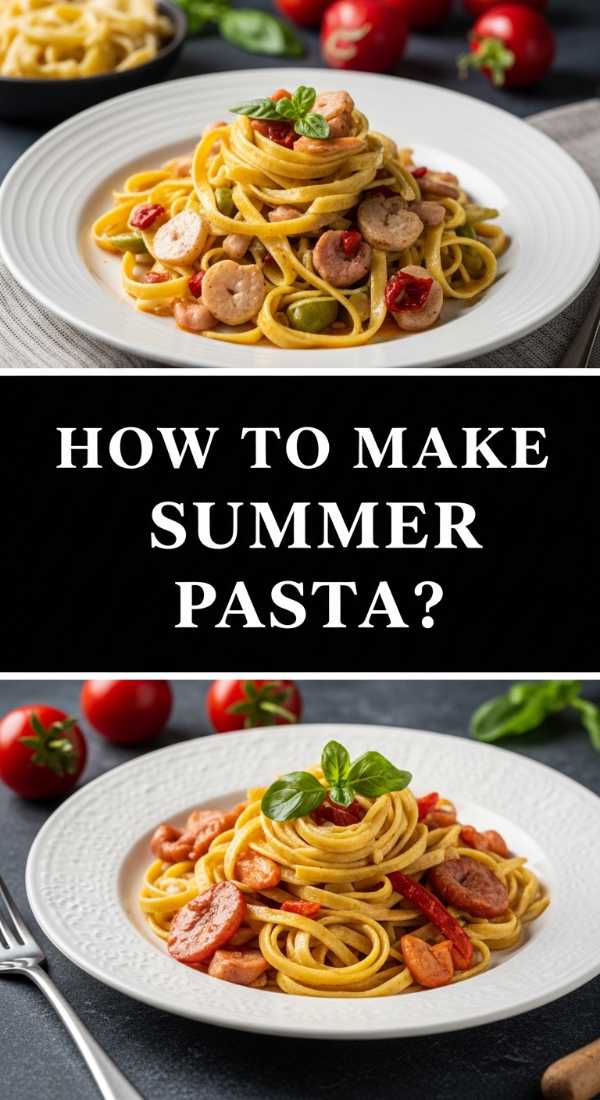
How to make summer pasta?
Why we love this
Summer pasta is all about celebrating the bounty of the season with minimal effort and maximum flavor. It’s a light, vibrant dish where the primary sauce is nothing more than the juices of burst cherry tomatoes and high-quality olive oil infused with garlic. The aroma is dominated by the peppery, sweet scent of fresh basil, which is added at the very last second to preserve its bright green color and punchy taste. Every forkful offers a tangle of al dente pasta coated in a silky, translucent sauce that feels elegant and effortless—the perfect centerpiece for an al fresco dinner party.
Ingredients
- 12 oz spaghetti or angel hair pasta
- 2 cups cherry tomatoes, halved
- 1/4 cup extra virgin olive oil
- 4 cloves garlic, thinly sliced
- 1/2 cup fresh basil leaves, torn
- 1/2 tsp red pepper flakes
- 1/2 cup freshly grated parmesan cheese
- Salt and pepper
How to make it
- Bring a large pot of heavily salted water to a boil. Cook the pasta according to the package directions, but aim for ‘al dente’—about 1-2 minutes less than the full cooking time.
- While the pasta cooks, heat the olive oil in a large skillet over medium heat. Add the sliced garlic and red pepper flakes. Sauté for about 1 minute, just until the garlic is fragrant and translucent, but not brown.
- Add the halved cherry tomatoes to the skillet. Season with salt and pepper. Cook for 5-7 minutes, stirring occasionally, until the tomatoes soften and begin to burst, releasing their juices to form a light sauce.
- Before draining the pasta, reserve about 1/2 cup of the starchy pasta water. This is the secret to getting the sauce to cling to the noodles.
- Drain the pasta and add it directly into the skillet with the tomatoes. Pour in half of the reserved pasta water and toss everything together over medium heat.
- Remove from heat, add the torn basil and parmesan cheese, and give it one final toss. The cheese will melt into the water and oil to create a creamy finish. Serve warm.
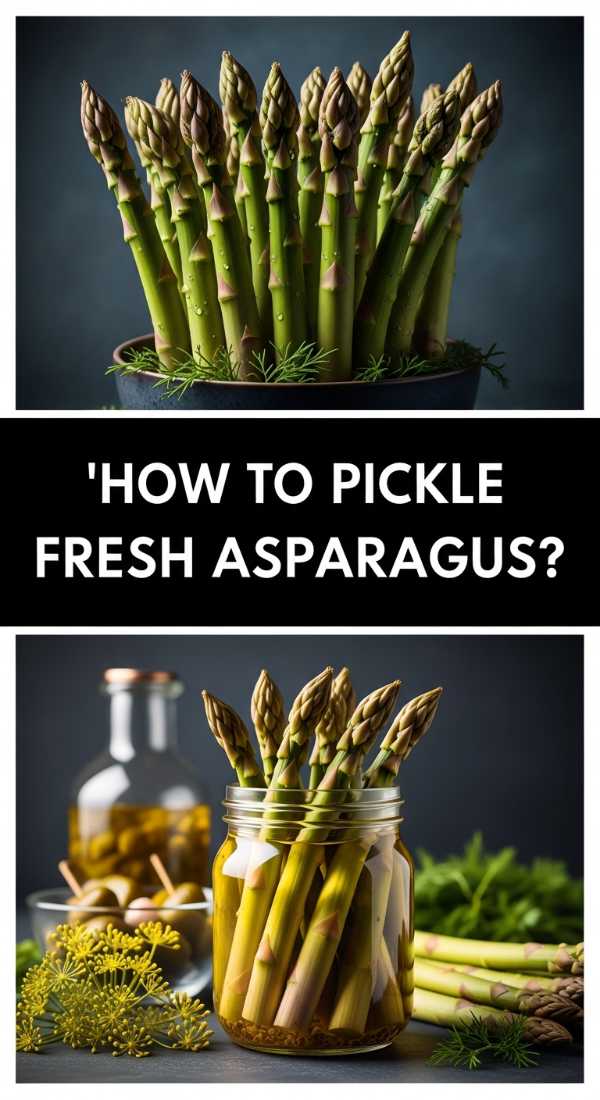
How to pickle fresh asparagus?
Why we love this
Pickled asparagus provides a sophisticated, briny crunch that is absolutely essential for a well-rounded food board. The stalks retain their vibrant green color while absorbing a complex liquid of vinegar, garlic, and dill, resulting in a snack that is both savory and sharply acidic. The texture is firm and snapping, a delightful departure from the soft, roasted versions of the vegetable. They offer a refreshing bite that acts as a bridge between cheeses and meats, cleaning the palate with a spicy, herbal finish that keeps you reaching for more.
Ingredients
- 1 lb fresh asparagus, woody ends trimmed
- 1.5 cups white vinegar
- 1.5 cups water
- 2 tbsp pickling salt
- 2 cloves garlic, smashed
- 1 tsp black peppercorns
- 1/2 tsp red pepper flakes
- 2 sprigs fresh dill
How to make it
- Wash the asparagus thoroughly and trim the ends so the stalks fit vertically into your pint-sized canning jars, leaving about half an inch of headspace at the top.
- Pack the asparagus tightly into clean, sterilized jars. Tuck one garlic clove and one sprig of dill into each jar along with the stalks.
- In a medium stainless steel saucepan, combine the white vinegar, water, pickling salt, peppercorns, and red pepper flakes. Bring the mixture to a rolling boil over high heat, stirring to ensure the salt is completely dissolved.
- Carefully pour the hot brine over the asparagus in the jars, ensuring the stalks are completely submerged. Leave that 1/2 inch of headspace.
- Run a thin spatula or plastic knife down the inside of the jars to release any trapped air bubbles. Wipe the rims of the jars with a clean, damp cloth.
- Place the lids and bands on the jars. For refrigerator pickles, let them cool to room temperature and then store in the fridge for at least 48 hours before eating to allow the flavors to develop. They will keep for up to a month.
How to make healthy snacks?

Why we love this
Healthy snacks don’t have to be boring; in fact, when presented on a viral food board, they become the stars of the show. We love the vibrant colors and varied textures—from the creamy richness of a nutty almond butter to the crisp, hydrating snap of a fresh carrot or apple slice. These snacks provide a sustained energy boost without the sugar crash, making them the perfect fuel for a busy day or a long conversation. There is a primal joy in the variety, allowing you to mix and match flavors like savory hummus with sweet peppers or salty nuts with dried fruit, creating a personalized tasting experience that feels indulgent yet nourishing.
Ingredients
- 2 cups raw vegetables (carrots, bell peppers, cucumbers)
- 1 cup fresh fruit (apple slices, grapes, berries)
- 1/2 cup hummus or Greek yogurt dip
- 1/4 cup raw almonds or walnuts
- 2 tbsp nut butter
- Whole grain crackers or rice cakes
How to make it
- Preparation is the most important step for healthy snacking. Start by washing and slicing all your vegetables into uniform sticks or bite-sized pieces. This makes them easier to dip and more visually appealing.
- To prevent apple or pear slices from browning, toss them in a little bit of lemon juice or salt water immediately after slicing.
- Portion out your dips. Instead of serving from a large container, use small decorative ramekins to place the hummus or nut butter directly onto your board. This controls portion sizes and keeps the board clean.
- Group your items by color or type. Place the vibrant green cucumbers next to the bright orange carrots to create a visual contrast that makes the food more enticing.
- Add small mounds of nuts and seeds in the empty spaces between larger items. This adds a variety of healthy fats and proteins to the spread.
- Keep a stash of pre-cut veggies in airtight containers in the fridge so you can replenish the board quickly as guests eat. This ensures the snacks always look fresh and inviting.
Conclusion
The beauty of the viral food board lies in its versatility and the way it turns a simple meal into an event. By combining these recipes—from the savory chicken Caesar wraps to the sweet, buttery pound cake—you create a tapestry of flavors that caters to every craving. It’s about taking the stress out of hosting and replacing it with the joy of sharing. So, grab your largest platter, start prepping these favorites, and watch as your dining table becomes the most popular spot in the house. Happy grazing!