
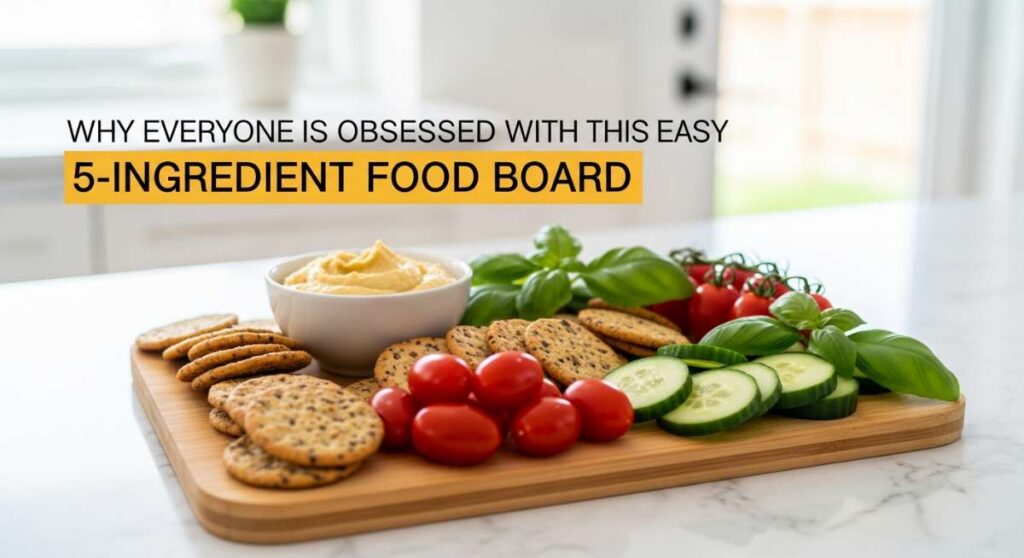
Why Everyone is Obsessed with This Easy 5-Ingredient Food Board
There is something almost magical about the moment friends gather around a table, the air buzzing with laughter and the clink of glasses, as a beautiful food board is set down. We’ve all been there—trying to host the perfect evening while secretly feeling overwhelmed by complex recipes and endless prep. That is exactly why the world has fallen in love with the ‘5-Ingredient Food Board’ concept; it strips away the stress and leaves only the joy of sharing simple, high-quality flavors.
This isn’t just about food; it’s about creating a lifestyle where elegance meets ease. When you assemble a board using just a few star components, you’re not just feeding people; you’re curating an experience. Whether it’s the crunch of a fresh salad or the smoky aroma of grilled chicken, these elements come together to create a visual and culinary masterpiece that looks like it took hours but really only took minutes of mindful assembly.
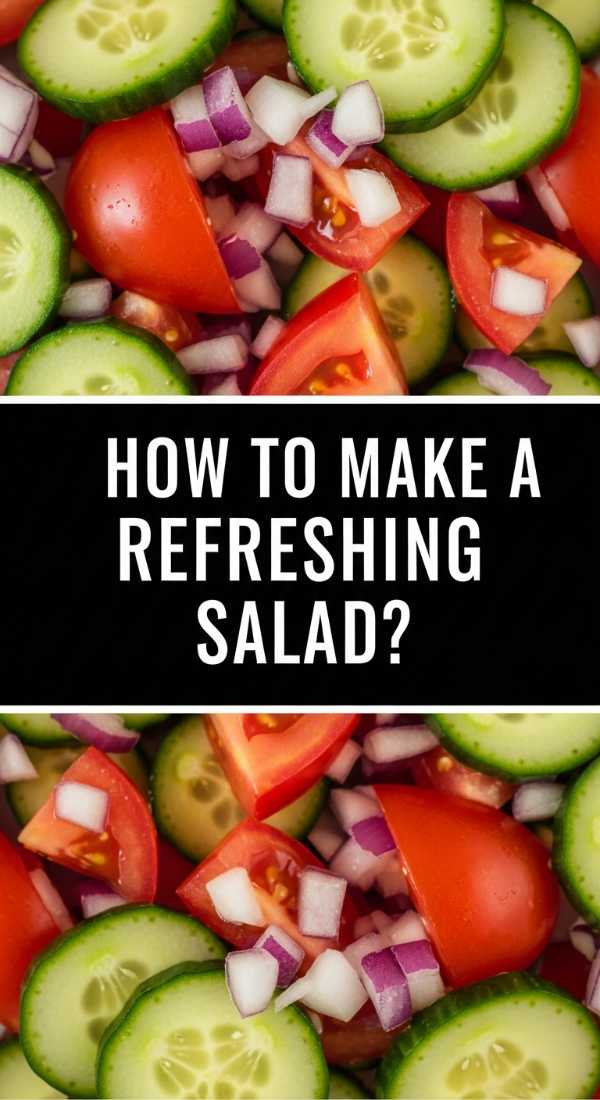
The Ultimate Refreshing Garden Salad
Why we love this
This salad is the epitome of summer in a bowl, offering a crunch that resonates through every bite and a brightness that wakes up your palate. Imagine the cool, crisp sensation of leaf lettuce paired with the burst of sun-ripened tomatoes and the sharp, clean scent of freshly torn herbs lingering in the air. It’s light enough to feel healthy but flavorful enough to be the star of any board, providing a vibrant green canvas that makes every other ingredient pop.
Ingredients
- 2 heads of Butter or Romaine lettuce
- 1 pint of cherry tomatoes, halved
- 1 English cucumber, thinly sliced
- 1/4 cup extra virgin olive oil
- 2 tablespoons fresh lemon juice
How to make it
- Begin by washing your greens in ice-cold water to ensure maximum crispness; spin them completely dry using a salad spinner, as excess water will prevent the dressing from adhering.
- In a small glass bowl, whisk together the extra virgin olive oil and fresh lemon juice vigorously until the mixture is emulsified and slightly thickened; season with a pinch of flakey sea salt and cracked black pepper.
- Place the dried lettuce leaves into a large wooden bowl and gently tear them into bite-sized pieces rather than chopping to prevent bruising the delicate edges.
- Add the halved cherry tomatoes and cucumber slices, then drizzle the vinaigrette over the top just before serving to maintain the structural integrity of the leaves.
- Toss the salad using your hands or large bamboo tongs with a light, lifting motion to ensure every leaf is kissed by the dressing without becoming soggy.
Mastering the Blackstone Grill Seasoning

Why we love this
There is a rugged, soulful satisfaction in the deep, dark patina of a perfectly seasoned Blackstone grill, promising a lifetime of smoky, seared delicacies. The aroma of burning oil transforming into a slick, non-stick surface is the true scent of outdoor cooking mastery, evoking memories of backyard BBQs and sunrise breakfasts. It transforms a piece of cold steel into a living kitchen tool that adds a unique, charred depth to everything it touches, from delicate veggies to thick steaks.
Ingredients
- Blackstone Seasoning and Cast Iron Conditioner (or Flaxseed Oil)
- High-smoke point vegetable oil
- Paper towels
- Tongs
- Water in a squeeze bottle
How to make it
- Preheat your griddle on high heat for approximately 10 to 15 minutes until the surface begins to change color and turn dark or slightly blue; this opens the pores of the metal.
- Apply a very thin layer of the seasoning conditioner or oil across the entire surface using a paper towel held by tongs, ensuring you cover every corner and even the sides of the griddle.
- Let the oil burn off completely; you will see a lot of smoke, which is normal as the oil undergoes polymerization to create a hard, plastic-like coating.
- Once the smoke has stopped, repeat the process at least 3 to 5 times, allowing the grill to cool slightly between applications to build up a thick, black, non-stick base.
- Finish by wiping down any excess oil one last time while the unit is still warm, ensuring a smooth, glass-like finish that is ready for your first cook.
Creative Uses for Sourdough Discard

Why we love this
Sourdough discard carries a complex, tangy depth that is both nostalgic and sophisticated, turning what would be waste into a culinary treasure. The aroma of fermenting flour and wild yeast provides a comforting, bakery-fresh scent that fills the kitchen as it hits a hot pan. It adds a tender crumb and a subtle sour notes to crackers or pancakes, creating a textural contrast that is soft on the inside with a beautifully golden, crisp exterior that shatters when bitten.
Ingredients
- 1 cup sourdough discard (unfed)
- 2 tablespoons melted butter
- 1/2 teaspoon sea salt
- 1 tablespoon dried herbs (rosemary or thyme)
- Optional: 1 teaspoon honey for balance
How to make it
- Preheat your oven to 325°F (165°C) and line a large baking sheet with parchment paper to prevent sticking and ensure even heat distribution.
- In a medium mixing bowl, combine the sourdough discard, melted butter, and sea salt, stirring gently with a spatula until the mixture is smooth and homogenous.
- Pour the batter onto the parchment paper and use an offset spatula to spread it as thinly and evenly as possible; the thinner the layer, the crispier the final result will be.
- Sprinkle the dried herbs over the top and bake for 10 minutes; remove from the oven and use a pizza cutter to score the dough into squares or diamonds.
- Return to the oven and bake for another 20-30 minutes until the edges are golden brown and the center is firm; let cool completely on the pan to allow the crackers to fully crisp up.
The Perfect Strawberry Pie

Why we love this
This strawberry pie is a celebration of peak summer, with a filling that glows like rubies and tastes like pure sunshine concentrated into a buttery crust. The aroma of bubbling berries mixing with vanilla and toasted pastry is intoxicating, drawing everyone to the kitchen before the timer even goes off. Each slice offers a harmony of textures: the flaky, salt-kissed crust giving way to a jammy, sweet-tart center that feels luxurious and homemade in the best possible way.
Ingredients
- 2 lbs fresh strawberries, hulled and sliced
- 3/4 cup granulated sugar
- 1/4 cup cornstarch
- 1 tablespoon lemon zest
- Double pie crust (homemade or store-bought)
How to make it
- In a large bowl, toss the sliced strawberries with sugar, cornstarch, and lemon zest; let them sit for 15 minutes to macerate and release their natural juices, which will thicken the filling.
- Roll out your bottom pie crust and fit it into a 9-inch pie plate, trimming the edges to leave a 1-inch overhang for crimping.
- Pour the strawberry mixture into the crust, ensuring you don’t overfill it (save some extra juice if there is too much to prevent a soggy bottom).
- Top with the second crust—either as a solid sheet with vent holes or a decorative lattice—and crimp the edges tightly to seal in the steam.
- Brush the top with an egg wash and bake at 400°F (200°C) for 20 minutes, then reduce heat to 375°F (190°C) and bake for another 30-40 minutes until the crust is deep golden and the filling is bubbling through the vents.
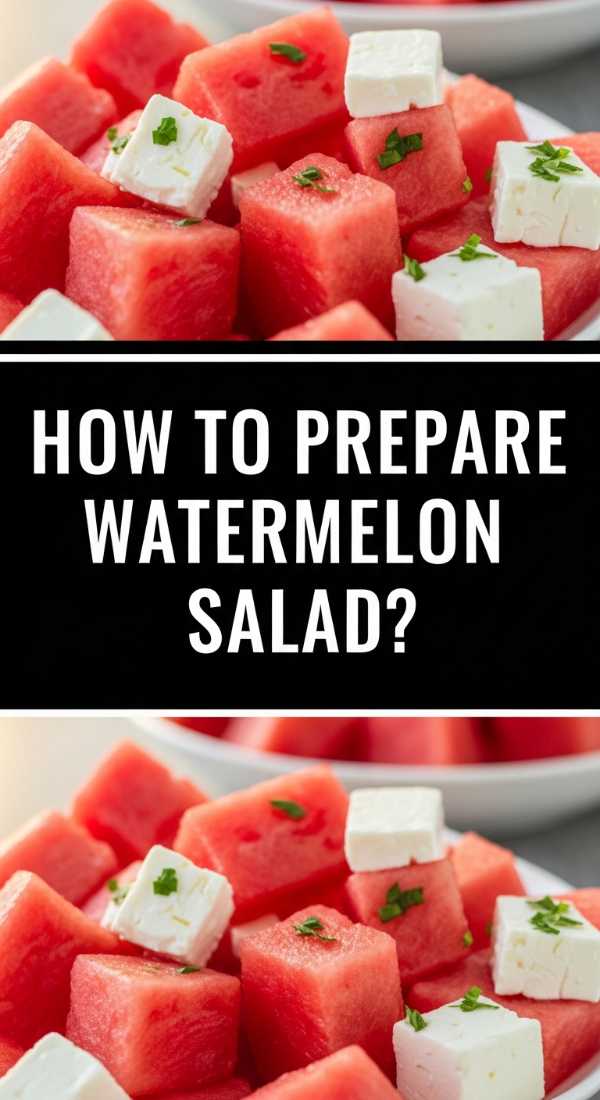
Refreshing Watermelon and Feta Salad
Why we love this
The combination of icy, sweet watermelon and creamy, salty feta is a revelation of contrast that defines outdoor dining. The scent of fresh mint leaves being torn over the fruit adds a cooling aromatic layer that makes the whole dish feel incredibly upscale yet effortless. It’s a sensory experience that balances the watery crunch of the melon with the savory tang of the cheese, finished with a drizzle of balsamic that adds a sophisticated, syrupy depth to every bite.
Ingredients
- 1 medium seedless watermelon, cubed
- 1 block of high-quality feta cheese, crumbled
- 1/2 cup fresh mint leaves, chiffonade
- 2 tablespoons balsamic glaze
- 1/4 red onion, paper-thinly sliced
How to make it
- Chill the watermelon in the refrigerator for at least 4 hours before preparation; a cold melon is essential for the refreshing temperature contrast that makes this salad famous.
- Cut the watermelon into uniform 1-inch cubes using a sharp chef’s knife, discarding the rind and any excess liquid that accumulates on the cutting board.
- In a wide, shallow serving platter, layer the watermelon cubes and the thinly sliced red onions; the onions provide a sharp bite that cuts through the sweetness of the fruit.
- Generously sprinkle the crumbled feta cheese over the top, followed by the fresh mint leaves which should be cut just before serving to prevent oxidation and browning.
- Immediately before presenting the board, drizzle the balsamic glaze in a zigzag pattern and add a final pinch of coarse sea salt to enhance the natural flavors.
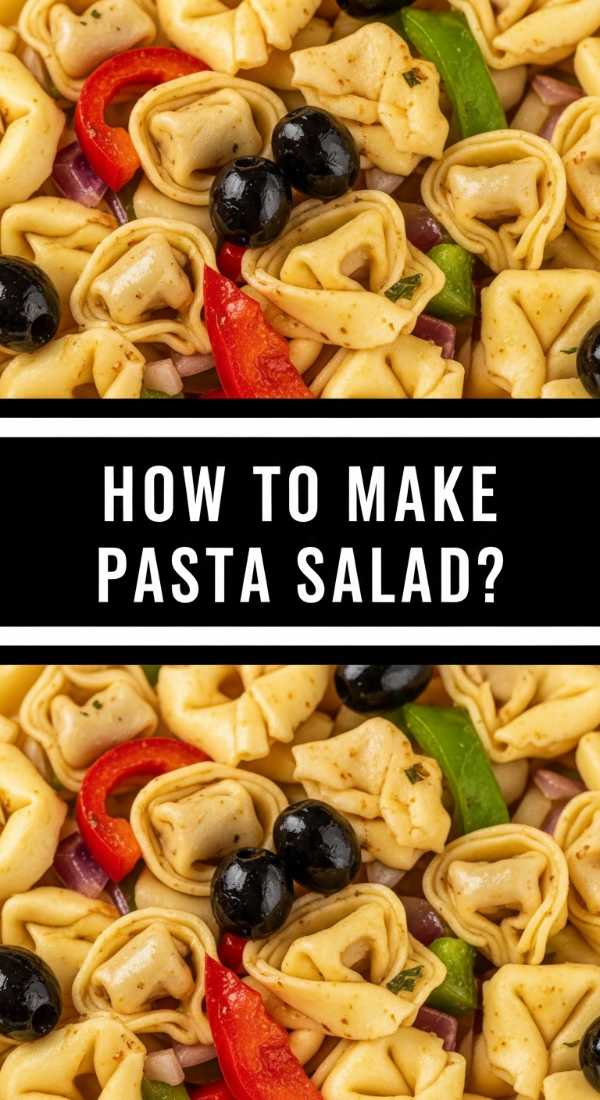
The Ultimate Mediterranean Pasta Salad
Why we love this
This pasta salad is a riot of color and Mediterranean flair, offering a satisfying heartiness that grounds any food board. The aroma of oregano and red wine vinegar creates an instant bistro vibe, while the various textures—from the chewy pasta to the snap of bell peppers—keep every bite interesting. It’s the kind of dish that actually tastes better as it sits, allowing the flavors to meld into a savory, zesty profile that feels both indulgent and surprisingly fresh.
Ingredients
- 1 lb Rotini or Penne pasta
- 1 jar marinated artichoke hearts, chopped
- 1/2 cup Kalamata olives, pitted
- 1 cup cherry tomatoes, halved
- 1/2 cup Italian vinaigrette
How to make it
- Boil a large pot of heavily salted water—it should taste like the sea—and cook the pasta until it is just past al dente; a slightly softer pasta absorbs the dressing better once cooled.
- Drain the pasta and immediately rinse it under cold running water to stop the cooking process and remove excess starch, which prevents the noodles from sticking together.
- In a large mixing bowl, toss the cooled pasta with half of the Italian vinaigrette while it is still slightly damp to allow the flavors to penetrate the surface.
- Fold in the chopped artichoke hearts (including some of the marinade from the jar), Kalamata olives, and cherry tomatoes, ensuring an even distribution of colors and shapes.
- Refrigerate for at least one hour before serving, then toss with the remaining dressing and a sprinkle of dried oregano to refresh the moisture and aroma.
Juicy Marinated Grilled Chicken
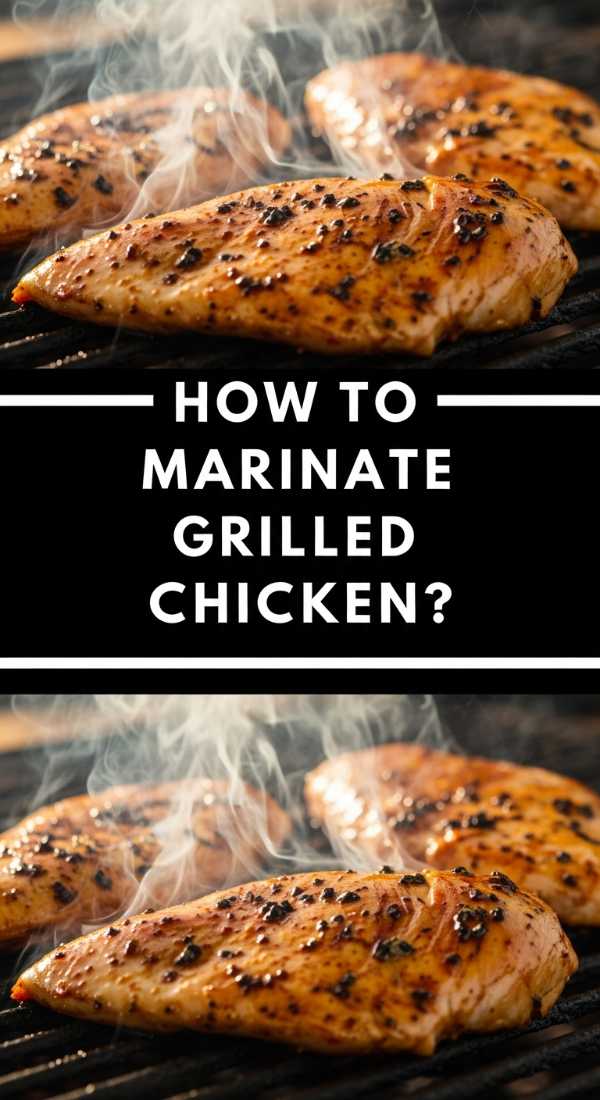
Why we love this
The scent of marinated chicken hitting a hot grill is the universal signal that a great meal is underway, bringing a smoky, savory richness to your board. Each piece is infused with garlic and herbs, resulting in a succulent interior and a beautifully charred, caramelized exterior that provides a satisfying tactile resistance. It’s the protein anchor of the board, offering a warm, savory element that balances the cooler, fresher components like salads and fruits.
Ingredients
- 1.5 lbs chicken thighs or breasts, pounded thin
- 1/3 cup olive oil
- 3 cloves garlic, minced
- 1 tablespoon Dijon mustard
- 1 tablespoon fresh rosemary, chopped
How to make it
- Whisk the olive oil, minced garlic, Dijon mustard, and rosemary in a resealable bag; the mustard acts as an emulsifier and helps the marinade cling to the meat.
- Add the chicken to the bag and massage the marinade into the meat, ensuring every inch is covered; refrigerate for at least 30 minutes, or up to 4 hours for maximum flavor infusion.
- Preheat your grill to medium-high heat (about 400°F) and lightly oil the grates to prevent sticking and create clean sear marks.
- Place the chicken on the grill and sear for 5-7 minutes per side; do not move the meat once placed to allow a crust to form, which seals in the juices.
- Use a meat thermometer to ensure the internal temperature reaches 165°F (74°C), then transfer to a cutting board and let the meat rest for 5 minutes before slicing to keep it juicy.
Classic Moist Banana Bread

Why we love this
Nothing beats the warm, sugary embrace of a freshly baked loaf of banana bread, its aroma filling the house with notes of caramel and spice. The texture is the real star here—dense, moist, and incredibly tender, with a dark, sweet crust that provides a lovely contrast to the soft center. On a food board, a few thick slices of this bread provide a comforting, dessert-like element that pairs perfectly with soft cheeses or a smear of salted butter.
Ingredients
- 3 overripe bananas, mashed
- 1/2 cup melted butter
- 1/2 cup brown sugar
- 1.5 cups all-purpose flour
- 1 teaspoon baking soda
How to make it
- Preheat your oven to 350°F (175°C) and grease a 9×5 inch loaf pan thoroughly with butter or non-stick spray to ensure easy removal.
- In a large bowl, mash the bananas using a fork or potato masher until they reach a smooth consistency with only small lumps remaining for texture.
- Stir in the melted butter and brown sugar; the molasses in the brown sugar is the secret to the deep color and moist crumb of the finished loaf.
- Sift in the flour and baking soda, then fold the mixture together gently with a spatula—stop as soon as the flour disappears to avoid overworking the gluten, which makes the bread tough.
- Pour the batter into the pan and bake for 50-60 minutes; test for doneness by inserting a toothpick into the center—if it comes out clean with a few moist crumbs, it’s perfect.
The Ultimate Lemonade Bar Setup

Why we love this
A lemonade bar is the ultimate interactive lifestyle element, turning a simple beverage into a visual focal point that screams summer celebration. The bright, zesty aroma of freshly squeezed lemons combined with the visual appeal of colorful garnishes like berries and mint makes the whole area feel festive. It’s a customizable experience that allows guests to play mixologist, creating a drink that is exactly as sweet, tart, or fruity as they desire.
Ingredients
- 2 quarts of homemade or high-quality lemonade
- 1 cup fresh raspberries or strawberries
- 1 bunch fresh mint
- 2 lemons, sliced into rounds
- Lavender or elderflower syrup (optional)
How to make it
- Prepare your base lemonade using a simple syrup (equal parts sugar and water) mixed with fresh-squeezed lemon juice for a superior, non-gritty texture.
- Set out a series of clear glass carafes or a large dispenser filled with the lemonade and plenty of ice to keep it chilled throughout the event.
- Arrange small bowls containing the berries, mint, and lemon slices nearby; use small tongs or spoons for each garnish to keep the station tidy.
- Provide a few “flavor boosters” like lavender syrup or pomegranate juice in small decorative bottles for those who want to customize their flavor profile.
- Finish the setup with striped paper straws and plenty of extra ice, ensuring the station is easily accessible and remains the “coolest” spot at the party.
Quick Tangy Pickled Asparagus
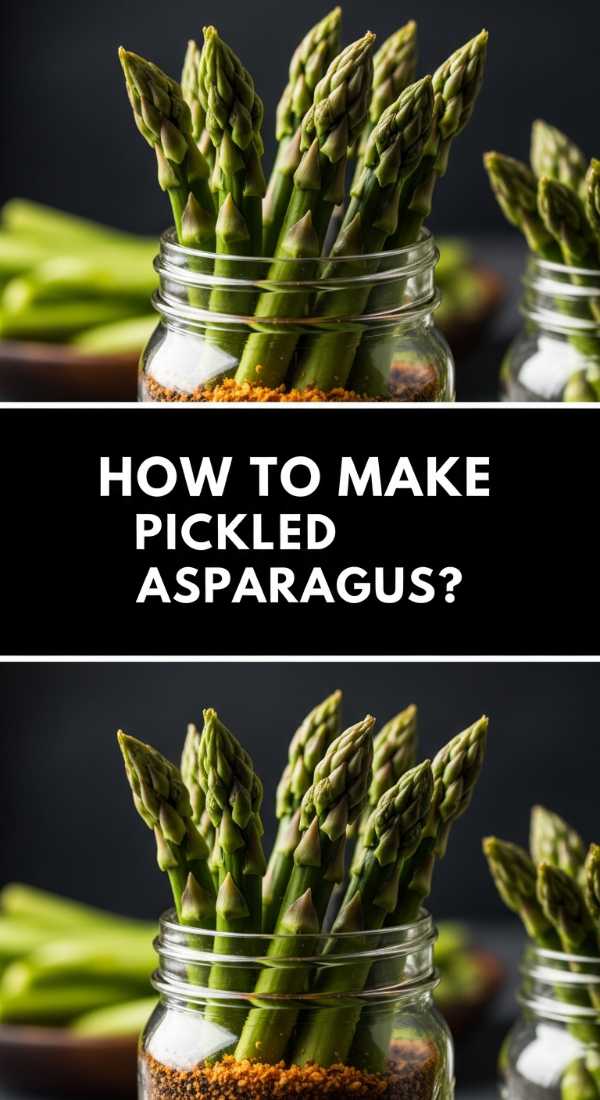
Why we love this
Pickled asparagus adds a sophisticated, vinegary snap to a food board, acting as a bright palate cleanser between richer items. The vibrant green spears look stunning when laid out, and the infusion of garlic and dill provides a classic deli aroma that is mouth-watering. The texture is the highlight—a firm, audible crunch that gives way to a tangy, spice-infused center, making them an addictive addition that guests will keep reaching for.
Ingredients
- 1 lb fresh asparagus, woody ends trimmed
- 1.5 cups white vinegar
- 1.5 cups water
- 2 tablespoons pickling salt
- 2 cloves garlic and 1 sprig of fresh dill
How to make it
- Wash the asparagus thoroughly and trim the stalks so they fit vertically into a wide-mouth quart jar with about an inch of headspace at the top.
- Pack the asparagus spears into the jar as tightly as possible, tucking the garlic cloves and the sprig of dill in between the stalks for even flavoring.
- In a small saucepan, combine the vinegar, water, and pickling salt; bring the mixture to a rolling boil over medium-high heat, stirring until the salt is completely dissolved.
- Carefully pour the hot brine over the asparagus until they are fully submerged, leaving a small amount of air at the top of the jar.
- Let the jar cool to room temperature on the counter, then seal with a lid and refrigerate for at least 24 hours (though 48 hours is better) to allow the pickling process to work its magic.
Conclusion
Creating a viral-worthy food board doesn’t require a culinary degree or a massive budget; it simply requires a focus on fresh ingredients and thoughtful presentation. By combining these 10 versatile elements—from the crunch of pickled asparagus to the sweetness of strawberry pie—you can craft a spread that caters to every craving. Remember, the best boards are the ones that encourage people to slow down, try a bit of everything, and enjoy the company they are with. Happy assembling!