
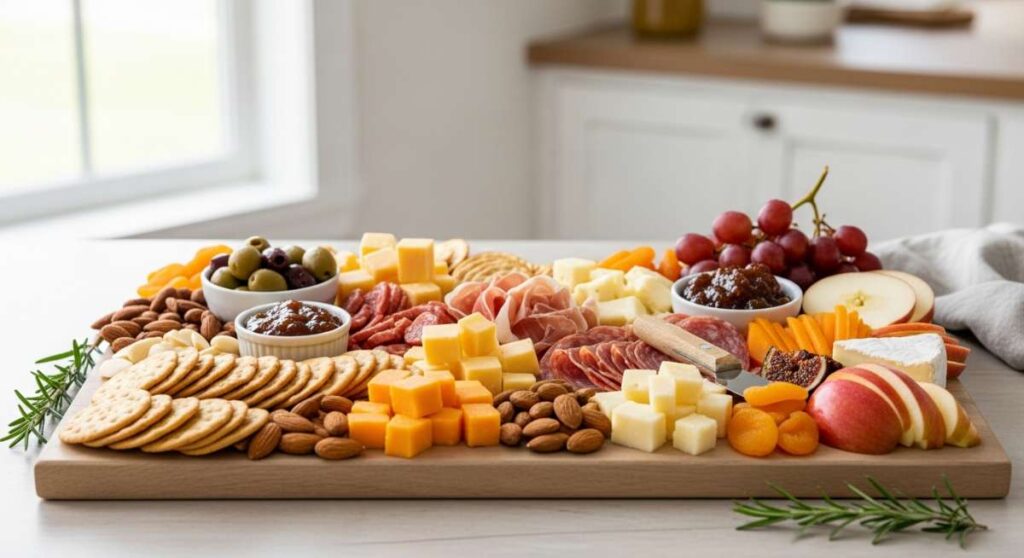
There is something undeniably magical about the way food brings us together, especially when it is served in the most laid-back, communal way possible. We have all seen those viral food boards across our feeds—the ones overflowing with color, texture, and a sense of effortless abundance that makes you want to reach right through the screen. It is more than just a meal; it is an invitation to slow down, pick at your favorite bites, and share a moment with the people you love. Whether it is a sunny afternoon on the back deck or a cozy Friday night in, the ‘Simple Board’ has become the ultimate symbol of modern hospitality.
I remember the first time I set one of these out for my friends. The room instantly filled with the sound of laughter and the clinking of glasses, but mostly, it was the collective ‘oh wow’ that stuck with me. There is no pressure of a formal sit-down dinner, just the pure joy of discovering a perfectly marinated piece of chicken or the crunch of a fresh cucumber salad. This guide is my love letter to those moments. I have curated ten of the most-loved recipes that make up the ultimate internet-famous board, ensuring your next gathering is as delicious as it is beautiful.
How to make the ultimate rotel dip

Why we love this
This dip is pure, unadulterated nostalgia in a bowl, offering a creamy, velvety texture that coats every single chip with a warm, cheesy hug. As it melts, the aroma of spicy green chilies and savory sausage fills the kitchen, creating an irresistible scent that signals the party has officially started. The slight kick of heat from the diced tomatoes and chilies cuts through the richness of the cheese, providing a zesty finish that keeps you coming back for just one more scoop. It is the ultimate comfort food—thick, gooey, and perfectly seasoned to satisfy every savory craving on the board.
Ingredients
- 1 lb Velveeta cheese, cubed
- 1 can (10 oz) Ro-Tel Diced Tomatoes and Green Chilies
- 1/2 lb ground breakfast sausage or chorizo
- 1/4 cup heavy cream (optional for extra creaminess)
- Fresh cilantro for garnish
How to make it
- Begin by browning your choice of ground sausage or chorizo in a medium skillet over medium-high heat. Use a wooden spoon to break the meat into small, uniform crumbles, cooking until it is deeply browned and no longer pink, which usually takes about 5-7 minutes.
- Once the meat is cooked, drain the excess grease thoroughly to ensure your dip isn’t oily. Set the meat aside on a paper-towel-lined plate.
- In a heavy-bottomed saucepan or a small slow cooker set to low heat, add the cubed Velveeta cheese and the entire can of Ro-Tel (do not drain the liquid, as it provides essential flavor and moisture).
- Stir the mixture frequently with a silicone spatula to prevent the cheese from scorching on the bottom of the pan. Once the cheese is about 80% melted and looking glossy, fold in the cooked sausage and the optional heavy cream.
- Continue to heat and stir until the dip is completely smooth and steaming hot. If using a slow cooker, keep it on the ‘warm’ setting for serving. Garnish with chopped cilantro right before placing it in the center of your board.
How to toss a fresh summer salad
Why we love this
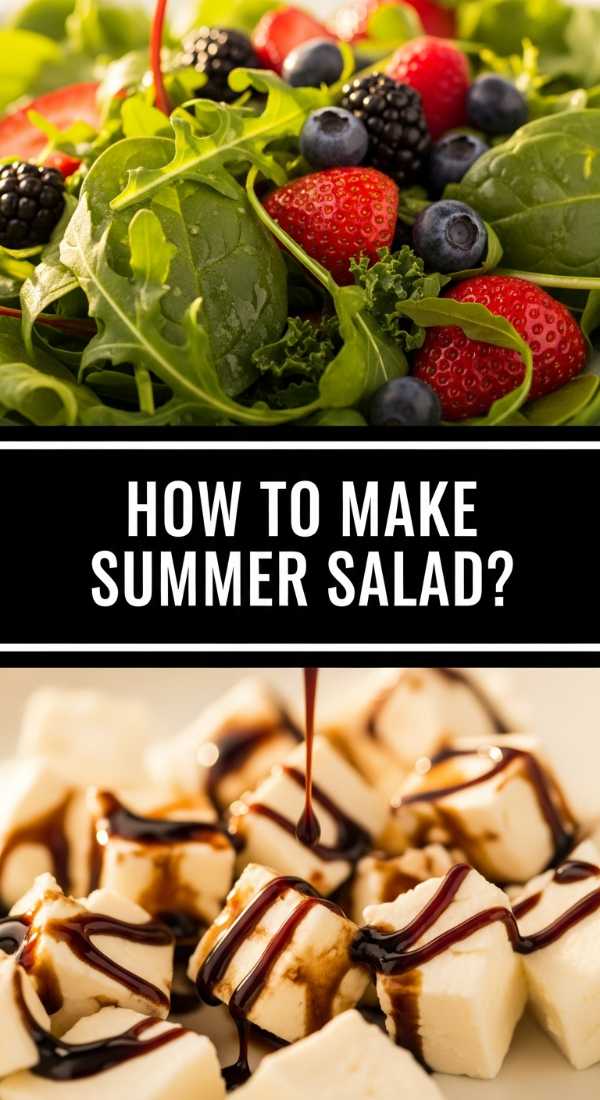
A fresh summer salad is like a breath of crisp, cool air on a humid afternoon, featuring a symphony of textures from the snap of tender greens to the juicy burst of vine-ripened fruit. The scent of fresh-torn basil and mint mingles with a bright, citrusy vinaigrette, creating an aroma that is both invigorating and earthy. Each bite offers a clean, vibrant flavor profile that cleanses the palate between richer items on the board. It is a visual masterpiece as well, with deep emerald leaves contrasted against bright pops of seasonal produce, making it the refreshing heart of your spread.
Ingredients
- 4 cups mixed baby greens or arugula
- 1 cup fresh strawberries, sliced
- 1/2 cup goat cheese crumbles
- 1/4 cup candied pecans
- Dressing: 3 tbsp olive oil, 1 tbsp balsamic glaze, 1 tsp honey, salt and pepper
How to make it
- Start by washing your greens in cold water and using a salad spinner to dry them completely; wet leaves will prevent the dressing from adhering and lead to a soggy salad.
- In a small glass jar, combine the olive oil, balsamic glaze, honey, salt, and pepper. Shake vigorously for 30 seconds until the mixture is emulsified and thickened slightly.
- Place the dried greens in a large, wide wooden bowl. Drizzle half of the dressing over the leaves and use salad tongs to gently toss, ensuring every leaf is lightly coated but not swimming in liquid.
- Layer the sliced strawberries and candied pecans over the top of the greens. Avoid stirring them in too aggressively so they don’t sink to the bottom.
- Finish by sprinkling the goat cheese crumbles over the top. The cheese should remain in distinct nuggets for the best texture. Serve immediately to maintain the crispness of the greens.
How to roll chicken caesar wraps
Why we love this
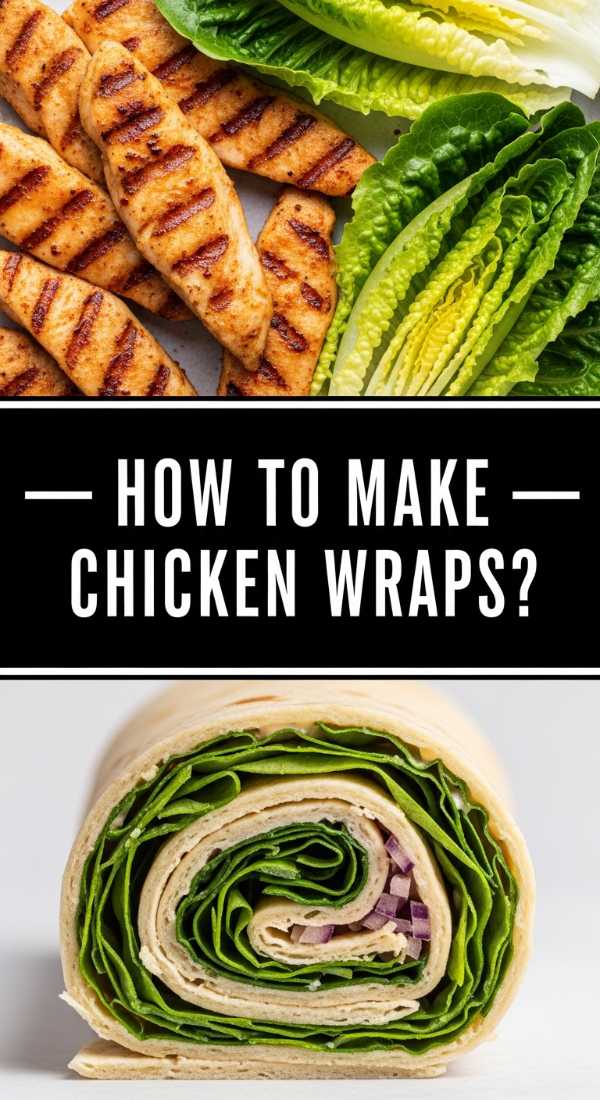
These wraps are the perfect handheld delight, combining the salty, umami-rich flavors of a classic Caesar salad with the satisfying chew of a soft flour tortilla. Inside, the chicken is succulent and warm, providing a beautiful contrast to the cold, crunchy romaine lettuce that crackles with every bite. The creamy dressing binds everything together, releasing hints of garlic, lemon, and aged parmesan that linger on the tongue. They are substantial enough to be filling but light enough to eat while mingling, making them an essential ‘grab-and-go’ component for any viral food board.
Ingredients
- 2 large flour tortillas
- 1 cup grilled chicken breast, sliced into strips
- 2 cups chopped romaine lettuce
- 1/4 cup Caesar dressing
- 2 tbsp shaved parmesan cheese
- 1/4 cup crushed croutons
How to make it
- Warm the flour tortillas for 15 seconds in a dry pan or microwave to make them pliable; this prevents them from cracking during the rolling process.
- In a medium mixing bowl, toss the chopped romaine, Caesar dressing, shaved parmesan, and crushed croutons until well combined. The croutons add a necessary crunch that mimics a traditional salad.
- Lay the tortilla flat and place a generous portion of the salad mixture in the lower center of the wrap, leaving about two inches of space at the bottom and sides.
- Top the salad with the warm strips of grilled chicken. Fold the bottom edge of the tortilla up over the filling, then fold in both sides tightly.
- Roll the tortilla away from you as tightly as possible, keeping the sides tucked in. Slice the wrap diagonally with a sharp serrated knife to show off the colorful interior and place them seam-side down on the board.
How to prep tomato cucumber salad
Why we love this
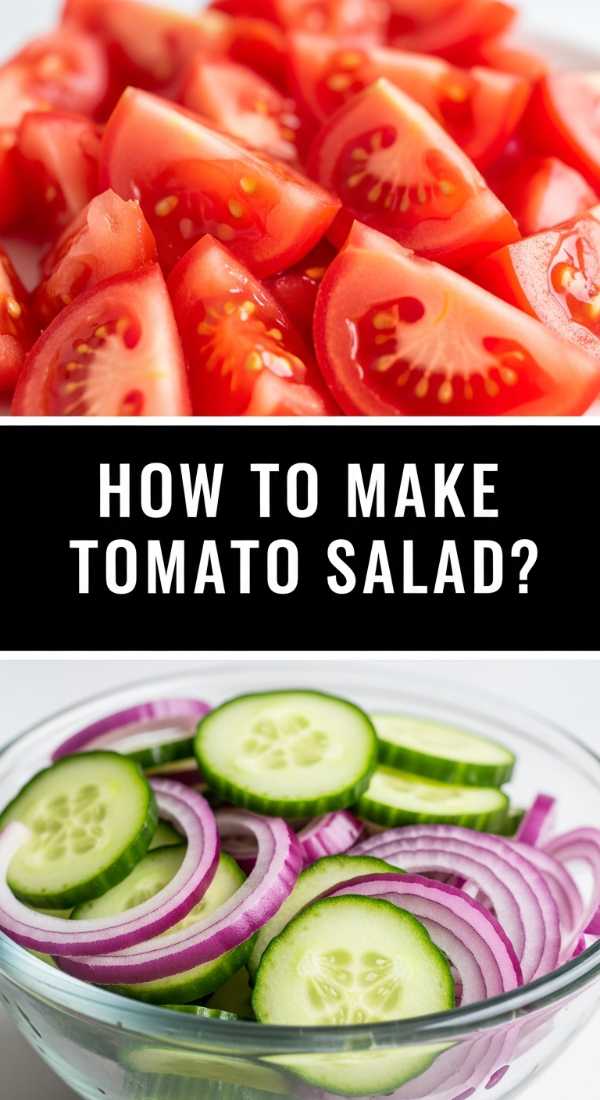
This salad is the epitome of garden-fresh simplicity, where the sweetness of sun-drenched tomatoes meets the cooling, watery crunch of English cucumbers. The aroma is dominated by the sharp, pleasant tang of red wine vinegar and the herbal notes of dried oregano, evoking memories of Mediterranean summers. As it sits, the vegetables release their natural juices, creating a flavorful ‘pot liquor’ at the bottom of the bowl that is perfect for dipping crusty bread into. It provides a sharp, acidic punch that cuts through any heavy fats on the board, leaving your mouth feeling refreshed and ready for the next bite.
Ingredients
- 3 large Roma tomatoes, chopped
- 1 English cucumber, sliced and halved
- 1/2 red onion, thinly sliced
- 2 tbsp extra virgin olive oil
- 1 tbsp red wine vinegar
- 1 tsp dried oregano, salt, and pepper
How to make it
- Slice the English cucumber into half-moons about 1/4 inch thick. English cucumbers are preferred because their skin is thin and seeds are minimal, providing a better crunch.
- Core and chop the tomatoes into bite-sized chunks. For the best flavor, ensure the tomatoes are at room temperature rather than cold from the fridge.
- Thinly slice the red onion into slivers. If you prefer a milder onion flavor, soak the slices in ice water for 10 minutes then pat dry before adding to the salad.
- In a large bowl, whisk together the olive oil, red wine vinegar, oregano, salt, and pepper until well combined.
- Add the cucumbers, tomatoes, and onions to the bowl. Toss gently with a large spoon so the vegetables are coated but not bruised. Let the salad sit for at least 20 minutes at room temperature before serving to allow the flavors to marry and the juices to develop.
How to assemble watermelon salad
Why we love this
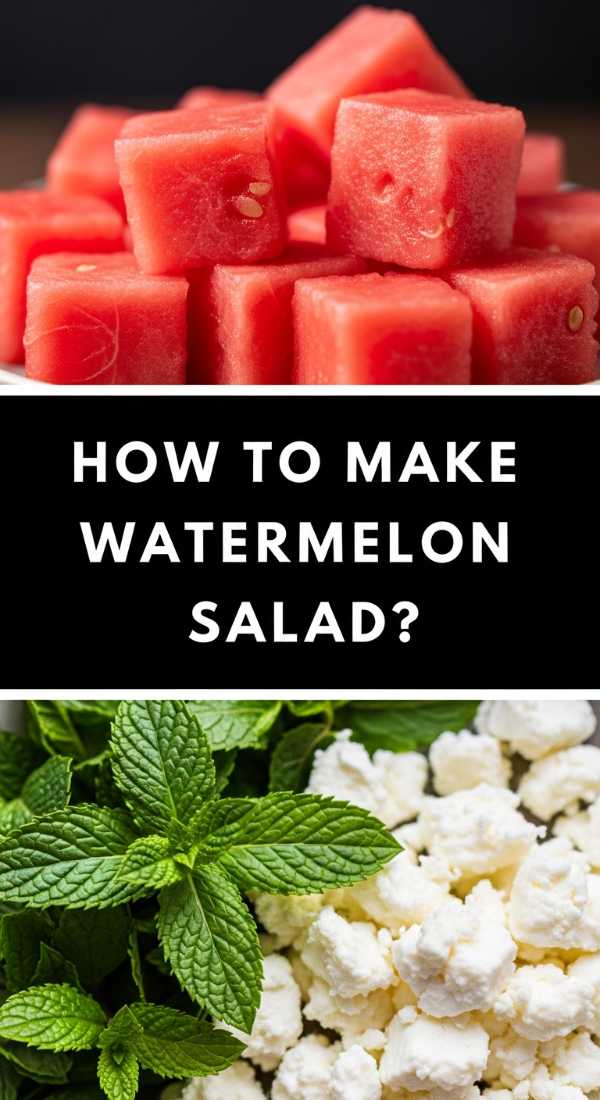
Watermelon salad is a stunning exercise in flavor contrasts, pitting the icy sweetness of the fruit against the salty, crumbly bite of feta cheese. The visual appeal is unmatched, with the vibrant pink flesh of the melon accented by the stark white cheese and the bright green flecks of fresh mint leaves. As you eat, the fragrance of mint wafts up, providing a cooling sensation that perfectly complements the hydrating nature of the watermelon. It is a sophisticated yet incredibly simple dish that feels like a celebration of high summer, offering a unique sweet-and-savory profile that always surprises and delights guests.
Ingredients
- 4 cups cubed seedless watermelon
- 1/2 cup crumbled feta cheese
- 1/4 cup fresh mint leaves, torn
- 1 tbsp lime juice
- A pinch of flaky sea salt
How to make it
- Start with a cold, seedless watermelon. Cut it into uniform 1-inch cubes, removing any thick white rind. Ensure the cubes are chilled until the moment you are ready to assemble.
- Place the watermelon cubes in a wide, shallow serving bowl or directly onto a section of your board. Arrange them in a single or double layer rather than a deep pile to keep the fruit from getting crushed.
- Drizzle the fresh lime juice evenly over the watermelon cubes. The acidity of the lime enhances the natural sweetness of the fruit.
- Sprinkle the crumbled feta cheese over the top. Use a high-quality sheep’s milk feta if possible for a creamier texture and sharper saltiness.
- Scatter the torn mint leaves over the assembly and finish with a light sprinkle of flaky sea salt. Do not toss the salad; let the ingredients sit as layers to preserve the distinct textures and vibrant colors.
How to marinate grilled chicken

Why we love this
Perfectly marinated grilled chicken is the anchor of any great food board, offering a smoky, charred exterior that gives way to an incredibly juicy and tender interior. The marinade works its magic by infusing the meat with layers of garlic, citrus, and herbs, creating an aroma that is mouth-watering long before the meat even hits the plate. There is a satisfying weight to this protein, providing the savory substance needed to balance out the lighter fruits and vegetables. Each slice reveals a glistening, seasoned surface that promises a burst of savory flavor and a hint of caramelized sweetness from the grill marks.
Ingredients
- 1.5 lbs chicken breasts or thighs
- 1/4 cup olive oil
- 3 cloves garlic, minced
- Juice of 1 lemon
- 1 tsp smoked paprika, 1 tsp dried thyme, salt, and pepper
How to make it
- Prepare the chicken by pounding the breasts to an even thickness of about 3/4 inch; this ensures that the meat cooks uniformly without the thinner edges drying out.
- In a large bowl or a gallon-sized zip-top bag, combine the olive oil, minced garlic, lemon juice, smoked paprika, thyme, salt, and pepper. Whisk or shake the bag to blend the ingredients into a cohesive marinade.
- Submerge the chicken in the marinade, ensuring every surface is coated. Seal the container and refrigerate for at least 2 hours, though 4-6 hours is ideal for maximum flavor penetration. Avoid marinating for more than 12 hours as the lemon juice can start to break down the meat fibers too much.
- Preheat your grill to medium-high heat (about 400°F). Lightly oil the grill grates to prevent sticking.
- Place the chicken on the grill and cook for 6-7 minutes per side. Do not move the chicken once it hits the grates until it naturally releases; this is how you get those perfect, professional grill marks. Use a meat thermometer to ensure the internal temperature reaches exactly 165°F before removing it to rest for 5 minutes before slicing.
How to brew classic sun tea

Why we love this
Sun tea is the ultimate slow-living beverage, brewed by the gentle warmth of the afternoon sun rather than the harshness of boiling water. This method results in a smoother, less bitter flavor profile that captures the true essence of the tea leaves without any scorched aftertaste. The sight of a large glass jar sitting on a porch, slowly deepening into a rich, amber hue, is a hallmark of summer comfort. It is naturally refreshing and incredibly versatile, acting as the perfect base for honey, lemon, or even a splash of fruit juice, making it a nostalgic and hydrating addition to your board’s drink pairing.
Ingredients
- 8 black tea bags (standard size)
- 1 gallon filtered water
- Optional: Lemon slices, fresh mint, honey or agave
How to make it
- Fill a clean, one-gallon glass jar with cool, filtered water. Using a glass jar is crucial as it allows the sun’s rays to penetrate the liquid effectively.
- Add the 8 tea bags to the water, draping the strings over the edge of the jar and securing them with the lid so they don’t fall in.
- Find a spot in your yard or on a windowsill that receives direct, uninterrupted sunlight for several hours. Place the jar there and let it steep for 3 to 5 hours.
- Keep an eye on the color; once it has reached a deep, translucent amber, the tea is ready. Do not leave the tea outside for more than 5 hours, as bacteria can begin to grow if the water stays at a lukewarm temperature for too long.
- Remove the tea bags and discard them. Stir in your sweetener of choice while the tea is still slightly warm from the sun so it dissolves easily. Refrigerate immediately and serve over plenty of ice with fresh lemon slices and mint.
How to bake strawberry pie

Why we love this
A fresh strawberry pie is a show-stopping dessert that brings a burst of jammy, ruby-red sweetness to the end of your meal. The scent of buttery, flaky pastry mingling with the floral aroma of baked berries is enough to draw anyone to the table. When sliced, the filling is thick and glistening, offering a texture that is soft but still holds the shape of the fruit. It provides a comforting, rustic finish to the board, with the golden-brown crust offering a satisfying crunch that contrasts beautifully with the tender, sweet-tart filling. It is a true labor of love that tastes like pure sunshine.
Ingredients
- 2 pie crusts (homemade or store-bought)
- 5 cups fresh strawberries, hulled and halved
- 3/4 cup sugar
- 1/4 cup cornstarch
- 1 tsp vanilla extract and 1 tbsp lemon juice
- 1 egg (for egg wash)
How to make it
- Preheat your oven to 400°F. Roll out one pie crust and fit it into a 9-inch pie plate, trimming the edges so they are even with the rim.
- In a large bowl, toss the halved strawberries with the sugar, cornstarch, vanilla extract, and lemon juice. The cornstarch is essential here as it thickens the juices that the berries will release during baking.
- Pour the strawberry mixture into the prepared bottom crust, mounding them slightly in the center.
- Roll out the second crust and cut it into strips to create a lattice top, or place it whole over the berries and cut several large slits for steam to escape. Crimp the edges of the top and bottom crusts together to seal.
- Brush the top of the crust with a beaten egg and a sprinkle of sugar. Bake at 400°F for 20 minutes, then reduce the heat to 375°F and bake for another 30-35 minutes until the crust is deep golden brown and the filling is bubbling through the vents. Let the pie cool completely (at least 3 hours) before slicing to allow the filling to set.
How to cook summer pasta

Why we love this
Summer pasta is all about lightness and zest, eschewing heavy cream sauces for a vibrant coating of olive oil, garlic, and citrus. The noodles are cooked to a perfect al dente, providing a firm chew that carries the subtle heat of red pepper flakes and the punch of fresh parmesan. The aroma is incredible—bright lemon zest and aromatic garlic sautéing in oil create a fragrance that is instantly appetizing. It is the kind of dish that feels sophisticated yet effortless, providing a warm, comforting element to the board that doesn’t feel too heavy for a warm evening gathering.
Ingredients
- 12 oz spaghetti or linguine
- 1/4 cup extra virgin olive oil
- 4 cloves garlic, thinly sliced
- 1/2 tsp red pepper flakes
- Zest and juice of 1 lemon
- 1/2 cup fresh parsley, chopped
- 1/2 cup grated parmesan cheese
How to make it
- Bring a large pot of heavily salted water to a rolling boil. Add the pasta and cook for about 8-9 minutes, or until it is just shy of al dente. Reserve 1 cup of the starchy pasta water before draining.
- While the pasta cooks, heat the olive oil in a large skillet over medium-low heat. Add the thinly sliced garlic and red pepper flakes. Cook slowly for 3-4 minutes until the garlic is golden and fragrant, but be careful not to let it brown or it will turn bitter.
- Add the drained pasta directly into the skillet with the garlic oil. Pour in about 1/2 cup of the reserved pasta water.
- Increase the heat to medium and toss the pasta vigorously using tongs. The starch in the water and the oil will emulsify into a light, glossy sauce that clings to the noodles.
- Remove from heat and stir in the lemon zest, lemon juice, fresh parsley, and parmesan cheese. If the pasta looks dry, add a bit more pasta water. Serve immediately with an extra sprinkle of cheese on top.
How to use sourdough discard

Why we love this
Sourdough discard crackers are a rustic, tangy addition to any board that showcases the beauty of zero-waste baking. They have a distinct, fermented depth of flavor that pairs perfectly with sharp cheeses and creamy dips like the Rotel mixture. The texture is incredibly crisp and airy, with a satisfying snap that only comes from a slow-fermented dough. Topped with flaky sea salt and dried herbs, they offer a savory, toasted aroma that is deeply comforting. These crackers feel artisanal and special, adding a layer of homemade craftsmanship to your spread that store-bought options simply cannot match.
Ingredients
- 1 cup sourdough discard (unfed)
- 1/4 cup all-purpose flour
- 2 tbsp melted butter
- 1/2 tsp salt
- 1 tbsp dried herbs (like rosemary or ‘everything’ seasoning)
- Flaky salt for topping
How to make it
- Preheat your oven to 325°F and line a large baking sheet with parchment paper.
- In a medium bowl, whisk together the sourdough discard, melted butter, flour, salt, and dried herbs until a smooth, thick paste forms. The consistency should be spreadable but not runny.
- Use an offset spatula to spread the mixture onto the parchment paper in an even, very thin layer. The thinner you can get it (aiming for translucent in some spots), the crispier the crackers will be.
- Sprinkle the top with flaky sea salt. Bake for 10 minutes, then remove the tray from the oven. Use a pizza cutter to score the dough into squares or rectangles; this allows you to break them into perfect shapes later.
- Return the tray to the oven and bake for another 20-25 minutes, or until the crackers are completely golden brown and dry to the touch. Let them cool completely on the pan to reach maximum crispness before breaking them along the score lines and adding them to your board.
The Art of the Shared Table
Creating the ultimate food board isn’t just about following recipes; it’s about the intention behind the meal. It is an opportunity to slow down, enjoy the process of preparation, and ultimately, to nourish the people in your life in a way that feels both abundant and accessible. From the tangy crunch of sourdough crackers to the sweet, jammy finish of a strawberry pie, each element we have explored today adds a layer of texture and flavor that makes the board a complete sensory experience. I hope this guide inspires you to clear off your biggest platter, gather your favorite ingredients, and invite a few friends over. There is truly no better way to spend an evening than sharing a beautiful meal made with love.