
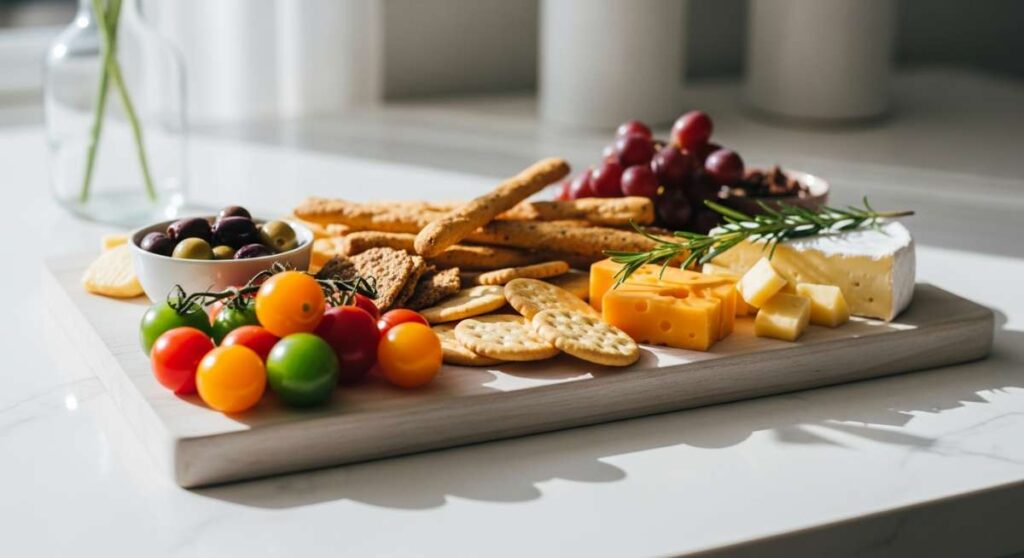
We’ve all been there: the frantic house-cleaning, the five-page grocery list, and that sinking feeling when guests arrive and you’re still stuck in the kitchen, apron-clad and sweating over a hot stove. For the longest time, I thought hosting meant a formal three-course meal, but I’ve recently discovered a secret that has completely transformed my weekends. It’s the ‘Simple Food Board’—a beautiful, effortless spread that lets the food speak for itself while you actually enjoy the company of your favorite people.
The magic of a food board isn’t just about how it looks on Instagram; it’s about the communal experience. It’s the way your friends linger over a bowl of dip, the way kids grab fresh fruit between games of tag in the yard, and the slow, sun-drenched pace of a meal that doesn’t have a formal start or end time. It’s about abundance, color, and flavor without the fuss. Today, I’m sharing the absolute staples that turn a simple wooden board into a feast for the senses.
How to make rotel dip?
Why we love this
There is something undeniably nostalgic and comforting about a warm, velvet-smooth cheese dip served straight from a ceramic bowl. The aroma of melted cheese mingled with the subtle heat of green chilies and savory browned meat creates an irresistible pull that anchors any food board. As you dip a salty, crunchy tortilla chip into the thick, golden pool, you get that perfect contrast of temperatures and textures—the snap of the chip followed by the gooey, spicy embrace of the dip that warms your soul with every bite.
Ingredients
- 1 lb Ground beef or bulk sausage
- 1 block (16 oz) Velveeta or processed cheese, cubed
- 2 cans (10 oz each) RoTel Diced Tomatoes and Green Chilies
- 1 tsp Garlic powder
- 1/2 tsp Cumin
- Optional: Fresh cilantro and sliced jalapeños for garnish
How to make it
- Begin by browning your ground beef or sausage in a heavy-bottomed skillet over medium-high heat. Use a wooden spoon to break the meat into very fine crumbles, ensuring even browning and a consistent texture for the dip.
- Once the meat is fully cooked and no pink remains, drain the excess fat thoroughly to prevent the dip from becoming oily. Return the meat to the pan and lower the heat to medium-low.
- Add the cubed cheese to the skillet. It is vital to cut the cheese into small, uniform 1-inch cubes to ensure it melts evenly without scorching the bottom of the pan.
- Pour in both cans of RoTel. For a thicker dip, drain one can; for a thinner, more pourable consistency, include the juices from both. Stir constantly as the cheese begins to soften.
- Add the garlic powder and cumin, stirring gently but continuously in a folding motion until the mixture is perfectly smooth and the tomatoes are evenly distributed.
- Transfer the dip to a small slow cooker on the ‘warm’ setting to maintain that silky consistency throughout your party, garnishing with fresh cilantro just before serving.
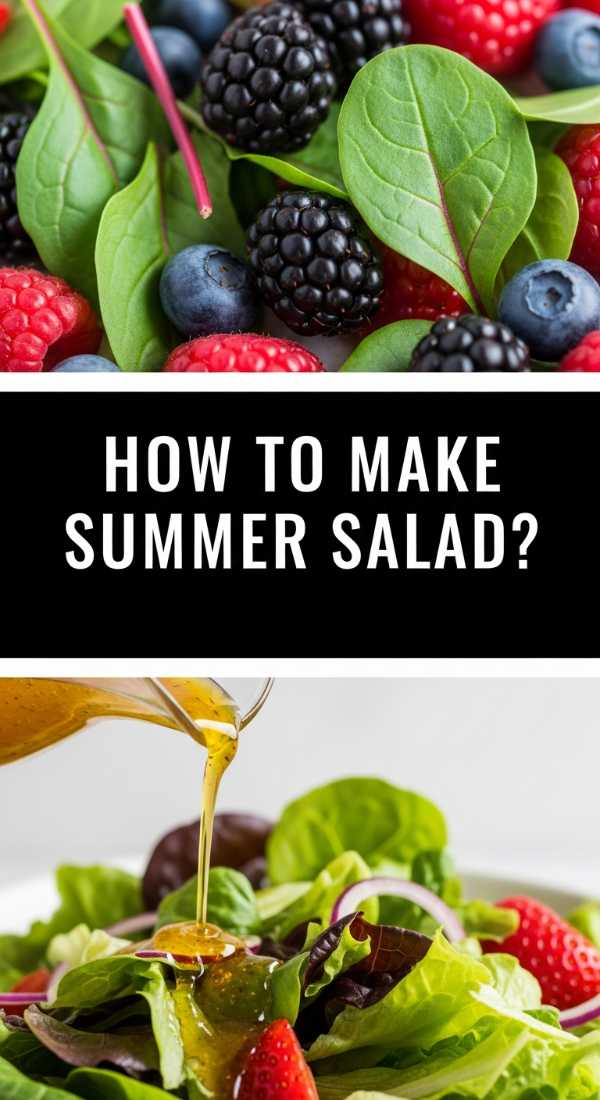
How to make summer salad?

Why we love this
A true summer salad is like a garden party on a plate, vibrating with colors so bright they almost look painted. We love this dish because it celebrates the peak of the season—the explosive sweetness of corn, the crisp hydration of cucumbers, and the acidic pop of cherry tomatoes. Every forkful offers a symphony of crunch and zing, coated in a light, citrusy dressing that doesn’t mask the ingredients but heightens them. It’s the ultimate palate cleanser that keeps you feeling energized even on the most humid July afternoon.
Ingredients
- 3 cups Fresh corn kernels (cut from the cob)
- 2 cups Cherry tomatoes, halved
- 1 large English cucumber, diced
- 1/2 Red onion, finely minced
- 1/4 cup Extra virgin olive oil
- 2 tbsp Fresh lime juice
- 1/2 cup Feta cheese crumbles
- Fresh basil and mint leaves, chiffonade
How to make it
- Start with the corn; if you have the time, lightly char the cobs over a gas flame or grill for 2 minutes per side to add a smoky depth before cutting the kernels away with a sharp knife.
- In a large glass mixing bowl, combine the corn kernels, halved cherry tomatoes, and diced cucumber. Ensure the cucumber is peeled in ‘stripes’ for a beautiful visual contrast between the dark green skin and light flesh.
- Finely mince the red onion and soak the pieces in cold water for 5 minutes before adding to the bowl; this removes the harsh ‘bite’ while preserving the crunch.
- Whisk the olive oil, lime juice, salt, and cracked pepper in a separate small jar until emulsified, then drizzle it slowly over the vegetables.
- Toss the salad gently with large spoons, being careful not to bruise the tomatoes. Fold in the feta cheese last so it remains in distinct, creamy chunks rather than dissolving into the dressing.
- Finish with a generous handful of fresh herbs, stirring them in just before the salad hits the food board to ensure they stay vibrant and aromatic.
How to make chicken wraps?

Why we love this
Chicken wraps are the unsung heroes of the food board because they offer a complete, satisfying meal in a portable, mess-free package. The soft, floury embrace of a fresh tortilla gives way to juicy, seasoned chicken and a refreshing crunch of lettuce, creating a multi-layered experience that satisfies every craving. We love the versatility here—the way a smoky chipotle mayo or a cooling ranch can completely change the vibe, making these a hit for both the adventurous eater and the pickiest guest at the table.
Ingredients
- 1 lb Boneless skinless chicken breasts, sliced into strips
- Large flour tortillas
- Romaine lettuce, shredded
- Shredded cheddar or Monterey Jack cheese
- 1/2 cup Ranch or Caesar dressing
- 1 tbsp Olive oil
- 1 tsp Smoked paprika, 1/2 tsp Onion powder, Salt, and Pepper
How to make it
- Season your chicken strips thoroughly with smoked paprika, onion powder, salt, and pepper, tossing them in a bowl to ensure every inch is coated for maximum flavor.
- Heat olive oil in a large skillet over medium-high heat. Lay the chicken strips in a single layer, ensuring they don’t crowd the pan. Cook for 4-5 minutes per side until a golden-brown crust forms and the internal temperature reaches 165°F.
- Remove the chicken from the heat and let it rest for 5 minutes; this allows the juices to redistribute so the wraps don’t become soggy.
- To assemble, slightly warm the flour tortillas in a dry pan for 15 seconds per side. This makes them pliable and prevents tearing during the rolling process.
- Spread a thin layer of your chosen dressing down the center of the tortilla, then layer the shredded lettuce, cheese, and the warm chicken strips.
- Fold in the sides of the tortilla first, then roll tightly from the bottom up. For a professional touch, slice the wraps on a sharp diagonal and secure with a toothpick before placing them on your board.
How to make strawberry pie?
Why we love this
There is nothing quite like the glossy, ruby-red sheen of a fresh strawberry pie to act as the centerpiece of a dessert spread. It smells like pure summer—a heady mix of sun-ripened berries and buttery, flaky pastry. When you slice into it, the mountain of berries held together by a translucent, sweet glaze creates a stunning visual that feels both rustic and sophisticated. Each bite is a balance of the tart freshness of the fruit and the decadent, sugary finish that lingers on the tongue, especially when topped with a cloud of real whipped cream.
Ingredients
- 1 pre-baked 9-inch Pie crust
- 6 cups Fresh strawberries, hulled and divided
- 1 cup Granulated sugar
- 3 tbsp Cornstarch
- 1/2 cup Water
- 1 tbsp Lemon juice
- Pinch of salt
How to make it
- Start by blind-baking your pie crust. Prick the bottom with a fork, line it with parchment paper and pie weights, and bake at 375°F for 15 minutes. Remove weights and bake for another 5-8 minutes until the crust is a deep golden brown and completely crisp.
- While the crust cools, select 3 cups of your least attractive strawberries. Mash them in a medium saucepan using a potato masher until they are mostly liquid.
- Add the sugar, cornstarch, water, and lemon juice to the mashed strawberries. Whisk over medium heat, bringing the mixture to a boil.
- Continue to boil and whisk for 2-3 minutes. The mixture will transform from a cloudy pink to a thick, translucent, deep crimson glaze. Once it coats the back of a spoon, remove it from the heat and let it cool to room temperature.
- Arrange the remaining 3 cups of whole (or halved) fresh strawberries into the cooled pie shell, stacking them high into a mound.
- Pour the cooled strawberry glaze evenly over the fresh berries, using a spatula to ensure every berry is coated and the gaps are filled. Refrigerate for at least 4 hours to allow the pie to set firmly before slicing.
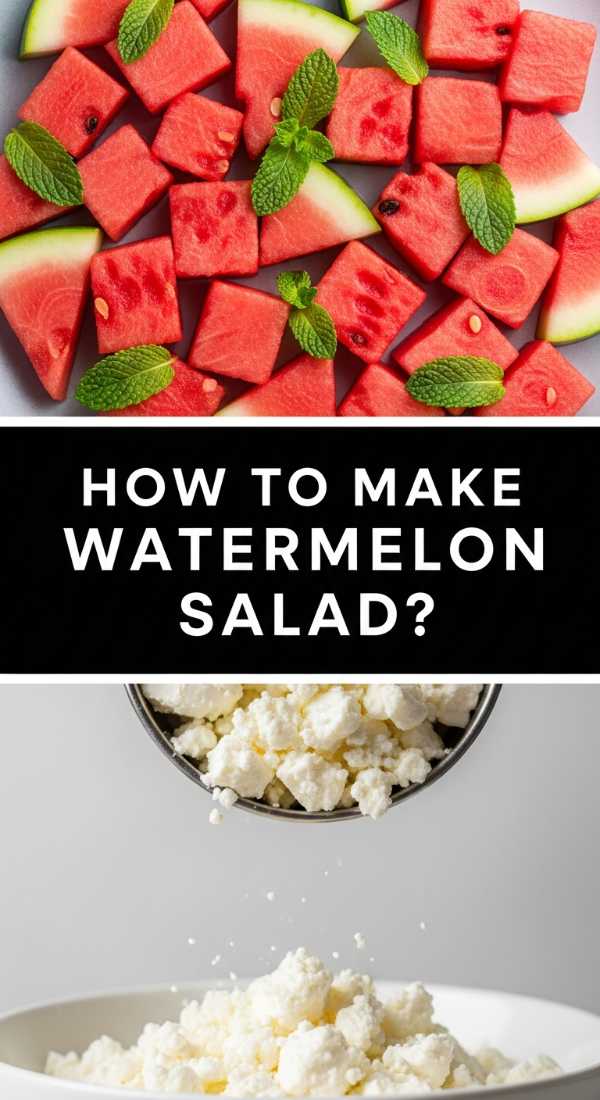
How to make watermelon salad?

Why we love this
The first time you try watermelon with salt and feta, your brain has to take a second to process the genius of the combination. It is the ultimate refreshing bite—the icy, crisp sweetness of the melon meeting the creamy, tangy saltiness of the cheese. Add in the aromatic hit of fresh mint and the earthy crunch of pumpkin seeds, and you have a dish that is surprisingly complex. It’s light, hydrating, and visually stunning with its contrast of bright pink and snowy white, making it a mandatory addition to any outdoor hosting event.
Ingredients
- 6 cups Watermelon, cubed (chilled)
- 1/2 cup Feta cheese, crumbled (use high-quality sheep’s milk feta)
- 1/4 cup Fresh mint leaves, torn
- 1/2 Red onion, sliced into paper-thin half-moons
- 2 tbsp Extra virgin olive oil
- 1 tbsp Balsamic glaze (for drizzling)
- Flaky sea salt
How to make it
- Start with a cold watermelon. Cut the melon into uniform 1-inch cubes, discarding any seeds. Place the cubes into a large, wide serving bowl rather than a deep one to prevent the bottom fruit from being crushed.
- Slice the red onion as thinly as possible—ideally using a mandoline. To keep the flavor delicate, soak the onion slices in ice water for 10 minutes, then pat them completely dry.
- Scatter the onion slices and the crumbled feta over the watermelon. Don’t toss too vigorously; you want the ingredients to sit elegantly on top of the melon.
- Drizzle the extra virgin olive oil over the salad. This provides a silky mouthfeel that bridges the gap between the fruit and the cheese.
- Just before serving, tear the mint leaves by hand rather than chopping them with a knife; this prevents the edges from bruising and browning.
- Finish with a light drizzle of balsamic glaze for acidity and a generous pinch of flaky sea salt to make the watermelon’s natural sugars pop. Serve immediately while the melon is still ice-cold.
How to cook blackstone recipes?

Why we love this
Cooking on a Blackstone or flat-top griddle is less of a chore and more of a performance. We love the sheer surface area it provides, allowing you to cook a mountain of bacon, smash burgers, or sautéed veggies all at once. The smell of the hot steel seasoned with oil, the rhythmic ‘ting-ting’ of the metal spatulas, and the way food develops a perfectly even, golden-brown crust (the Maillard reaction) is unmatched. It turns outdoor cooking into a social event where everyone gathers around the heat to watch the magic happen.
Ingredients
- High-smoke point oil (Avocado or Grapeseed oil)
- Protein of choice (e.g., thinly sliced ribeye or ground beef balls)
- Vegetables (Onions, peppers, or zucchini)
- Seasoning (Salt, pepper, garlic powder)
- Unsalted butter for finishing
How to make it
- Preheat your Blackstone on medium-high for at least 10 minutes. A properly heated griddle is key; you should see a faint wisp of smoke rising from the surface before you start.
- Apply a thin layer of high-smoke point oil across the entire surface using a squeeze bottle. Use your spatula to spread it evenly, ensuring the steel is well-lubricated.
- For a classic ‘Smash’ technique, place 3-ounce balls of cold ground beef onto the hot surface. Use a heavy press or a flat spatula with a second tool for leverage to press the meat into paper-thin patties. The goal is maximum surface contact for a crispy crust.
- Season the meat immediately while it’s searing. Once the edges are dark brown and crispy (about 2 minutes), use a sharp metal scraper to get underneath the crust and flip.
- On the other side of the griddle, toss your vegetables with a little more oil and a splash of water, then immediately cover them with a basting cover (dome). The steam generated will cook the veggies through while the griddle sears the outsides.
- Finish by melting a knob of butter over the protein and vegetables in the final minute of cooking for a rich, restaurant-quality sheen. Scrape the griddle clean while it’s still hot to make maintenance easy.
How to marinate grilled chicken?

Why we love this
A great marinade is like a spa treatment for your chicken; it tenderizes the meat while infusing it with deep, layered flavors that survive the high heat of the grill. We love the way an acidic component breaks down the fibers, resulting in a texture that is remarkably juicy and ‘melt-in-your-mouth.’ The aroma of garlic, herbs, and caramelized sugars hitting the charcoal creates a scent profile that defines summer grilling and ensures that your chicken is never the ‘boring’ option on the food board.
Ingredients
- 1.5 lbs Chicken thighs or breasts
- 1/2 cup Olive oil
- 1/4 cup Soy sauce (for umami and salt)
- 1/4 cup Lemon juice or Apple cider vinegar (acid)
- 3 cloves Garlic, smashed and minced
- 2 tbsp Honey or Brown sugar
- 1 tsp Dried oregano and 1 tsp Smoked paprika
How to make it
- In a medium glass bowl or a large zip-top bag, combine the olive oil, soy sauce, and lemon juice. This forms the base ‘holy trinity’ of fat, salt, and acid required for a perfect marinade.
- Whisk in the honey, minced garlic, and spices. The honey is crucial—it provides the sugar necessary for those beautiful charred grill marks, while the soy sauce penetrates deep into the meat.
- If using chicken breasts, use a meat mallet to pound them to an even thickness. This ensures they cook at the same rate and prevents the thin ends from drying out.
- Place the chicken in the marinade, ensuring it is completely submerged. Massage the bag or stir the bowl to coat every crevice.
- Refrigerate for at least 30 minutes, but for the best results, let it marinate for 4 to 6 hours. Do not exceed 24 hours, as the acid in the lemon juice will eventually begin to ‘cook’ the meat and turn the texture mushy.
- Remove the chicken from the fridge 15 minutes before grilling to take the chill off. Grill over medium-high heat, discarding the leftover marinade. Flip only once to develop a deep, savory crust and internal juiciness.
How to brew sun tea?
Why we love this
Sun tea is the epitome of ‘slow living.’ We love it because it’s a beverage made by the elements—using nothing but clear water, tea leaves, and the gentle heat of the afternoon sun. The result is a much smoother, less astringent flavor than tea brewed with boiling water, as the slow extraction doesn’t release the bitter tannins. Watching the amber swirls slowly darken in a glass jar on the porch is a visual reminder to slow down and enjoy the heat of the day, making it the most relaxing drink to serve guests.
Ingredients
- 1 gallon Distilled or filtered water
- 8-10 Black tea bags (or 1/4 cup loose-leaf tea)
- Fresh lemon slices
- Fresh mint sprigs
- Optional: Honey or simple syrup for sweetening
How to make it
- Find a large, clean glass gallon jar with a tight-fitting lid. Glass is essential here; plastic can leach flavors when sitting in the sun for extended periods.
- Fill the jar with cold, filtered water. Using filtered water ensures the purest tea flavor without any chlorine or mineral aftertaste.
- Place your tea bags into the water, hanging the strings over the edge of the jar and securing them with the lid. If using loose-leaf tea, use a large mesh infuser.
- Place the jar in a spot that receives direct, punishing sunlight—a porch railing or a sunny patio table works perfectly. Let it sit for 3 to 5 hours. You will see the color slowly transform from clear to a deep, glowing amber.
- Once the tea has reached your desired strength, remove the bags immediately. Do not leave them in overnight, as this can lead to bacterial growth.
- Stir in your sweetener while the tea is still slightly warm from the sun so it dissolves easily. Refrigerate immediately. Serve over plenty of ice with fresh mint and lemon for a drink that tastes like liquid sunshine.
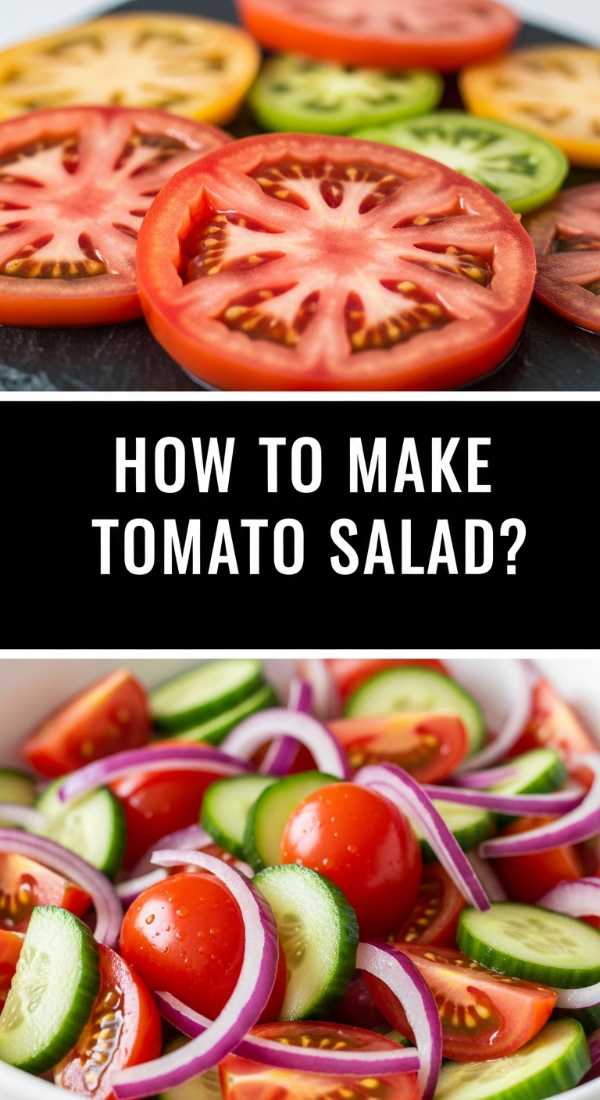
How to make tomato salad?
Why we love this
When tomatoes are at their peak, they don’t need a recipe—they need a showcase. We love this salad for its rustic simplicity and the way it highlights the incredible variety of heirloom tomatoes, from the deep purples to the vibrant yellows. The smell of fresh basil leaves being torn over warm, sun-kissed tomatoes is the quintessential scent of a summer kitchen. It’s a dish that relies on the quality of its ingredients, offering a juicy, savory, and sweet experience that makes you appreciate the bounty of the earth with every bite.
Ingredients
- 3 lbs Mixed heirloom tomatoes (various sizes and colors)
- 1 small Shallot, very thinly sliced
- 1/2 cup Fresh basil leaves
- 3 tbsp High-quality Extra Virgin Olive Oil
- 1 tbsp Aged balsamic vinegar
- Flaky sea salt and freshly cracked black pepper
How to make it
- Select a variety of tomatoes: large beefsteaks for thick slabs, plum tomatoes for wedges, and cherry tomatoes for halves. This variety of shapes creates a beautiful ‘mountain’ effect on the plate.
- Slice the larger tomatoes into 1/2 inch thick rounds. Arrange them on a large flat platter, overlapping the edges slightly to create a base layer.
- Cut the smaller tomatoes into varying wedges and halves, scattering them over the base layer to fill in the gaps and add height to the dish.
- Scatter the thinly sliced shallots over the tomatoes. The mild, onion-like flavor of shallots is much better suited for raw salads than the intensity of white or yellow onions.
- Drizzle the olive oil and then the balsamic vinegar in a slow, circular motion over the entire platter. Use the best oil you have; the flavor will be very prominent.
- Season aggressively with flaky sea salt and cracked pepper. Let the salad sit for 10 minutes before serving; this allows the salt to draw out the tomato juices, creating a delicious ‘sauce’ at the bottom of the plate. Tear the basil over the top at the very last second.
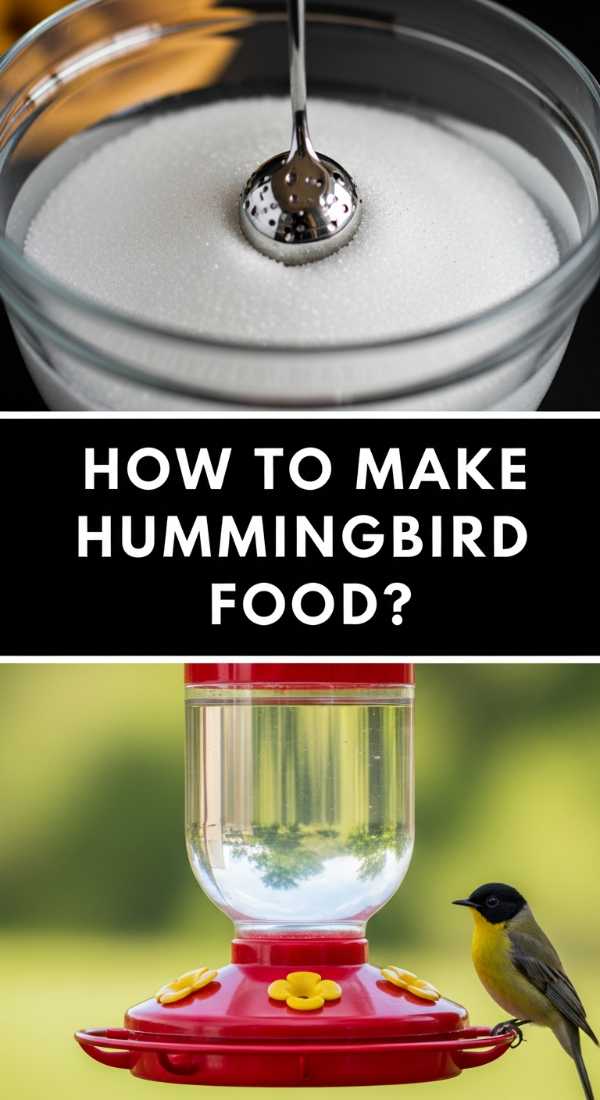
How to make hummingbird food?
[IMAGE_10]
Why we love this
While not for the guests to eat, having hummingbirds darting around your patio is the ultimate lifestyle ‘flex’ for any host. It creates an atmosphere of magic and wonder. We love making our own nectar because it’s safer for the birds than the store-bought red dyes, and it’s incredibly satisfying to watch these ‘flying jewels’ hover just inches away from you while you sip your sun tea. It’s a simple act of hospitality for nature that brings a vibrant, kinetic energy to your backyard gatherings.
Ingredients
- 1 cup Granulated white sugar (pure cane sugar is best)
- 4 cups Water
How to make it
- The ratio is the most important part: 1 part sugar to 4 parts water. This closely mimics the sucrose content of natural flower nectar. Never use honey, brown sugar, or artificial sweeteners, as these can be fatal to hummingbirds.
- Mix the sugar and water in a small saucepan. Heat the mixture over medium heat, stirring constantly until the sugar is completely dissolved.
- Bring the solution to a light boil for 1-2 minutes. This helps slow down the growth of bacteria and mold in the feeder later on.
- Remove the pan from the heat and let the nectar cool completely to room temperature. Never put hot nectar into a feeder, as it can warp the plastic and harm the birds.
- Fill your clean hummingbird feeder with the cooled nectar. Do not add red food coloring! The red parts of the feeder itself are enough to attract the birds, and the dye is unnecessary and potentially harmful.
- Hang the feeder in a shaded area to prevent the nectar from fermenting too quickly in the heat. Change the nectar every 2-3 days (or daily in extreme heat) and clean the feeder thoroughly each time to keep your feathered guests healthy and coming back for more.
Conclusion
Hosting doesn’t have to be a high-stress production that leaves you exhausted. By leaning into the ‘food board’ philosophy and mastering these simple, vibrant staples, you’re creating an environment where the food is accessible and the memories are the priority. From the sizzle of the Blackstone to the slow brew of sun tea, these recipes are designed to be shared, lingered over, and enjoyed in the best company. So, grab a large board, pick a few of these favorites, and let the summer hosting begin!