
There is something inherently magical about the way a simple food board can transform a standard Tuesday night into a memory that lingers. We live in a world that feels increasingly fast-paced, where our moments of connection often happen over screens rather than over a shared meal. But when you lay out a spread of vibrant colors, contrasting textures, and aromatic dishes, the room shifts; people lean in, conversation flows more freely, and the stress of the day seems to melt away into the background. It’s not just about the food; it’s about the permission to slow down and savor the simple joys.
I’ve always believed that you don’t need to be a Michelin-starred chef to create something that goes viral in your own social circle (or on the feed!). The secret lies in the ‘Minimal Effort, Maximum Impact’ philosophy. By focusing on a few high-quality ingredients and presenting them with a touch of rustic charm, you create an experience that feels curated and luxurious without spending eight hours in the kitchen. This guide is your ultimate roadmap to mastering the simple food board aesthetic, featuring recipes that are as beautiful to look at as they are delicious to eat.
The Art of the Vibrant Healthy Snack Board

Why we love this
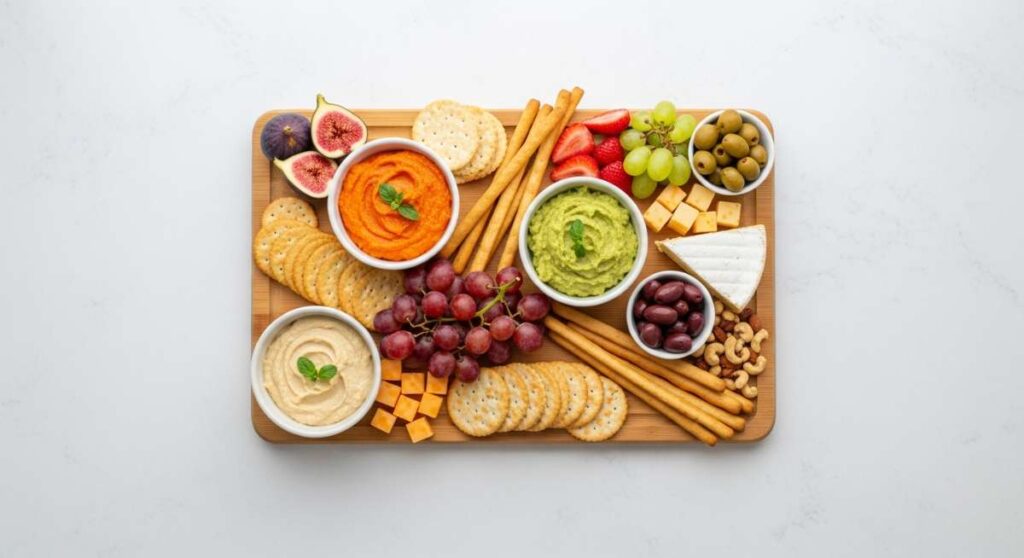
There is a profound satisfaction in a board that celebrates the crunch and color of nature. We love this snack board because it transforms ‘healthy’ into ‘indulgent’ through a variety of textures—from the snap of farm-fresh snap peas to the velvety, earthiness of a homemade roasted garlic hummus. The aroma of toasted nuts and seeds wafting through the air, paired with the cooling scent of sliced cucumbers, creates a sensory experience that feels light yet deeply nourishing. It’s the perfect centerpiece for long afternoons where you want to graze without feeling weighed down, offering a rainbow of nutrients that look stunning under soft kitchen lighting.
Ingredients
- Organic baby carrots and sliced bell peppers
- Cucumber spears and sugar snap peas
- Homemade or high-quality hummus
- Raw almonds and walnut halves
- Tzatziki sauce with fresh dill
- Whole grain crackers or pita triangles
- Grapes or pomegranate seeds for sweetness
How to make it
- Begin by selecting a large wooden board or a slate platter to serve as your canvas. Clean and dry all vegetables thoroughly to ensure a crisp bite.
- Place your dips—the hummus and tzatziki—in small, contrasting ceramic bowls. Position these bowls at opposite ends of the board to create anchor points for the rest of your ingredients.
- Slice the cucumbers and peppers into uniform batons. Arrange them in a fanned-out pattern radiating from the dip bowls, grouping colors together for a high-contrast visual effect.
- Fill the gaps with handfuls of nuts and crackers. The goal is to make the board look ‘bountiful,’ so don’t be afraid to overlap items slightly.
- For the final touch, scatter the grapes or pomegranate seeds across the top. This adds a pop of color and a juicy sweetness that cleanses the palate between the savory dips.
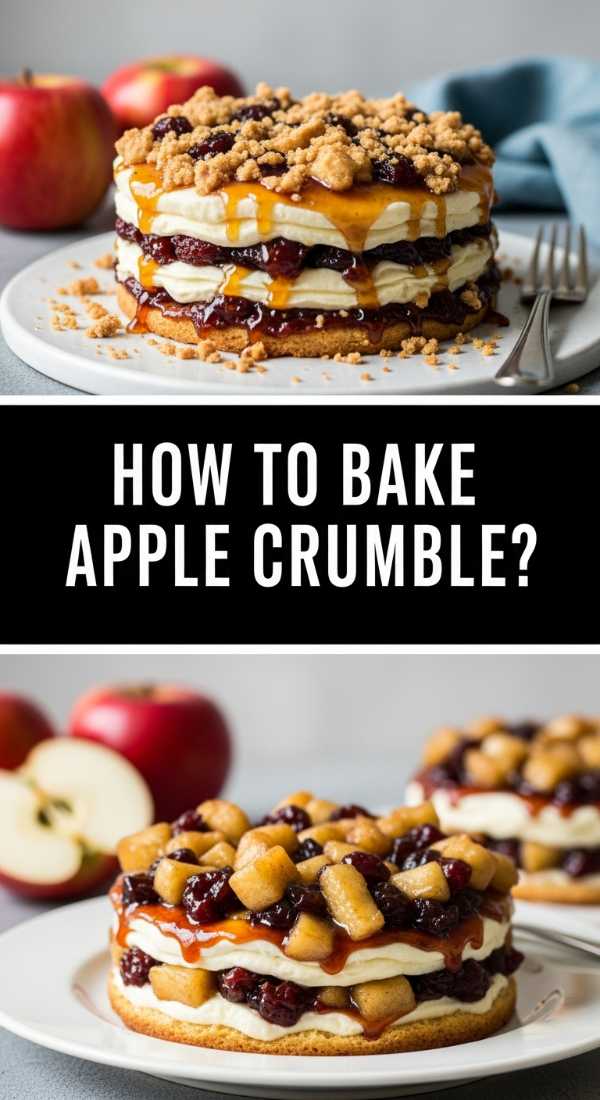
Warm and Spiced Apple Crumble
Why we love this
Nothing says home quite like the scent of cinnamon and butter caramelizing in the oven. This apple crumble is a crowd favorite because it offers the ultimate contrast between the soft, tart warmth of the fruit and the buttery, golden crunch of the oat topping. As it bakes, the kitchen fills with a nostalgic aroma that evokes cozy sweaters and rainy afternoons. The way the juices from the apples bubble up and mingle with the brown sugar creates a natural syrup that is absolutely divine when paired with a scoop of melting vanilla bean ice cream, making every spoonful a comforting hug for your soul.
Ingredients
- 6 large Granny Smith apples, peeled and sliced
- 1 cup rolled oats
- 1 cup all-purpose flour
- 1/2 cup packed brown sugar
- 1/2 cup cold unsalted butter, cubed
- 2 teaspoons ground cinnamon
- 1/4 teaspoon ground nutmeg
- 1 tablespoon lemon juice
How to make it
- Preheat your oven to 375°F (190°C). In a large mixing bowl, toss the sliced apples with lemon juice, 1 teaspoon of cinnamon, and a tablespoon of brown sugar. Ensure every slice is coated to help the flavors penetrate the fruit.
- Transfer the apple mixture into a lightly greased baking dish, spreading them out evenly so they cook at the same rate.
- In a separate bowl, combine the oats, flour, the remaining brown sugar, nutmeg, and the rest of the cinnamon. Stir with a fork until well mixed.
- Add the cubed, cold butter to the dry mixture. Using your fingertips or a pastry cutter, work the butter into the flour until the mixture resembles coarse crumbs with some pea-sized lumps of butter remaining—this is the secret to a crispy top!
- Sprinkle the crumble mixture generously over the apples. Bake for 35–40 minutes. You are looking for the fruit to be tender (test with a fork) and the topping to be a deep, golden brown. Serve warm while the steam is still rising.
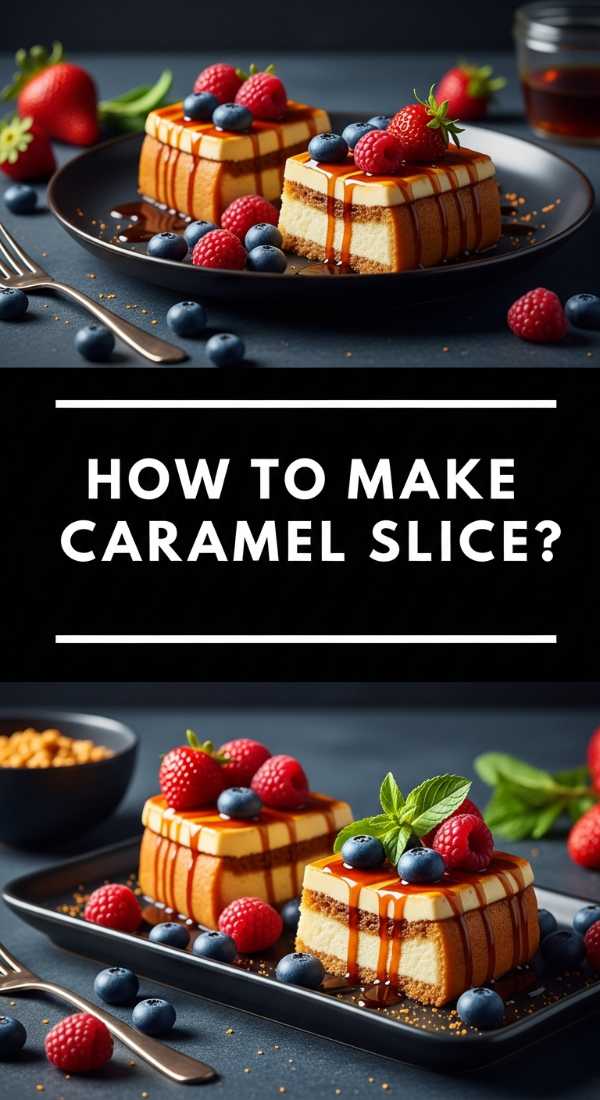
Decadent Homemade Caramel Slice
Why we love this
The caramel slice is the triple-threat of the dessert world, boasting a buttery shortbread base, a silky, melt-in-the-mouth caramel center, and a crisp dark chocolate snap on top. We love the way the rich, salty sweetness of the caramel is balanced by the bitterness of the chocolate, creating a complex flavor profile that feels far more sophisticated than your average tray bake. The texture is a journey in itself: the initial crunch of the chocolate gives way to the gooey, chewy caramel and finally the crumbly biscuit base, making it an irresistible addition to any food board that demands a bit of decadence.
Ingredients
- 1 cup plain flour
- 1/2 cup desiccated coconut
- 1/2 cup brown sugar
- 125g melted butter
- 395g sweetened condensed milk
- 2 tablespoons golden syrup
- 60g butter (extra, for caramel)
- 200g dark chocolate chips
- 1 tablespoon coconut oil
How to make it
- Preheat oven to 350°F (180°C) and line a square baking tin with parchment paper. Mix the flour, coconut, brown sugar, and melted butter until combined. Press firmly into the base of the tin and bake for 12-15 minutes until lightly golden.
- To make the caramel, combine the condensed milk, golden syrup, and extra butter in a small saucepan over medium-low heat. Stir constantly for about 8-10 minutes. Watch for the color to change to a light amber and the mixture to thicken slightly. Be careful not to let it burn on the bottom!
- Pour the warm caramel over the baked base and return to the oven for another 12 minutes. The caramel should be set but still have a slight wobble. Let it cool completely in the fridge.
- Melt the chocolate chips and coconut oil together using a double boiler or in short bursts in the microwave. Stir until silky smooth.
- Pour the chocolate over the set caramel layer. Spread it evenly and refrigerate for at least 3 hours. Use a hot knife to slice into clean squares once the chocolate is fully set.
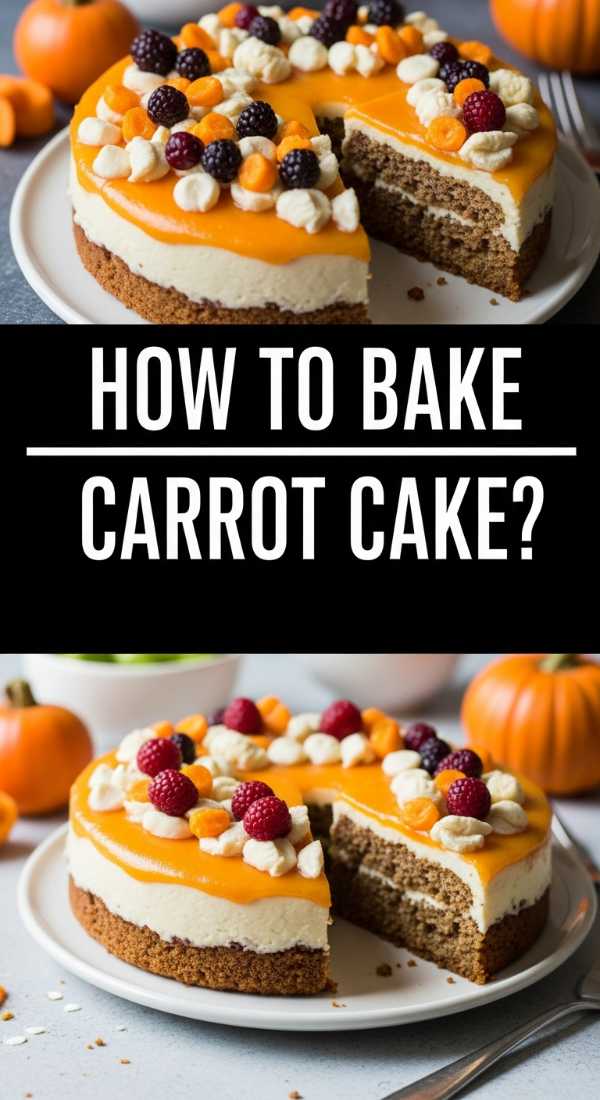
Classic Spiced Carrot Cake with Cream Cheese Frosting
Why we love this
A great carrot cake is a study in moisture and spice. This recipe is a staple because of its dense, tender crumb and the way the warmth of ginger and cloves cuts through the sweetness. The aroma of freshly grated carrots and toasted walnuts baking together is intoxicating, creating a rustic feel that is perfect for a cozy gathering. But the real star is the thick, tangy layer of cream cheese frosting that sits atop the cake like a velvet cloud. It provides a cooling contrast to the spice-forward sponge, making each bite a harmonious blend of creamy, crunchy, and spicy elements that feel like a celebration of classic baking.
Ingredients
- 2 cups all-purpose flour
- 2 cups granulated sugar
- 1 teaspoon baking soda and 1 teaspoon baking powder
- 2 teaspoons ground cinnamon and 1/2 teaspoon ground ginger
- 3 cups finely grated carrots
- 1 cup vegetable oil
- 4 large eggs
- 1/2 cup chopped walnuts
- For frosting: 8oz cream cheese, 1/2 cup butter, 3 cups powdered sugar, 1 tsp vanilla
How to make it
- Preheat oven to 350°F (175°C) and grease two 9-inch cake pans. In a large bowl, whisk together the flour, sugar, baking soda, baking powder, cinnamon, and ginger.
- In a separate medium bowl, beat the eggs and oil together until combined. Slowly fold the wet ingredients into the dry ingredients using a spatula until just incorporated.
- Fold in the grated carrots and walnuts. Divide the batter evenly between the two pans. Visual cue: The batter will be thick and heavy.
- Bake for 30-35 minutes. Test the center with a toothpick; it should come out clean. Allow the cakes to cool in the pans for 10 minutes before transferring them to a wire rack to cool completely.
- Prepare the frosting by beating the softened cream cheese and butter until fluffy. Slowly add powdered sugar and vanilla until smooth. Frost the top of one cake layer, stack the second, and cover the entire cake in a thick, rustic layer of frosting.
The Ultimate Cheesy Pasta Bake
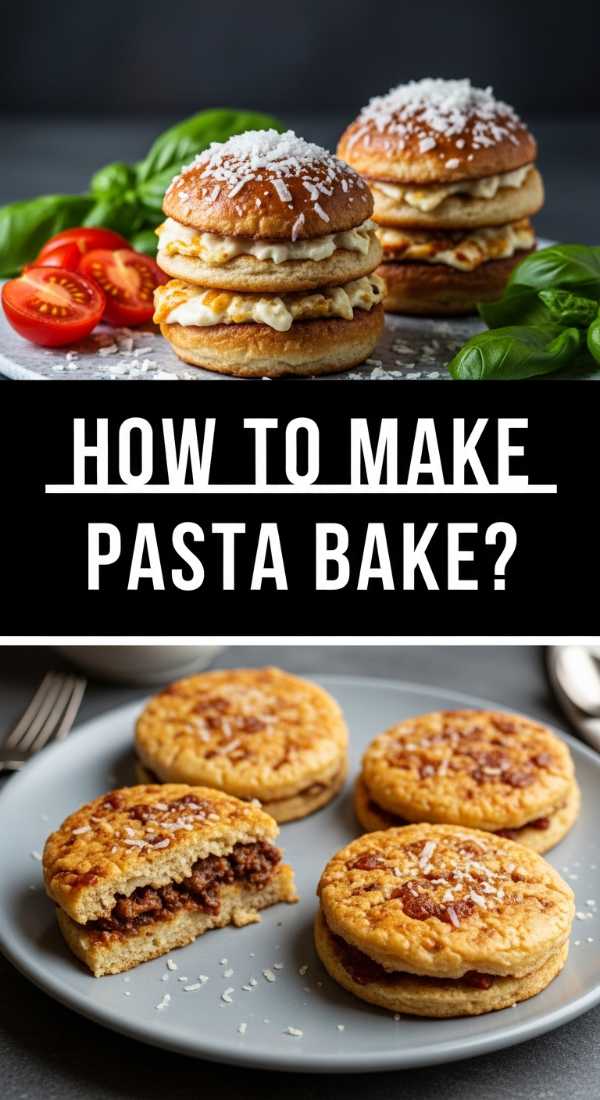
Why we love this
There is nothing quite as universally loved as a bubbling tray of pasta bake. We adore this dish for its soul-warming qualities—the way the edges of the pasta get slightly crispy and caramelized while the center remains saucy and tender. The aroma of roasted garlic and melting mozzarella is enough to bring anyone to the table. It’s a dish that encourages sharing and big helpings, with long strings of melted cheese stretching from the plate to the dish. It’s the ultimate comfort food that looks incredible on a board surrounded by fresh basil leaves and a crusty baguette.
Ingredients
- 16oz ziti or penne pasta
- 24oz marinara sauce (homemade or premium store-bought)
- 15oz ricotta cheese
- 2 cups shredded mozzarella
- 1/2 cup grated Parmesan
- 1 egg (to bind the cheese)
- 2 cloves garlic, minced
- Fresh basil for garnish
How to make it
- Boil a large pot of salted water and cook the pasta for 2 minutes less than the package instructions (al dente). It will finish cooking in the oven, and this prevents it from getting mushy.
- In a bowl, mix the ricotta cheese, egg, minced garlic, and half of the Parmesan. This creates a creamy ‘hidden’ layer that elevates the dish.
- Drain the pasta and return it to the pot. Stir in the marinara sauce and the ricotta mixture until the pasta is well-coated.
- Transfer half of the pasta into a 9×13 baking dish. Sprinkle with half of the mozzarella. Add the remaining pasta on top and finish with the remaining mozzarella and Parmesan.
- Bake at 375°F (190°C) for 20-25 minutes until the cheese is bubbly and starting to brown in spots. Garnish with fresh basil before serving.
Maple-Glazed Roasted Pumpkin

Why we love this
Roasted pumpkin is the unsung hero of the veggie world, and when glazed with maple syrup, it becomes a literal showstopper. We love the way the high heat of the oven transforms the pumpkin’s flesh into a buttery, custard-like texture while the skin (if kept on) provides a subtle, earthy bite. The aroma is a mix of woodsy rosemary and sweet maple, creating a savory-sweet profile that pairs perfectly with sharp cheeses or toasted seeds. It adds a sophisticated, autumnal aesthetic to any food board, with its deep orange hues providing a stunning visual pop against a dark background.
Ingredients
- 1 medium pumpkin (butternut or Kent), cut into wedges
- 3 tablespoons olive oil
- 2 tablespoons maple syrup
- 2 cloves garlic, smashed
- 1 tablespoon fresh rosemary, chopped
- Sea salt and cracked black pepper
- Optional: Feta cheese for crumbling
How to make it
- Preheat your oven to 400°F (200°C). Line a large baking sheet with parchment paper to prevent the maple syrup from sticking.
- In a large bowl, whisk together the olive oil, maple syrup, rosemary, salt, and pepper.
- Add the pumpkin wedges to the bowl and toss thoroughly using your hands. Ensure every piece is glistening with the glaze.
- Arrange the pumpkin in a single layer on the baking sheet. Space them out—if they are too crowded, they will steam instead of roasting and won’t get those beautiful caramelized edges.
- Roast for 30–40 minutes, flipping halfway through. The pumpkin is ready when it is fork-tender and the edges are dark and slightly charred. Serve immediately, perhaps with a sprinkle of feta for a salty kick.
Gooey Sea Salt Chocolate Cookies
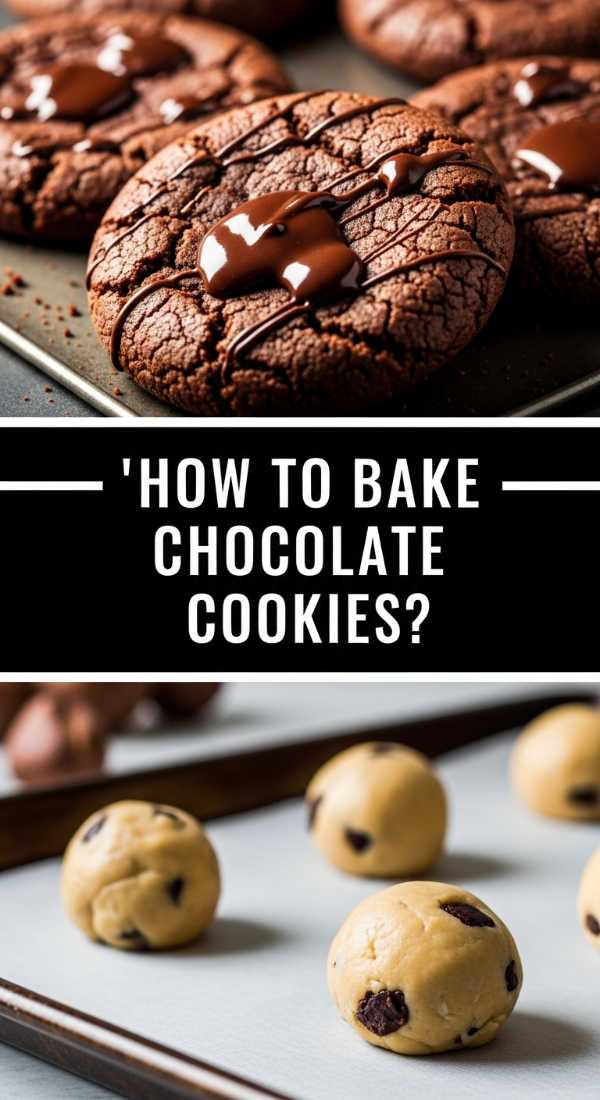
Why we love this
A cookie isn’t just a snack; it’s an experience, especially when it’s served warm with melting chocolate pools. These cookies are a favorite because they strike the perfect balance between a chewy, doughy center and a crisp, golden-brown edge. The addition of flaky sea salt on top enhances the richness of the dark chocolate, making each bite feel elevated and gourmet. The scent of vanilla and browning butter filling the house is the ultimate welcome, and seeing a pile of these on a food board is guaranteed to make them the first thing to disappear.
Ingredients
- 1 cup unsalted butter, softened
- 3/4 cup brown sugar and 3/4 cup white sugar
- 2 large eggs
- 1 teaspoon vanilla extract
- 2 1/4 cups all-purpose flour
- 1 teaspoon baking soda
- 1.5 cups dark chocolate chunks
- Flaky sea salt for topping
How to make it
- Cream the butter and both sugars together in a stand mixer for at least 3-5 minutes. You want the mixture to be pale and fluffy; this air incorporation is vital for the texture.
- Add the eggs one at a time, beating well after each addition, then stir in the vanilla extract.
- In a separate bowl, whisk the flour and baking soda. Gradually add the dry ingredients to the wet, mixing on low speed until just combined. Fold in the chocolate chunks by hand.
- Chill the dough for at least 30 minutes. This prevents the cookies from spreading too thin and helps the flavors develop.
- Scoop rounded tablespoons of dough onto a lined tray. Bake at 350°F (175°C) for 10-12 minutes. The cookies should look slightly underbaked in the center but set on the edges. Sprinkle with sea salt immediately after removing from the oven.
Zesty Street-Style Tacos

Why we love this
Tacos are the ultimate interactive food, and we love them because they bring a burst of freshness and acidity to the table. The combination of charred tortillas, juicy protein, and the zing of fresh lime creates a vibrant flavor profile that wakes up the palate. There is something so satisfying about the assembly process—the tactile nature of building your own taco with crunchy onions and fragrant cilantro. They are a visual feast on a board, with the greens of the salsa, the reds of the tomatoes, and the charred marks on the corn tortillas creating a rustic, festive atmosphere.
Ingredients
- 1 lb protein (flank steak, chicken, or mushrooms)
- Small corn or flour tortillas
- 1 white onion, finely diced
- Fresh cilantro, chopped
- 2 limes, cut into wedges
- Radishes, thinly sliced
- 1 tablespoon cumin and 1 tablespoon chili powder
- Olive oil for searing
How to make it
- Season your protein generously with cumin, chili powder, salt, and pepper. Heat a cast-iron skillet over high heat with a splash of oil until it starts to shimmer.
- Sear the protein quickly to lock in the juices. If using steak, aim for medium-rare (about 3-4 mins per side). Let the meat rest for 5 minutes before slicing thinly against the grain.
- While the meat rests, char your tortillas. Place them directly over a low gas flame for 10-15 seconds per side using tongs until they have slight char marks and become pliable.
- Assemble the base: place a few slices of protein onto each tortilla.
- Top with a sprinkle of raw onion and cilantro. The raw onion provides a sharp crunch that balances the rich meat. Serve with lime wedges on the side for guests to squeeze over just before eating.
Silky Smooth New York Cheesecake
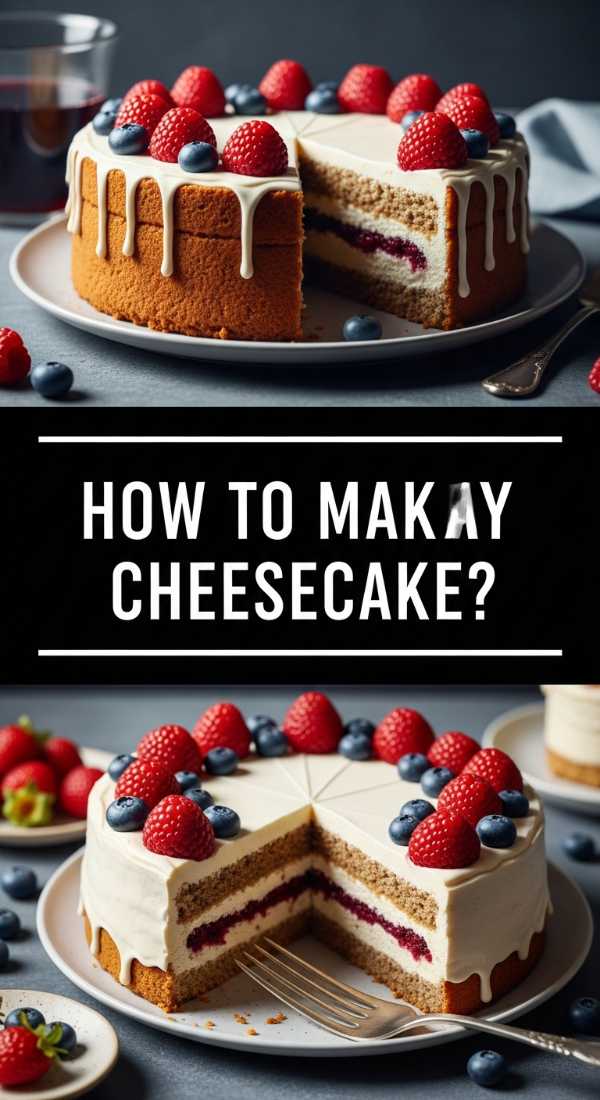
Why we love this
The hallmark of a great cheesecake is a texture so creamy it feels like silk, paired with a crust that provides a salty, buttery crunch. We love this recipe because it isn’t overly sweet; it allows the tanginess of the cream cheese to shine through. The aroma of baked graham crackers and a hint of lemon zest is subtle yet enticing. A perfectly baked cheesecake, with its pristine white top and golden base, is a masterpiece of minimalism. It serves as a beautiful focal point on a dessert board, especially when surrounded by fresh berries that bleed their juices slightly into the cream.
Ingredients
- 24oz cream cheese, softened to room temperature
- 1 cup granulated sugar
- 1 cup sour cream
- 3 large eggs
- 1 teaspoon vanilla extract and 1 teaspoon lemon juice
- 1.5 cups graham cracker crumbs
- 1/3 cup melted butter
How to make it
- Preheat oven to 325°F (160°C). Mix graham cracker crumbs and melted butter, then press firmly into the bottom of a 9-inch springform pan. Bake for 10 minutes and let cool.
- In a large bowl, beat the softened cream cheese and sugar until completely smooth. It is crucial there are no lumps at this stage. Add the sour cream, vanilla, and lemon juice.
- Add eggs one at a time, mixing on low speed just until combined. Do not overmix, as this introduces air bubbles that can cause cracks.
- Pour the batter over the crust. Place the springform pan inside a larger roasting pan filled with an inch of hot water (a water bath). This provides gentle, even heat.
- Bake for 60-70 minutes until the edges are set but the center still has a slight jiggle. Turn off the oven and leave the cheesecake inside with the door slightly ajar for one hour. This gradual cooling prevents cracking. Refrigerate for at least 6 hours before serving.
Golden-Hued Banana Bread Loaf
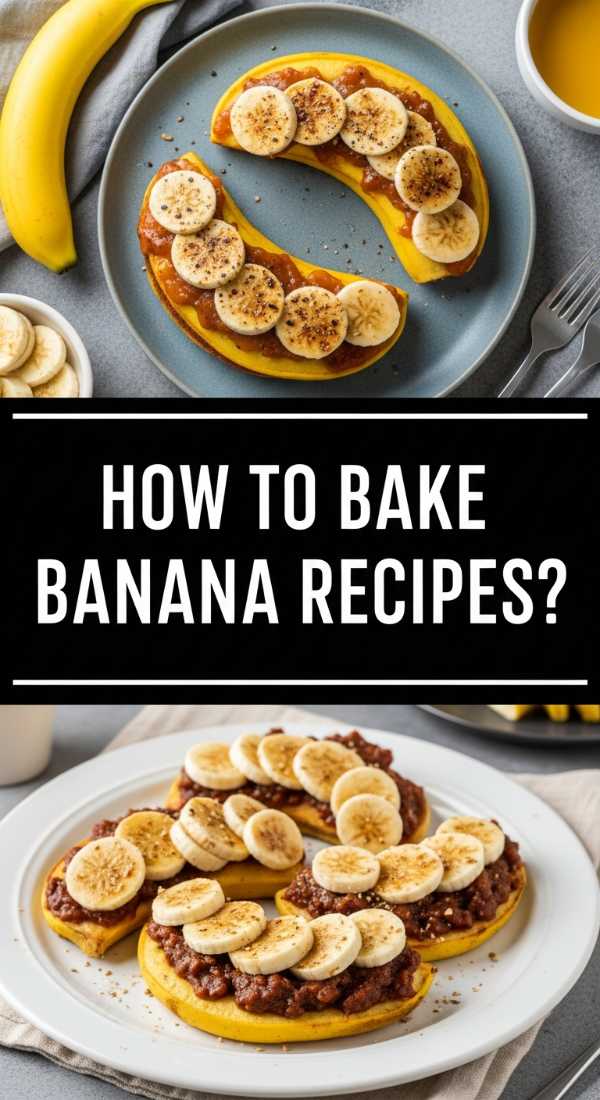
Why we love this
Banana bread is the ultimate ‘no-waste’ luxury. We love it because it takes something as simple as overripe fruit and turns it into a moist, fragrant loaf that tastes like a weekend morning. The aroma of bananas and brown sugar caramelizing together is perhaps one of the most welcoming scents in the world. The texture is dense yet soft, with a tight crumb that holds up perfectly to a thick smear of salted butter. It’s a rustic, unpretentious addition to a brunch board that feels deeply personal and handmade, offering a sweet, earthy flavor that pairs beautifully with coffee.
Ingredients
- 3 very ripe bananas, mashed
- 1/2 cup melted butter
- 1/2 cup sugar and 1/2 cup brown sugar
- 1 egg, beaten
- 1 teaspoon vanilla extract
- 1 teaspoon baking soda
- 1.5 cups all-purpose flour
- A pinch of salt
How to make it
- Preheat your oven to 350°F (175°C) and grease a 4×8 inch loaf pan. Mash the ripe bananas in a bowl using a fork until they are a smooth liquid with only small chunks.
- Stir the melted butter into the mashed bananas. Add the sugars, beaten egg, and vanilla extract. Mix until well combined.
- Sprinkle the baking soda and salt over the mixture and stir in. Finally, fold in the flour gently. Do not overmix; stop as soon as you see no more white streaks of flour.
- Pour the batter into the prepared loaf pan. Visual cue: The batter should be thick but pourable.
- Bake for 50-60 minutes. Test with a toothpick in the center; it should come out clean. Let it cool in the pan for 10 minutes before moving to a wire rack. Slice while still slightly warm for the best experience.
Conclusion: Your Board, Your Rules
Creating a viral-worthy food board is less about perfection and more about the passion you put into the preparation. Whether you’re layering a decadent caramel slice or arranging a vibrant spread of healthy snacks, the goal is to create a moment of joy for yourself and those you love. Food is a universal language, and a beautifully presented board is the perfect way to say, ‘I’m glad you’re here.’ So grab your favorite platter, pick a recipe from this list, and start building your own masterpiece tonight!