
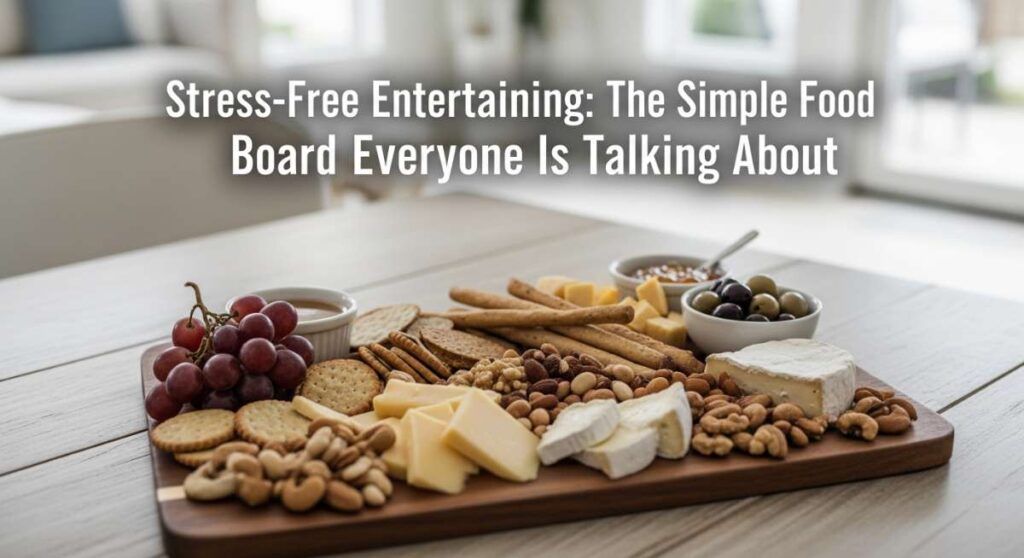
There’s something truly magical about gathering friends around a table, but let’s be honest—the prep work can feel like a marathon before the party even starts. We’ve all been there, hovering over a stove while our guests laugh in the other room, feeling more like a line cook than a host. That is exactly why I’ve fallen head over heels for the concept of the ‘Simple Food Board.’ It’s the viral trend that is redefining how we entertain by turning individual comfort foods into a stunning, interactive centerpiece.
Instead of a formal three-course meal, imagine a sprawling spread of buttery scones, crispy potatoes, and pillowy gnocchi laid out with effortless grace. This approach isn’t just about the food; it’s about the feeling of abundance and the joy of sharing. By mastering a few key elements, you can create a Pinterest-worthy spread that keeps the conversation flowing and the stress levels at an all-time low. Let’s dive into the components that will make your next gathering absolutely legendary.
How to bake buttery scones?

Why we love this
There is nothing quite like the scent of cold, high-quality butter melting into flour as it hits the heat of the oven, filling your kitchen with a cozy, bakery-style aroma. A perfect scone is a study in textures: a golden, slightly salty outer crust that gives way to a tender, flaky, and moist interior that practically melts on the tongue. When served warm on a board with clotted cream or a tart berry jam, they provide a sophisticated yet comforting anchor that feels both indulgent and classic. Each bite is a delicate balance of sweetness and rich, creamy dairy notes that pair perfectly with a hot cup of tea or a crisp morning mimosa.
Ingredients
- 2 cups all-purpose flour
- 1/3 cup granulated sugar
- 1 tablespoon baking powder
- 1/2 teaspoon salt
- 1/2 cup unsalted butter, cubed and frozen
- 1/2 cup heavy cream (plus extra for brushing)
- 1 large egg
- 1 teaspoon vanilla extract
How to make it
- Begin by whisking your flour, sugar, baking powder, and salt in a large chilled bowl to ensure even distribution of the leavening agents.
- Take your frozen butter cubes and use a pastry cutter or your fingertips to work the butter into the flour until the mixture resembles coarse crumbs with some pea-sized pieces remaining; these bits of butter are what create the flaky layers.
- In a separate small bowl, whisk together the heavy cream, egg, and vanilla extract until fully combined and smooth.
- Make a well in the center of the dry ingredients, pour in the liquid mixture, and use a fork to gently toss the dough together until it just starts to clump—do not overmix, or the scones will become tough.
- Turn the dough out onto a lightly floured surface, gently pat it into a 1-inch thick disc, and cut into 8 wedges using a sharp knife or bench scraper.
- Place the wedges on a parchment-lined baking sheet, brush the tops with a little extra heavy cream for a golden finish, and bake at 400°F (200°C) for 18-22 minutes until the edges are beautifully browned and the centers are set.
How to make edible cookie dough?
Why we love this
Edible cookie dough is the ultimate nostalgic treat, capturing that forbidden thrill of licking the spoon without any of the safety concerns. This version is luxuriously smooth, with a gritty-sweet texture from the brown sugar and a deep, caramel-like fragrance that hits you the moment you stir in the chocolate chips. It stays soft and scoopable, making it a fantastic dip-style addition to any dessert board where guests can pair it with pretzels or fruit slices. The buttery richness and the snap of cold chocolate create a sensory experience that brings out the inner child in everyone at the party.
Ingredients
- 1 cup all-purpose flour (must be heat-treated)
- 1/2 cup unsalted butter, softened to room temperature
- 3/4 cup packed light brown sugar
- 1/4 cup granulated sugar
- 2 tablespoons heavy cream or milk
- 1 teaspoon vanilla extract
- 1/2 teaspoon salt
- 1/2 cup mini semi-sweet chocolate chips
How to make it
- First, you must heat-treat the flour to kill any bacteria; spread it on a baking sheet and bake at 350°F (175°C) for about 5-7 minutes until it reaches 160°F, then let it cool completely and sift it to remove lumps.
- In a large mixing bowl, cream together the softened butter, brown sugar, and granulated sugar using a hand mixer on medium speed for about 2-3 minutes until the mixture is light, fluffy, and pale.
- Add the heavy cream, vanilla extract, and salt, and continue beating until the liquids are fully incorporated and the texture is uniform.
- Turn the mixer to low and gradually add the heat-treated flour, mixing just until no white streaks remain and a thick dough forms.
- Fold in the mini chocolate chips by hand using a spatula, ensuring they are evenly distributed throughout the dough.
- Serve immediately at room temperature for a soft consistency, or chill for 30 minutes if you prefer a firmer, scoopable texture for your board.
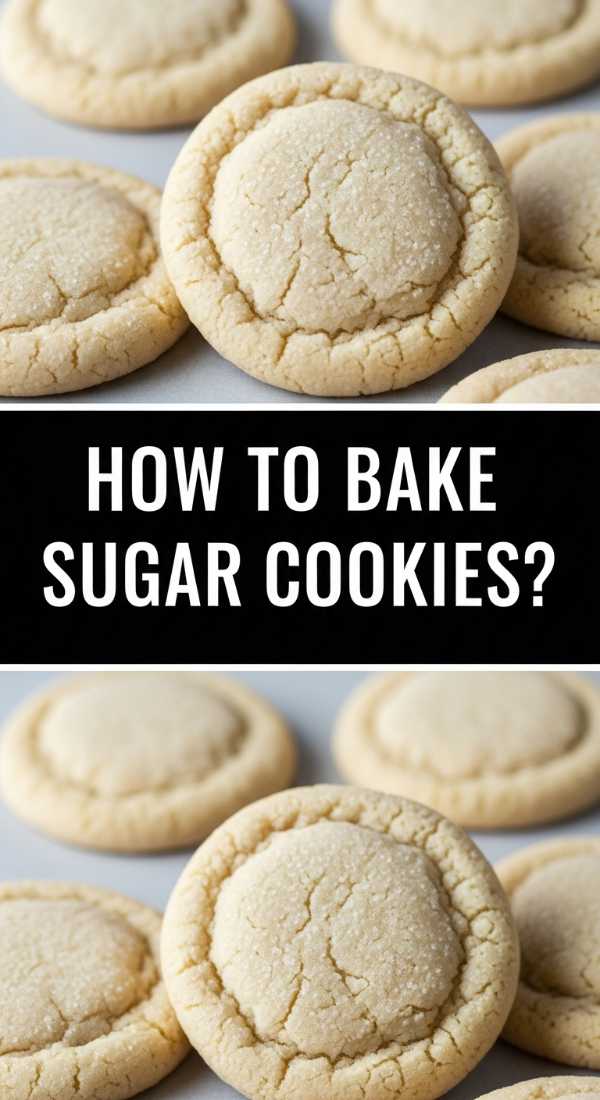
How to bake sugar cookies?
Why we love this
The classic sugar cookie is a masterpiece of simplicity, offering a pure vanilla-forward flavor profile that is both elegant and versatile. When baked correctly, these cookies have a soft, almost pillowy center that contrasts wonderfully with a very thin, crisp outer edge that snaps ever so slightly. The aroma of toasted sugar and high-fat butter creates an inviting atmosphere that beckons guests to reach for just one more. They serve as the perfect canvas for your food board, providing a mild sweetness that complements tart fruits or rich chocolate dips without overwhelming the palate.
Ingredients
- 2 3/4 cups all-purpose flour
- 1 teaspoon baking soda
- 1/2 teaspoon baking powder
- 1 cup unsalted butter, softened
- 1 1/2 cups white sugar
- 1 egg
- 1 teaspoon vanilla extract
- Extra sugar for rolling
How to make it
- Preheat your oven to 375°F (190°C) and line your baking sheets with silicone mats or parchment paper to prevent sticking.
- In a medium bowl, sift together the flour, baking soda, and baking powder to ensure the cookies rise evenly and have a fine crumb.
- In a separate large bowl, cream the softened butter and 1 1/2 cups of sugar together on high speed for at least 3 minutes until the mixture looks like wet sand and has significantly lightened in color.
- Beat in the egg and vanilla extract, scraping down the sides of the bowl to ensure every bit of the butter mixture is incorporated.
- Gradually blend in the dry ingredients on low speed; the dough should be soft but not sticky enough to cling to your fingers.
- Roll rounded teaspoons of dough into balls, roll them in the extra sugar, and place them 2 inches apart on the baking sheets, baking for 8-10 minutes until the edges are just barely golden but the centers still look slightly soft.
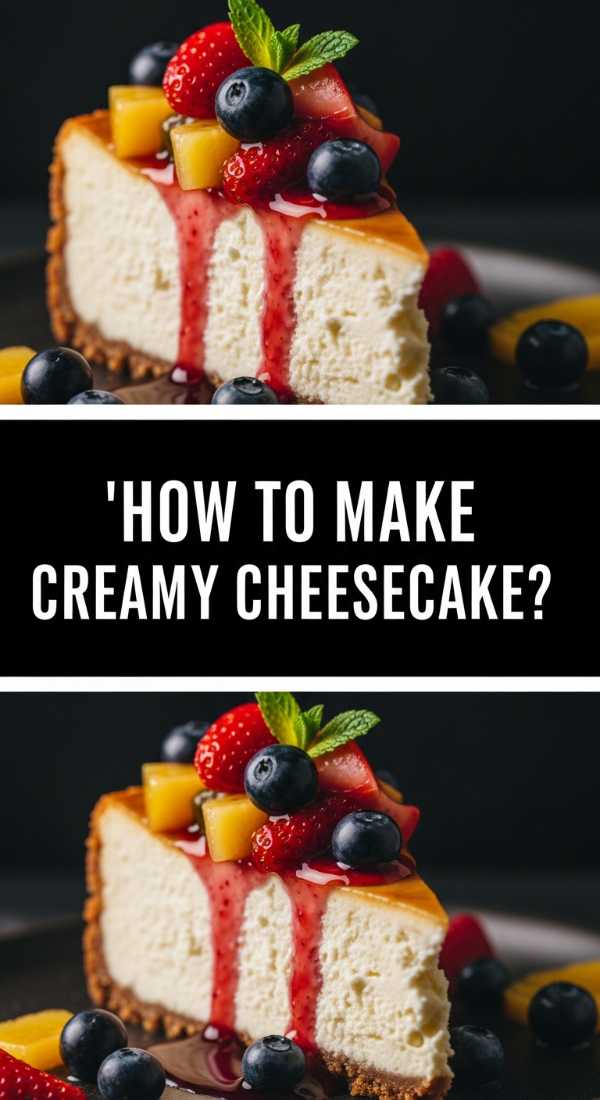
How to make creamy cheesecake?
Why we love this
A truly great cheesecake is the height of decadence, characterized by a velvety, ivory-colored filling that is thick, tangy, and impossibly smooth. It’s all about that contrast between the buttery, crunchy graham cracker base and the dense, custard-like top that melts slowly, coating the tongue in a rich, sweet creaminess. The subtle hint of lemon or vanilla cuts through the richness, making each bite feel balanced rather than heavy. Presented as mini-rounds or slices on a board, it adds a touch of luxury and a sophisticated mouthfeel that anchors the sweeter elements of your spread.
Ingredients
- 1 1/2 cups graham cracker crumbs
- 1/4 cup melted butter
- 24 oz cream cheese, softened to room temperature
- 1 cup granulated sugar
- 1 cup sour cream
- 1 tablespoon vanilla extract
- 3 large eggs
How to make it
- Prepare the crust by mixing graham cracker crumbs with melted butter; press firmly into the bottom of a 9-inch springform pan and bake at 325°F (160°C) for 10 minutes to set.
- In a large bowl, beat the softened cream cheese and sugar on medium-low speed; it is vital to keep the speed low to avoid whipping too much air into the batter, which causes cracking.
- Add the sour cream and vanilla extract, mixing until just combined and smooth.
- Add the eggs one at a time, mixing briefly after each addition just until the yellow disappears; over-mixing at this stage is the leading cause of cheesecake failure.
- Pour the batter over the crust and place the pan inside a larger roasting pan filled with 1 inch of hot water (a water bath) to ensure even, gentle steaming.
- Bake at 325°F for 60-70 minutes until the edges are set but the center still has a slight jiggle; turn off the oven and let it cool inside with the door cracked for one hour before refrigerating overnight.
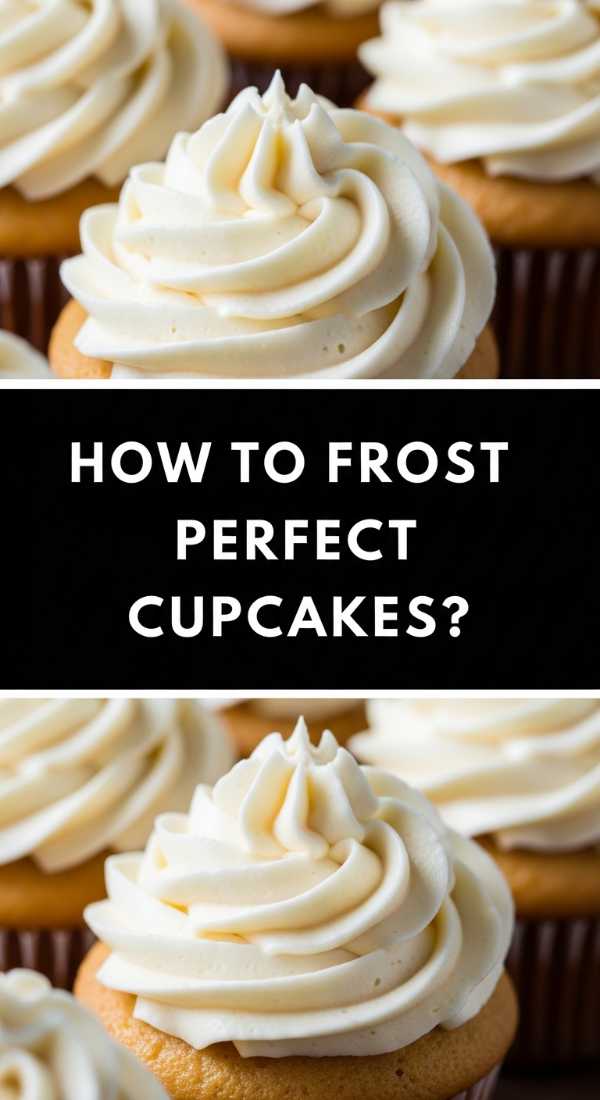
How to frost perfect cupcakes?
Why we love this
The crowning glory of any cupcake is a swirl of frosting that looks as good as it tastes, offering a silky, cloud-like texture that provides the perfect hit of sweetness. When you use a professional piping technique, the frosting adds height and drama to your food board, turning simple cakes into edible art. The feel of the smooth buttercream against a moist sponge is a classic pairing that never fails to delight. Whether you choose a deep chocolate or a bright vanilla, the visual appeal of perfectly piped ridges creates an irresistible invitation for your guests to indulge.
Ingredients
- 1 cup unsalted butter, softened but still cool to the touch
- 3-4 cups powdered sugar, sifted
- 2 tablespoons heavy cream
- 1 teaspoon vanilla extract
- Pinch of salt
How to make it
- Beat the softened butter on medium-high speed for a full 5 minutes using a whisk attachment; the butter should turn almost white and become incredibly airy.
- Lower the speed and gradually add 3 cups of powdered sugar, one cup at a time, until mostly incorporated.
- Add the heavy cream, vanilla, and salt, then turn the mixer back to high and whip for another 2 minutes until the frosting is light and holds its shape perfectly.
- Prepare a piping bag with a large star tip (like a 1M) and fill it half-full with frosting, squeezing out any air pockets to ensure a continuous flow.
- Hold the bag vertically over the center of the cooled cupcake, start at the outer edge, and move in a circular motion toward the center, slightly overlapping each layer to create a high, pointed swirl.
- Finish by releasing pressure quickly as you pull the tip up and away to create a clean peak, then garnish immediately with sprinkles or berries before the frosting crusts.
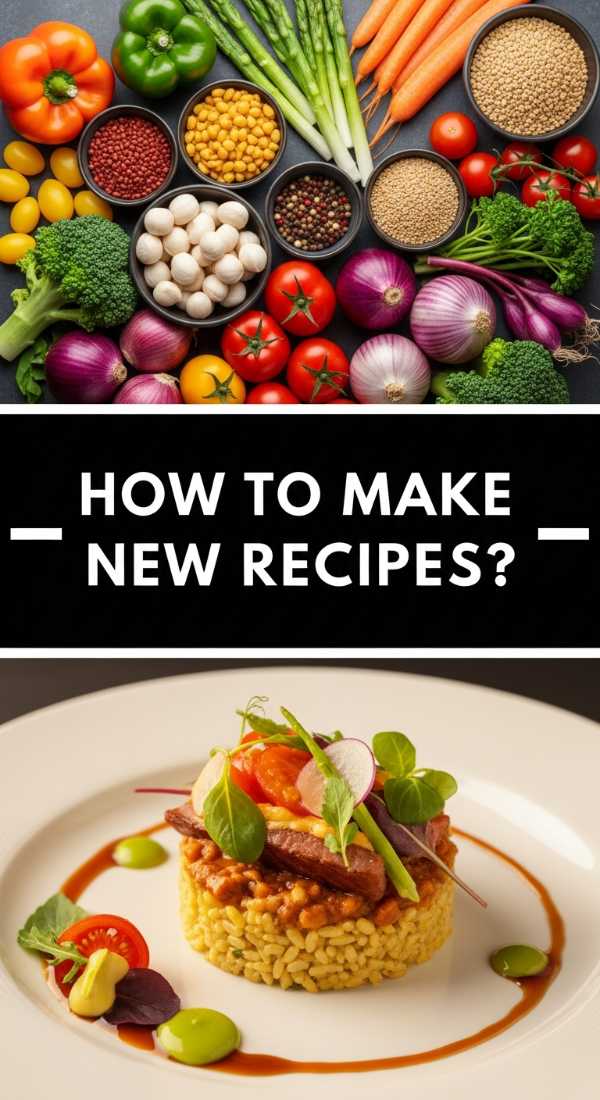
How to make new recipes?
Why we love this
The process of trying a new recipe is an adventure for the senses, filled with the thrill of discovery and the satisfaction of building a new skill. It brings a fresh energy to your kitchen, as you encounter new aromas, unusual techniques, and unexpected flavor combinations that keep your cooking journey exciting. There is a specific kind of pride that comes from successfully executing a dish you’ve never tried before and sharing it with loved ones. It keeps your food boards evolving, ensuring that no two gatherings ever feel quite the same and that your guests are always in for a delicious surprise.
Ingredients
- A clear, well-tested recipe
- All required fresh ingredients (mise en place)
- Proper kitchen tools (scales, thermometers, etc.)
- An open mind and patience
How to make it
- Read the entire recipe from start to finish at least twice before you even touch a kitchen tool; this helps you visualize the flow and identify any time-sensitive steps.
- Perform ‘mise en place’ by measuring, chopping, and prepping every single ingredient into individual bowls; this prevents the panic of trying to chop an onion while something else is burning.
- Calibrate your environment by checking oven temperatures with an external thermometer and ensuring your workspace is clean and organized.
- Follow the instructions exactly the first time you make it—pay close attention to visual cues like ‘golden brown’ or ‘doubled in size’ rather than just relying on the timer.
- Taste as you go (where safe) to understand how flavors develop at different stages of the cooking process.
- Take notes on the recipe page about what worked, what didn’t, and any adjustments you’d like to make next time to truly make the dish your own.
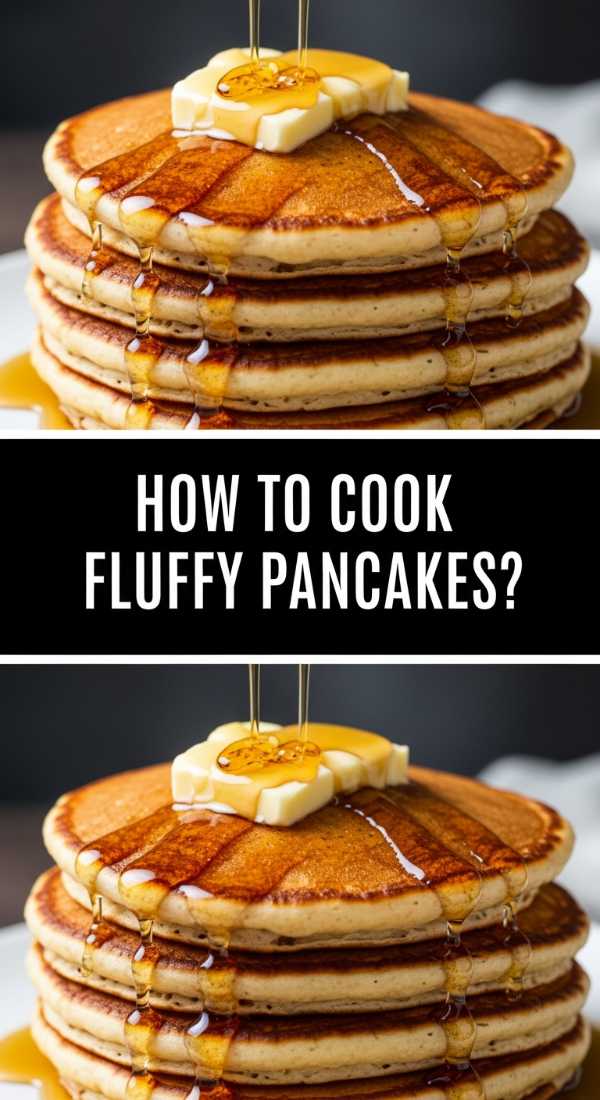
How to cook fluffy pancakes?
Why we love this
Fluffy pancakes are the ultimate weekend luxury, offering a light-as-air texture that acts like a sponge for maple syrup and melted butter. The sound of the batter sizzling on a hot griddle and the sight of those first few bubbles breaking the surface are the universal signals of a good morning. Each bite should be tender and springy, with a delicate malted sweetness that feels incredibly comforting. Adding a stack of these to a brunch-themed food board provides a stunning focal point that promises a warm, satisfying start to any celebration.
Ingredients
- 1 1/2 cups all-purpose flour
- 3 1/2 teaspoons baking powder
- 1 teaspoon salt
- 1 tablespoon white sugar
- 1 1/4 cups milk
- 1 egg
- 3 tablespoons butter, melted
How to make it
- Sift the flour, baking powder, salt, and sugar into a large bowl to ensure the dry mix is completely lump-free and aerated.
- In a separate jug, whisk together the milk, egg, and melted butter; ensure the butter has cooled slightly so it doesn’t scramble the egg on contact.
- Make a well in the dry ingredients and pour in the liquid, whisking gently until just combined; the most important tip is to leave some small lumps in the batter to keep the pancakes light.
- Heat a non-stick griddle or large frying pan over medium heat and lightly grease with a tiny amount of butter or oil.
- Pour 1/4 cup of batter for each pancake onto the griddle and wait until bubbles form on the surface and the edges look matte and set (about 2-3 minutes).
- Flip carefully with a thin spatula and cook for another 1-2 minutes until golden brown on the bottom; serve immediately in a stacked tower on your board.
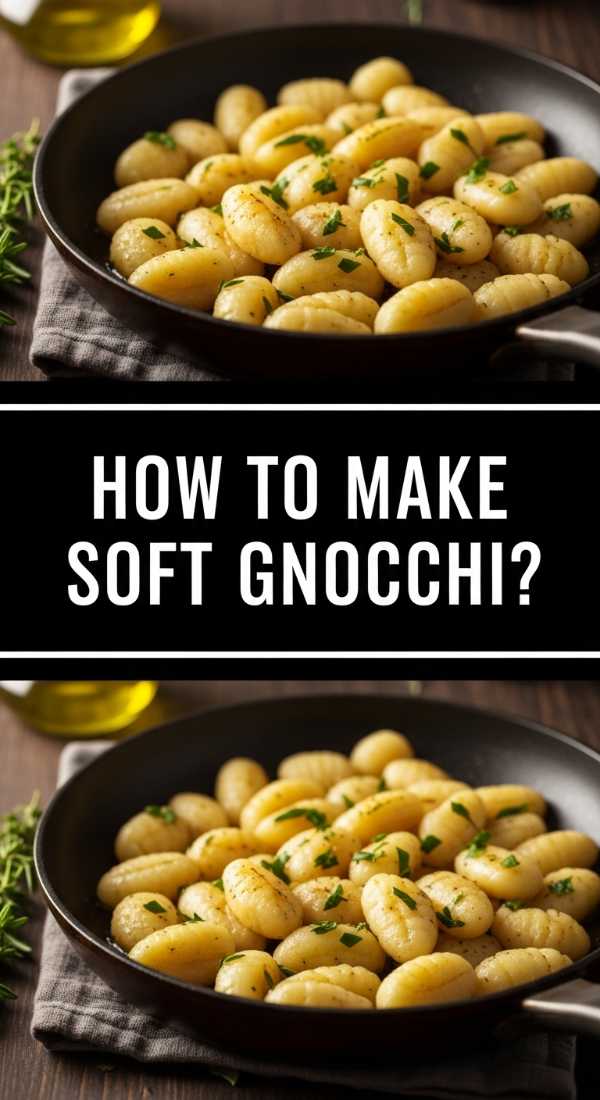
How to make soft gnocchi?

Why we love this
Gnocchi are essentially little clouds of potato joy, offering a delicate, pillowy texture that is far lighter than traditional pasta. When done right, they should almost dissolve on the palate, carrying the flavors of brown butter, sage, or a rich tomato sauce with ease. The process of making them is tactile and meditative, resulting in rustic, beautiful dumplings that look stunning nestled together on a savory board. Their earthy, starchy aroma and soft, tender bite provide a sophisticated comfort-food element that elevates any gathering from simple to gourmet.
Ingredients
- 2 lbs starchy potatoes (like Russets)
- 1 1/2 to 2 cups all-purpose flour
- 1 large egg, lightly beaten
- 1 teaspoon salt
How to make it
- Boil the potatoes whole and unpeeled in salted water until fork-tender; this prevents them from absorbing too much water, which would make the gnocchi heavy.
- While still hot, peel the potatoes and pass them through a potato ricer onto a clean work surface; letting the steam escape is crucial for a light texture.
- Sprinkle the salt and 1 cup of flour over the potato mounds, then pour the beaten egg over the top.
- Gently fold the ingredients together using a bench scraper, adding more flour only as needed until a soft, non-stick dough forms; do not knead like bread, or the gluten will make them chewy.
- Cut the dough into sections, roll into long ropes about 1/2 inch thick, and snip into 1-inch pieces using a knife.
- Boil in a large pot of salted water; they are finished the second they float to the surface (usually about 2-4 minutes), at which point you should remove them with a slotted spoon.
How to make juicy dumplings?
Why we love this
Dumplings are a treasure trove of flavor, combining a thin, chewy wrapper with a savory, steaming interior that bursts with umami. The contrast between the soft, steamed top and the potentially crispy, seared bottom creates a complex mouthfeel that is addictive. As you bite through the wrapper, you’re greeted with the aroma of ginger, garlic, and seasoned meat or vegetables, making them a fantastic interactive food for a board. They are visually captivating when arranged in concentric circles, inviting guests to dip them into spicy oils or tangy soy glazes.
Ingredients
- 1 pack dumpling wrappers (or homemade dough)
- 1 lb ground pork or finely chopped mushrooms
- 2 cups shredded cabbage (salted and squeezed dry)
- 2 cloves garlic, minced
- 1 tablespoon grated ginger
- 2 tablespoons soy sauce
- 1 teaspoon sesame oil
How to make it
- In a large bowl, vigorously mix the filling ingredients (pork/mushrooms, cabbage, garlic, ginger, soy sauce, and sesame oil) in one direction until the mixture becomes slightly tacky and cohesive.
- Place a small teaspoon of filling in the center of a wrapper; avoid overfilling, as this will cause the dumplings to burst during cooking.
- Moisten the edges of the wrapper with a dip of water, fold in half, and create 3-5 small pleats along one side to seal the dumpling into a crescent shape.
- Heat a tablespoon of oil in a non-stick skillet over medium-high heat and arrange the dumplings in a single layer.
- Fry for 2 minutes until the bottoms are golden brown, then carefully pour in 1/4 cup of water and immediately cover with a tight-fitting lid to trap the steam.
- Steam for 5-7 minutes until the water has evaporated and the wrappers look translucent and firm; serve immediately with dipping sauce.
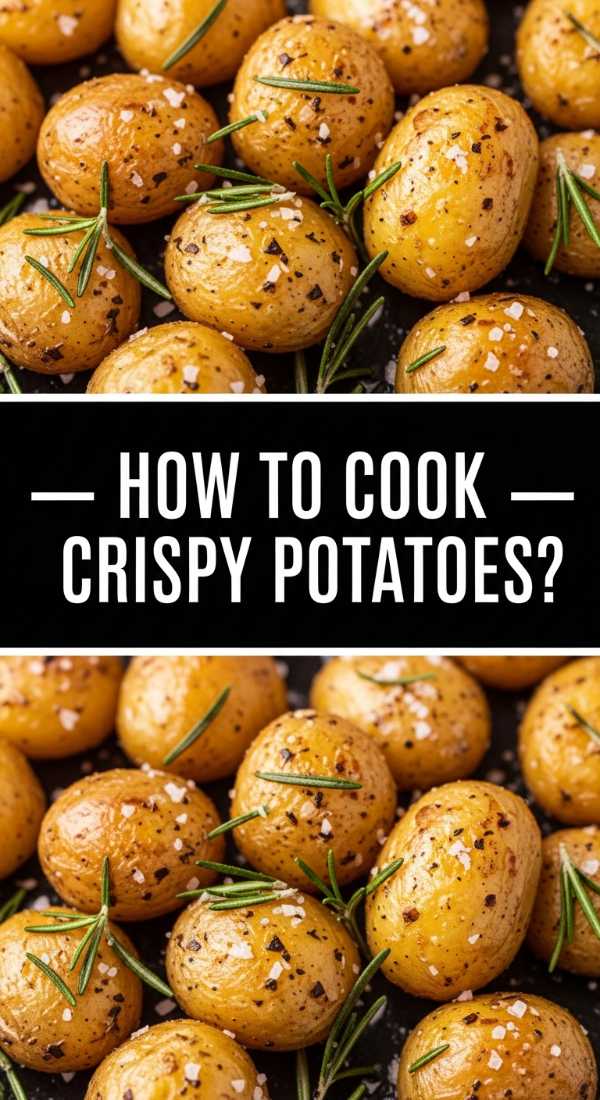
How to cook crispy potatoes?
[IMAGE_10]
Why we love this
Crispy potatoes are the ultimate crowd-pleaser, boasting a glass-like outer crunch that shatters to reveal a fluffy, cloud-like interior. The scent of roasting fat and rosemary is intoxicating, immediately signaling a hearty and satisfying meal. These potatoes provide a much-needed textural element to a food board, offering a salty, savory bite that pairs perfectly with everything from soft cheeses to grilled meats. Their golden-brown color adds warmth and a rustic charm to the presentation, making the entire spread feel abundant and expertly prepared.
Ingredients
- 3 lbs Yukon Gold or Russet potatoes
- 1/2 cup extra virgin olive oil or duck fat
- 1 tablespoon sea salt
- 1 teaspoon black pepper
- 2 sprigs fresh rosemary, chopped
- 4 cloves garlic, smashed
How to make it
- Peel and cut the potatoes into large, uniform 2-inch chunks to ensure they cook at the same rate.
- Par-boil the chunks in heavily salted water for 8-10 minutes; they should be soft on the outside but still firm in the middle.
- Drain the potatoes and let them sit in the colander for 2 minutes to steam-dry, then shake the colander vigorously to roughen up the edges—this creates the ‘fuzz’ that turns into a super-crispy crust.
- Preheat a baking sheet in a 425°F (220°C) oven with the oil or fat already on it until the oil is shimmering and hot.
- Carefully tip the potatoes into the hot oil (it should sizzle!) and toss to coat, then roast for 45-50 minutes, turning them every 15 minutes.
- In the last 10 minutes of roasting, toss in the garlic and rosemary; remove when the potatoes are deep golden and audibly crunchy when tapped with a spoon.
The Final Touch: Bringing Your Board to Life
As you can see, the beauty of the ‘Simple Food Board’ lies in the details. By focusing on these high-quality, homemade components, you transform a simple gathering into an event people will talk about for weeks. Remember, the best boards are those where the host is present and enjoying the food just as much as the guests. So, take these recipes, prep what you can in advance, and get ready to host the most stress-free and delicious party of the season!