
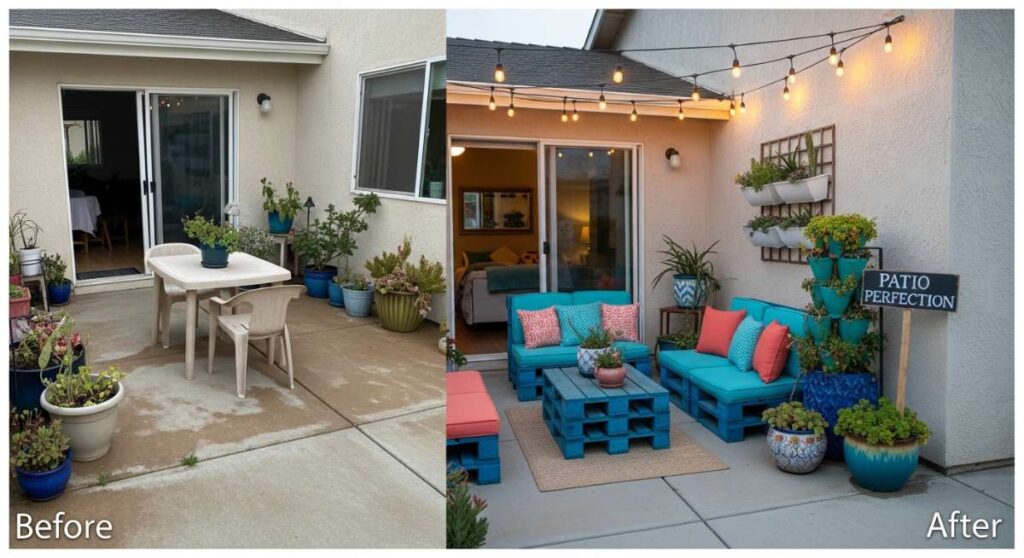
Transform Your Patio: The Viral Low-Budget Makeover You Need
There is something truly magical about that first sip of coffee on a crisp morning, surrounded by a space that feels like a private sanctuary. For years, I looked at my tired, concrete patio and sighed, dreaming of those Pinterest-perfect retreats but fearing the price tag that usually comes with them. We often forget that our outdoor spaces are an extension of our souls—a place where the breeze catches our thoughts and the sun warms our skin, offering a much-needed reset from the digital noise of our daily lives.
But here is the secret: you don’t need a massive renovation budget to create a viral-worthy outdoor oasis. With a bit of creativity, some elbow grease, and a love for DIY, you can transform even the most drab backyard into a breathtaking escape. This guide is born from my own journey of trial, error, and ultimate success in turning a humble porch into a lush, vibrant haven. Let’s dive into the projects that will make your neighbors stop and stare in the best way possible.
How to Craft a Budget Bird Sanctuary for Peaceful Mornings

Why we love this
Waking up to the melodic trill of songbirds is nature’s own therapy, turning your patio into a living, breathing concert hall. There is a profound sense of peace that comes from watching a vibrant cardinal or a delicate chickadee flutter down to a spot you’ve curated just for them. The gentle rustle of wings and the sight of these tiny creatures enjoying a splash in the sun creates a serene atmosphere that grounds you in the moment. It transforms your outdoor area from a static space into a dynamic ecosystem filled with life and natural beauty.
Essential Elements:
- Weather-resistant bird feeders (various heights)
- A shallow stone or ceramic birdbath
- High-quality birdseed mix and suet cakes
- Native flowering shrubs or small trees for cover
- Clean, fresh water source
How to make it
- Identify the optimal placement by looking for a spot that is visible from your seating area but quiet enough for birds to feel safe, ideally near existing foliage where they can quickly retreat from predators.
- Install your feeders at varying heights to attract different species; use shepherd’s hooks for hanging feeders and a stable platform feeder for ground-feeding birds, ensuring they are at least five feet off the ground.
- Place the birdbath in a shaded or semi-shaded area to keep the water cool, adding a few flat stones that break the surface so the birds have a dry place to stand while they drink or bathe.
- Fill the feeders with a high-protein seed blend, avoiding fillers like red milo, and ensure you hang a suet cage nearby to provide the high-energy fats that woodpeckers and nuthatches crave.
- Incorporate a small ‘brush pile’ or a cluster of potted dense evergreens nearby to provide immediate shelter, creating a layered environment that makes the birds feel secure enough to visit daily.
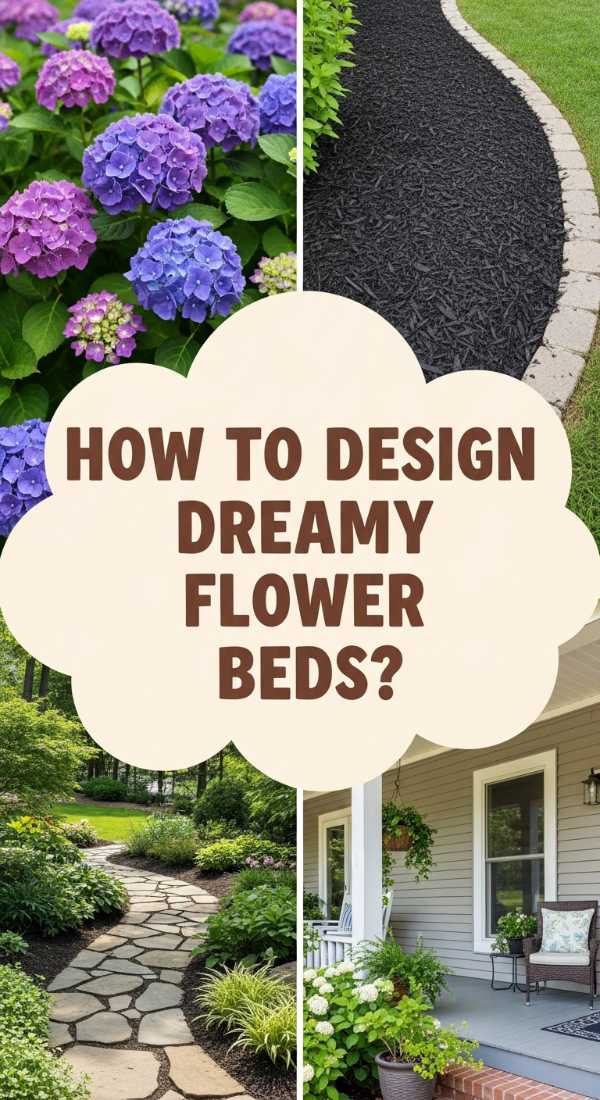
How to Design Front Yard Flower Beds for Instant Curb Appeal
Why we love this
The front of your home is your first impression to the world, and nothing says ‘welcome’ quite like a riot of colorful, well-manicured flower beds. Imagine walking up your driveway and being greeted by the sweet, intoxicating scent of jasmine or the bright, cheerful faces of black-eyed Susans. The texture of soft mulch against the crisp edges of the lawn creates a professional, high-end look that elevates the entire neighborhood. It is an investment in beauty that rewards you every time you pull into your driveway after a long day.
Essential Elements:
- Assorted perennial and annual flowers
- Organic compost and high-quality topsoil
- Hardwood mulch (dark brown or black)
- Decorative edging stones or bricks
- Landscape fabric (optional for weed control)
How to make it
- Define the shape of your beds using a garden hose or spray paint to create soft, flowing curves that break up the rigid lines of the house and driveway for a more organic, modern look.
- Remove any existing sod or weeds from the marked area using a sharp spade, ensuring you dig deep enough to clear the root systems and prevent unwanted growth from returning.
- Amend the soil by tilling in a generous amount of organic compost and nutrient-rich topsoil to a depth of at least six inches, creating a fluffy, dark base that will nourish your plants.
- Arrange your plants while they are still in their nursery pots to visualize the layout, placing taller species in the back and shorter, spreading varieties in the front to create a layered, three-dimensional effect.
- Dig holes twice as wide as the root balls, set the plants in place, backfill with soil, and apply a two-inch layer of mulch across the entire bed to retain moisture and provide a polished finish.
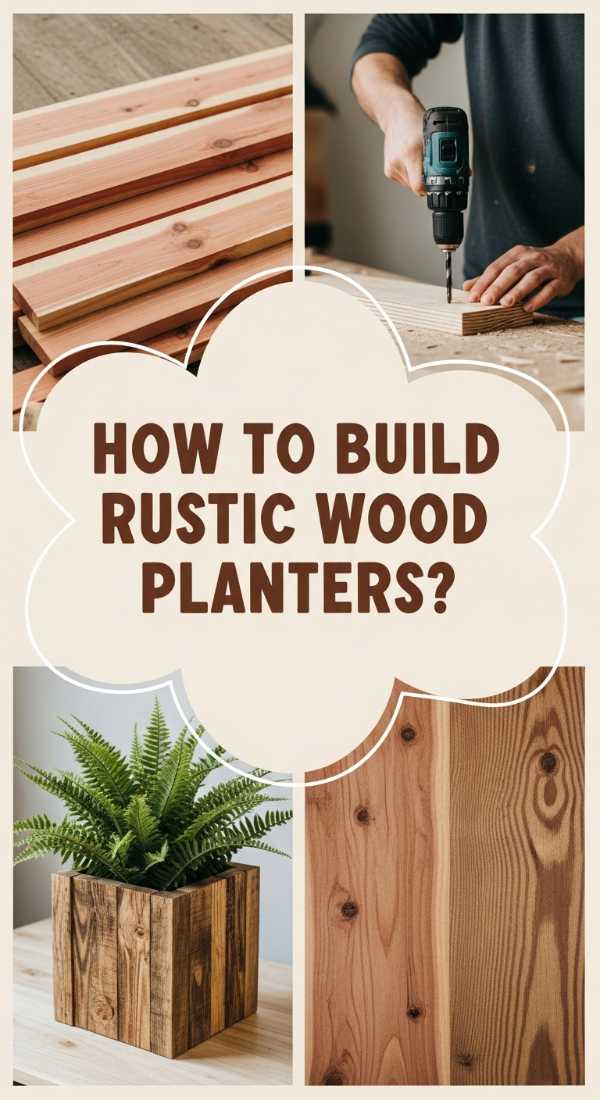
How to Build Rustic Wood Planter Boxes for a Lush Porch
Why we love this
There is an undeniable charm to the smell of raw cedar and the rugged texture of handcrafted wood that brings an organic warmth to any porch. These rustic planter boxes serve as the perfect frames for your favorite greens, contrasting the soft, flowing leaves with the sturdy, architectural lines of the timber. As the wood weathers over time to a beautiful silvery-gray, it tells a story of seasons passed and growth nurtured. They add an instant sense of permanence and character to your patio that plastic pots simply cannot replicate.
Essential Elements:
- Untreated cedar or redwood boards
- Exterior-grade wood screws
- Wood glue (waterproof)
- Power drill and miter saw
- Landscape liner or plastic sheeting
How to make it
- Measure and cut your side panels, end pieces, and bottom slats using a miter saw, ensuring all cuts are square to create a professional-looking box that sits level on your patio.
- Apply a thin bead of waterproof wood glue to the joints before securing the side panels to the end pieces with countersunk exterior screws, creating a sturdy frame that can withstand the weight of wet soil.
- Attach the bottom slats, leaving small 1/4-inch gaps between each board to allow for essential drainage so your plants’ roots don’t sit in standing water.
- Sand the exterior of the box with 80-grit sandpaper to remove any splinters, keeping the finish slightly rough to maintain that sought-after rustic aesthetic.
- Line the inside of the box with landscape fabric to prevent soil from washing out through the drainage gaps, then fill with a lightweight potting mix specifically formulated for container gardening.
How to Create a Magical Outdoor Play Area for Happy Memories

Why we love this
Watching children lose themselves in imaginative play under the open sky is one of life’s greatest joys, and creating a dedicated space for that magic is a gift that keeps on giving. A well-designed play area feels like a secret garden, filled with the soft texture of outdoor rugs and the twinkling glow of solar lanterns as the sun sets. It’s a place where the air is filled with laughter and the scent of cut grass, providing a safe haven for kids to explore their world. This space becomes the backdrop for childhood stories that will be told for decades to come.
Essential Elements:
- Weatherproof outdoor rug or foam tiles
- Low-profile seating or floor cushions
- Solar-powered fairy lights or lanterns
- Storage bins for toys and gear
- A small teepee or sun shade structure
How to make it
- Select a flat, well-drained area of the yard or patio that remains in partial shade throughout the day to keep the space comfortable and protect little ones from direct UV exposure.
- Lay down a thick, patterned outdoor rug to define the boundaries of the play zone and provide a soft, cushioned surface for sitting and rolling around.
- Construct or set up a simple fabric teepee or a wooden A-frame structure to act as a ‘hideout,’ draping it with solar fairy lights that automatically turn on at dusk for an enchanting glow.
- Incorporate weather-resistant storage benches that serve a dual purpose: providing a place for adults to sit and watch while keeping toys organized and protected from the elements.
- Add sensory elements like wind chimes or a small basket of smooth river stones to encourage tactile exploration and create a soothing auditory environment.
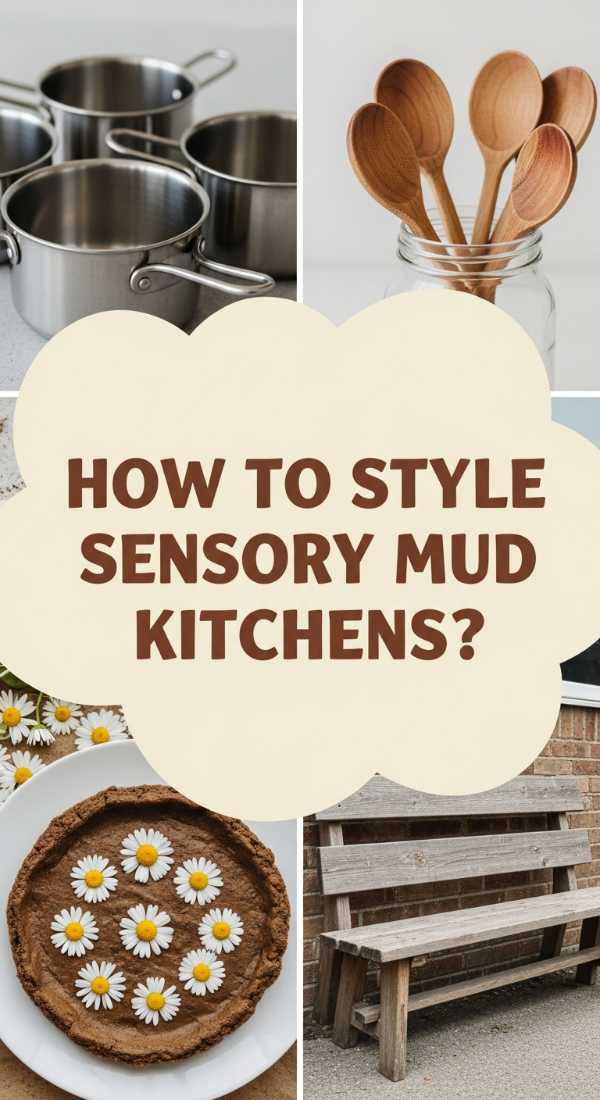
How to Style Sensory Mud Kitchen Accessories for Creative Play
Why we love this
There is a primal, joyful satisfaction in the feeling of cool mud squishing between fingers and the earthy aroma of wet soil and herbs. Styling a mud kitchen is all about embracing the beautiful mess of childhood, using accessories that stimulate the senses and spark endless ‘culinary’ creations. The clinking of metal whisks against old pots and the sight of flower petal ‘sprinkles’ on a mud cake creates a rich, immersive experience. It turns a simple corner of the yard into a laboratory of textures, smells, and creative expression.
Essential Elements:
- Stainless steel bowls and old pots/pans
- Wooden spoons, whisks, and mashers
- Muffin tins and pie plates
- Hooks for hanging utensils
- Natural ‘ingredients’ (pinecones, petals, sand)
How to make it
- Source a variety of tactile accessories from thrift stores, focusing on stainless steel and wood which provide interesting sounds and weights for children to manipulate.
- Install a row of sturdy hooks on the backsplash of your mud kitchen to hang utensils, making them easy for small hands to grab and encouraging the habit of tidying up after a ‘cooking’ session.
- Set up a dedicated ‘pantry’ station using small wicker baskets or plastic bins filled with varied natural materials like dried lavender, smooth acorns, and colorful sea glass.
- Place a large, easy-to-turn water dispenser or a small pump on the counter so children can independently manage their water supply, teaching them about volume and flow.
- Arrange the muffin tins and pie plates in a designated ‘baking’ area, ensuring there is plenty of counter space for mixing, pouring, and displaying their finished masterpieces.
How to Elevate your Private Hot Tub Area for Ultimate Serenity

Why we love this
Stepping into a steaming hot tub after a long day is the ultimate luxury, but the right styling can turn it into a high-end spa experience right in your own backyard. Imagine the soft glow of amber lights reflecting off the bubbling water and the scent of cedar or eucalyptus wafting through the air. The feeling of cool evening air on your face while your body is enveloped in warmth is the pinnacle of relaxation. Creating privacy with lush greenery and soft textures ensures that this space feels like a true sanctuary away from the prying eyes of the world.
Essential Elements:
- Privacy screens or tall potted plants
- Waterproof LED strip lighting
- A sturdy side table for drinks and towels
- Non-slip outdoor steps or a wooden path
- Outdoor aromatherapy diffusers
How to make it
- Surround the hot tub with tall, dense foliage like arborvitae or bamboo in large planters to create a living privacy wall that muffles neighborhood noise and blocks the wind.
- Install waterproof LED lighting along the base of the tub or under the lip of the deck to provide a soft, atmospheric glow that makes nighttime soaking safe and visually stunning.
- Place a weather-resistant teak or resin side table within arm’s reach to hold a tray with refreshing drinks, a book, and rolled-up luxury towels for a resort-like feel.
- Lay a path of smooth river stones or a cedar boardwalk leading from the house to the tub to keep feet clean and provide a tactile, spa-like transition into the water.
- Add a battery-operated outdoor diffuser nearby with essential oils like lemongrass or cedarwood to engage the sense of smell and deepen the relaxation response.
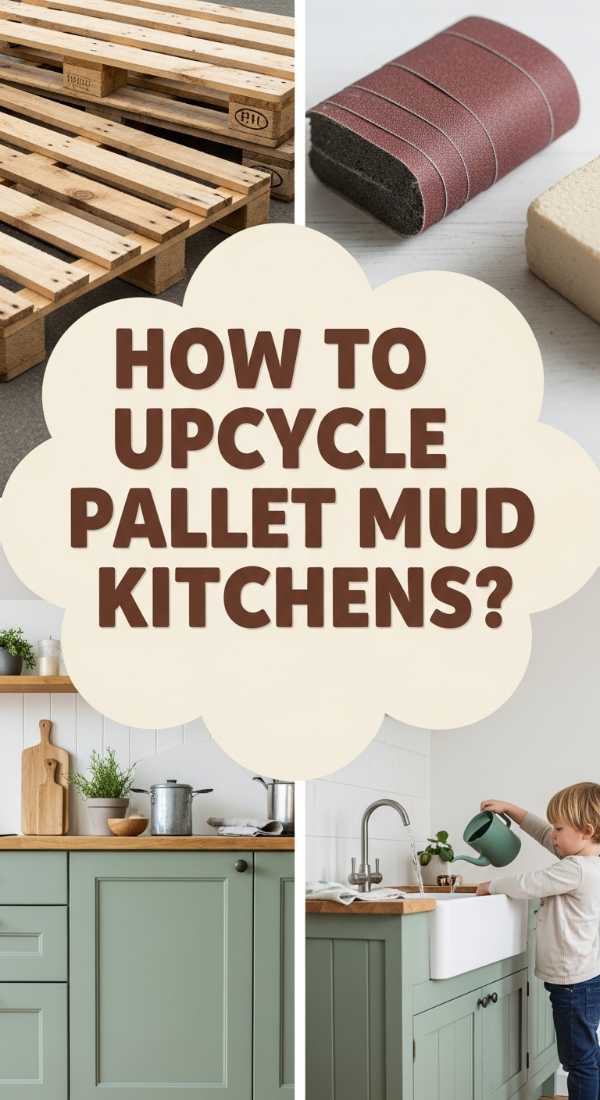
How to Upcycle Pallets into a Mud Kitchen for Sustainable Fun
Why we love this
There is a unique pride in taking something discarded, like a rough wooden pallet, and breathing new life into it for the next generation. The sturdy, sun-bleached wood of an upcycled pallet has a rugged, industrial-chic look that fits perfectly in a garden setting. It feels good to build something sustainable that encourages kids to get outside and get their hands dirty. The texture of the grain, the smell of the wood, and the solid ‘thunk’ of a bowl on the counter create a grounding, authentic play experience that electronics can’t touch.
Essential Elements:
- Two to three heat-treated (HT) wood pallets
- Crowbar and hammer for disassembly
- Power sander and coarse sandpaper
- Wood screws and a drill
- A discarded stainless steel sink or large plastic basin
How to make it
- Select pallets marked with ‘HT’ (Heat Treated) to ensure they are safe for children and haven’t been treated with harmful chemicals often found in ‘MB’ (Methyl Bromide) pallets.
- Disassemble the pallets carefully using a crowbar, then sand every single board thoroughly to remove splinters and smooth out the rough edges, which is the most critical step for safety.
- Build a sturdy rectangular frame for the base using the thickest pallet boards, then attach horizontal slats to create a lower storage shelf for pots and pans.
- Construct the countertop by placing boards tightly together, then use a jigsaw to cut a hole specifically sized to drop in your stainless steel sink or plastic basin.
- Finish the structure by adding a vertical pallet backboard to act as a tool wall, and apply a non-toxic outdoor sealant to protect the wood from the inevitable water and mud splatters.
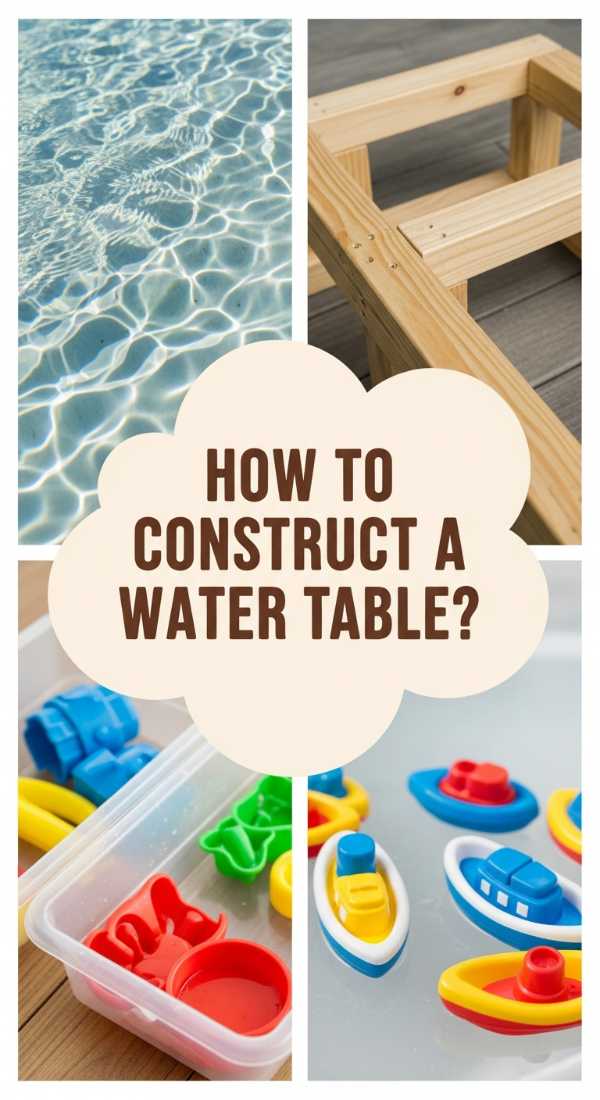
How to Construct a Refreshing Water Table for Summer Splash Time
Why we love this
When the summer heat becomes oppressive, there is nothing more refreshing than the crystal-clear splash of cool water on a shaded patio. A DIY water table is a magnet for activity, offering a tactile way to cool down while exploring the physics of flow and buoyancy. The sparkling reflections of sunlight on the water’s surface and the rhythmic sound of pouring and splashing create a cooling psychological effect for everyone nearby. It’s a simple, low-cost way to bring the joy of a water park home without the crowds or the chaos.
Essential Elements:
- PVC pipes and connectors or a wooden frame
- Large, shallow plastic storage bins
- Waterproof silicone sealant
- A small battery-operated water pump (optional)
- Floating toys, funnels, and measuring cups
How to make it
- Build a stable H-frame base using 1.5-inch PVC pipes or pressure-treated 2x4s, ensuring the height is appropriate for your children to reach the bottom of the bin comfortably.
- Secure a large, clear plastic storage bin into the frame, ensuring it is level so the water depth is consistent and the table doesn’t tip during vigorous play.
- If using multiple bins, create a ‘waterfall’ effect by positioning one bin higher than the other and installing a small PVC spillway between them, sealed with waterproof silicone.
- Add a small, battery-operated fountain pump to circulate the water, providing a constant stream that children can use to power water wheels or fill containers.
- Fill the table with clean water and provide a variety of clear plastic tubing, funnels, and floating corks to encourage open-ended sensory exploration and scientific play.
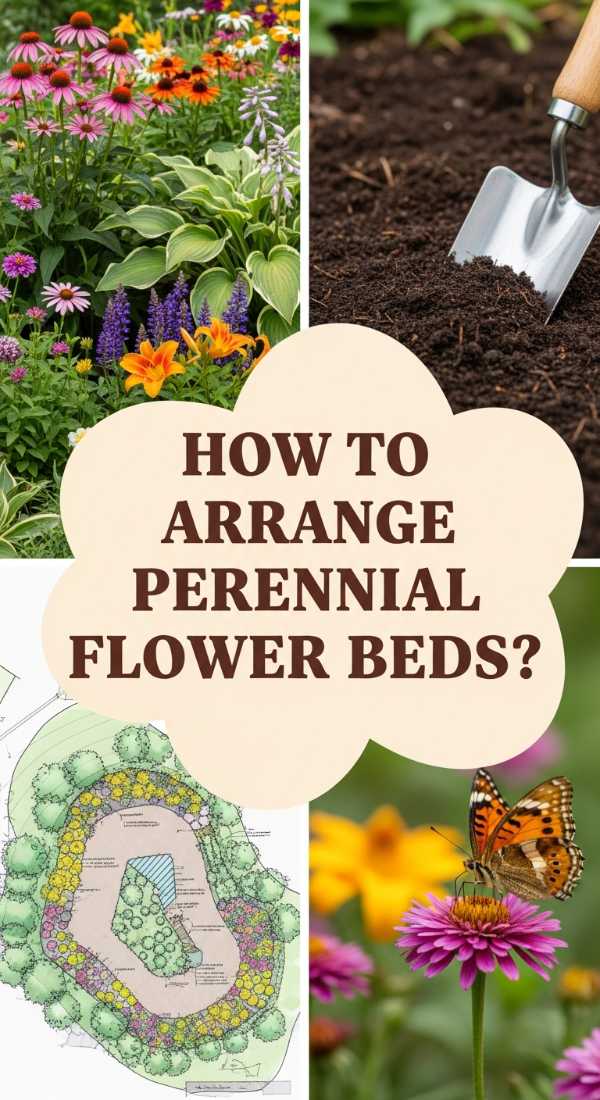
How to Arrange Perennial Flower Beds for Year Round Beauty
Why we love this
Perennials are the gift that keeps on giving, returning each year with more vigor and beauty than the last. There is a deep satisfaction in watching the first green shoots of peonies or hostas poke through the spring soil, signaling the return of warmth. A well-planned perennial bed is like a slow-motion firework display, with different colors and textures taking center stage as the months go by. The earthy scent of damp mulch and the sight of butterflies dancing between blooms creates a living tapestry that makes your patio feel permanent and loved.
Essential Elements:
- A mix of early, mid, and late-season bloomers
- Evergreen shrubs for winter structure
- High-quality bulb fertilizer
- Drip irrigation or a soaker hose
- Labels or a garden map for tracking
How to make it
- Research the bloom times of your chosen plants to ensure you have a ‘relay race’ of color, selecting varieties like hellebores for late winter, iris for spring, coneflowers for summer, and asters for autumn.
- Incorporate ‘anchor’ plants, such as boxwoods or ornamental grasses, which provide visual structure and green color even when the flowering perennials have gone dormant in the winter.
- Plant in ‘drifts’ or groups of three to five of the same variety rather than single plants to create a high-impact, professional look that mimics the way flowers grow in nature.
- Install a soaker hose beneath the mulch layer to deliver water directly to the roots, which reduces evaporation and prevents fungal diseases on the foliage.
- Cut back dead stems in late fall or early spring to make room for new growth, and top-dress the bed with fresh compost every year to replenish the soil’s nutrients.
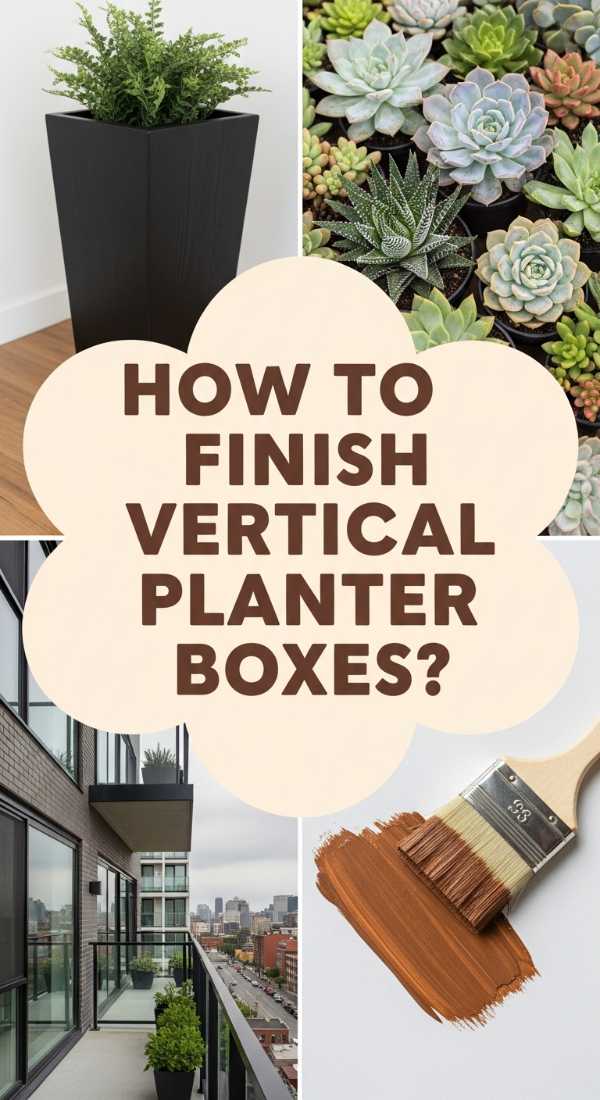
How to Finish Modern Vertical Planter Boxes for Urban Gardening
Why we love this
For those with limited floor space, vertical gardening is a game-changer that turns a blank wall into a lush, breathing work of art. The sleek, modern lines of vertical planters bring a sophisticated urban vibe to even the smallest balcony or patio. Imagine reaching out your back door to snip fresh basil or mint from a wall of vibrant green herbs. The sight of cascading vines against dark wood or metal creates a stunning visual depth, while the aroma of fresh herbs fills the air with every breeze. It’s the ultimate combination of form and function.
Essential Elements:
- Cedar boards or a pre-made vertical frame
- Picket-style planter boxes or felt pockets
- Heavy-duty wall anchors and screws
- Lightweight potting mix with perlite
- A variety of herbs, succulents, or trailing vines
How to make it
- Select a sun-drenched wall or fence that can support the weight of wet soil, and mark the locations for your support beams using a level to ensure a perfectly straight installation.
- Build or buy a ladder-style frame or a series of horizontal slats, securing them firmly to the wall with heavy-duty anchors that can handle the vertical load.
- Attach your planter boxes or felt growing pockets to the frame, ensuring they are spaced far enough apart to allow the plants in the lower tiers to receive adequate sunlight.
- Fill each container with a high-quality, lightweight potting mix; avoiding heavy garden soil is crucial for vertical structures to prevent excessive weight strain.
- Plant trailing varieties like ‘Silver Falls’ dichondra or nasturtiums in the top boxes to create a ‘waterfall’ of greenery that softens the edges of the modern structure.
Creating Your Forever Oasis
Transforming your patio isn’t just about the physical changes; it’s about claiming a piece of the world for your own peace and joy. Whether you’re building a mud kitchen for your little ones or a serene bird sanctuary for your morning coffee, these projects prove that beauty and function don’t have to be expensive. Your home is a canvas, and the outdoors is the most vibrant part of that picture. So, grab your tools, breathe in the fresh air, and start creating the viral-worthy retreat you’ve always deserved.
Frequently Asked Questions
What is the most budget-friendly way to start an outdoor makeover?
The most cost-effective starting point is deep cleaning and decluttering. Power washing your concrete or deck and removing weeds from existing cracks can make a massive difference before you spend a single dollar on new items. From there, focus on upcycling materials like pallets or old furniture.
How do I choose the right plants for a low-maintenance garden?
Look for native perennials that are suited to your specific hardiness zone. Native plants have adapted to your local climate and soil, meaning they require less water, fewer fertilizers, and are more resistant to local pests compared to exotic varieties.
Are DIY wood projects durable enough for all weather conditions?
Yes, as long as you use the right materials. Choosing rot-resistant woods like cedar or redwood and sealing them with a high-quality, UV-rated outdoor sealant or stain will significantly extend the life of your planter boxes and furniture, protecting them from rain and sun damage.