
The ‘Clean Girl’ Blueprint: Mastering Refined Almond Manicures
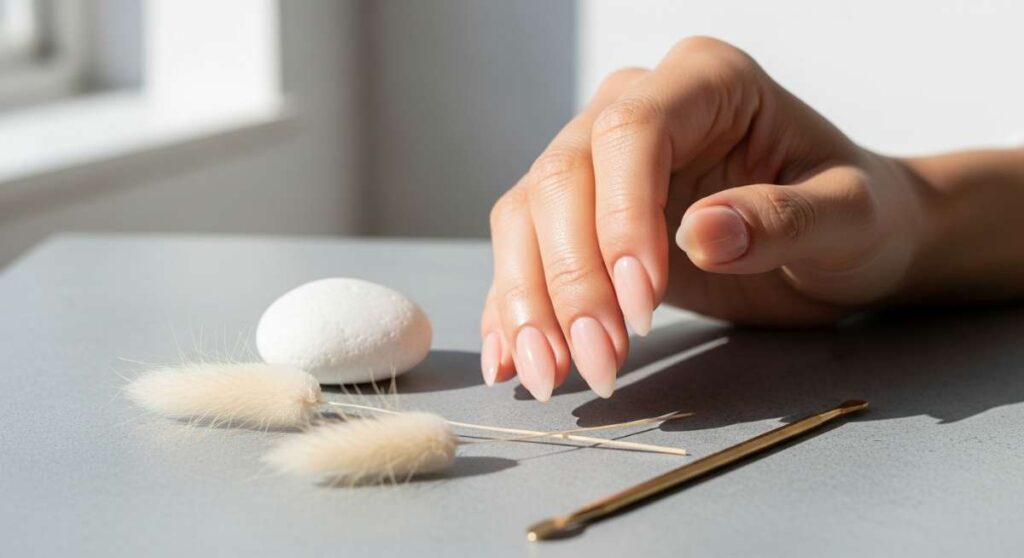
Hello, my loves! There is something so incredibly grounding about taking a slow afternoon for yourself, a cup of lavender tea in hand, and the soft light of the golden hour spilling across your vanity. We often rush through our beauty routines, but I’ve found that focusing on the tips of my fingers—the very things I use to write, create, and hold those I love—is a form of meditation. A refined almond manicure isn’t just a trend; it’s a soft-spoken confidence, a way to feel polished even when you’re just in your favorite linen loungewear.
Lately, I’ve been leaning into the ‘clean girl’ aesthetic, focusing on those intentional, minimalist details that make us feel like the most elevated version of ourselves. It’s about that cloud-soft embrace of neutrals, the tiny whispers of art, and the perfect shape that elongates the hand so elegantly. Today, I am so excited to share my heart and my blueprint with you, so you can recreate these little moments of art right at home.
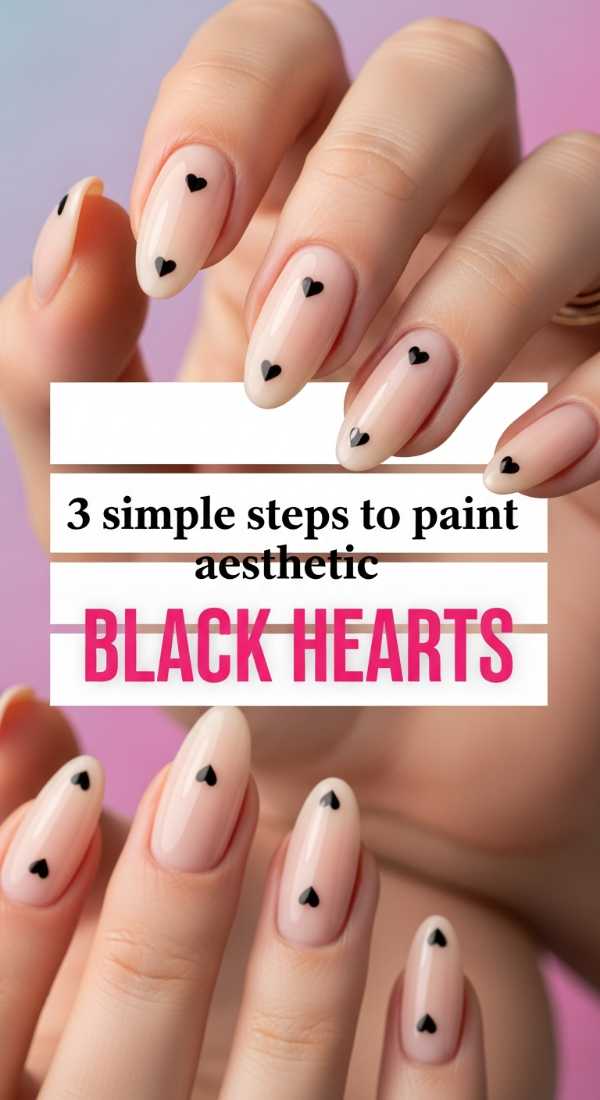
3 Simple Steps to Paint Aesthetic Black Hearts
Why to love these Nails:
These tiny black hearts are the ultimate contrast against a sheer nude base. They are edgy yet incredibly dainty, offering a little wink of personality every time you look down at your keyboard. It’s the perfect balance of ‘cool girl’ and ‘hopeless romantic.’
Essential Items:
- Sheer pink or nude base polish
- Black gel paint or high-pigment polish
- Ultra-fine dotting tool or a toothpick
- Glossy top coat
How to Prepare:
- Apply two thin coats of your favorite sheer base and let it dry completely.
- Use your dotting tool to place two tiny dots side-by-side where you want the top of the heart.
- Drag both dots downward into a ‘V’ shape to meet at the bottom point, filling in the center gently.
Budget Range
- Essie Ballet Slippers ($10)
- Beetles Black Gel Liner ($7)
- Nail Art Brushes Set ($6)
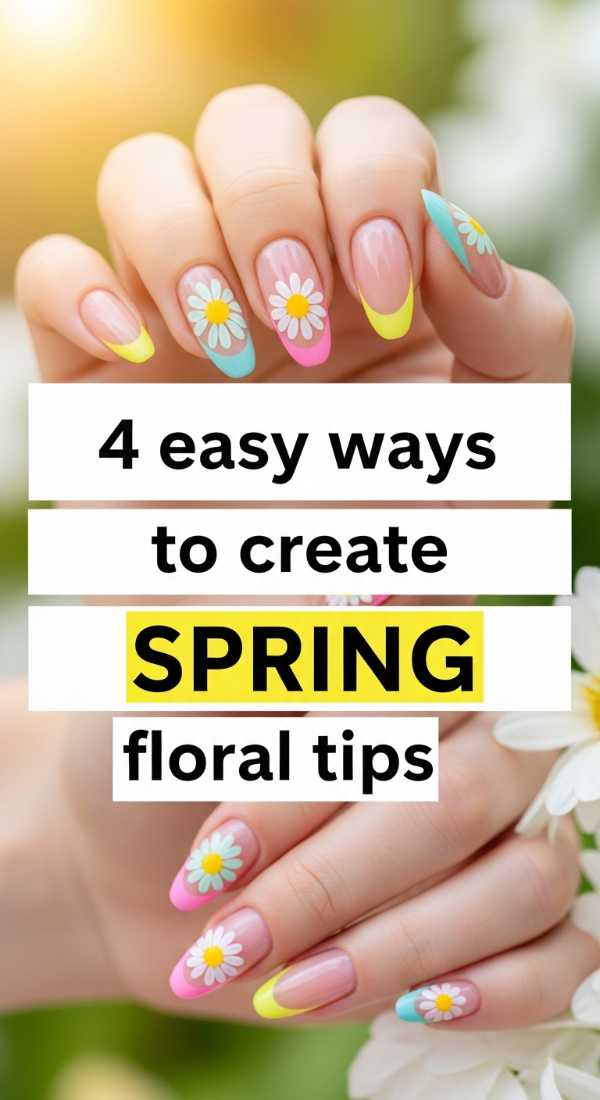
4 Easy Ways to Create Spring Floral Tips
Why to love these Nails:
Imagine a meadow in early April, fresh with the scent of rain and new blooms. That is exactly what these floral tips feel like. They bring a touch of nature’s gentleness to your fingertips without being overwhelming, keeping that clean, sophisticated vibe we adore.
Essential Items:
- Milky white base
- Pastel yellow, pink, and lilac polishes
- Small dotting tool
- Matte or glossy top coat
How to Prepare:
- Dotting Method: Create five small dots in a circle for petals with a contrasting center.
- Petal Swipe: Use a thin brush to pull color from the outside in for a more organic leaf look.
- Cluster Style: Group tiny dots at the very tip of the nail to mimic a French line.
- Single Bloom: Place one solitary flower off-center on the ring finger for a minimalist statement.
Budget Range
- OPI Funny Bunny ($11)
- Sally Hansen Pastel Collection ($6 each)
- Amazon Dotting Tool Kit ($5)
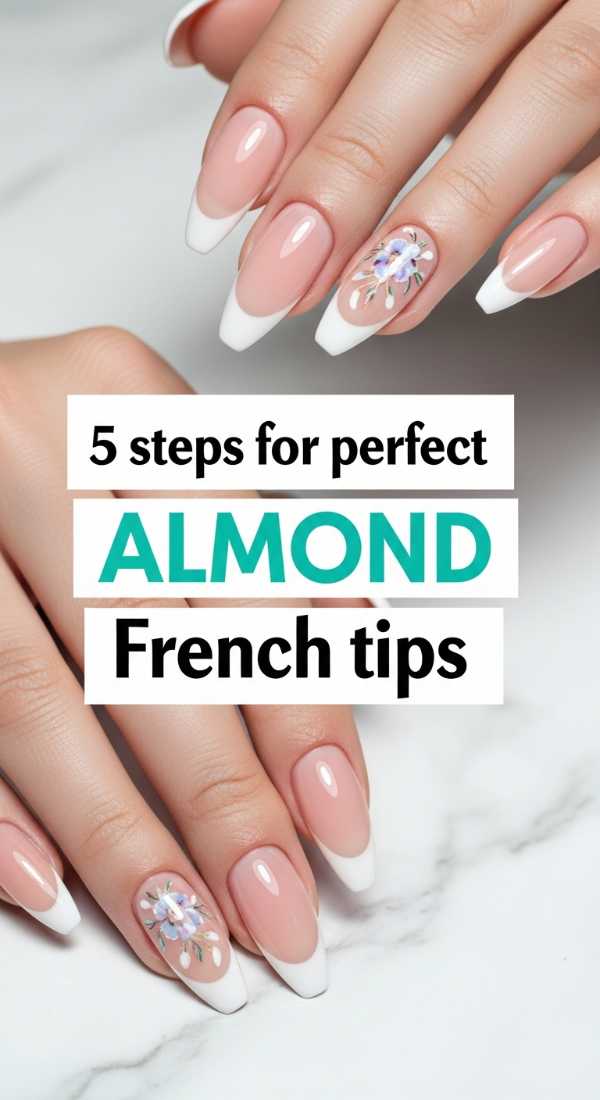
5 Steps for Perfect Almond French Tips
Why to love these Nails:
The almond French tip is the gold standard of sophistication. It follows the natural curve of your nail bed, creating an illusion of length and grace. It’s timeless, chic, and goes with every single outfit in your capsule wardrobe.
Essential Items:
- Nude base that matches your skin tone
- Crisp white polish
- French manicure guide tape or a long striper brush
- Non-wipe top coat
How to Prepare:
- Prep the almond shape by filing sides inward toward a soft point.
- Apply your skin-tone base and cure or dry.
- Mark the center point of the tip to ensure symmetry.
- Draw a thin line from the side wall to the center point, then repeat on the other side.
- Clean up the ‘smile line’ with a flat brush dipped in acetone for a sharp finish.
Budget Range
- Orly Bonder Base ($12)
- Holler and Glow White Polish ($4)
- Clean-up Brush ($8)
6 Steps to Master Trendy Plaid Patterns
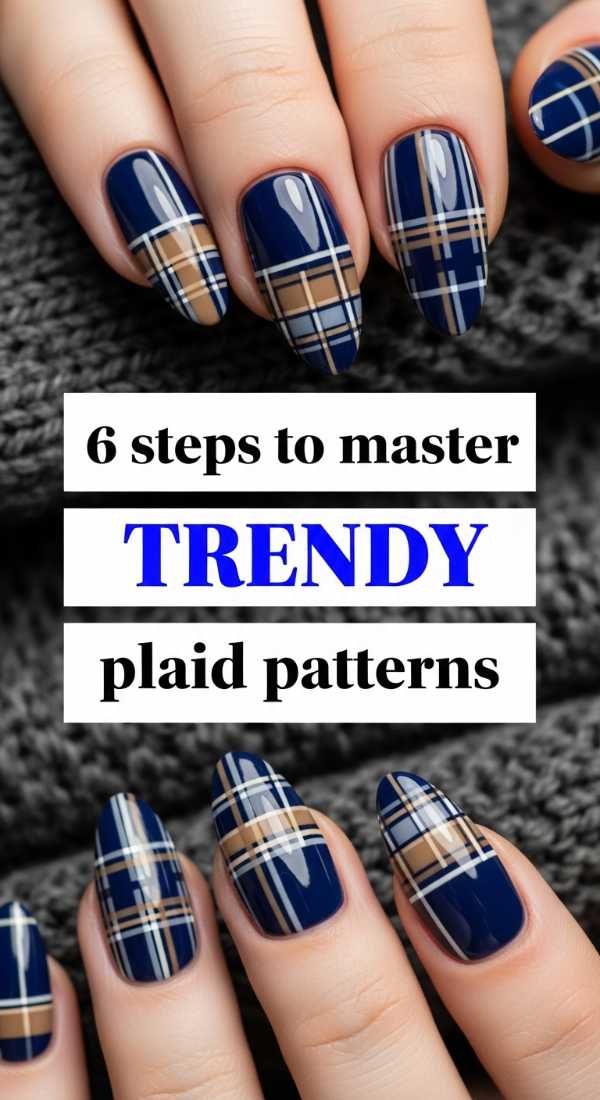
Why to love these Nails:
Plaid isn’t just for autumn; in soft creams and tans, it’s the epitome of ‘old money’ aesthetic. It adds a structured, scholarly vibe to your look that feels organized and intentional, like a well-loved leather journal.
Essential Items:
- Beige or tan base coat
- White and dark brown liner polishes
- Long striping brush
- Steady hand!
How to Prepare:
- Apply your neutral base coat and let dry.
- Paint one vertical line slightly off-center using the white polish.
- Paint one horizontal line across the lower third of the nail.
- Use the darker brown to paint thinner lines parallel to the white ones.
- Add a tiny intersection of color where the lines meet for depth.
- Seal with a matte top coat for a fabric-like finish.
Budget Range
- Zoya Nude Palette ($12)
- Modelones Liner Gel Set ($15)
- Matte Top Coat by Revlon ($6)
4 Minutes to Achieve Pastel Dot Art
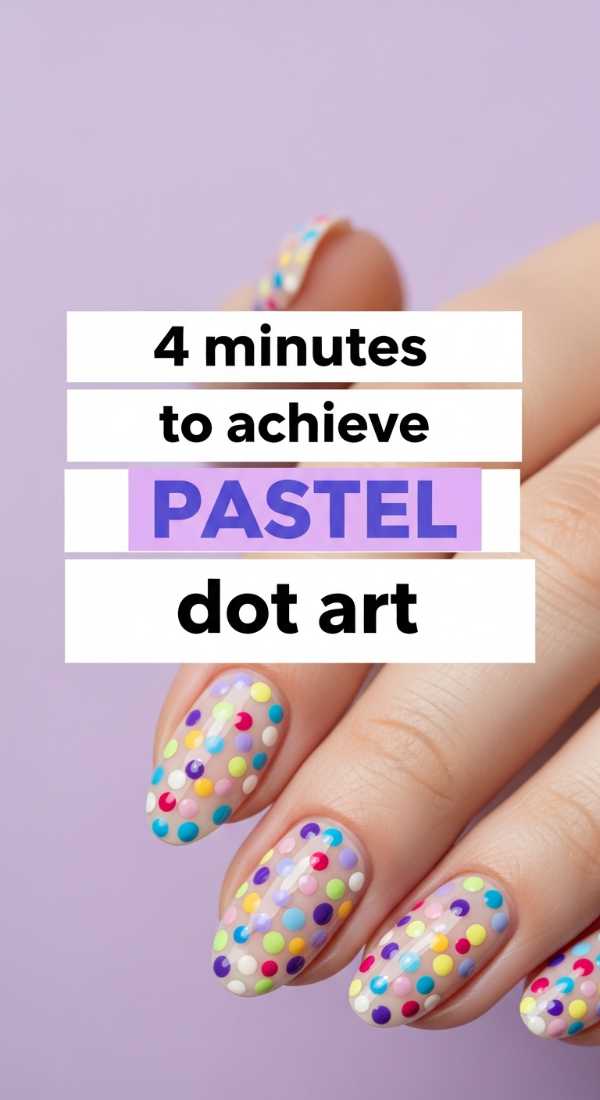
Why to love these Nails:
For my loves who are always on the go, this is the quickest way to look put-together. It’s playful, modern, and takes almost no effort. It looks like high-end nail art but feels as easy as a Sunday morning.
Essential Items:
- Clear or sheer base
- 3-4 pastel shades
- A bobby pin or dotting tool
How to Prepare:
- Apply a clear base to keep the look light and airy.
- Dip the end of a bobby pin into your first pastel color.
- Place three random dots at the base or side of each nail.
- Wait 60 seconds and finish with a fast-dry top coat.
Budget Range
- Essie Gel Couture Clear ($13)
- Wet n Wild Pastels ($2 each)
- Household Bobby Pins ($1)
5 Secrets to Painting Dainty Micro Bows
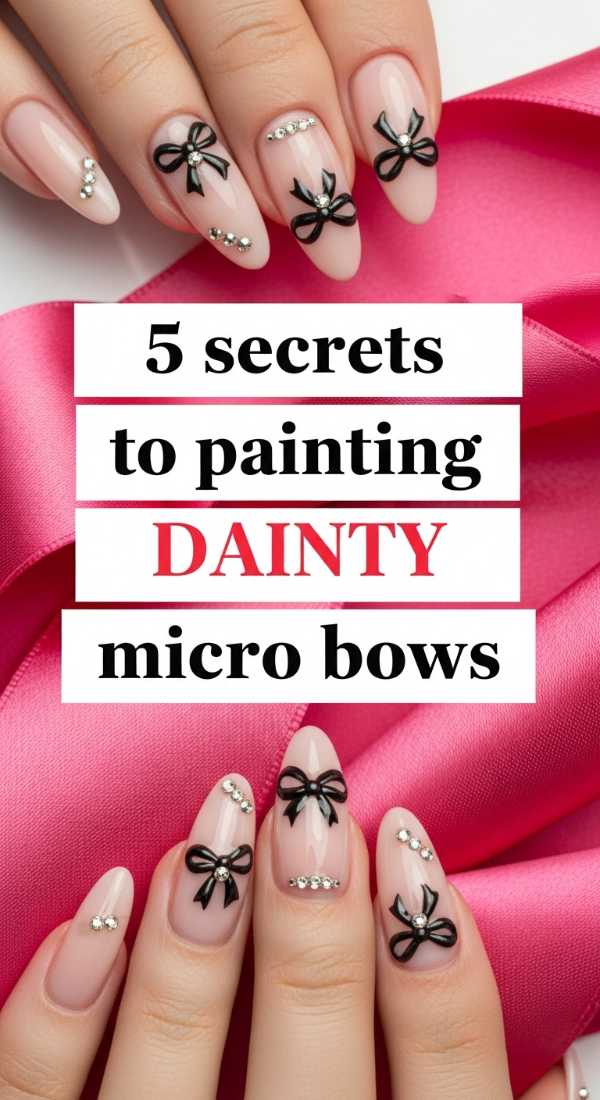
Why to love these Nails:
The ‘Coquette’ aesthetic has my heart right now. These micro bows are so incredibly soft and feminine. They feel like a secret shared between friends, a tiny detail that makes you feel like a literal gift.
Essential Items:
- Soft pink base
- Black or red liner polish
- Detailing brush (000 size)
How to Prepare:
- Secret 1: Use a very dry brush; too much polish will make the bow look chunky.
- Secret 2: Paint two tiny triangles meeting at the points.
- Secret 3: Add two thin ‘tails’ flowing downward from the center.
- Secret 4: Place a tiny dot in the center to hide the intersection.
- Secret 5: Keep the bow off-center for a more modern, less ‘perfect’ look.
Budget Range
- DND Soft Pink ($9)
- Artetix Ultra Fine Brushes ($10)
- Seche Vite Top Coat ($9)
4 Easy Steps for Spring Daisy Nails
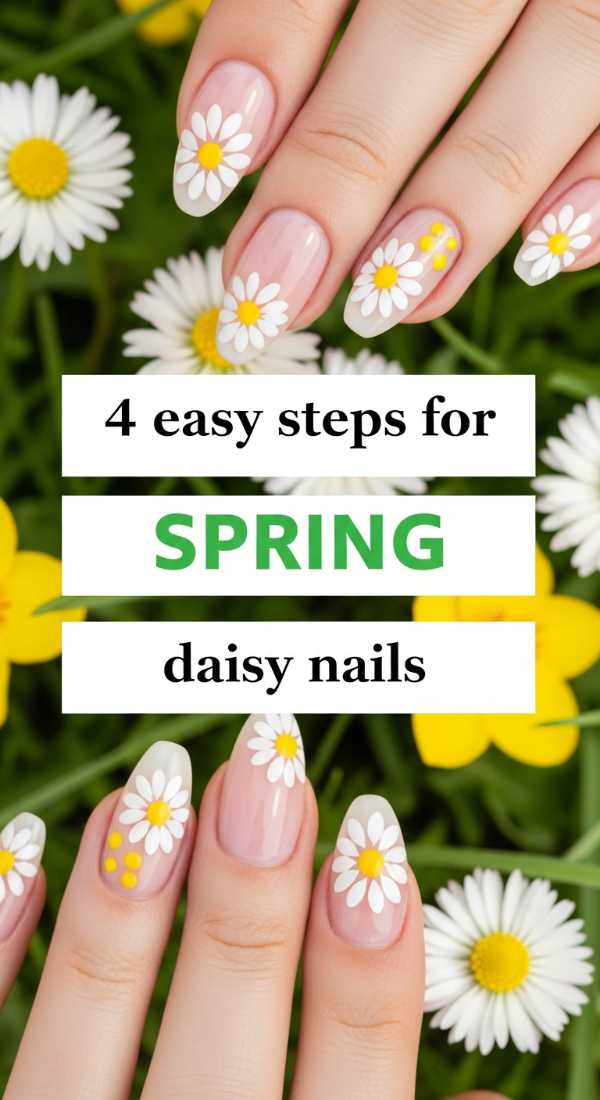
Why to love these Nails:
Daisies represent new beginnings and simple joys. Wearing them on your nails is like carrying a little sunshine with you, even on cloudy days. It’s the ultimate ‘clean girl’ floral—uncomplicated and bright.
Essential Items:
- Clear or milky base
- White polish
- Yellow polish
- Large dotting tool
How to Prepare:
- Place a single yellow dot where you want the center of the flower.
- Place five white dots surrounding the yellow center.
- Use a toothpick to gently drag the white dots toward the yellow center to create a petal shape.
- Repeat on 1-2 accent nails for a minimalist look.
Budget Range
- Lights Lacquer Paper Snow ($13)
- Sinful Colors Yellow ($3)
- Basic Dotting Set ($5)
3 Ways to Style Minimalist Coffee Art
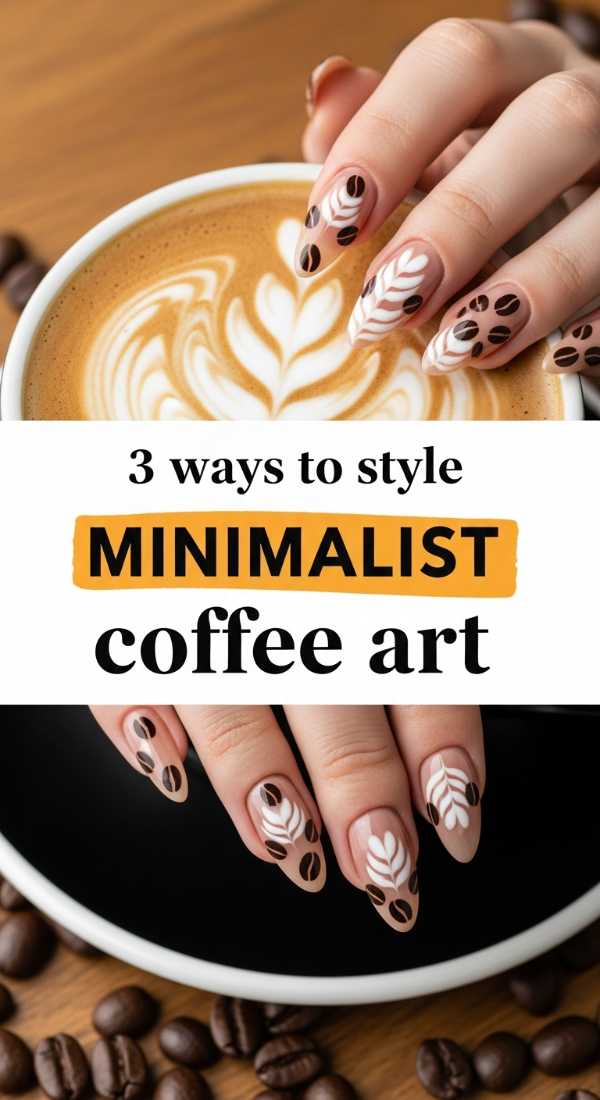
Why to love these Nails:
If you live for your morning latte, this is for you. These tones are so warm and cozy, like a cashmere sweater. It’s the perfect neutral palette that feels more interesting than a basic beige.
Essential Items:
- Mocha, latte, and cream shades
- Sponge for ombre (optional)
- Mixing palette
How to Prepare:
- The Skittle: Paint each nail a different shade of coffee, from dark espresso to light cream.
- The Swirl: Drop cream polish into mocha base and swirl with a needle before it dries.
- The Gradient: Use a sponge to melt a dark brown tip into a tan base.
Budget Range
- Cirque Colors Coffee Collection ($12 each)
- Makeup Sponges ($2)
- Plastic Mixing Plate ($3)
5 Steps to Design Modern Swirl Nails
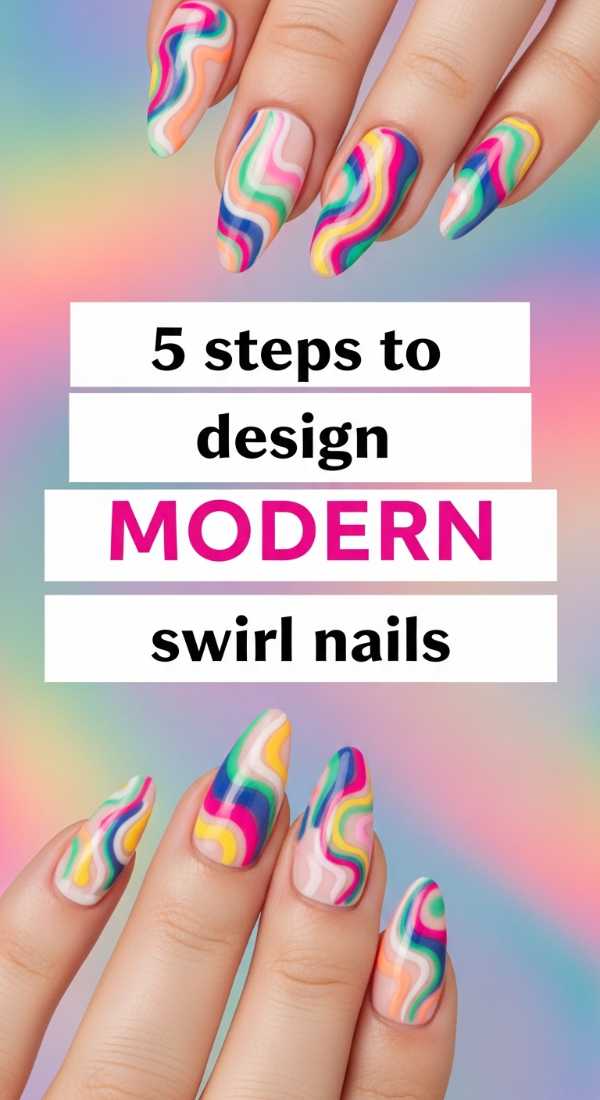
Why to love these Nails:
Negative space swirls are so incredibly flattering. They flow with the natural movement of your hands and have an organic, high-fashion feel. It’s the kind of manicure that gets compliments from strangers in the grocery store.
Essential Items:
- Nude base
- Bright white or bold color for the swirl
- Long-haired liner brush
How to Prepare:
- Start with a clean, buffed nail and a sheer base.
- Load your liner brush with a generous amount of color.
- Start at the cuticle and pull the brush in an ‘S’ shape toward the tip.
- Vary the pressure: press harder for a thicker line and lift for a thin tail.
- Add a second, thinner swirl echoing the first for dimension.
Budget Range
- Gelish Foundation Base ($15)
- Saviland Liner Gel ($8)
- Nail Liner Brushes ($7)
4 Simple Tricks for Perfect Chrome Nails
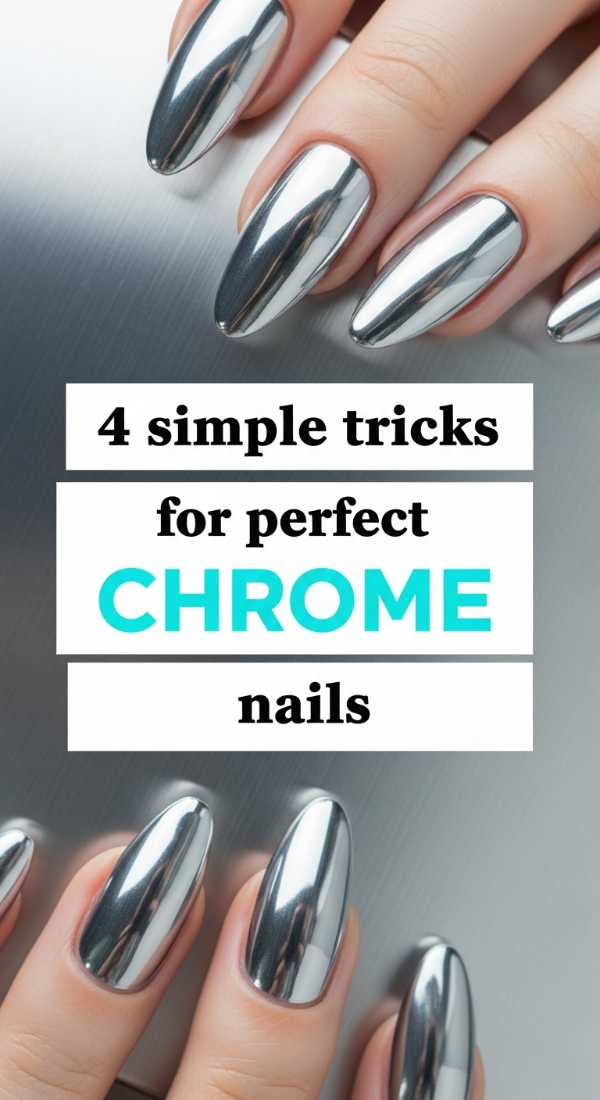
Why to love these Nails:
The ‘glazed donut’ look is the pinnacle of the clean girl blueprint. It gives your nails a celestial, ethereal glow that looks like moonlight hitting the water. It’s magical without being loud.
Essential Items:
- Pearl or white chrome powder
- No-wipe top coat
- Sponge applicator
How to Prepare:
- Apply a sheer white base and a no-wipe top coat; cure for only 30 seconds (it needs to be slightly tacky).
- Rub a tiny amount of chrome powder onto the nail using a sponge.
- Use a soft brush to dust off every single excess speck of powder.
- Seal with another layer of top coat, making sure to cap the edges to prevent peeling.
Budget Range
- Artdone Chrome Powder ($9)
- Kiara Sky No Wipe Top Coat ($15)
- Eyeshadow Applicators ($2)
Embracing Your Inner Glow
My loves, I hope this guide inspires you to take a little time for yourself this weekend. Remember, beauty isn’t about perfection; it’s about the feeling you get when you look down and see something that reflects your inner light. Whether you choose a tiny micro bow or a classic French tip, wear it with the confidence of someone who knows they are worthy of care and soft things. I can’t wait to see what you create!