
Beyond the Basics: Sculpting the New Wave of Minimalist Manicures
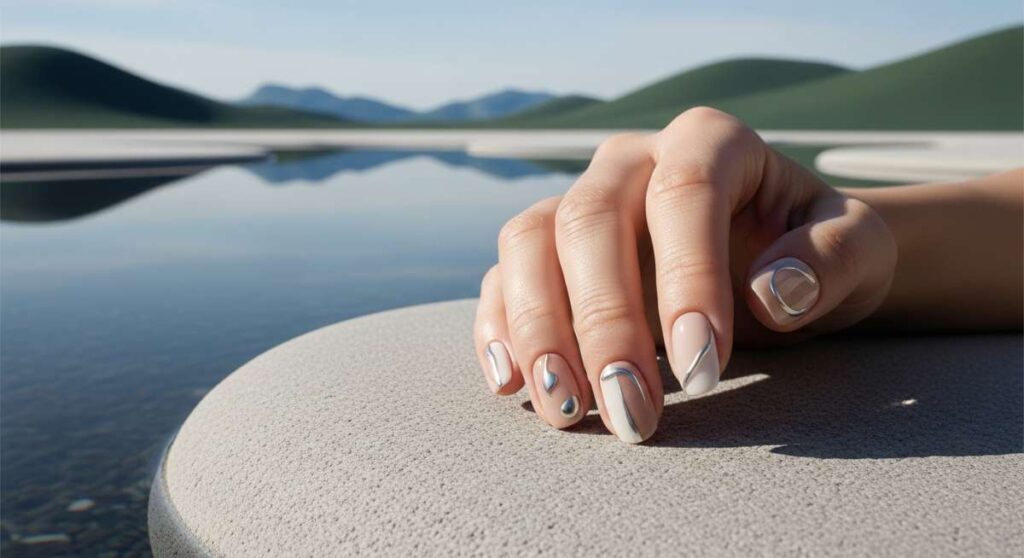
Hello, my loves. There’s something so deeply meditative about the quiet click-clack of our nails against a ceramic mug, isn’t there? It’s more than just a color; it’s a mood, a soft armor we wear to face the world. Today, I want to wrap you in a cloud-soft embrace and guide you through the newest wave of minimalist manicures—those tiny, artistic whispers that say so much without ever having to shout.
We are moving past the loud and the neon, stepping into a space of curated elegance. It’s about the curve of a bow, the shimmer of a pearl, and the warmth of a latte. Let’s sit together, take a deep breath, and explore how to turn your fingertips into tiny canvases of modern aesthetic mastery. I’ve gathered my favorite secrets just for you, so grab your favorite tea and let’s begin.
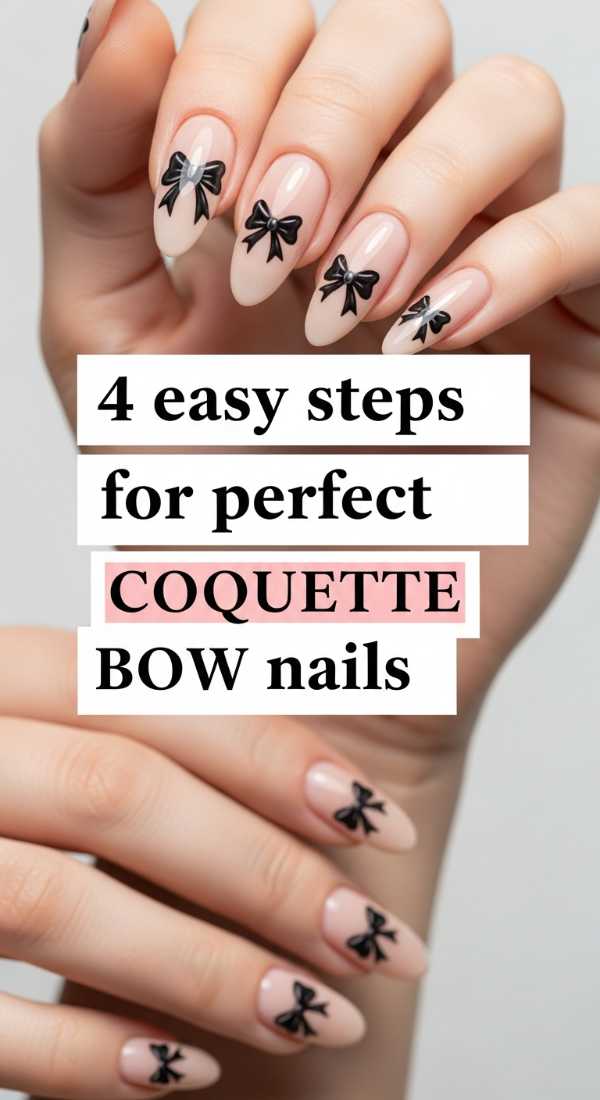
The Softest Whisper: 4 Easy Steps for Perfect Coquette Bow Nails
Why to love these Nails:
Coquette bows are the softest whisper of femininity, bringing a touch of vintage charm to your modern aesthetic. They feel like a delicate ribbon tied around a secret, perfect for those days when you want to feel a little more whimsical and cherished.
Essential Items:
- Nude or pale pink base polish
- White or black striper polish
- Ultra-fine detailing brush
- High-shine top coat
How to Prepare:
- Apply two thin coats of your base color and let them dry completely.
- Using your fine brush, paint two tiny triangles meeting at a center dot.
- Draw two delicate, flowing tails descending from the center of the triangles.
- Seal the design with a glossy top coat to protect your handiwork.
Budget Range
- Essie Ballet Slippers ($10)
- Beetles Nail Art Brushes ($8)
- Seche Vite Dry Fast Top Coat ($11)
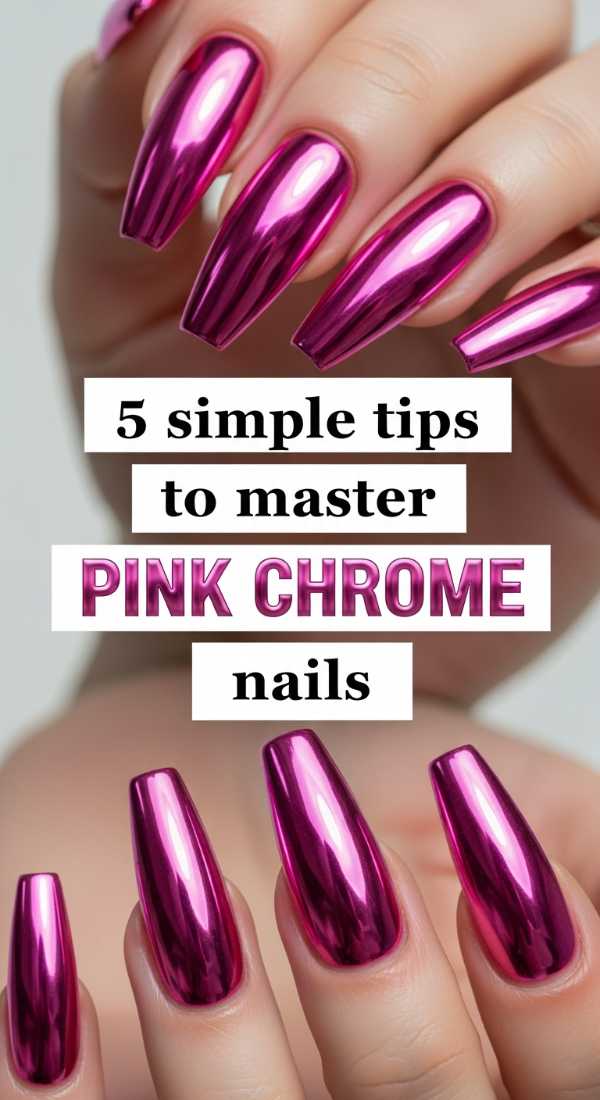
Ethereal Glow: 5 Simple Tips to Master Pink Chrome Nails
Why to love these Nails:
There is something utterly magical about the way pink chrome catches the morning light. It’s a futuristic spin on a classic feminine look, making your hands look like they belong to a digital fairy. It’s chic, clean, and endlessly mesmerizing.
Essential Items:
- Soft pink gel polish
- No-wipe gel top coat
- Pink pearl or chrome powder
- Sponge applicator
- LED/UV lamp
How to Prepare:
- Cure your base pink polish under the lamp.
- Apply a no-wipe top coat and cure for only 30 seconds (it should be slightly tacky).
- Rub the chrome powder onto the nail using the sponge until it shines.
- Dust off excess powder with a soft brush.
- Seal with a final layer of top coat and cure fully.
Budget Range
- Artdone Pearl Chrome Powder ($7)
- Modelones Gel Polish in Soft Pink ($9)
- SunUV LED Lamp ($25)
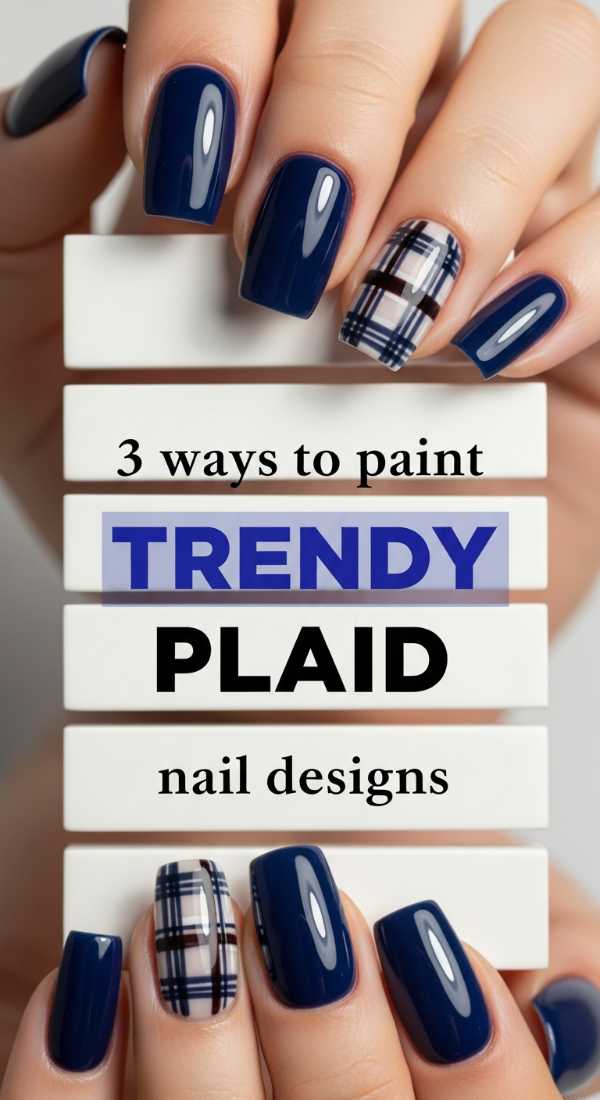
Structured Chic: 3 Ways to Paint Trendy Plaid Nail Designs
Why to love these Nails:
Plaid isn’t just for cozy blankets; it’s a sophisticated way to add texture to your minimalist look. It feels grounded and academic, like a rainy afternoon spent in a library. It’s the perfect balance of order and creativity.
Essential Items:
- Matte base color (tan or grey)
- Contrasting liner polishes
- Steady hand or striping tape
How to Prepare:
- Method 1: Use striping tape to create perfect grids before painting over.
- Method 2: Freehand vertical lines first, then horizontal lines using a long-haired liner brush.
- Method 3: Layer transparent ‘jelly’ polishes to create depth where lines intersect.
Budget Range
- OPI Infinite Shine Taupe-less Beach ($14)
- Striping Tape Set ($5)
- Zoya Matte Velvet Top Coat ($12)
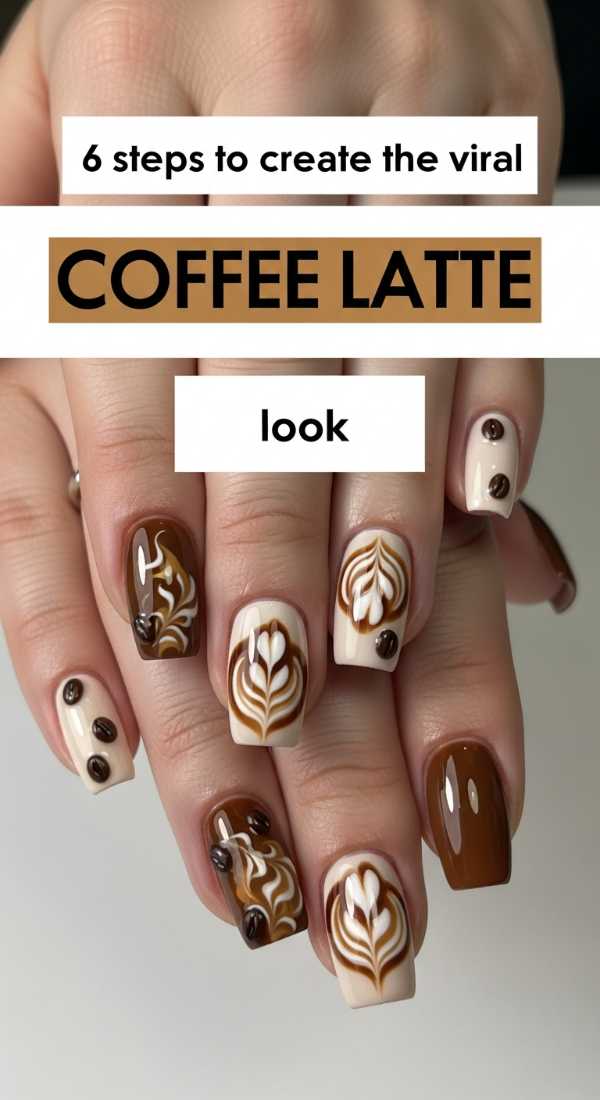
Warmth in a Cup: 6 Steps to Create the Viral Coffee Latte Look
Why to love these Nails:
This look is a warm hug for your hands. It uses swirling browns and creams to mimic the moment milk hits your morning espresso. It’s cozy, sophisticated, and incredibly soothing to look at during a busy workday.
Essential Items:
- Deep espresso brown polish
- Creamy beige polish
- Clear mixing gel or base coat
- Dotting tool
How to Prepare:
- Apply a beige base and cure.
- Place random dots of espresso brown and beige on the wet nail.
- Use a dotting tool to gently swirl the colors together in a ‘marble’ motion.
- Don’t over-mix; you want to see the distinct swirls.
- Add a drop of clear gel to soften the edges.
- Cure and finish with a glossy top coat.
Budget Range
- Sally Hansen Insta-Dri in Espresso ($6)
- Cirque Colors Rose Jelly ($13)
- Nail Art Dotting Tools ($6)
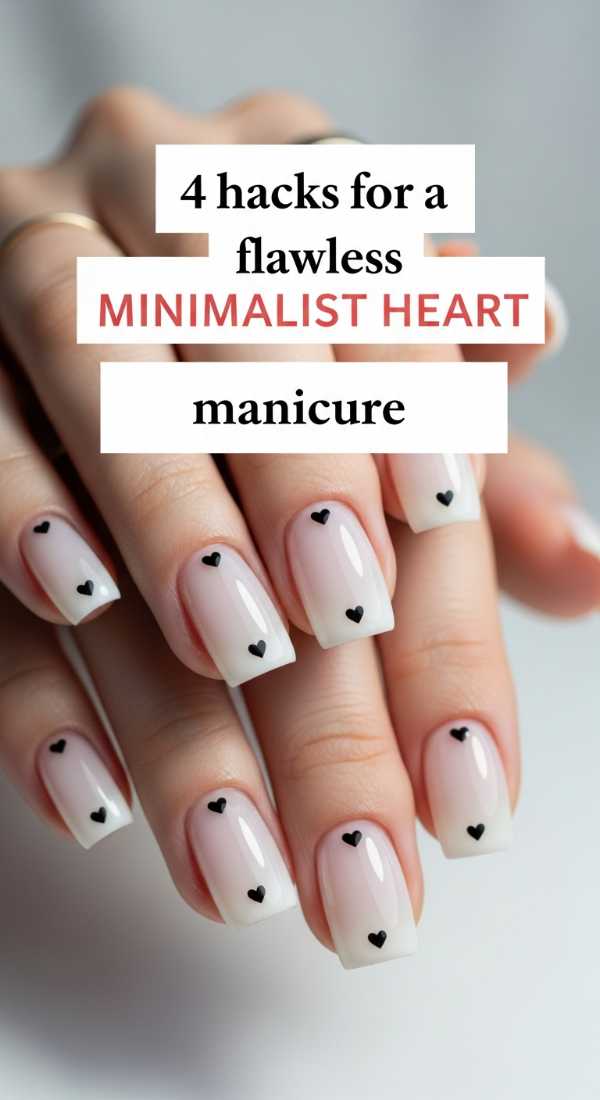
Tiny Affections: 4 Hacks for a Flawless Minimalist Heart Manicure
Why to love these Nails:
Minimalist hearts are a sweet reminder of self-love. They are understated enough for the office but intimate enough to feel personal. A single heart on a ring finger is the ultimate ‘less is more’ statement.
Essential Items:
- Sheer base color
- Red or pink polish
- Toothpick or dotting tool
How to Prepare:
- Place two small dots of polish side-by-side using a toothpick.
- Drag the bottom of each dot down to a single point to form a ‘V’ shape.
- Fill in the center to smooth the heart’s shoulders.
- Keep the placement off-center for a modern, ‘undone’ feel.
Budget Range
- Revlon Cherry in the Snow ($7)
- DND Sheer Gel ($12)
- Bamboo Toothpicks ($2)
The Timeless Edge: 5 Secret Techniques for Classy French Tip Nails

Why to love these Nails:
The French tip is the eternal queen of manicures. It elongates the fingers and looks impeccably clean. Mastering it at home feels like a true rite of passage for any aesthetic lover.
Essential Items:
- Sheer nude base
- Crisp white polish
- Silicone nail stamper
- Cleanup brush with acetone
How to Prepare:
- Apply white polish to the surface of a silicone stamper.
- Gently press your nail tip into the stamper at a 45-degree angle.
- Adjust the depth of the press to control the thickness of the ‘smile line.’
- Use a brush dipped in acetone to crisp up the edges.
- Finish with a high-glow top coat.
Budget Range
- Silicone Nail Stamper ($9)
- Orly White Tips ($10)
- Morphe Angle Brush ($6)
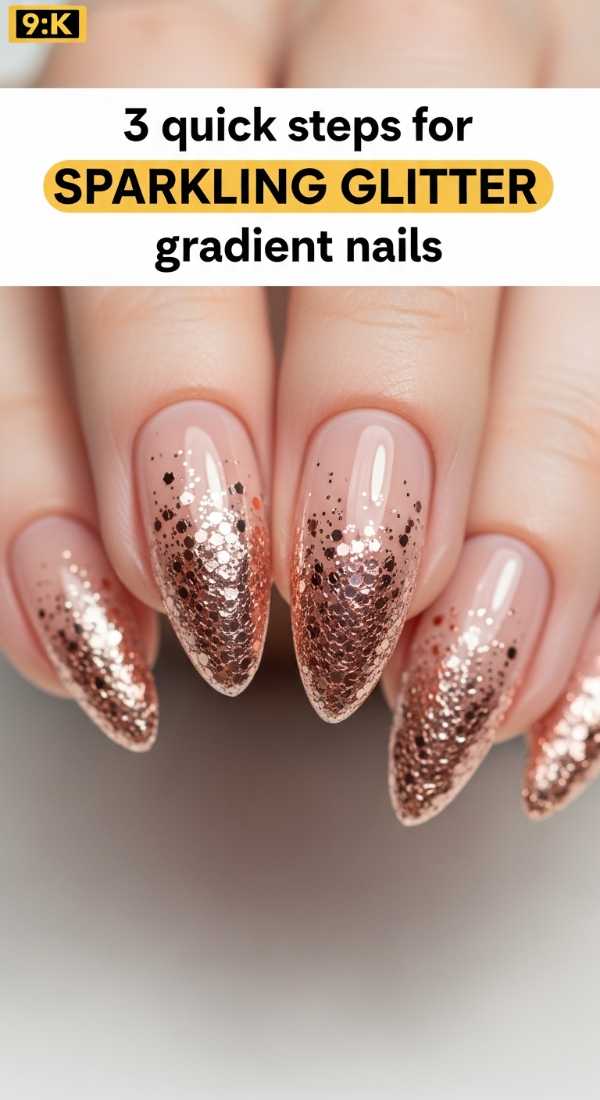
Stardust Touch: 3 Quick Steps for Sparkling Glitter Gradient Nails
Why to love these Nails:
For when you want just a hint of magic. A glitter gradient looks like stardust falling from your cuticles or rising from your tips. It’s festive without being overwhelming, like a quiet celebration.
Essential Items:
- Fine loose glitter or glitter polish
- Makeup sponge
- Clear base
How to Prepare:
- Apply glitter to the edge of a makeup sponge.
- Dab the sponge onto the tip of the nail, concentrating the color at the very end.
- Gently fade the dabbing motion as you move toward the center of the nail.
Budget Range
- Holt Taco Cosmic Unicorn Skin ($14)
- Wedge Makeup Sponges ($4)
- Olive & June Long Lasting Polish ($9)
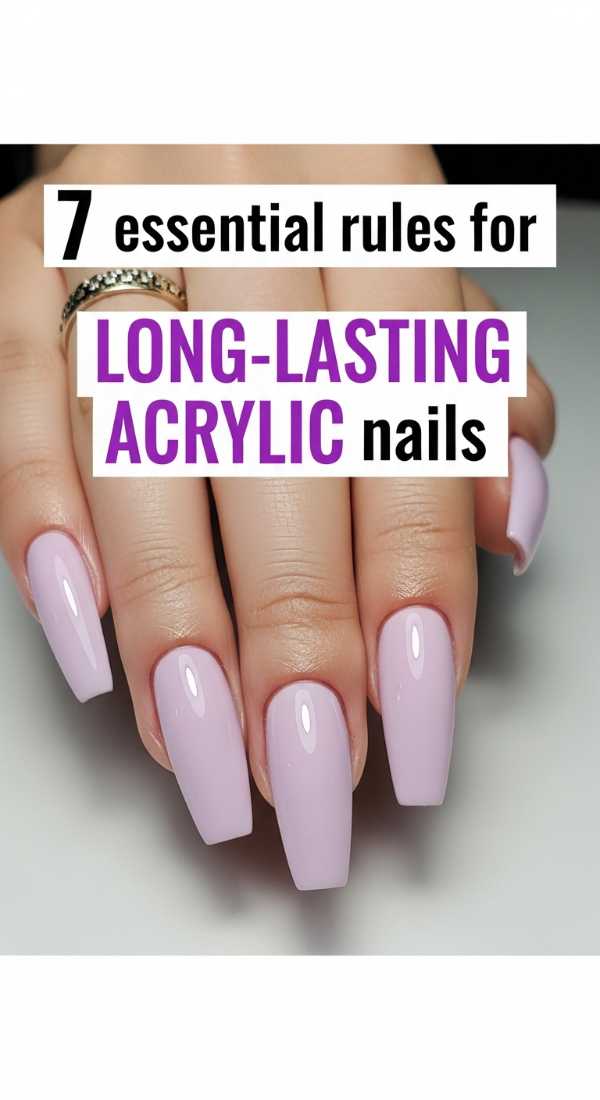
The Foundation: 7 Essential Rules for Long-Lasting Acrylic Nails
Why to love these Nails:
Strength meets style. Acrylics provide the perfect canvas for length and complex art, ensuring your minimalist designs stay perfect for weeks. It’s the ultimate commitment to your aesthetic self-care.
Essential Items:
- Acrylic powder and liquid monomer
- Nail primer
- Quality acrylic brush (Kolinsky)
How to Prepare:
- Rule 1: Always dehydrate the natural nail first.
- Rule 2: Apply a primer to prevent lifting.
- Rule 3: Use the correct monomer-to-powder ratio (not too wet!).
- Rule 4: Leave a tiny gap at the cuticle.
- Rule 5: Blend the ‘apex’ for structural strength.
- Rule 6: File in one direction to avoid heat friction.
- Rule 7: Seal the free edge with top coat daily.
Budget Range
- Mia Secret Acrylic System ($20)
- Pana Kolinsky Brush ($18)
- Young Nails Protein Bond ($15)
Soft Sunsets: 5 Easy Ways to Style Summer Pastel Nails
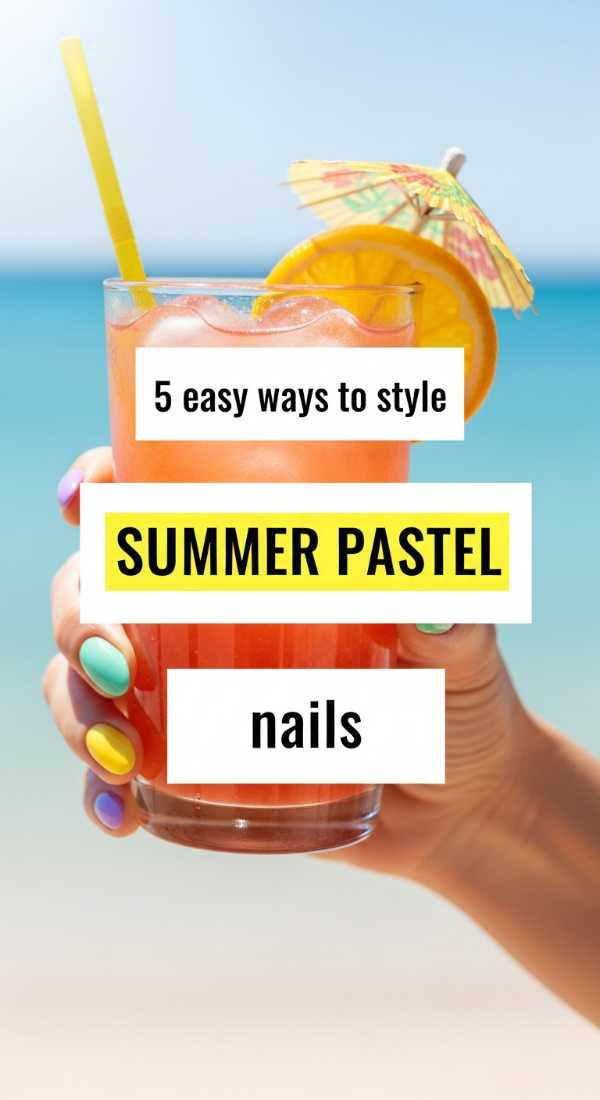
Why to love these Nails:
Pastels are the colors of ice cream and summer skies. They bring a pop of joy to your look while remaining soft and approachable. They look stunning against sun-kissed skin and linen outfits.
Essential Items:
- Lavender, mint, and peach polishes
- Matte top coat (optional)
How to Prepare:
- Try the ‘Skittle’ method: paint each nail a different pastel shade.
- Add a matte top coat for a modern, ‘sugared’ look.
- Use a white base coat first to make the pastel colors pop.
- Try a vertical ombre with two pastel shades.
- Pair with gold rings to elevate the look.
Budget Range
- Barry M Gelly Hi Shine Pastels ($6 each)
- Lights Lacquer Pastel Bundle ($50)
- Sinful Colors Snow Me White ($3)
Artisan Elegance: 4 Professional Methods for Bridal Marble Nail Art
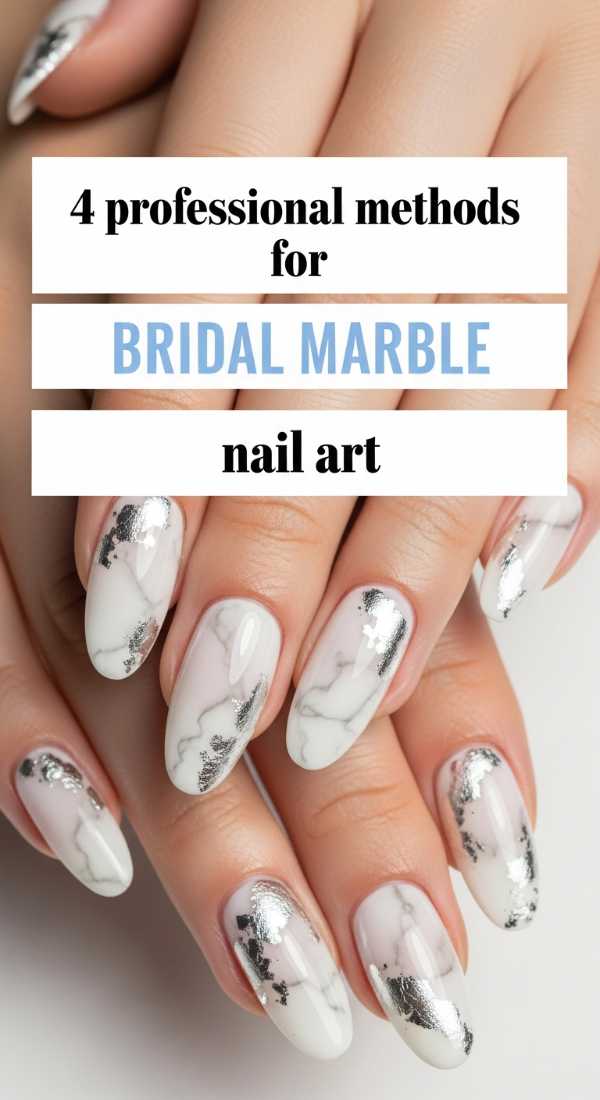
Why to love these Nails:
Bridal marble is the pinnacle of sophisticated nail art. It looks like expensive stone and feels incredibly high-end. It’s perfect for weddings or any moment where you want to feel truly regal and polished.
Essential Items:
- White and sheer white (milky) polish
- Grey or gold metallic liner
- Acetone for blurring
How to Prepare:
- Apply a milky white base and do not cure.
- Drop tiny veins of grey or gold into the wet polish.
- Use a brush dipped in acetone to blur the veins into the base.
- Layer another thin coat of milky white on top for a ‘depth’ effect.
Budget Range
- Gelcare Milky White ($19)
- Metallic Gold Ink ($12)
- Pure Acetone ($5)
Embrace Your Inner Artist
My loves, I hope these ideas spark a little light in your soul. Manicures are more than just beauty; they are a ritual of taking ten minutes for yourself in a world that asks for everything. Whether you choose a simple bow or a complex marble, remember that the beauty lies in the care you give yourself. Stay soft, stay creative, and I can’t wait to see what you create.