
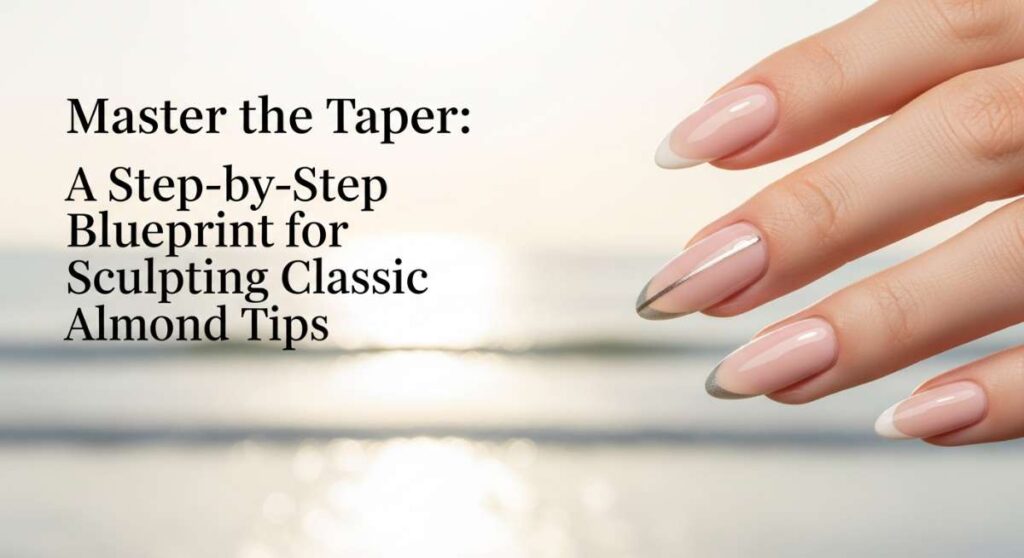
Master the Taper: A Step-by-Step Blueprint for Sculpting Classic Almond Tips
Hello, my loves. Pull up a chair and let’s take a deep breath together. There is something so incredibly therapeutic about the ritual of painting our nails, isn’t there? It’s that rare pocket of time where the world slows down, the tea is warm, and we get to create something beautiful with our own two hands. Today, we are diving into the timeless grace of the almond shape—a silhouette that elongates the fingers and adds a touch of ‘quiet luxury’ to every gesture.
I’ve spent so many afternoons perfecting these looks, and honestly, the almond tip is my absolute favorite canvas. It’s soft, it’s feminine, and it feels like a cloud-soft embrace for your hands. Whether you are a seasoned pro or just picking up a liner brush for the first time, I’ve put together ten of my most-loved designs to help you find your signature glow. Let’s get creative together, shall we?
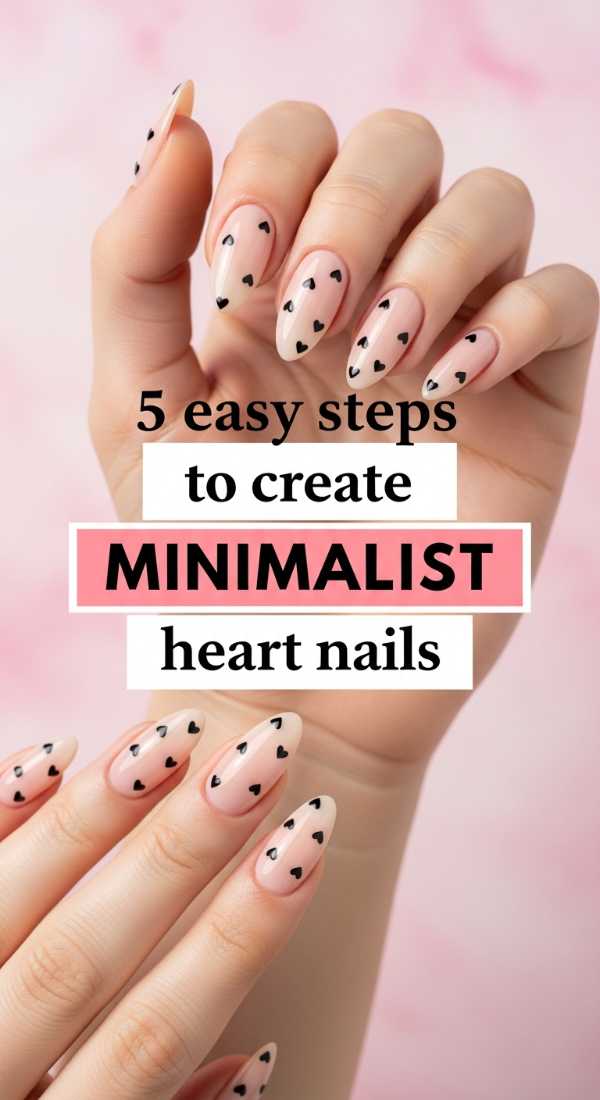
5 Easy Steps to Create Minimalist Heart Nails
Why to love these Nails:
There is something so whisper-soft about a tiny heart on a clean almond base. It’s like wearing a little secret of self-love on your fingertips—subtle enough for the office but sweet enough for a cozy date night. This look celebrates simplicity and the beauty of negative space.
Essential Items:
- Sheer nude base polish
- Deep red or pink gel paint
- Dotting tool
- Fine liner brush
- Glossy top coat
How to Prepare:
- Apply two thin coats of your sheer nude base and cure.
- Dip your dotting tool into the red polish and place two small dots side-by-side near the tip.
- Use your liner brush to drag the bottom of each dot into a ‘V’ shape to meet in the middle.
- Fill in the center of the heart gently.
- Seal with a high-shine top coat for a glass-like finish.
Budget Range
- Essie Ballet Slippers ($10)
- Beetles Nail Art Liner Brushes ($8)
- Modelones Red Gel Polish ($7)
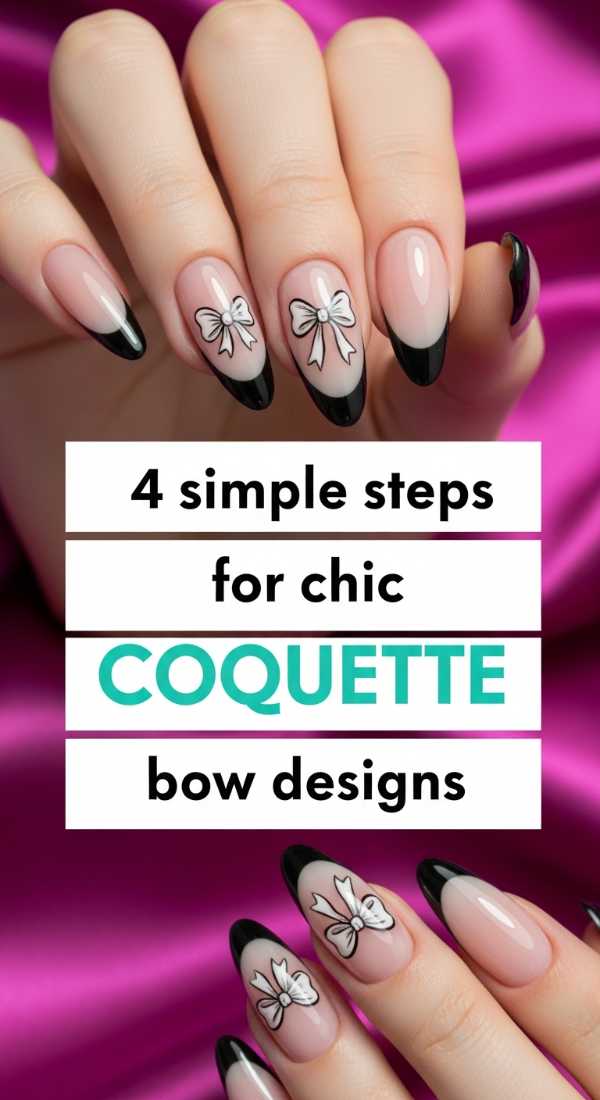
4 Simple Steps for Chic Coquette Bow Designs
Why to love these Nails:
The coquette aesthetic is everything right now, my darlings. It’s that delicate, ribboned charm that makes every hand gesture feel like a scene from a vintage film. These bows add a touch of playful romance to the elegant almond taper.
Essential Items:
- Pale pink base polish
- White acrylic paint or gel
- Ultra-thin detailing brush
- Small pearl decals
How to Prepare:
- Paint your base with two coats of pale pink and let dry completely.
- Paint two small triangles meeting at the points in the center of the nail.
- Add two soft, curving lines dropping down from the center for the ribbon tails.
- Place a tiny pearl or a dot of white polish in the center of the bow.
Budget Range
- OPI Bubble Bath ($11)
- Saviland Nail Art Brushes ($9)
- Nail Art Pearl Studs Kit ($6)
6 Steps to Master the Spring Plaid Look

Why to love these Nails:
Spring plaid is like a picnic for your hands! It’s organized yet whimsical, bringing a sense of structure to the soft almond shape. It’s the perfect way to transition your style into those breezy, sun-drenched afternoons.
Essential Items:
- Mint green polish
- White and yellow liner polishes
- Matte top coat
- Steady hand surface
How to Prepare:
- Apply a solid mint green base.
- Draw two vertical white lines down one side of the nail.
- Draw two horizontal white lines crossing the vertical ones.
- Add a single thin yellow line through the center of the white grid.
- Clean up edges with a brush dipped in remover.
- Apply a matte top coat to give it that fabric-like texture.
Budget Range
- Zoya Mint Polish ($12)
- Sally Hansen White Liner ($6)
- NYK1 Matte Top Coat ($13)
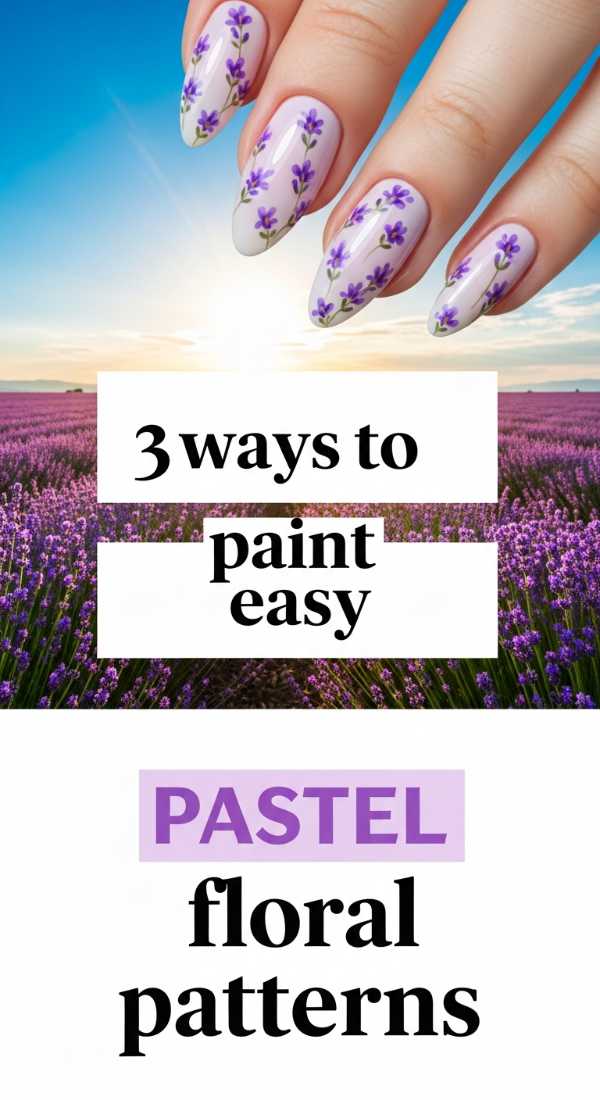
3 Ways to Paint Easy Pastel Floral Patterns
Why to love these Nails:
Florals for spring might not be groundbreaking, but on an almond tip, they are absolutely breathtaking. These patterns feel like a fresh bouquet that never fades, bringing a sense of joy and renewal to your daily routine.
Essential Items:
- Lavender, Peach, and Lemon polishes
- Large and small dotting tools
- Clear base coat
How to Prepare:
- Method 1: Use a large dotting tool to create 5 petals in a circle, then a yellow dot in the center.
- Method 2: Cluster tiny dots of lavender for a ‘hydrangea’ effect on the nail edge.
- Method 3: Swipe organic ‘C’ shapes in peach to create abstract minimalist roses.
Budget Range
- Holt Pastel Polish Set ($15)
- Dotting Tool Set ($5)
- Seche Vite Dry Fast Top Coat ($9)
5 Steps to Get the Perfect Almond French Tip
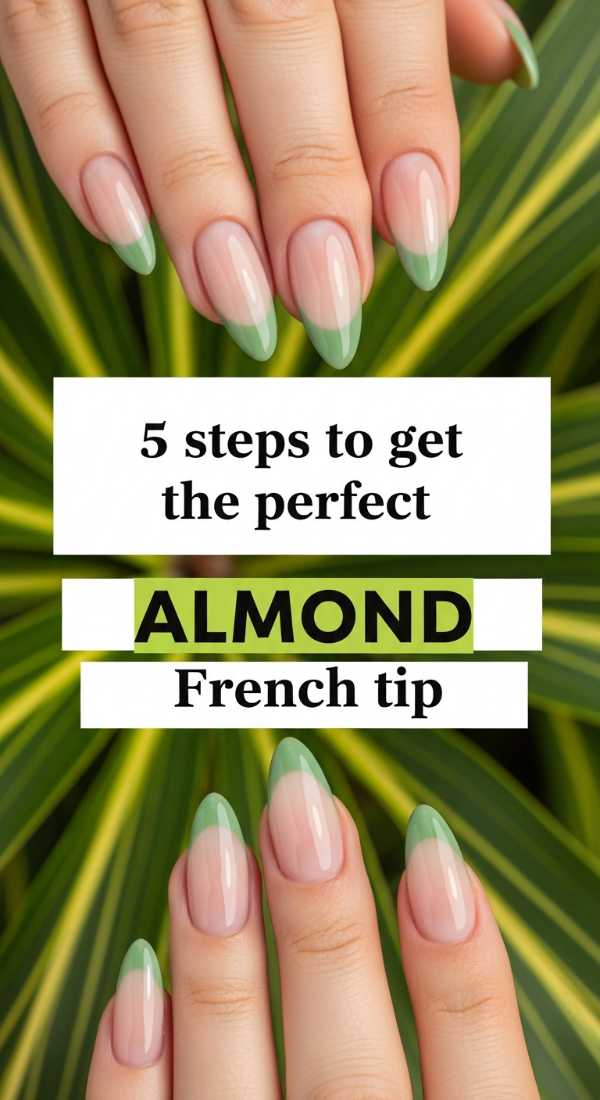
Why to love these Nails:
The almond French tip is the gold standard of elegance. By following the natural curve of the almond taper, this design elongates the fingers more than any other look. It’s clean, professional, and endlessly sophisticated.
Essential Items:
- Neutral base tint
- Opaque white polish
- French tip guide stickers or a silicone stamper
- Cleanup brush
How to Prepare:
- Apply your neutral base and let it dry.
- Apply white polish to a silicone stamper and gently press the tip of your nail into it at an angle.
- Use a cleanup brush with acetone to refine the ‘smile line’ into a deep curve.
- Ensure the white follows the side walls of the almond shape.
- Finish with a glossy top coat.
Budget Range
- Orly French Manicure Set ($15)
- Silicone Nail Stamper ($7)
- Pure Acetone ($5)
4 Easy Steps for Coffee Inspired Nail Art
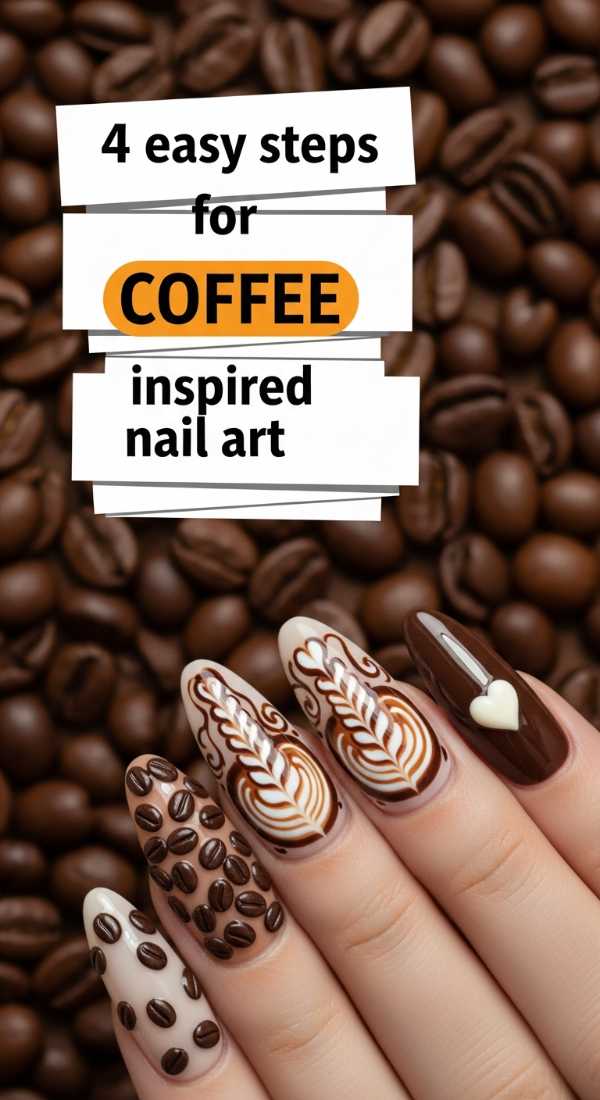
Why to love these Nails:
For my caffeine lovers! These warm, mocha tones are so grounding. They feel like a cozy sweater on a rainy morning. Using shades of brown on an almond shape creates a modern, earthy vibe that is incredibly flattering on all skin tones.
Essential Items:
- Espresso brown polish
- Creamy latte polish
- Sponge for gradient
How to Prepare:
- Paint the nail a light cream color.
- Apply espresso and cream polish side-by-side on a small makeup sponge.
- Dab the sponge onto the nail to create a ‘swirled’ coffee-and-cream effect.
- Smooth out the texture with a thick top coat.
Budget Range
- Cirque Colors Coffee Collection ($14)
- Wedge Makeup Sponges ($4)
- Revlon Top Coat ($6)
7 Steps to Achieve Glazed Donut Almond Nails
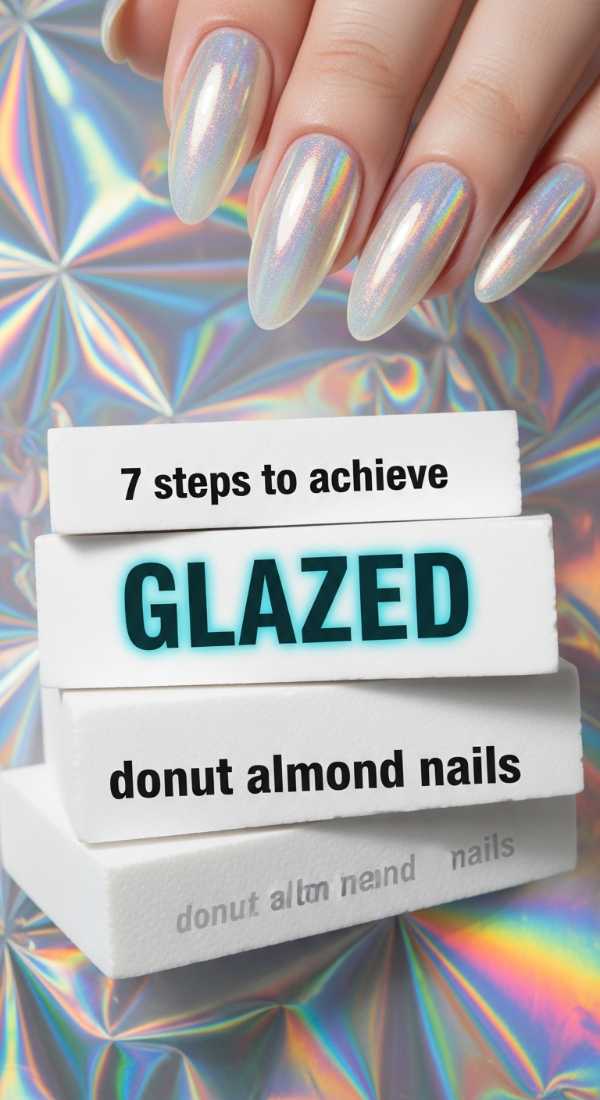
Why to love these Nails:
The viral glazed donut look is a dream on almond tips. It adds a celestial, ethereal glow that catches the light beautifully. It’s the ultimate ‘clean girl’ aesthetic—effortless, luminous, and so very chic.
Essential Items:
- Sheer white polish
- Chrome powder (pearl finish)
- No-wipe gel top coat
- Sponge applicator
How to Prepare:
- Apply one coat of sheer white and cure.
- Apply a no-wipe top coat and cure for only 30 seconds.
- Use the sponge to rub the chrome powder onto the nail until it glows.
- Wipe away excess powder with a soft brush.
- Apply another layer of top coat to seal the chrome.
- Cure fully.
- Moisturize cuticles for that extra dewiness.
Budget Range
- Kiara Sky Chrome Powder ($15)
- Gelish No-Wipe Top Coat ($12)
- Born Pretty White Gel ($8)
5 Simple Steps for Matte Terracotta Spring Nails
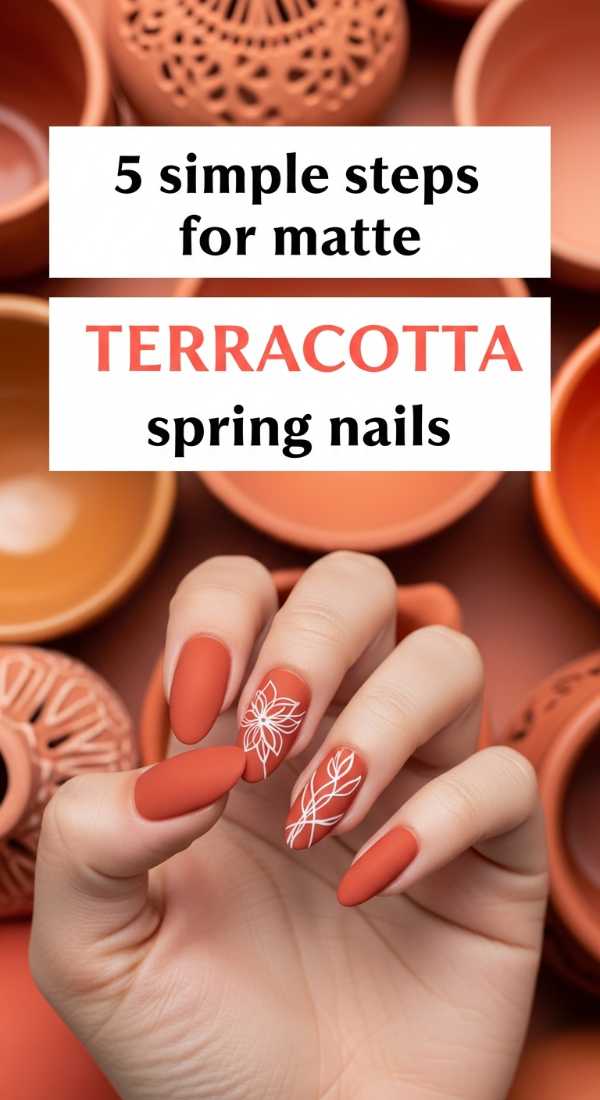
Why to love these Nails:
Terracotta is such an underrated spring color. It’s warm and soulful, reminiscent of clay pots and garden paths. In a matte finish, it looks velvety and expensive—perfect for the soul who loves a more organic, bohemian touch.
Essential Items:
- Terracotta or burnt orange polish
- Matte top coat
- Cuticle oil
How to Prepare:
- Shape your nails into a perfect almond to soften the bold color.
- Apply two even coats of terracotta polish.
- Wait for the polish to be 100% dry.
- Apply a specialized matte top coat in long, even strokes.
- Avoid oil on the nail surface to keep the matte look crisp.
Budget Range
- Essie ‘Rocky Rose’ ($9)
- OPI Matte Top Coat ($11)
- SolarOil Cuticle Care ($8)
6 Easy Steps to Create Gold Flake Almond Designs
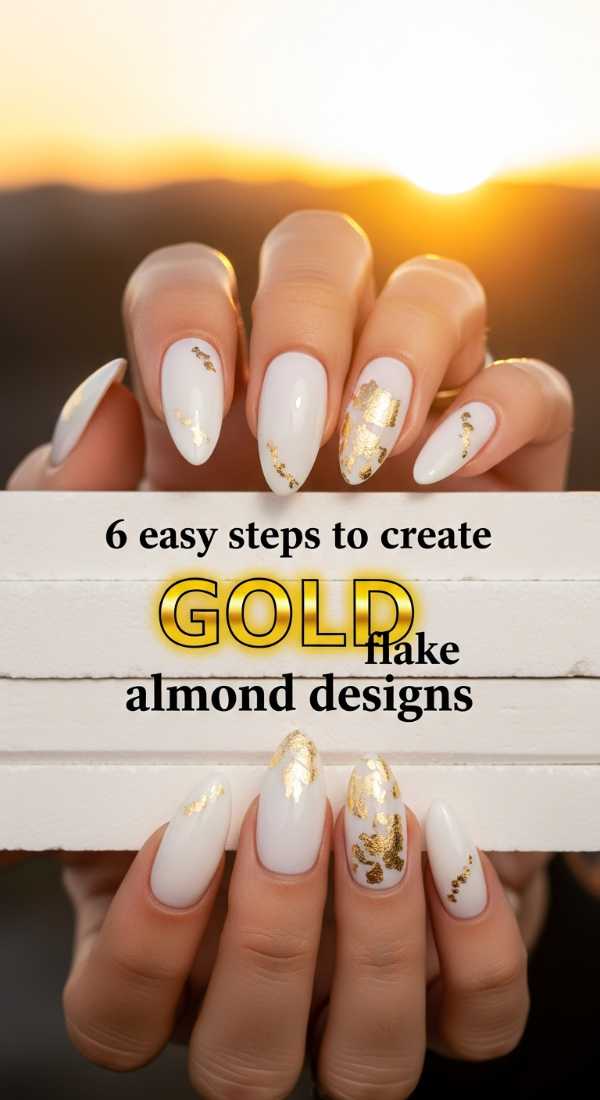
Why to love these Nails:
A little bit of gold goes a long way in making you feel like royalty. Gold flakes on a tapered almond nail look like fine jewelry. It’s an easy way to elevate a simple manicure into something truly special and artisanal.
Essential Items:
- Milky white base
- Gold foil flakes
- Tweezers
- Fan brush
How to Prepare:
- Apply a milky white base coat.
- While the polish is still slightly tacky, use tweezers to pick up small gold flakes.
- Place them randomly or in a ‘gradient’ starting from the cuticle.
- Gently press them down with a dry fan brush.
- Seal with two coats of top coat to ensure the flakes stay flat.
- Enjoy your gilded masterpiece!
Budget Range
- DND Milky White Gel ($10)
- Gold Foil Flakes for Nails ($6)
- Professional Tweezers ($5)
4 Steps to Paint Professional Navy Grid Nails
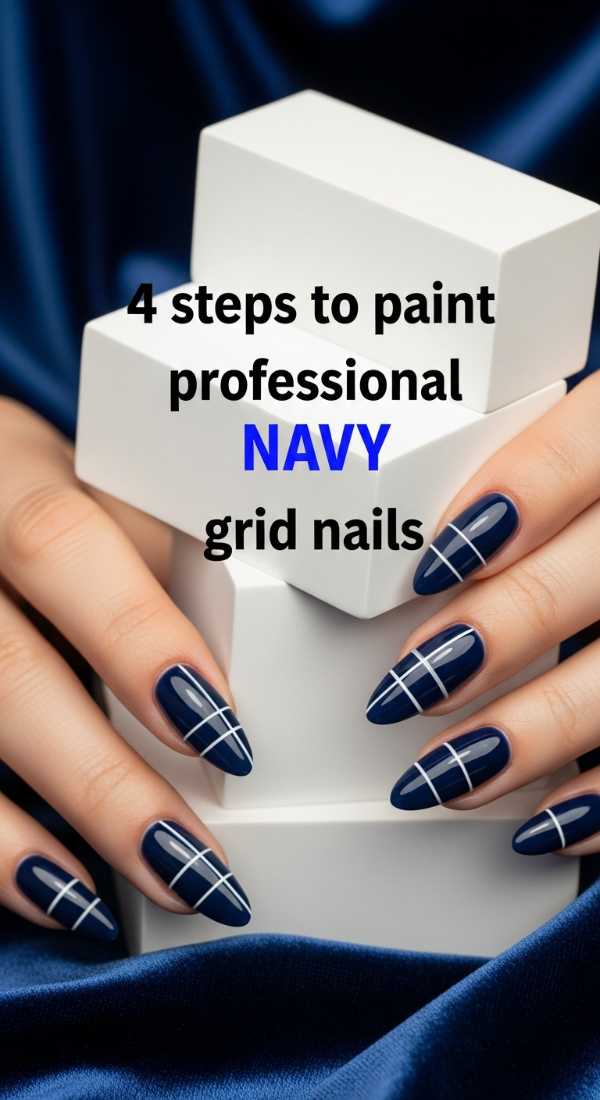
Why to love these Nails:
Navy is the new black for spring! It’s deep, mysterious, and looks incredibly sharp against the soft almond edge. The grid pattern adds a modern, architectural feel that is perfect for the minimalist heart.
Essential Items:
- Navy blue polish
- Silver or white striping tape
- Nail nippers
- Clear top coat
How to Prepare:
- Paint two coats of navy blue and let dry completely (this is vital!).
- Lay three vertical strips of tape across the nail.
- Lay three horizontal strips to create a grid.
- Clip the tape ends slightly inside the nail edge and seal with a heavy top coat.
Budget Range
- Nails Inc. Navy Polish ($15)
- Line Art Striping Tape ($5)
- Tweezerman Nippers ($12)
Embrace Your Inner Artist
Designing your own nails is such a beautiful form of self-expression. Every time you look down at your hands, I want you to remember that you deserve these moments of beauty and care. Whether you chose the soft hearts or the bold navy grid, your hands are a reflection of your unique spirit. Keep practicing, keep playing with color, and most importantly, keep being your wonderful self. Until next time, stay glowing!