
Salon Secrets Unlocked: Professional Nail Techniques You Can Master Today
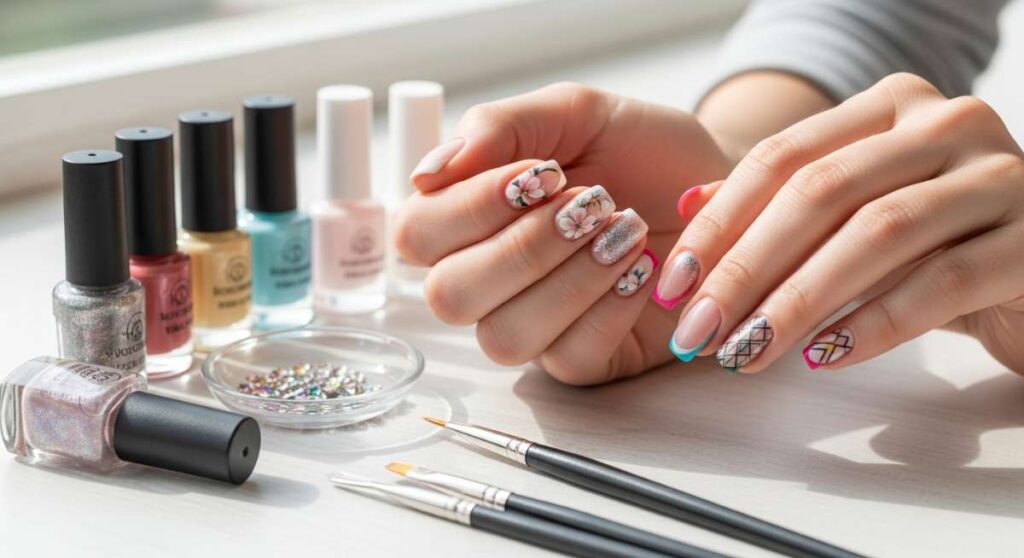
Hello, my sweet loves. Pull up a chair, grab a warm cup of tea, and let’s just breathe for a moment. There is something so incredibly healing about taking a little time for ourselves, isn’t there? In the rush of the world, your hands do so much—they hold, they create, they comfort. Today, I want to help you turn those hands into a canvas of self-expression, right from the cozy comfort of your own living room.
I know the salon can feel like a dream, but there is a special kind of magic in learning these professional secrets yourself. It’s not just about the polish; it’s about the soft ritual of care, the quiet focus, and the joy of looking down and seeing something beautiful that YOU created. We are unlocking those salon doors together today, turning ‘I wish I could’ into ‘Look what I did.’
4 Easy Steps to Create Minimalist Heart Nails

Why to love these Nails:
There is a quiet beauty in the small things, isn’t there? These minimalist hearts are like a tiny love letter you carry on your fingertips throughout the day. They are subtle, sweet, and remind us to lead with love in everything we do.
Essential Items:
- Sheer nude or pale pink base polish
- Deep red or soft white accent polish
- A professional dotting tool (or a bobby pin!)
- Glossy top coat
How to Prepare:
- Apply two thin coats of your sheer base and let dry completely.
- Dip your dotting tool into the accent color and place two small dots side-by-side near the center of the nail.
- Using a toothpick or the edge of your tool, drag the polish from each dot downward to meet in a V-shape.
- Seal your tiny heart with a protective top coat once dry.
Budget Range
- Essie Ballet Slippers ($9.00)
- Nail Art Dotting Tool Set ($6.00)
- Seche Vite Dry Fast Top Coat ($9.50)
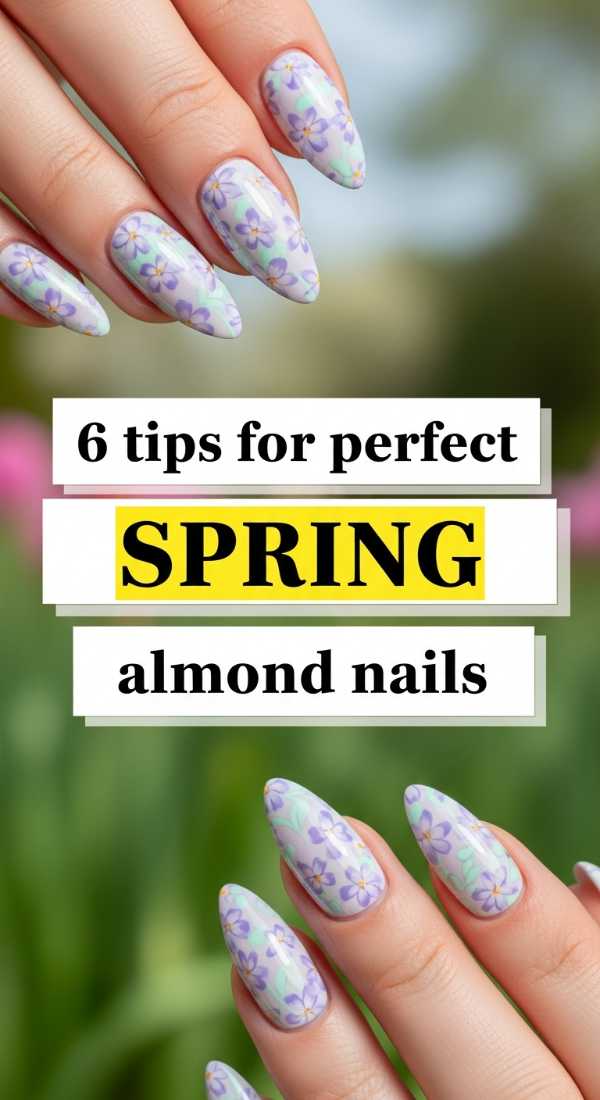
6 Tips for Perfect Spring Almond Nails
Why to love these Nails:
Almond nails are the ultimate elegant silhouette; they elongate your fingers and feel so sophisticated. In the spring, they mirror the soft curves of blooming flower petals, bringing a sense of renewal to your style.
Essential Items:
- High-quality glass nail file
- Lavender or mint pastel polish
- Cuticle softener
- Buffing block
How to Prepare:
- Find the center point of your nail tip as your guide.
- File the sides at an angle toward that center point.
- Round off the peak to create a soft, almond shape rather than a point.
- Buff the edges to prevent snagging.
- Apply your favorite spring pastel.
- Finish with cuticle oil for that hydrated, healthy glow.
Budget Range
- Mont Bleu Glass Nail File ($12.00)
- OPI ‘It’s a Girl’ Pastel Polish ($11.50)
- Cupaqua Cuticle Revitalizer Oil ($7.00)
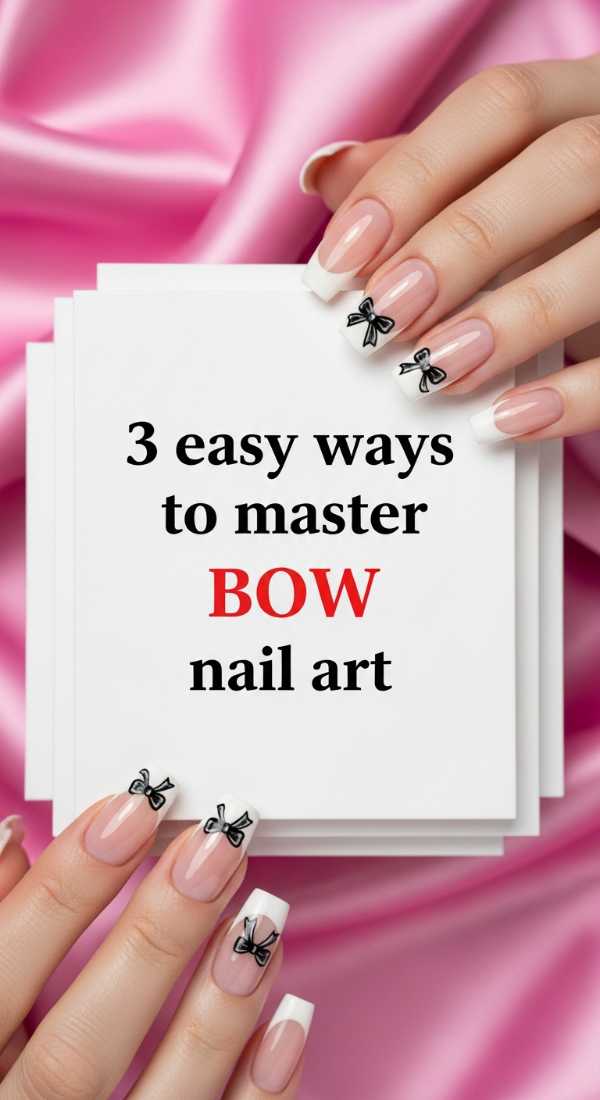
3 Easy Ways to Master Bow Nail Art
Why to love these Nails:
Bows are the ‘coquette’ dream we all deserve. They add a touch of whimsy and femininity that feels like a soft embrace. Whether you want them bold or dainty, they always look professional yet playful.
Essential Items:
- Fine-liner nail brush
- Creamy white or black polish
- Small rhinestones (optional)
- Nail glue
How to Prepare:
- Draw two small triangles meeting at the points in the center of your nail.
- Add two small ‘ribbon’ tails flowing down from the center.
- Place a tiny dot or a rhinestone in the middle to hide the join and add sparkle.
Budget Range
- Winstonia Fine Liner Brushes ($8.00)
- Zoya Professional Lacquer ($12.00)
- Nail Art Rhinestone Kit ($5.00)
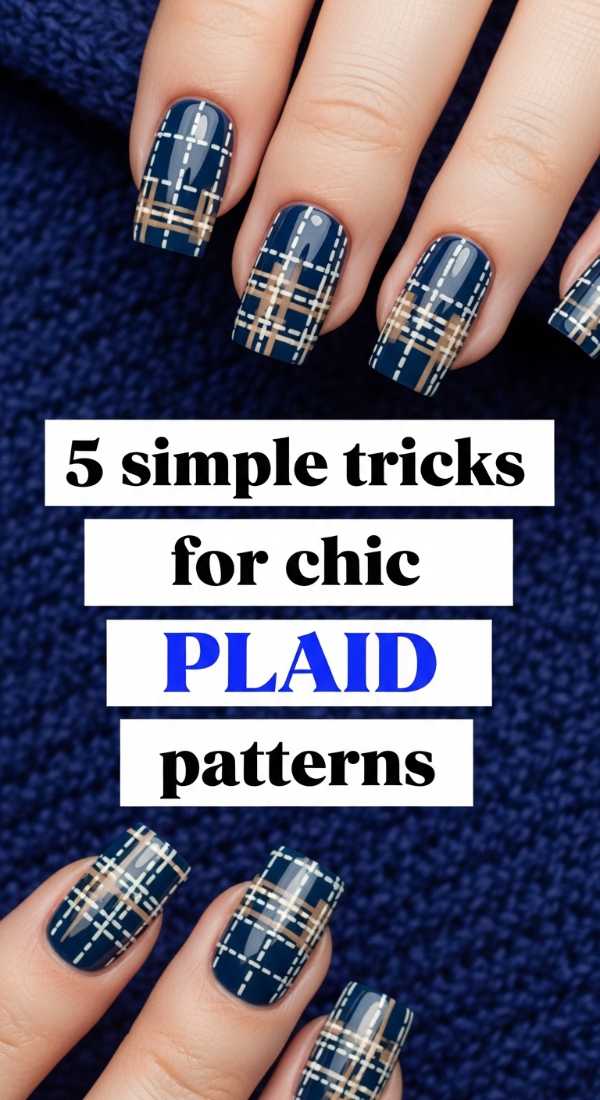
5 Simple Tricks for Chic Plaid Patterns
Why to love these Nails:
Plaid isn’t just for autumn; it’s a timeless, structured look that adds a ‘cool girl’ edge to any outfit. Mastering this makes you feel like a true technician because it’s all about the clean, intersecting lines.
Essential Items:
- Striper brush (long bristles)
- Opaque base color
- Two contrasting line colors
- Steady hand support (a table edge!)
How to Prepare:
- Paint your base and let it dry.
- Use your striper brush to draw two vertical lines.
- Cross them with two horizontal lines.
- Keep the polish thin on the brush to avoid clumps.
- Add one metallic ‘glimmer’ line for extra dimension.
Budget Range
- Beetles Gel Nail Art Liner Set ($10.00)
- Orly Color Amp’d ($11.00)
- Holo Taco Metallic Foil ($14.00)
7 Steps to Paint Aesthetic Coffee Nails
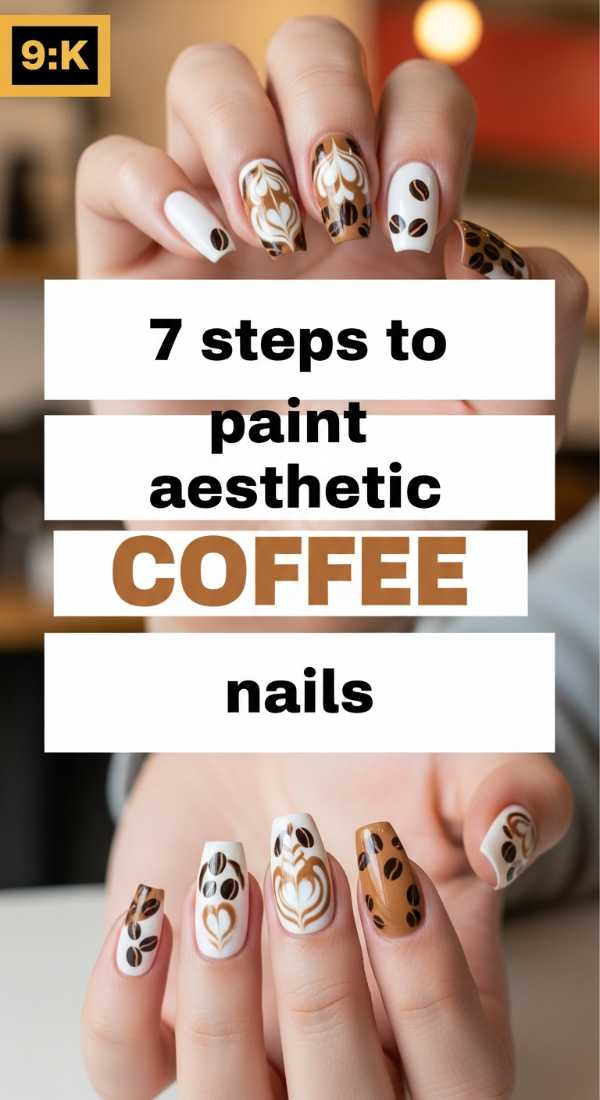
Why to love these Nails:
Think of the warmth of a latte on a rainy morning. These nails use rich espresso and creamy milk tones to create a grounding, earthy aesthetic that goes with every cozy sweater in your closet.
Essential Items:
- Chocolate brown polish
- Caramel tan polish
- Cream polish
- Makeup sponge for ombre
How to Prepare:
- Start with the lightest cream base.
- Apply stripes of brown, tan, and cream to your sponge.
- Dab the sponge onto the nail for a gradient.
- Repeat for opacity.
- Clean the skin with a brush dipped in remover.
- Add a matte or glossy top coat.
- Moisturize your hands immediately.
Budget Range
- Sally Hansen Insta-Dri ‘Cocoa-a-go-go’ ($7.00)
- Wedge Makeup Sponges ($3.00)
- Olive & June ‘CHAI’ Polish ($9.00)
4 Ways to Design Spring Floral Tips
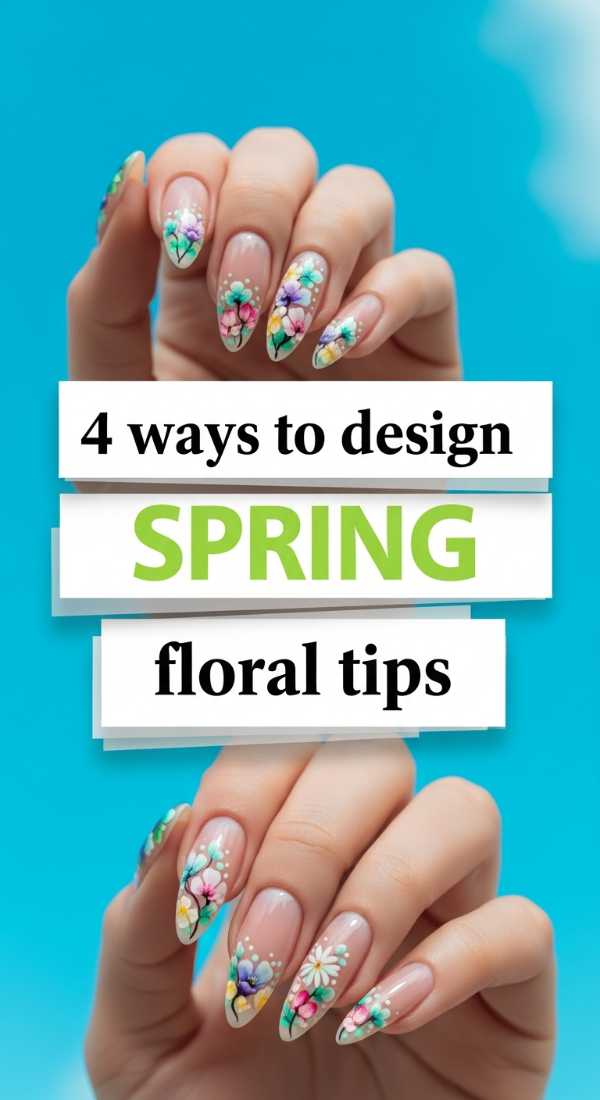
Why to love these Nails:
Floral tips are a fresh take on the French manicure. They feel like a garden party on your fingertips, bringing a sense of joy and vitality every time you look down at your keyboard or your coffee.
Essential Items:
- Nude base polish
- Assorted pastel polishes
- Small dotting tool
- Clear top coat
How to Prepare:
- Paint a clean nude base.
- Use five dots of color in a circle at the tip to create petals.
- Add a yellow or gold dot in the center of each ‘flower’.
- Space them out along the ‘smile line’ of your nail.
Budget Range
- Revlon Enamel in ‘Candid’ ($6.00)
- Nail Art Paint Pens ($13.00)
- CND Vinylux Long Wear Top Coat ($10.50)
3 Quick Steps for Almond Chrome Nails
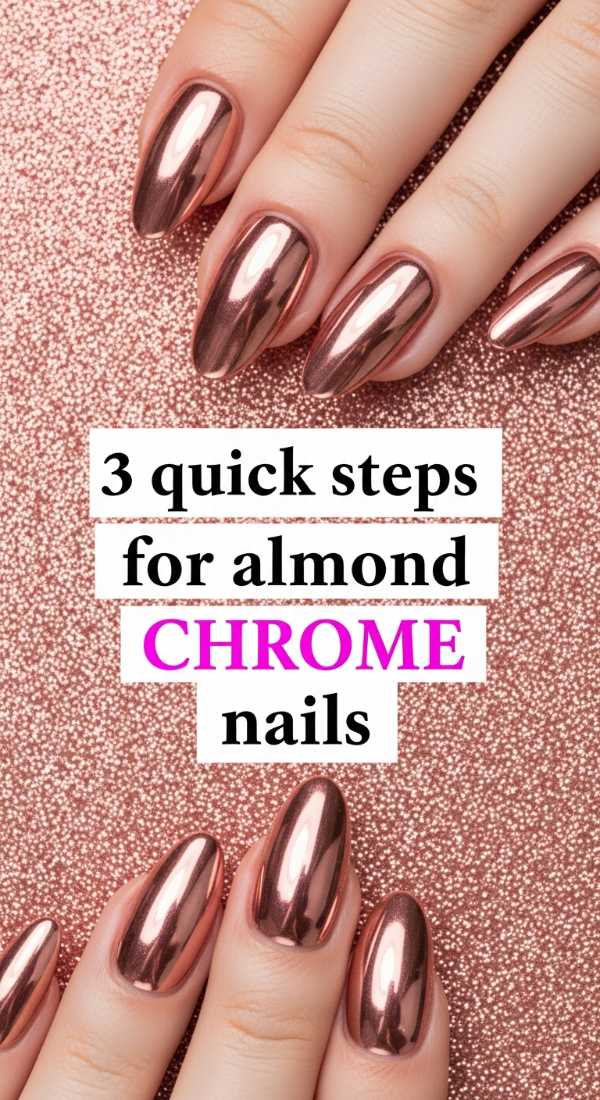
Why to love these Nails:
Chrome is the magic of the future. It’s sleek, it’s reflective, and it makes your nails look like precious jewelry. On an almond shape, the light catches the curves beautifully.
Essential Items:
- No-wipe top coat
- Chrome pigment powder
- Eyeshadow applicator
How to Prepare:
- Apply your base color and a no-wipe top coat; cure or dry until just tacky.
- Use the sponge applicator to burnish the chrome powder into the nail.
- Seal with another layer of top coat to lock in the shine.
Budget Range
- Artdone Chrome Nail Powder ($8.00)
- Modelones No Wipe Top Coat ($7.00)
- Generic Eyeshadow Applicators ($2.00)
5 Minutes to Draw Simple Geometric Lines

Why to love these Nails:
For my loves who adore modern art and clean spaces, geometric lines are perfection. They are quick to do but look incredibly high-end and intentional.
Essential Items:
- Nail striping tape
- Contrasting polish colors
- Tweezers
How to Prepare:
- Place striping tape in a triangle or diagonal pattern over a dry base.
- Paint over the entire nail with your second color.
- Peel the tape away while the polish is still slightly wet.
- Fix any wobbles with a clean brush.
- Seal with top coat.
Budget Range
- Line Art Striping Tape ($4.00)
- Deborah Lippmann Luxury Polish ($20.00)
- Precision Tweezers ($5.00)
8 Ideas to Style Spring Pastel Gradients
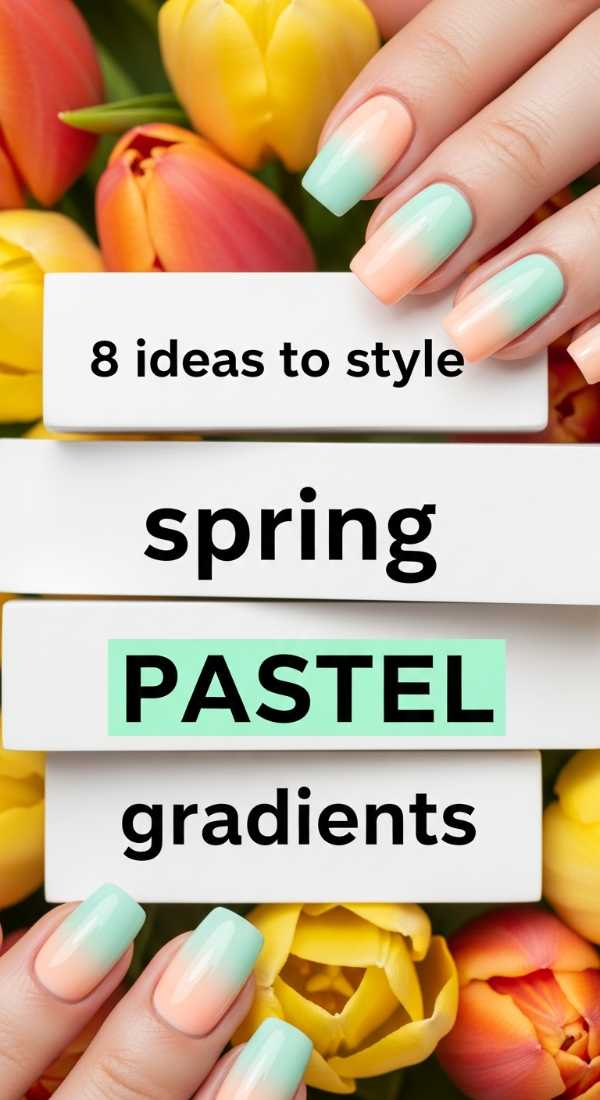
Why to love these Nails:
Gradients represent the soft transition of the seasons. They are ethereal and dreamy, like a sunset on a warm April evening. They are surprisingly forgiving for beginners!
Essential Items:
- At least 3 pastel shades
- Latex barrier (or scotch tape)
- Cosmetic sponge
- White polish (for base)
How to Prepare:
- Apply white base to make colors pop.
- Protect skin with liquid latex.
- Paint colors on sponge.
- Dab onto nail.
- Repeat 3 times.
- Remove latex.
- Apply top coat to blend.
- Clean edges.
Budget Range
- Pueen Liquid Latex ($9.00)
- Wet n Wild Wild Shine Polishes ($2.00 each)
- Real Techniques Sponges ($6.00)
4 Secrets to Achieving Matte Nail Designs
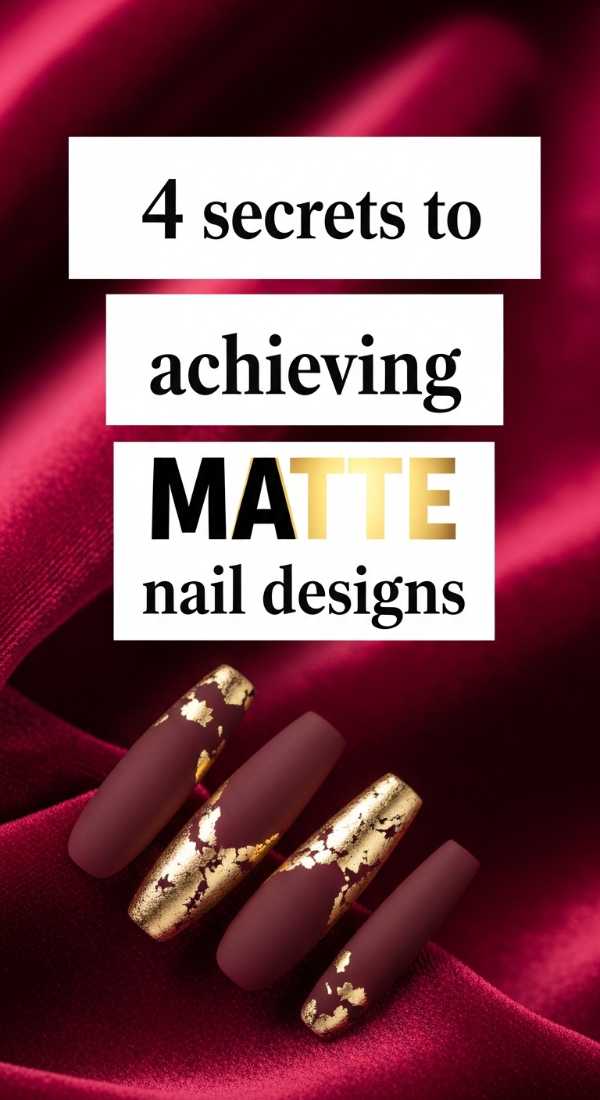
Why to love these Nails:
Matte nails have a velvet-like texture that feels so luxurious to the touch. It transforms any standard color into a modern masterpiece, giving it a soft, muted elegance.
Essential Items:
- Matte top coat
- Buffing block
- Dark, moody polish colors
- Lint-free wipes
How to Prepare:
- Ensure your base color is completely smooth and dry.
- Apply the matte top coat in thin, even strokes.
- Avoid touching the nails until they are fully set (matte shows prints!).
- Refresh the matte look by wiping with alcohol if they get ‘shiny’ from oils.
Budget Range
- OPI Matte Top Coat ($11.50)
- Isopropyl Alcohol ($3.00)
- Lint-Free Nail Wipes ($6.00)
Your Hands Are Your Masterpiece
Sweet friends, I hope you feel inspired to pick up a brush and play. Remember, it doesn’t have to be perfect the first time. The beauty is in the process—the way you choose to care for yourself and express your inner light. You deserve to feel beautiful, and sometimes, a fresh set of DIY nails is just the little spark of joy we need to keep blooming. I can’t wait to see what you create. Go gently, and shine brightly.