
Beyond the Polish: Master the Season’s Hottest High-Fashion Nail Textures
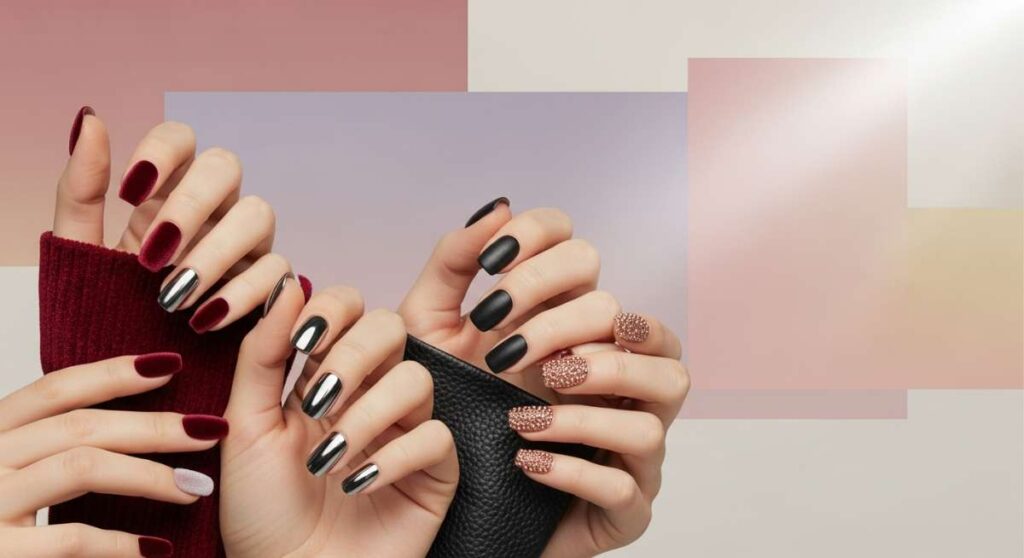
Hello, my loves! Can we just take a collective, deep breath together? There is something so incredibly soul-soothing about the ritual of painting our nails. It’s more than just aesthetics; it’s that quiet pocket of time we carve out for ourselves, a gentle pause in the middle of a bustling world where we can focus on the delicate tips of our fingers and turn them into tiny canvases of joy. I’ve been spending my rainy afternoons wrapped in my favorite cashmere throw, experimenting with textures that feel like a soft embrace, and I am so excited to share these high-fashion secrets with you.
As the seasons shift and the light begins to change, our manicures should reflect that inner blooming. Whether you’re sipping a warm latte or reaching for your favorite journal, having a set of nails that makes you smile every time you catch a glimpse of them is such a beautiful form of self-love. Today, I’m walking you through my favorite DIY trendy nail art—designs that look like they walked off a Parisian runway but are easy enough to master while you’re listening to your favorite podcast at home.
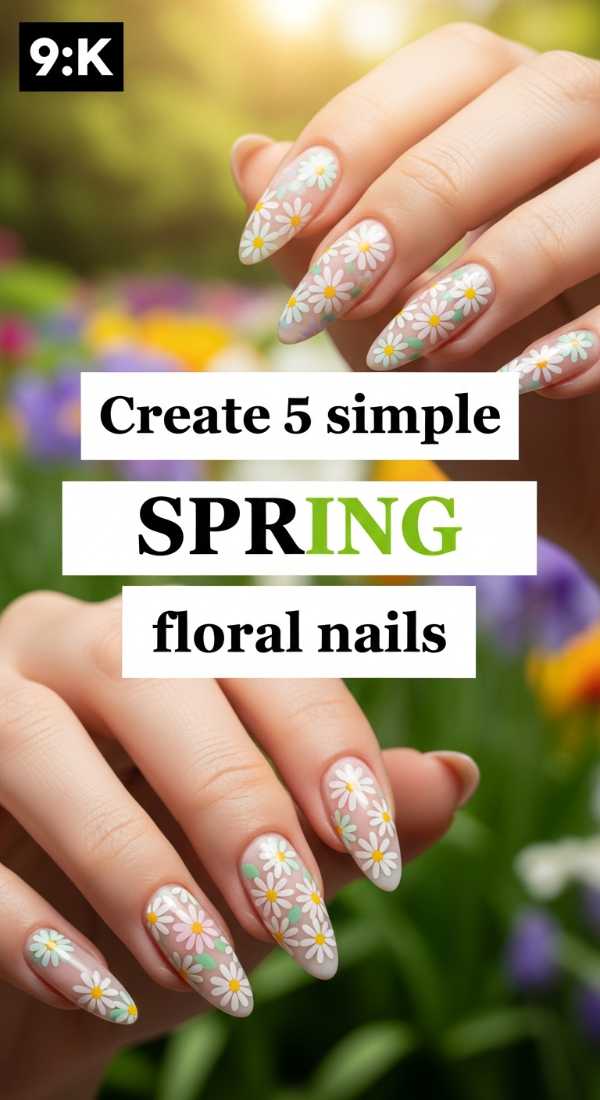
Create 5 Simple Spring Floral Nails
Why to love these Nails:
These nails feel like a morning walk through a sun-drenched meadow. They are delicate, romantic, and perfectly encapsulate the soft awakening of spring. By using light, airy strokes, you can create a look that is both sophisticated and incredibly sweet, reminding us that beauty often lies in the smallest details.
Essential Items:
- Pastel gel polishes (lavender, mint, and soft pink)
- Ultra-fine detailing brush
- Small dotting tool
- Matte top coat
How to Prepare:
- Start with a clean, buffed nail bed and apply a neutral base coat.
- Use your dotting tool to place five small dots in a circle for petals.
- Drag the center of the dots inward with your fine brush.
- Add a tiny yellow or gold dot in the center for the pollen.
- Seal with a matte top coat for a soft, velvety finish.
Budget Range
- Essie Spring Collection: $10.00
- Detailing Brush Set: $6.00
- Nail Dotting Tool: $4.00
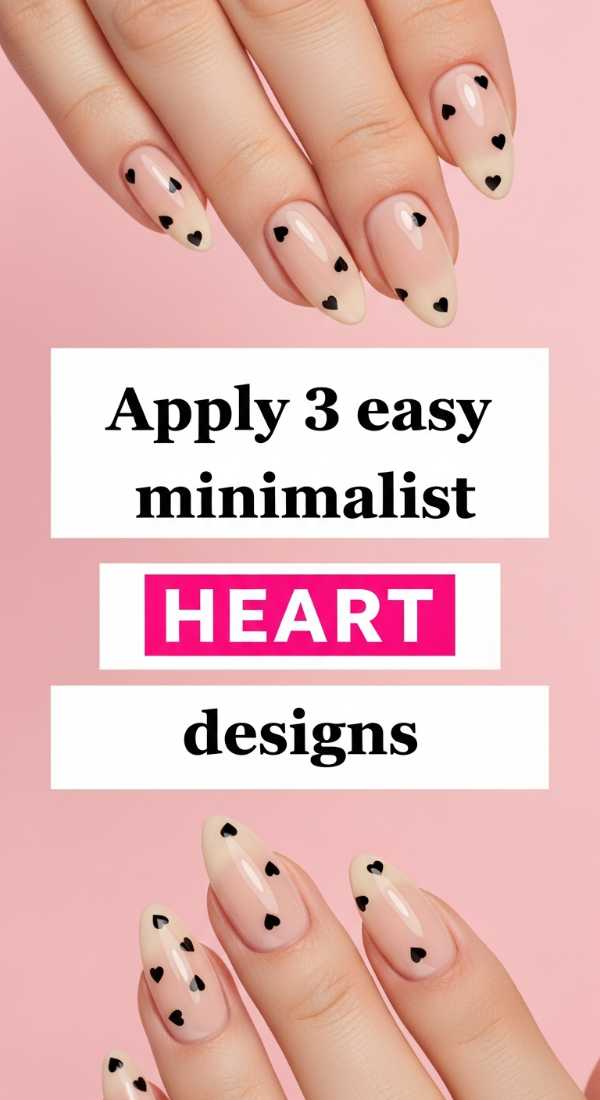
Apply 3 Easy Minimalist Heart Designs
Why to love these Nails:
Sometimes, less truly is more, darling. These minimalist hearts are a tiny whisper of affection for yourself. They look incredibly chic against a nude or sheer base, proving that high-fashion doesn’t have to be loud to be impactful. They are perfect for the girl who loves a clean, understated aesthetic.
Essential Items:
- Sheer ‘your nails but better’ base polish
- Deep crimson or black polish
- A toothpick or small dotting tool
- Glossy high-shine top coat
How to Prepare:
- Apply two coats of your sheer base and let them dry completely.
- Place two small dots of color side-by-side where you want the heart.
- Gently pull the bottom of the dots down to a single point using a toothpick.
- Repeat on one or two accent nails for a balanced look.
- Finish with a glossy top coat to make them pop.
Budget Range
- OPI Bubble Bath: $11.50
- Sally Hansen Red Polish: $7.00
- Clear Gloss Top Coat: $5.00
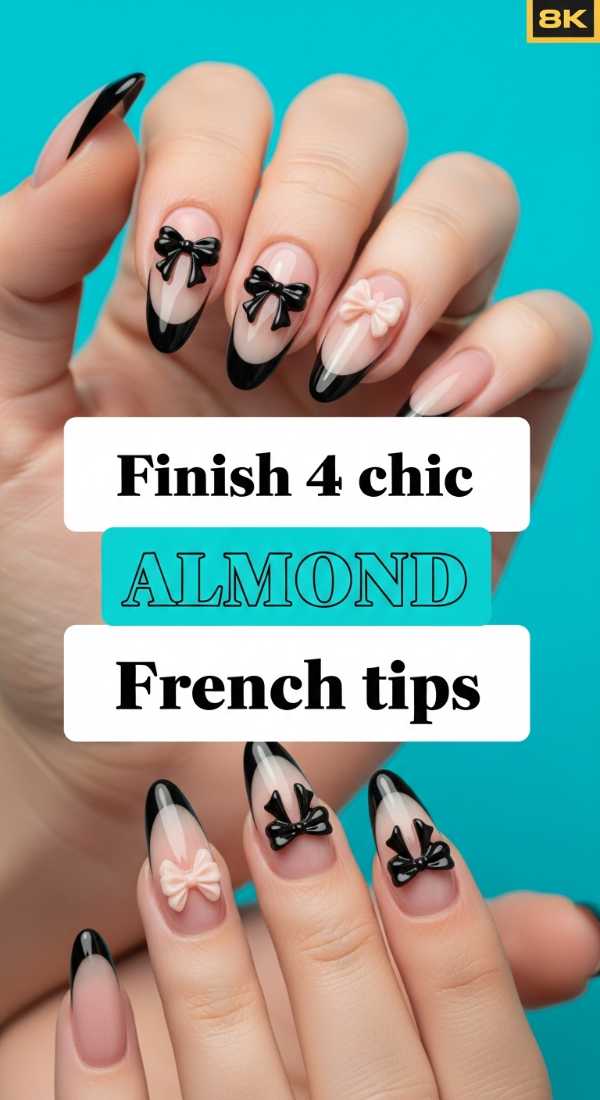
Finish 4 Chic Almond French Tips
Why to love these Nails:
The almond shape is so incredibly flattering—it elongates the fingers and provides a sophisticated silhouette. When you add a modern twist to the classic French tip, like using chrome or a deep velvet texture, it instantly upgrades the look from traditional to high-fashion. It’s timeless elegance at its finest.
Essential Items:
- Almond-shaped nail tips or a good glass file
- White or metallic tip polish
- Guide stickers (optional but helpful)
- Reinforcing base gel
How to Prepare:
- Shape your nails into a gentle almond point, tapering the sides toward the center.
- Apply a base color that matches your skin tone perfectly.
- Using a thin brush, follow the natural curve of your free edge.
- Crisp up the line with a brush dipped in acetone if needed.
- Apply a thick layer of top coat to smooth the transition.
Budget Range
- Glass Nail File: $9.00
- French Manicure Guide Strips: $3.00
- Metallic Polish: $8.00
Paint 5 Trendy Spring Plaid Patterns
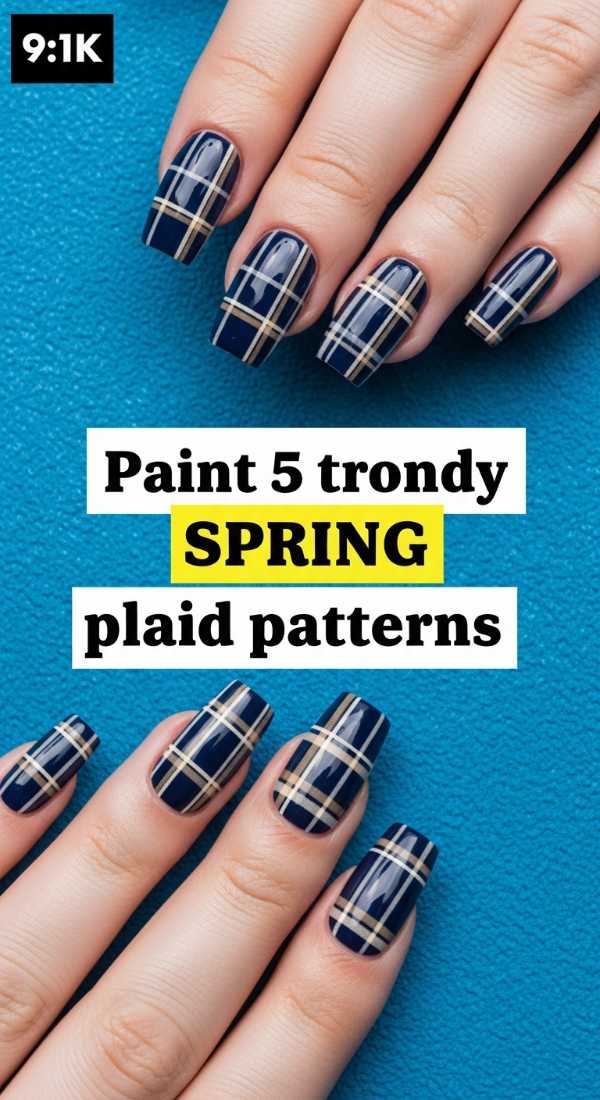
Why to love these Nails:
Plaid isn’t just for autumn anymore! In soft pastels and cream tones, it becomes a high-fashion statement that feels fresh and unexpected. It’s like wearing your favorite light flannel shirt on your fingertips. It adds a wonderful tactile visual that makes people want to lean in and look closer.
Essential Items:
- Cream, sage, and sky blue polishes
- Long-haired striper brush
- Steady hand or a table to rest your arm on
- Non-wipe top coat
How to Prepare:
- Apply your solid cream base and let it dry.
- Paint two vertical lines with your first accent color.
- Paint two horizontal lines crossing over them to create a grid.
- Use a third color to add thinner ‘accent’ lines within the grid.
- Finish with a top coat to blend the layers together visually.
Budget Range
- Striper Brush: $5.00
- Zoya Pastel Trio: $25.00
- Quick Dry Drops: $7.00
Master 3 Cozy Coffee Bean Motifs
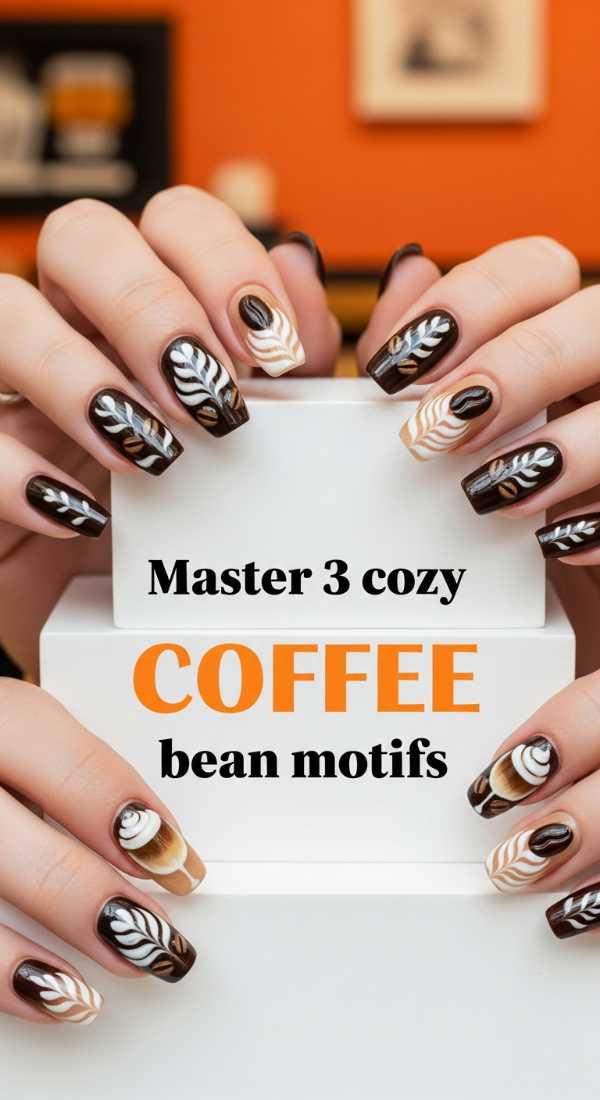
Why to love these Nails:
For my fellow coffee lovers, this is pure magic. These rich, earthy tones provide a grounding energy. The texture of the bean motif is cozy and warm, perfect for those mornings spent clutching a steaming mug. It’s a sophisticated take on themed art that feels grown-up and artistic.
Essential Items:
- Espresso brown and latte tan polishes
- Small oval dotting tool
- Matte and glossy top coats for contrast
How to Prepare:
- Paint your nails a warm latte beige.
- Create small brown ovals with your dotting tool.
- Take a thin brush and draw a tiny ‘S’ curve down the middle of the oval.
- Use a matte top coat on the base and a glossy one on the ‘beans’ for a 3D effect.
- Allow extra drying time for the layered texture.
Budget Range
- Brown Polish Set: $12.00
- Matte Top Coat: $6.00
- Oval Dotting Tool: $4.00
Design 4 Cute Bow Accent Nails
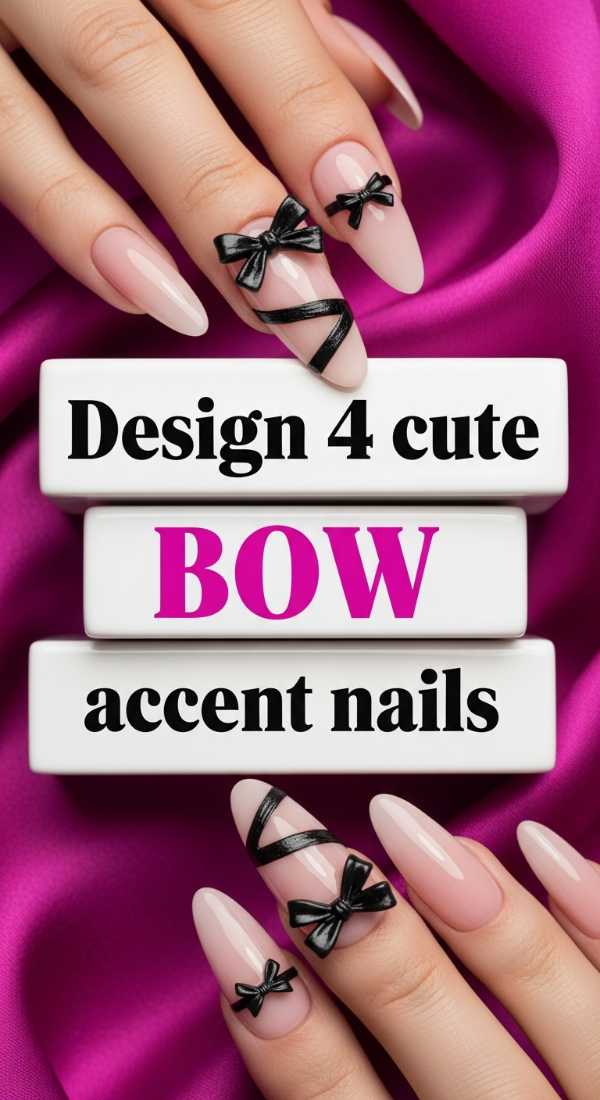
Why to love these Nails:
The ‘coquette’ aesthetic is here to stay, and nothing says high-fashion femininity like a delicate bow. These nails feel like a gift you’ve given yourself. They are playful yet polished, adding a touch of whimsy to any outfit without feeling over-the-top.
Essential Items:
- Soft pink or white polish
- Thin nail art brush
- Tiny rhinestones (optional)
- Nail glue
How to Prepare:
- Paint your base in a soft, translucent shade.
- Draw two triangles that meet at a center point.
- Round out the edges of the triangles to create the loops.
- Add two small ‘tails’ coming down from the center point.
- Place a tiny rhinestone or a dot of polish in the center of the bow.
Budget Range
- Pink Gel Polish: $9.00
- Rhinestone Wheel: $5.00
- Nail Glue: $3.00
Achieve 5 Glossy Navy Almond Looks
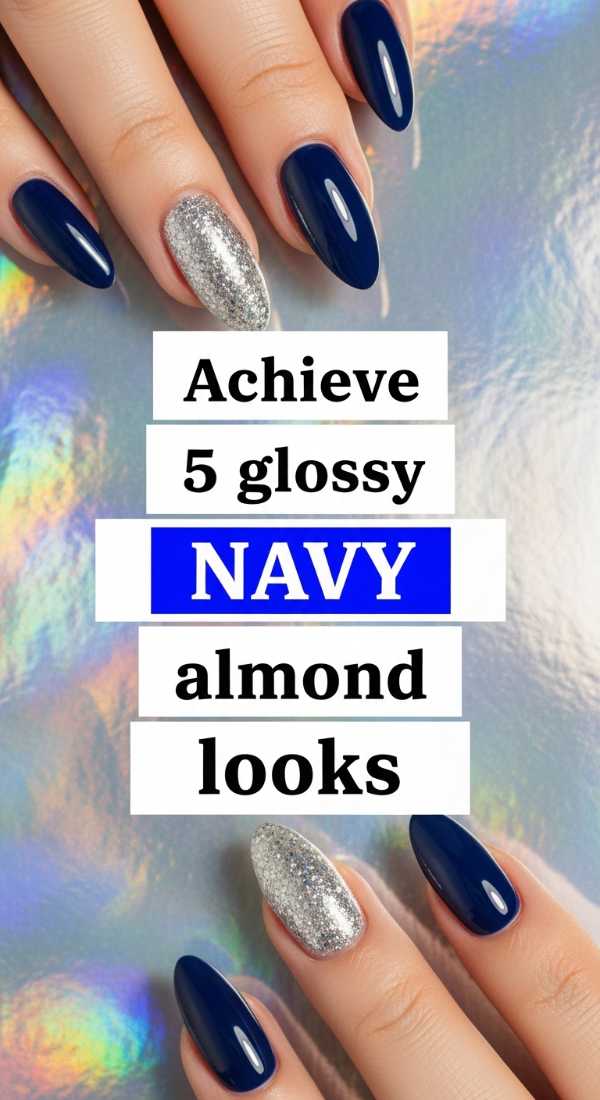
Why to love these Nails:
Navy is the new black, especially when it’s finished with a glass-like shine. On an almond shape, navy looks incredibly expensive and royal. It’s a power move for your manicure—strong, confident, yet still possessing that deep, mysterious allure of a midnight sky.
Essential Items:
- Deep navy blue crème polish
- High-gloss top coat
- Cuticle oil
- Buffing block
How to Prepare:
- Buff the nail surface until perfectly smooth (dark colors show every bump!).
- Apply two thin, even coats of navy polish.
- Wait 2 minutes between coats to prevent bubbling.
- Apply a generous layer of high-shine top coat, capping the edges.
- Massage cuticle oil in once dry for that professional salon glow.
Budget Range
- Revlon Midnight: $6.00
- Seche Vite Top Coat: $9.50
- Organic Cuticle Oil: $12.00
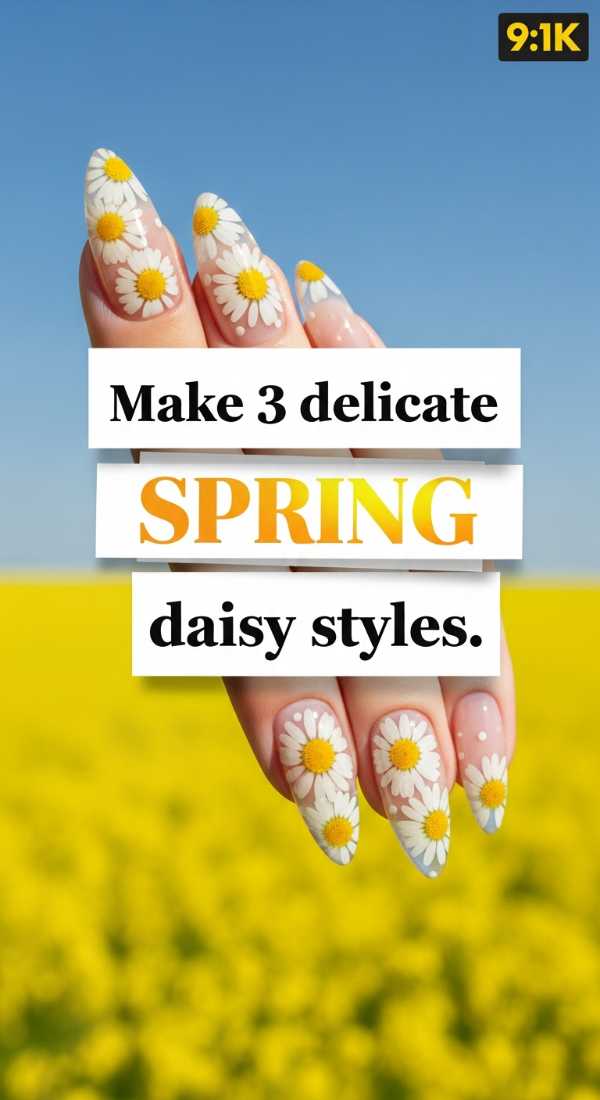
Make 3 Delicate Spring Daisy Styles
Why to love these Nails:
Daisies represent new beginnings, and what could be more fitting? These styles are cheerful and lighthearted. They bring a bit of sunshine to even the cloudiest days. They are the ultimate ‘happy’ manicure that reminds us to look for the light in every situation.
Essential Items:
- Bright yellow polish
- Crisp white polish
- Dotting tool
- Clear base
How to Prepare:
- Keep the base clear or a very light sky blue.
- Use a large dotting tool to place a yellow center.
- Use a smaller tool to place 5-6 white dots around the yellow center.
- Vary the placement—some daisies on the edge, some in the middle.
- Seal with a UV-protectant top coat to keep the whites bright.
Budget Range
- White Stamping Polish: $7.00
- Yellow Polish: $5.00
- Base Coat: $8.00
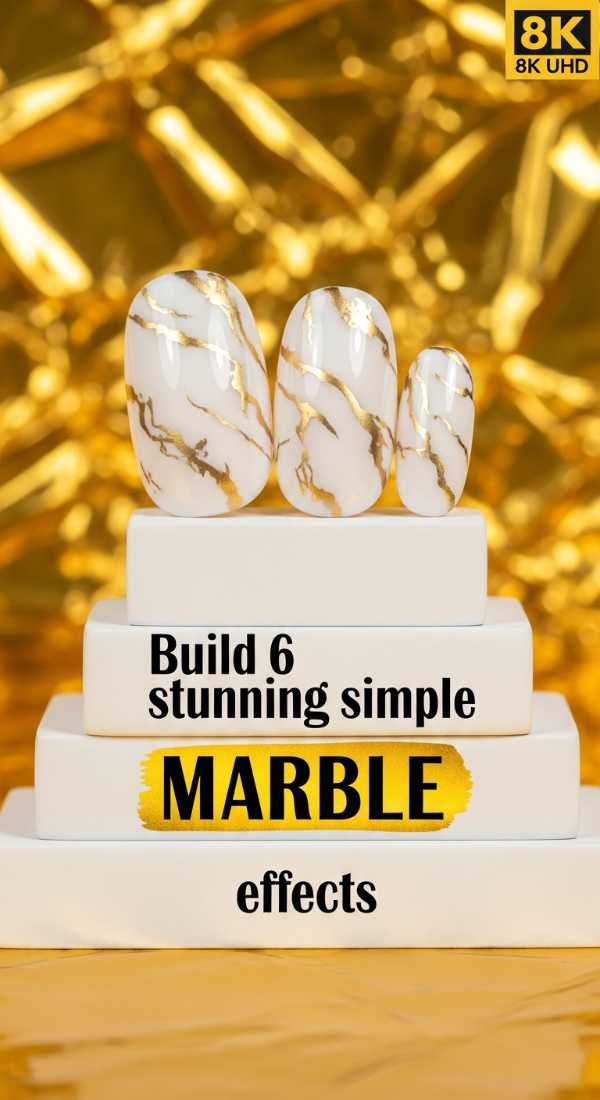
Build 6 Stunning Simple Marble Effects
Why to love these Nails:
Marble is the epitome of high-fashion texture. It looks complex and luxurious, like a piece of fine Italian stone. The beauty is that no two nails are ever the same, making your manicure a completely unique piece of art. It’s surprisingly therapeutic to watch the colors swirl together.
Essential Items:
- White base polish
- Grey or gold acrylic paint or polish
- Small piece of plastic wrap or a sponge
- Acetone and a flat brush for blending
How to Prepare:
- Apply a white base and let it dry halfway (so it’s still slightly tacky).
- Apply random veins of grey or gold.
- Use a brush dipped in acetone to blur and ‘bloom’ the lines.
- Lightly dab with plastic wrap to add natural stone texture.
- Finish with a thick top coat to encapsulate the ‘stone’.
Budget Range
- Gold Leaf Polish: $10.00
- Acrylic Paint Set: $12.00
- Blending Brush: $4.00
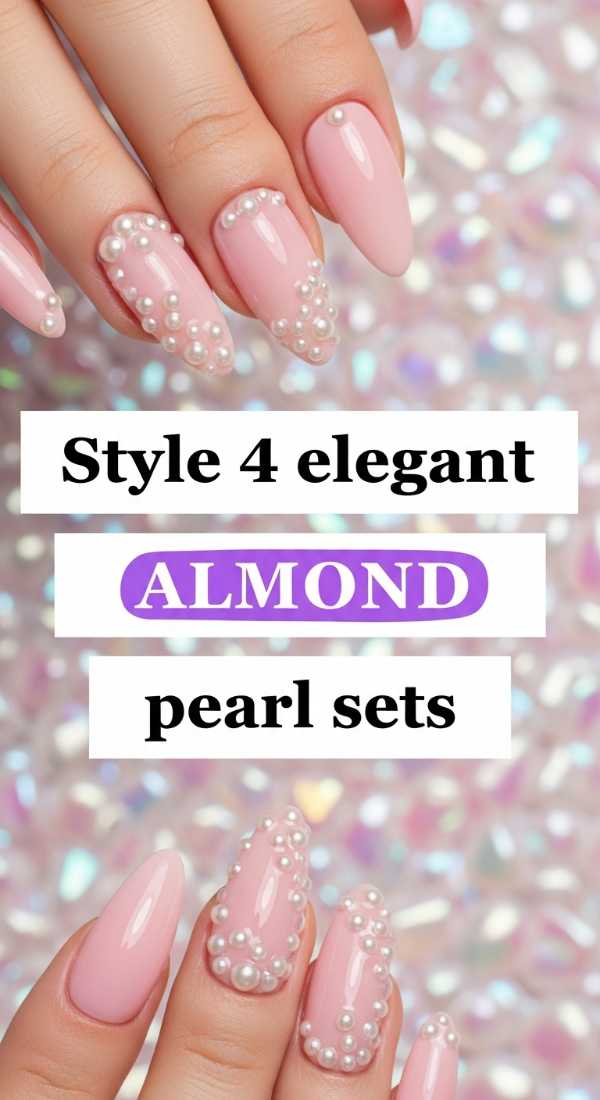
Style 4 Elegant Almond Pearl Sets
Why to love these Nails:
Pearls are the ultimate symbol of timeless grace. Adding 3D pearl elements to an almond-shaped nail creates a texture that is tactile and high-end. This look is perfect for weddings, brunches, or whenever you want to feel like royalty. It captures the light beautifully and adds a gorgeous dimension.
Essential Items:
- Iridescent ‘pearl’ base polish
- Flat-back nail pearls (various sizes)
- Precision tweezers
- Strong-hold nail resin
How to Prepare:
- Apply two coats of iridescent polish as your canvas.
- Plan your placement—down the center or clustered at the cuticle.
- Apply a tiny dot of resin where you want a pearl.
- Use tweezers to gently press the pearl into the resin.
- Cure or let dry completely, ensuring the pearls are secure.
Budget Range
- Nail Pearl Kit: $8.00
- Iridescent Polish: $11.00
- Precision Tweezers: $6.00
Embrace Your Inner Artist
My loves, I hope these designs inspire you to take a moment for yourself this week. There is so much magic in the process of creation, and your hands do so much for you—why not treat them to a little high-fashion flair? Remember, it doesn’t have to be perfect; the beauty is in the ritual and the love you pour into yourself. I can’t wait to see which of these textures you try first. Tag me in your photos, and let’s keep blooming together!