
The Geometry of Style: Mastering Negative Space and Sharp Lines
Hello, my loves. There is something so incredibly soothing about the quiet ritual of self-care, isn’t there? In the midst of our beautiful, chaotic lives, taking a moment to sit down with a cup of tea and focus on the tiny canvas of our fingertips feels like a cloud-soft embrace for the soul. Today, we are exploring the delicate balance between structure and softness, diving deep into the world of modern nail art where every line tells a story of intentionality.
I’ve always believed that our style is a reflection of our inner landscape. Right now, I’m leaning into the clarity of geometric shapes and the breathing room of negative space. It’s not just about looking polished; it’s about that feeling of ‘aha!’ when a sharp line meets a soft pastel. So, grab your favorite cozy blanket, and let’s walk through this DIY Modern Nail Art Masterclass together, one gentle step at a time.
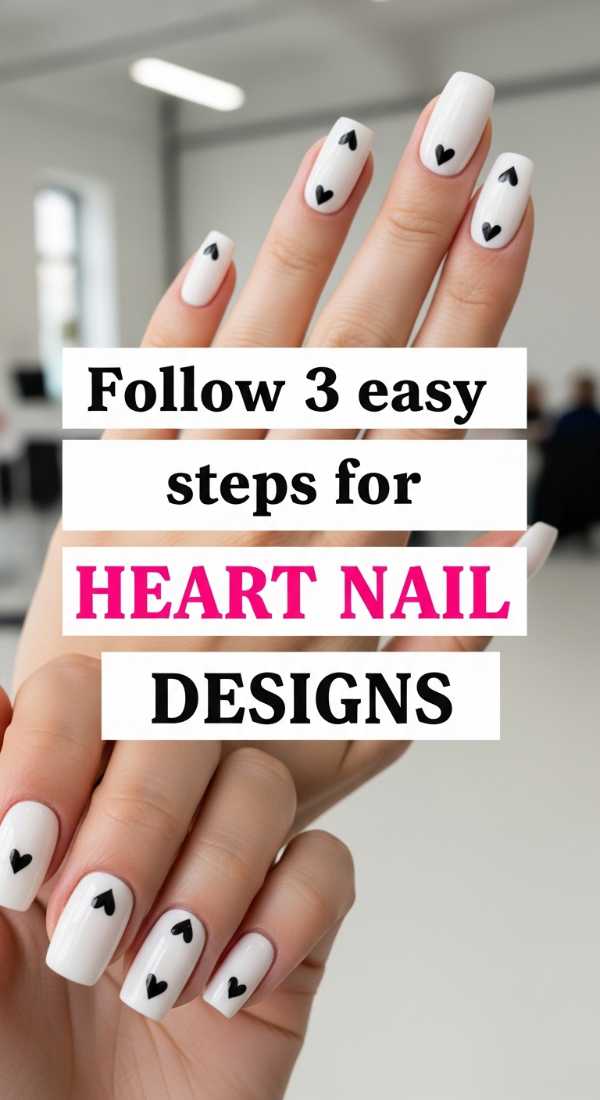
Follow 3 easy steps for heart nail designs
Why to love these Nails:
These tiny hearts are a whisper of self-love on your fingertips. Using negative space around the heart makes it feel modern and airy rather than cluttered, perfect for those days when you need a little extra sweetness in your stride.
Essential Items:
- Nude base polish
- Deep crimson polish
- Wooden toothpick or dotting tool
How to Prepare:
- Apply a sheer nude base and let it dry completely to create a clean canvas.
- Place two small dots of crimson polish side-by-side where you want the heart to live.
- Drag the bottom of each dot downward to meet in a ‘V’ shape, filling in the center to finish the heart.
Budget Range
- Essie Skinny Dip ($9)
- OPI Big Apple Red ($11)
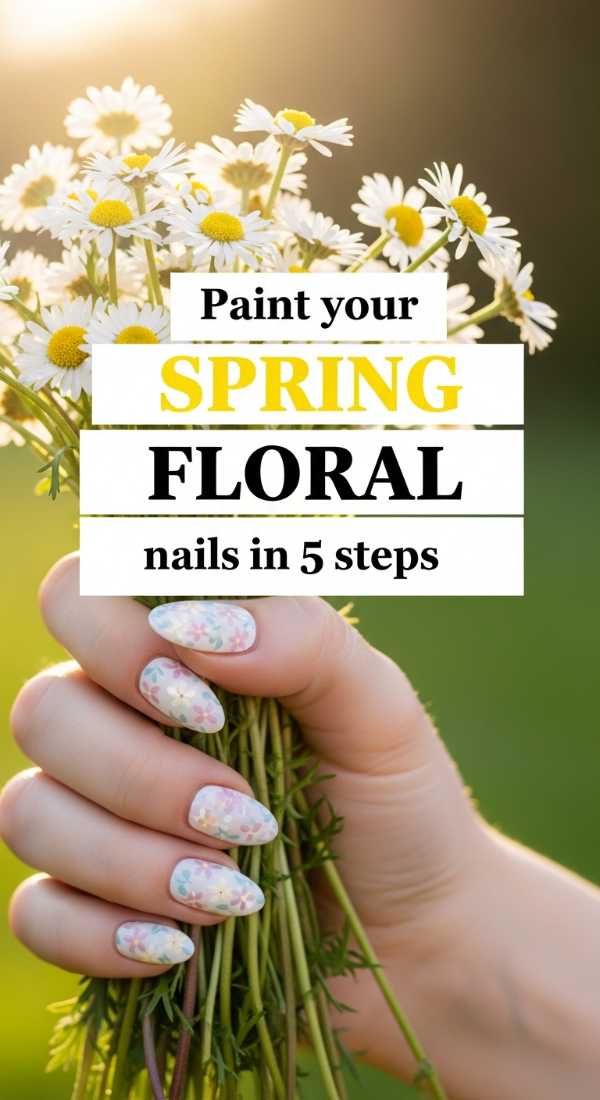
Paint your spring floral nails in 5 steps
Why to love these Nails:
Spring is all about renewal, and these dainty florals capture that ‘first bloom’ energy perfectly. By keeping the petals sharp and defined, we avoid the ‘busy’ look and keep things high-fashion and fresh.
Essential Items:
- Pastel yellow polish
- White striper pen
- Clear top coat
- Matte finish coat
- Fine detail brush
How to Prepare:
- Paint your nails with two coats of pastel yellow for a sunny foundation.
- Use the white striper to create five small dots in a circle for the petal base.
- Pull the white paint toward the center with your detail brush to sharpen the petal edges.
- Add a tiny gold or black dot in the center of the bloom for depth.
- Seal with a matte top coat to give it a modern, velvety feel.
Budget Range
- Sally Hansen Insta-Dri in ‘Dandelion’ ($6)
- Beetles Nail Art Liners ($12 for a set)
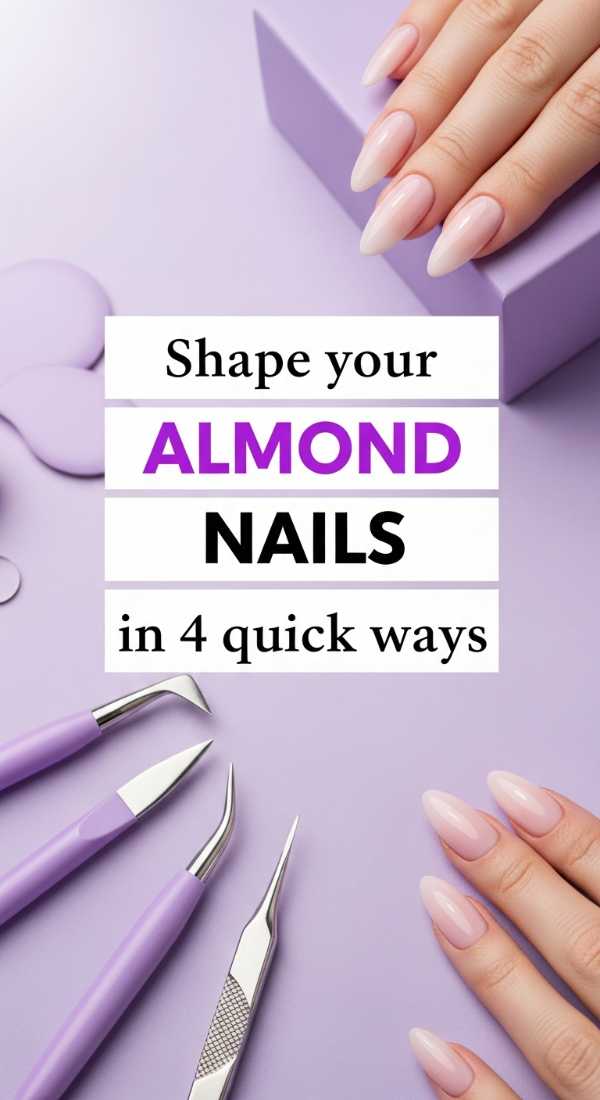
Shape your almond nails in 4 quick ways
Why to love these Nails:
The almond shape is the ultimate secret to elongating your fingers and adding a touch of sophisticated grace. It’s a timeless silhouette that provides the perfect structure for any geometric design we want to layer on top.
Essential Items:
- 180-grit nail file
- Buffer block
- Cuticle oil
- Nail clipper
How to Prepare:
- Find the exact center point of your nail tip to act as your ‘north star’ for the peak.
- File the sides at a 45-degree angle moving toward that center point in long, fluid strokes.
- Round off the sharp peak slightly to create that soft, almond-seed curve.
- Buff the edges smooth to prevent any snagging on your favorite knit sweaters.
Budget Range
- Flowery Blue Files ($4)
- CND SolarOil ($9)
Create a perfect french bow in 2 minutes
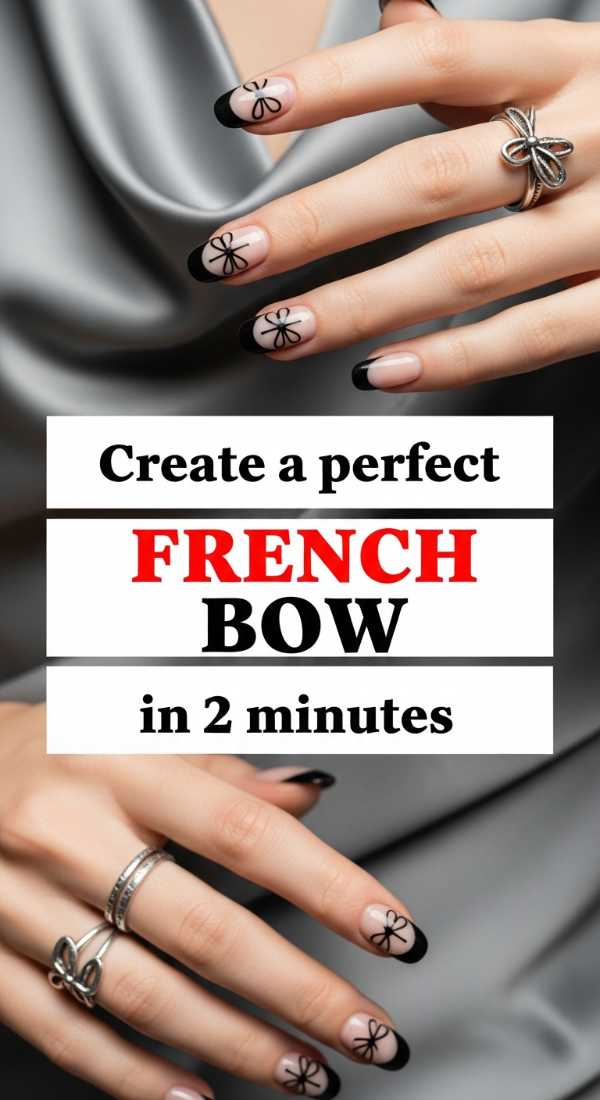
Why to love these Nails:
Coquette aesthetic meets modern minimalism! A tiny bow at the tip of a French manicure is like a little gift to yourself every time you look down at your hands. It’s dainty, precise, and oh-so-chic.
Essential Items:
- White gel liner
- Thin detailing brush
How to Prepare:
- Paint two small triangles touching at their points in the center of your French tip line.
- Add two tiny ‘tails’ flowing downward from the center point for a realistic ribbon look.
Budget Range
- Modelones Liner Gel ($7)
Style your pastel plaid nails in 6 steps
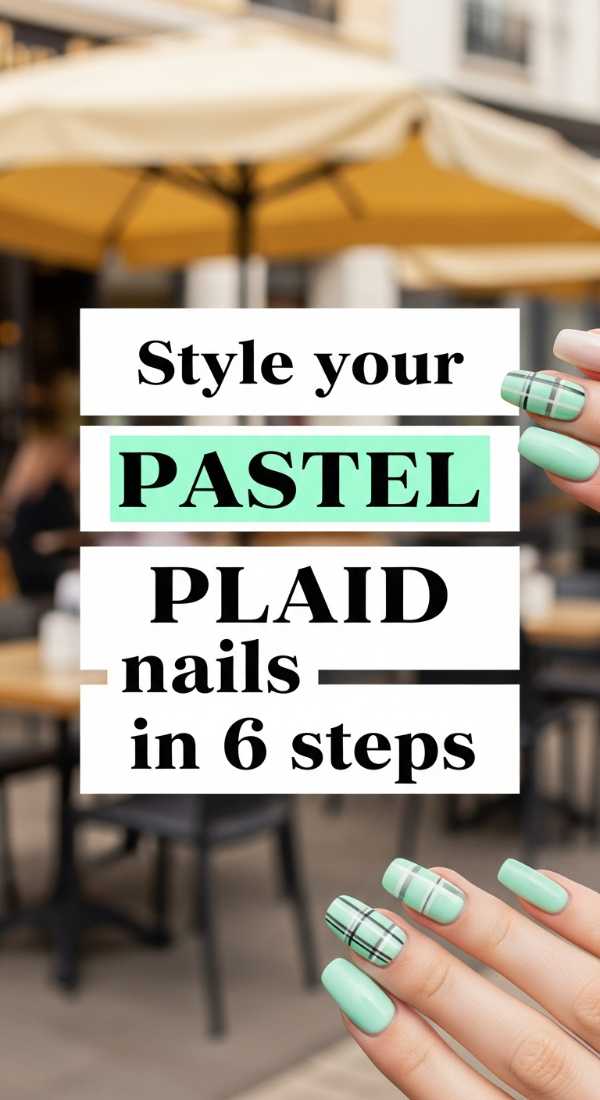
Why to love these Nails:
Plaid doesn’t have to be heavy or dark. In pastel tones, it becomes a soft, geometric dream. It’s the visual equivalent of a picnic in the park, combining sharp lines with the softest hues of the season.
Essential Items:
- Mint green polish
- Lavender polish
- Striping tape
- Thin brush
- Base coat
- Glossy top coat
How to Prepare:
- Apply your base coat and a solid mint green layer as your background.
- Place two vertical strips of tape to define your first set of lines.
- Fill the gap with lavender polish and carefully peel the tape while wet.
- Repeat the process horizontally to create the grid.
- Use a thin brush to add a single white line through the center of the lavender for ‘pop’.
- Finish with a thick glossy top coat to level the different layers of polish.
Budget Range
- Holler and Glow Pastel Set ($10)
- Nail Art Striping Tape ($5)
Master simple gel designs in 5 easy secrets

Why to love these Nails:
Gel is a game-changer for my busy loves who want their art to last through the week. These secrets ensure your sharp lines stay crisp and your negative space stays crystal clear without any lifting.
Essential Items:
- UV/LED Lamp
- Gel base and top coat
- Isopropyl alcohol
- Lint-free wipes
- Gel liner set
How to Prepare:
- Dehydrate the nail bed with alcohol to ensure the gel grips perfectly to the surface.
- Apply thin layers—thick layers are the enemy of a clean, sharp finish!
- Flash-cure for 10 seconds between drawing different lines to prevent colors from bleeding.
- Use a ‘clean-up’ brush dipped in alcohol to sharpen any edges before the final cure.
- Wipe away the ‘tacky’ layer at the very end to reveal a glass-like shine.
Budget Range
- SUNUV LED Lamp ($25)
- Beetles No Wipe Top Coat ($8)
Plan your chic almond nails for 7 days
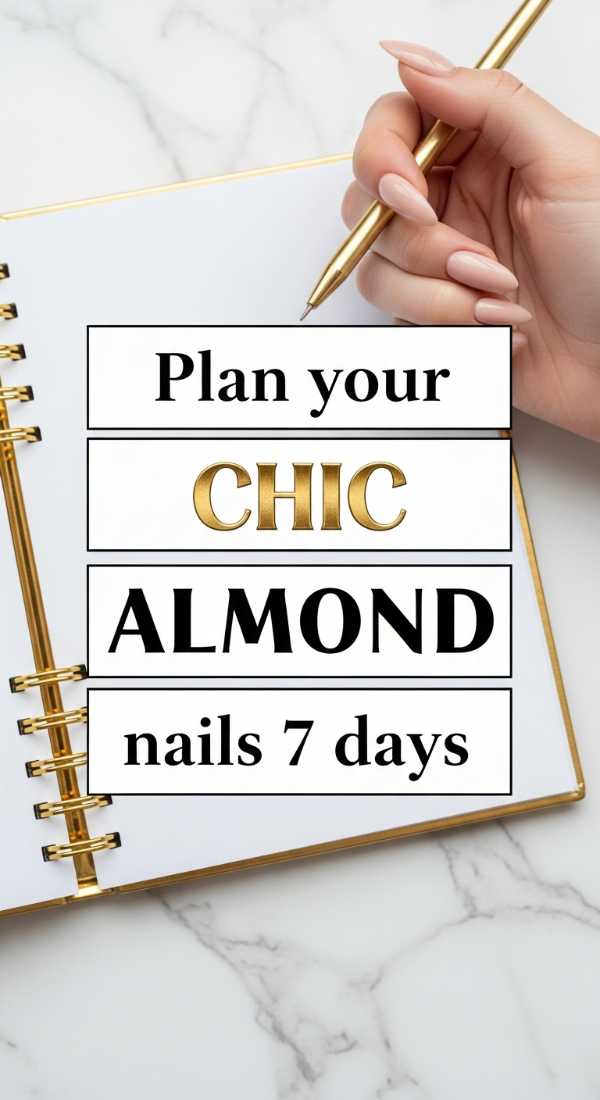
Why to love these Nails:
Planning your look for the week ahead is the ultimate form of organization. It ensures your nails match your vibe every single day, keeping you feeling put-together from Monday meetings to Sunday brunch.
Essential Items:
- Nail planner/journal
- A palette of 3 coordinating colors
How to Prepare:
- Day 1-2: Start with a clean, solid neutral to establish your base.
- Day 3: Add a single geometric line to the ring finger for a mid-week refresh.
- Day 4-5: Layer a contrasting color on the tips for a modern French twist.
- Day 6-7: Add a tiny metallic dot near the cuticle for weekend sparkle.
Budget Range
- Zoya Naked Manicure Kit ($25)
Brew a minimal coffee design in 3 tips
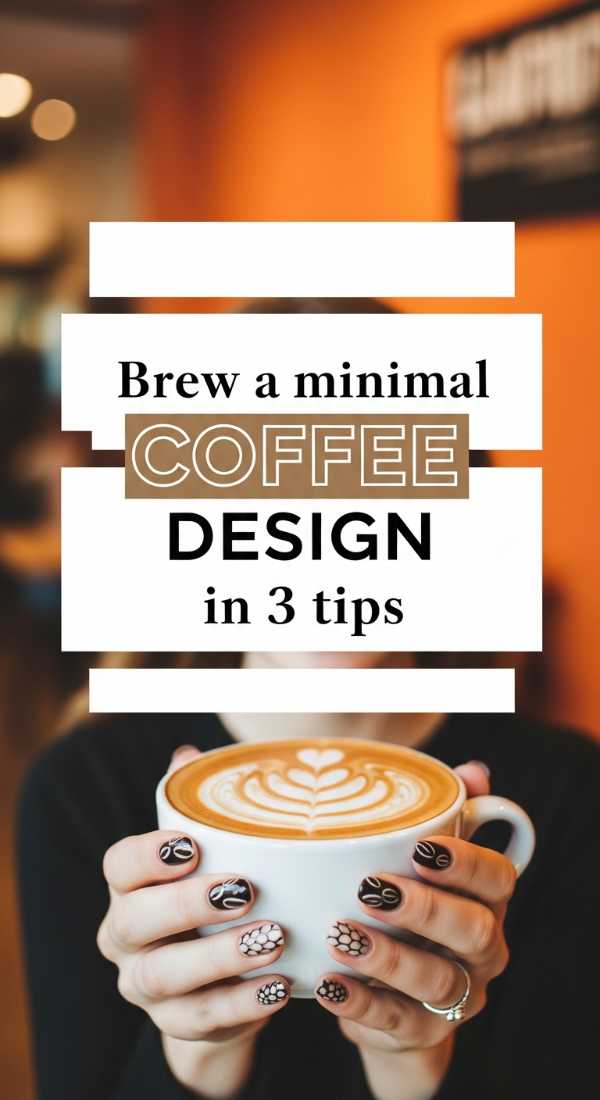
Why to love these Nails:
For the coffee lovers! These designs use warm browns and creamy whites to create a cozy, caffeinated aesthetic that feels grounded and sophisticated. It’s the perfect ‘warm hug’ for your hands.
Essential Items:
- Mocha brown polish
- Cream polish
- Dotting tool
How to Prepare:
- Mix a drop of mocha and cream to create a ‘latte’ swirl on a single accent nail.
- Keep the other nails a solid mocha to let the swirl be the ‘geometric’ focal point.
- Use the dotting tool to add three tiny ‘coffee bean’ dots near the base of your thumb.
Budget Range
- Expressie ‘Cold Brew Crew’ ($9)
Refresh your spring almond nails in 4 ways
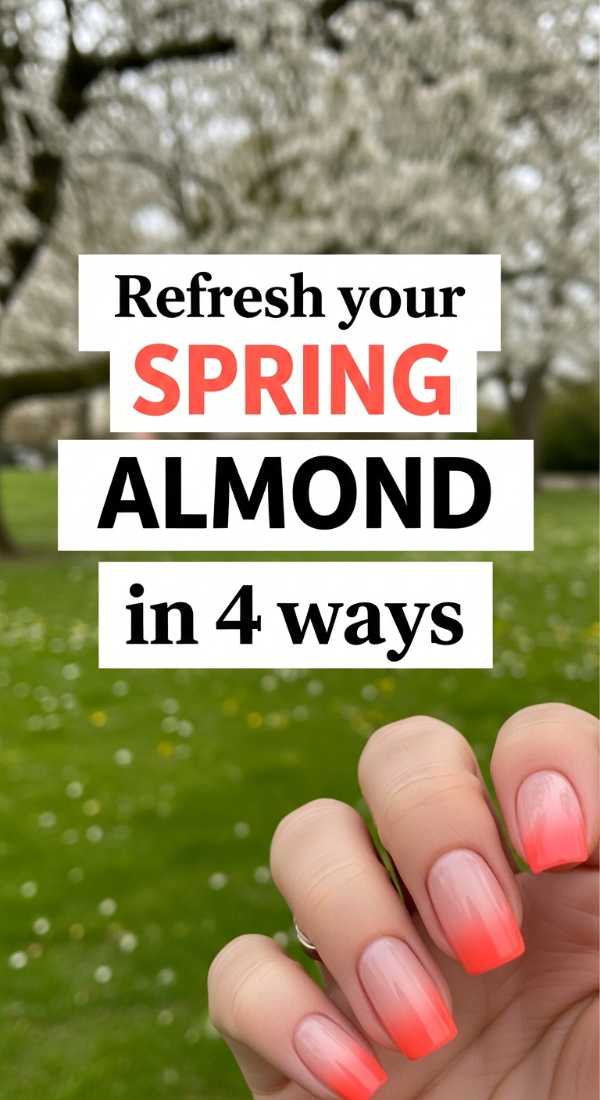
Why to love these Nails:
Sometimes we don’t need a full overhaul, just a little refresh! These four quick tweaks will breathe new life into your manicure when you’re short on time but want to keep things looking sharp.
Essential Items:
- Glitter topper
- Matte top coat
- Nail file
- Fresh top coat
How to Prepare:
- Change the texture by adding a matte top coat over your existing glossy color.
- Swipe a thin line of glitter along the very edge of your almond tip to hide any wear.
- Lightly re-shape the tips with a file to sharpen the almond silhouette.
- Apply a fresh layer of high-shine top coat to bring back the ‘salon’ glow.
Budget Range
- Revlon Matte Top Coat ($6)
- Olive & June Super Glossy ($9)
Draft professional plaid designs in 5 hacks
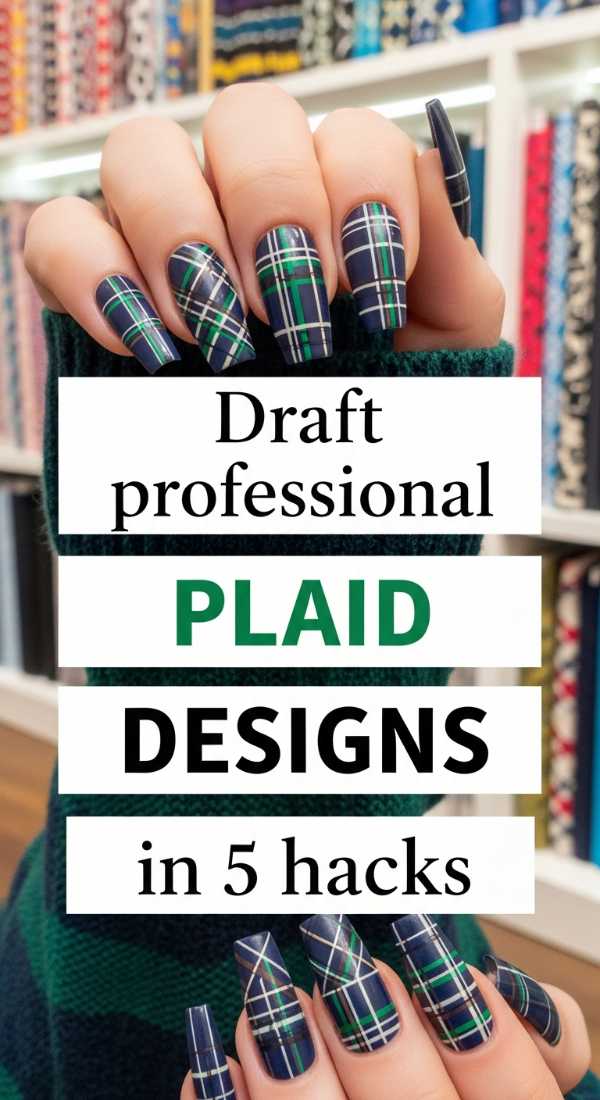
Why to love these Nails:
Professional-grade plaid is all about the ‘transparency’ look. These hacks will make your DIY art look like it cost a hundred dollars at a high-end boutique, emphasizing precision and depth.
Essential Items:
- Sheer ‘jelly’ polish
- Fine liner brush
- Steady hand!
- Palette for mixing
- Acetone for cleanup
How to Prepare:
- Use ‘jelly’ (translucent) polishes so that where the lines overlap, the color naturally darkens.
- Rest your pinky finger on the table to stabilize your hand while drawing long lines.
- Pull the brush toward you rather than pushing it for a straighter, cleaner stroke.
- Mix a bit of top coat into your opaque colors to create your own DIY jelly shades.
- Keep a brush dipped in acetone nearby to ‘erase’ any wobbles instantly.
Budget Range
- Cirque Colors Jelly Polish ($12)
- Winstonia Detail Brushes ($8)
Embrace the Art of You
My loves, I hope these designs inspire you to take a little time for yourself this week. Remember, it’s not about being a professional artist; it’s about the joy of creating something beautiful that makes you smile every time you type on your keyboard or hold a mug. Perfection is overrated—the magic is in the process and the love you pour into yourself. Until next time, stay soft but keep your lines sharp!