
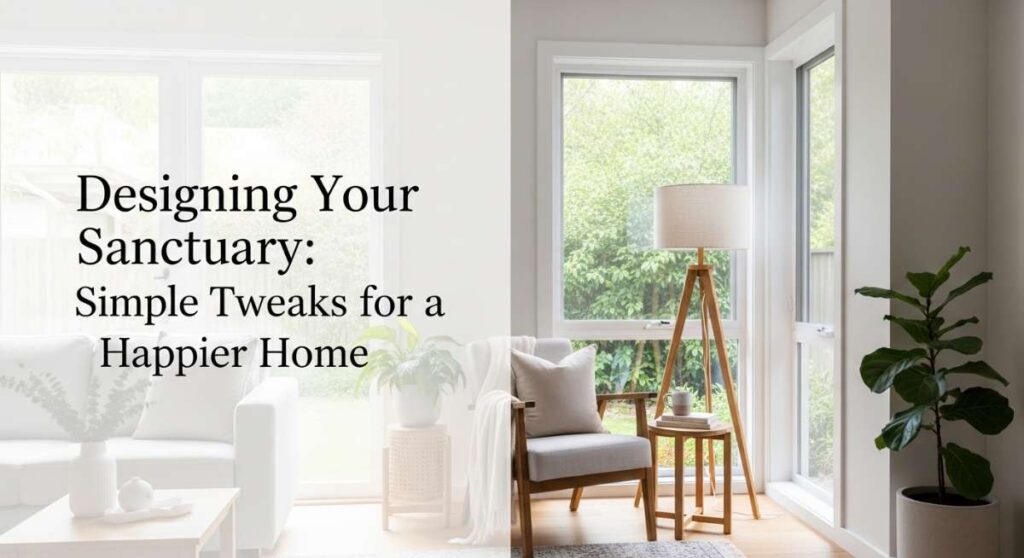
We have all had those days where the world feels a bit too loud, a bit too fast, and a bit too heavy. But the moment you turn that key in the lock and step into your home, the air should feel different. It should feel like a deep, cleansing breath. Our homes are more than just four walls and a roof; they are the physical manifestations of our inner peace, the sanctuaries where we recharge our souls and celebrate the people we love most.
Designing a happier home isn’t about following every fleeting trend or spending a fortune on designer furniture. It’s about the small, intentional tweaks that cater to your senses and your lifestyle. It’s about the way the light hits a corner in the afternoon, the soft texture of a well-worn rug under your feet, and the way a room flows to encourage conversation and connection. Today, we’re diving into ten beautiful ways to curate your space, from the curb to the kitchen table, to create a life that feels as good as it looks.
How to Design a Simple Front Yard for Maximum Curb Appeal

Why we love this
There is nothing quite like the feeling of pulling into your driveway and being greeted by a landscape that feels both manicured and inviting. We love this approach because it balances the structural beauty of evergreen shrubs with the soft, swaying textures of ornamental grasses. Imagine the scent of fresh mulch and the vibrant green of a healthy lawn contrasting against crisp, white stone borders. It’s a sensory experience that tells the world—and yourself—that peace begins right at the sidewalk.
Essential Elements:
- Low-maintenance evergreen shrubs (like Boxwood or Dwarf Yaupon Holly)
- Hardscaping materials (river rock or cedar mulch)
- Defined edging (brick, metal, or stone)
- Layered perennials for seasonal color
- Symmetrical lighting fixtures
How to make it
- Begin by sketching a master plan that prioritizes symmetry; use your front door as the central axis to ensure the visual weight is balanced on both sides of the yard.
- Clear the area of all weeds and old debris, then use a spade to cut a sharp, 3-inch deep edge along the walkway to create a professional-looking border that prevents grass encroachment.
- Incorporate soil amendments like organic compost into the planting beds, tilling to a depth of 6 inches to ensure high drainage and nutrient availability for your new greenery.
- Place your structural evergreens at the back of the beds, spacing them according to their mature width to avoid overcrowding; use a hand trowel to dig holes twice as wide as the root ball.
- Install a layer of heavy-duty landscape fabric to suppress weeds, then top with a 3-inch layer of polished river stones or dark cedar mulch for a high-contrast, clean finish.
How to Style a Work Cubicle for Personal Productivity and Joy
Why we love this
Your workspace shouldn’t feel like a sterile cage; it should be a cockpit for your creativity. By layering textures like a felt desk mat with the organic warmth of a small potted succulent, you create a tactile environment that grounds you during high-stress meetings. We love the subtle aroma of a non-toxic essential oil diffuser nearby, mixing with the visual joy of curated personal photos. It transforms the “grind” into a personalized ritual of productivity and calm.
Essential Elements:
- Ergonomic felt or leather desk mat
- Small-scale indoor plants (Snake plant or Pothos)
- Warm-toned LED desk lamp
- Framed personal art or motivational quotes
- Cable management clips and organizers
How to make it
- Clear the entire surface and wipe it down with a mild cleanser to remove any residual dust, creating a blank canvas for your new aesthetic.
- Position your monitor at eye level using a wooden or acrylic riser, which provides extra storage space underneath for small office supplies.
- Layer your textures by placing a large felt mat under your keyboard and mouse; this dampens sound and provides a soft, warm surface for your wrists.
- Introduce “living” elements by placing a low-light plant in the corner furthest from your computer to soften the hard angles of the cubicle walls.
- Add a personal touch with a small magnetic board or cork strip for pinning inspirations, ensuring everything is organized vertically to maximize your actual working square footage.
How to Build a Cheap Pool Deck for Endless Summer Fun
Why we love this
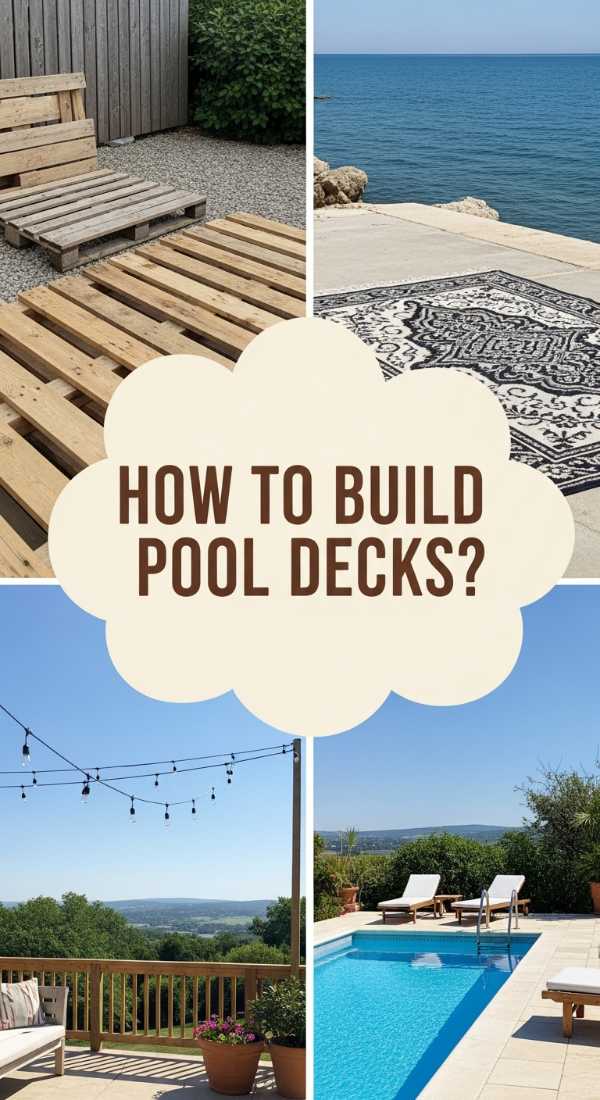
There is a specific kind of magic in the smell of sun-warmed cedar and the sound of splashing water on a hot July afternoon. This project is a game-changer because it brings the luxury of a resort to your backyard without the astronomical price tag. We love the rugged, barefoot-friendly texture of pressure-treated timber and the way a well-built deck provides a transitional space between the cool water and the lush grass, making every swim feel like a vacation.
Essential Elements:
- Pressure-treated 2×4 and 4×4 lumber
- Concrete deck blocks for foundations
- Galvanized deck screws
- Weatherproof wood stain or sealant
- Outdoor rug and lounge seating
How to make it
- Level the ground around your above-ground pool using a rake and a level, then lay down a base of gravel to ensure proper drainage and prevent wood rot.
- Space your concrete deck blocks approximately 4 feet apart in a grid pattern, checking each one with a long level to ensure the entire foundation is perfectly horizontal.
- Cut your 4×4 posts to the desired height of the pool rim and set them into the blocks, securing the 2×6 rim joists around the perimeter with heavy-duty lag bolts.
- Install the joists at 16-inch intervals across the frame to provide a sturdy support system that won’t flex or bounce when people walk on it.
- Lay your deck boards with a 1/8-inch gap between them for water runoff, then finish the wood with a high-quality UV-resistant stain to protect against the bleaching sun and moisture.
How to Create a Whimsical Apartment for a Magical Daily Aesthetic

Why we love this
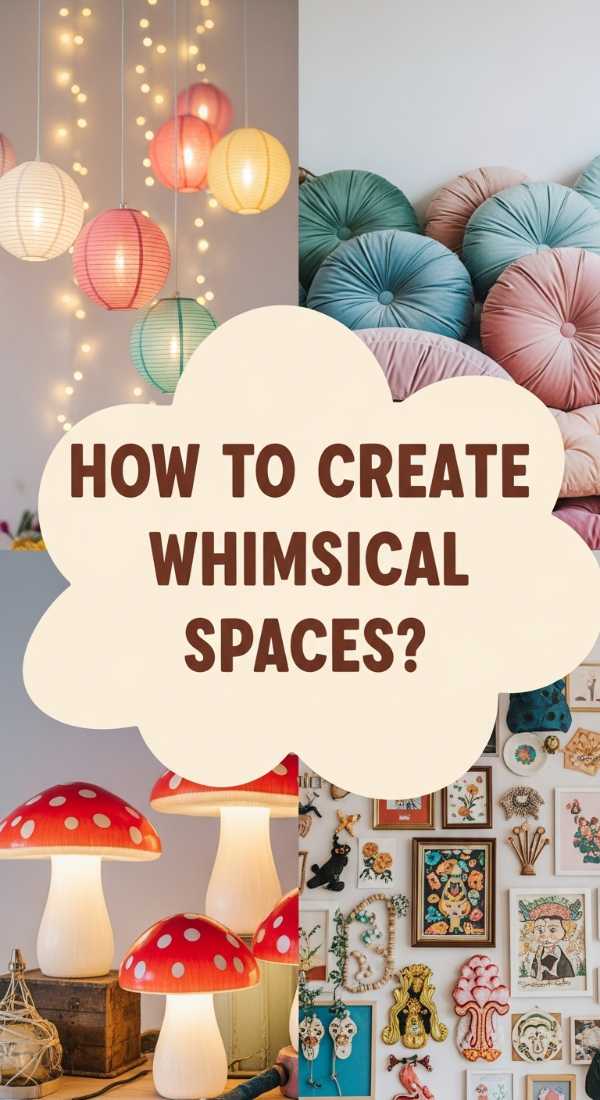
Walking into a whimsical apartment feels like stepping inside a storybook where the rules of the mundane world don’t apply. We are obsessed with the play of light through sheer, iridescent curtains and the soft, marshmallow-like feel of a high-pile faux fur rug. It’s a space filled with “treasures”—vintaged mirrors that catch the sunset and pastel accents that make every corner feel like a celebration. This aesthetic isn’t just decor; it’s a mood-boosting environment that sparks daily wonder.
Essential Elements:
- Fairy lights or Edison bulb strands
- Pastel-colored throw pillows and blankets
- Ornate, gold-framed mirrors
- Removable floral wallpaper
- Sheer, breezy window treatments
How to make it
- Start with a neutral base on your walls, then apply a removable floral or celestial wallpaper to a single focal wall to create immediate visual depth and character.
- Hang multiple mirrors of various sizes across from your windows; this technique doubles the natural light and creates an ethereal, shimmering effect throughout the room.
- Incorporate “ethereal” lighting by draping warm-toned fairy lights along the ceiling perimeter or behind sheer curtains to create a soft, diffused glow at night.
- Layer your textiles by mixing textures like velvet, lace, and faux fur on seating areas, ensuring a palette of soft pinks, mints, and lavenders stays cohesive.
- Display your “curiosities”—vintage books, dried flowers, or crystals—on floating shelves at varying heights to draw the eye upward and create a sense of movement.
How to Master the Vintage Grandma House Aesthetic for Ultimate Comfort

Why we love this
There is a profound, soul-deep comfort in the “Grandmacore” aesthetic. It smells like cinnamon and old books, and it feels like being wrapped in a hand-knitted hug. We love this look because it rejects the coldness of modern minimalism in favor of heritage, history, and heavy quilts. The tactile richness of lace doilies against dark wood and the sight of a porcelain teapot steaming on the stove create an atmosphere where time seems to slow down, inviting you to stay a while longer.
Essential Elements:
- Crocheted or knitted throw blankets
- Vintage floral patterns (chintz or calico)
- Solid wood furniture with a lived-in patina
- Pressed flower art
- Classic porcelain or stoneware tea sets
How to make it
- Scour thrift stores for solid wood pieces with character, such as a spindle-back chair or a claw-foot side table, and clean them with lemon oil to restore their natural luster.
- Layer your bed or sofa with multiple handmade quilts and crocheted throws, focusing on mismatched but complementary floral and geometric patterns.
- Create a gallery wall using vintage embroidery hoops and pressed botanical frames, spacing them closely together to create a “cluttered but curated” feel.
- Switch out modern hardware on cabinets for ceramic or brass knobs that feature delicate filigree or painted floral designs for an instant heritage upgrade.
- Incorporate “scent memory” by placing bowls of dried lavender or simmering a pot of water with apple slices and cinnamon sticks on the stove to complete the sensory immersion.
How to Plan an Aquarium Setup for a Serene Living Room

Why we love this
An aquarium is more than a pet habitat; it is a living, breathing piece of art that anchors a room with tranquility. We love the hypnotic rhythm of the water bubbles and the lush, vibrant greens of live aquatic plants swaying in the current. There is a primal sense of peace that comes from watching fish glide through a miniature underwater forest. It provides a natural focal point that lowers the heart rate and brings a literal piece of the river into your living space.
Essential Elements:
- Glass or acrylic aquarium tank (20+ gallons for stability)
- High-quality LED lighting (full spectrum for plants)
- Natural substrate (aquasanding or specialized plant soil)
- Hardscape materials (driftwood or Seiryu stone)
- Quiet canister or sponge filter
How to make it
- Place your tank on a dedicated, reinforced stand away from direct sunlight to prevent algae blooms and ensure the weight is evenly distributed across the floor joists.
- Layout your “hardscape”—the driftwood and rocks—using the rule of thirds; place your tallest piece off-center to create a natural, asymmetrical flow that draws the eye across the tank.
- Add your substrate, sloping it from back to front to create an illusion of greater depth, then carefully plant your greenery using aquascaping tweezers to tuck roots deep into the soil.
- Fill the tank slowly by pouring water over a small plate to avoid disturbing the substrate, then treat the water with a conditioner to remove chlorine and heavy metals.
- Perform a “fishless cycle” for 2-4 weeks, monitoring ammonia and nitrate levels with a test kit until the beneficial bacteria colony is established before introducing any livestock.
How to Curate Summer Table Centerpieces for Bright Outdoor Parties

Why we love this
Summer hosting is all about that effortless, sun-drenched vibe. We love a centerpiece that feels like it was plucked straight from a Mediterranean garden—the bright, zesty aroma of sliced lemons, the crispness of linen, and the wild beauty of sunflowers. It sets the stage for long, lingering dinners under the stars. When your table looks this vibrant, the food tastes better, the laughter feels louder, and the memories feel more vivid.
Essential Elements:
- Large glass hurricane vases or bowls
- Fresh citrus fruits (lemons, limes, oranges)
- Seasonal blooms (sunflowers, zinnias, or hydrangeas)
- Eucalyptus or olive branch greenery
- Unscented pillar candles
How to make it
- Start with a clean linen runner in a neutral tone like cream or light blue to provide a textural base that doesn’t compete with the colors of the centerpiece.
- Fill a wide glass bowl with whole lemons and limes, layering them tightly to create a solid base of bright yellow and green that anchors the center of the table.
- Insert small bud vases hidden among the fruit to hold water, then tuck in short-stemmed sunflowers or bright zinnias so they appear to be growing out of the citrus.
- Weave long strands of seeded eucalyptus or olive branches down the length of the runner, tucking the ends under the central bowl to create a seamless, organic vine effect.
- Place unscented pillar candles at varying heights at both ends of the greenery to provide a warm, flickering glow that transitions the table beautifully from sunset to dusk.
How to Decorate a Patriotic Front Porch for a Classic Look
Why we love this
There is a timeless, nostalgic charm to the classic red, white, and blue. We love this look because it evokes a sense of community and celebration that feels both grand and cozy. The sight of a crisp American flag snapping in the breeze combined with the soft texture of wicker chairs and blooming red geraniums creates a porch that feels like a scene from a classic movie. It’s an inviting, high-contrast aesthetic that celebrates the heart of the home.
Essential Elements:
- High-quality cotton American flags
- Red flowering plants (Geraniums or Begonias)
- Navy blue outdoor textiles
- White wicker or wooden rocking chairs
- Patriotic bunting or banners
How to make it
- Secure your main flag bracket at a 45-degree angle on a sturdy porch pillar, ensuring the flag has enough clearance to fly freely without hitting the roofline or nearby trees.
- Arrange symmetrical white rocking chairs on either side of the door, then add navy blue throw pillows with white piping to provide a sophisticated, nautical touch.
- Flank the front door with oversized black or white planters filled with bright red geraniums, using a “thriller, filler, spiller” planting technique for maximum visual impact.
- Drape pleated fans or bunting along the porch railing, securing them with zip ties at even intervals to ensure the swags are uniform and crisp against the architecture.
- Finish the look with a simple coir doormat and a wreath made of dried eucalyptus or blue-tinted hydrangea to add a natural element to the patriotic color scheme.
How to Install Vinyl Lattice Panels for Elegant Backyard Privacy

Why we love this
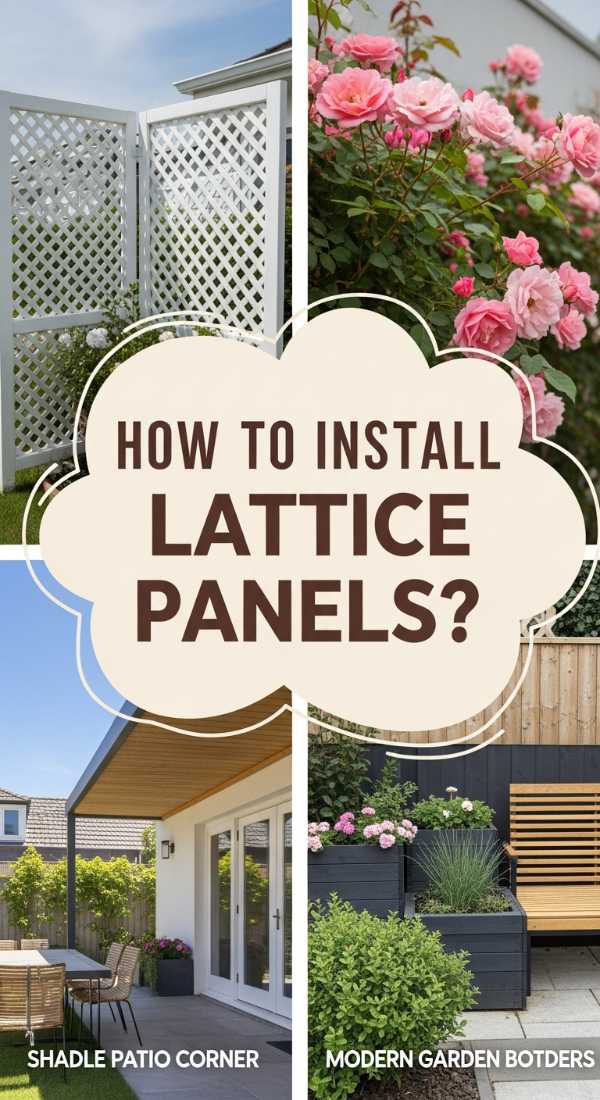
Privacy doesn’t have to feel like a barricade. We love vinyl lattice because it creates a “secret garden” feel, offering a delicate pattern of light and shadow while shielding your space from prying eyes. The smooth, clean lines of the vinyl are low-maintenance and provide the perfect trellis for climbing roses or jasmine. It’s the ultimate way to turn a functional boundary into a romantic, architectural feature that smells like spring and feels like a private retreat.
Essential Elements:
- UV-stabilized vinyl lattice panels
- Vinyl U-channel molding (for the borders)
- Stainless steel screws (to prevent rusting)
- Pressure-treated 4×4 posts
- Level and power drill
How to make it
- Measure the distance between your existing porch or fence posts, then cut your vinyl lattice panels using a circular saw with a fine-tooth blade to prevent chipping or cracking.
- Slide the lattice into the U-channel molding on all four sides; this hides the raw edges and allows the vinyl to expand and contract with temperature changes without warping.
- Pre-drill oversized holes through the molding and lattice every 12 inches; this is a critical professional tip to prevent the material from buckling as it heats up in the sun.
- Mount the framed panels to your posts using stainless steel screws, ensuring you leave a 1/4-inch gap between the molding and the post for movement.
- Plant fast-growing climbers like Clematis or Star Jasmine at the base of the lattice, weaving the first few tendrils through the holes to encourage upward growth.
How to Host a Fall Baby Shower for a Warm Seasonal Celebration
[IMAGE_10]
Why we love this
Fall is the season of nesting, making it the perfect time for a baby shower. We love the rich, warm color palette of burnt orange, deep plum, and gold, and the way the air smells of spiced cider and woodsmoke. It’s a cozy, intimate way to celebrate new life. The tactile softness of velvet pumpkins and the rustic charm of wooden serving boards create an atmosphere of abundance and love that wraps the mother-to-be in seasonal warmth.
Essential Elements:
- Velvet and heirloom pumpkins in various sizes
- Rustic wooden serving platters and crates
- Warm-toned floral arrangements (mums and dried wheat)
- Hot cocoa or apple cider station
- Soft knit blankets for guests
How to make it
- Create a focal point by stacking vintage wooden crates at varying heights on the main food table, using them to display small pumpkins and appetizers for a multi-level look.
- Set up a “Cider Bar” featuring a slow cooker filled with mulled apple cider, accompanied by cinnamon sticks, star anise, and caramel sauce for a delicious, interactive sensory experience.
- Design a guest favor station with small jars of local honey or packets of wildflower seeds, decorated with kraft paper tags and twine to match the rustic aesthetic.
- Incorporate soft textures by draping chunky knit blankets over outdoor chairs or hay bales, ensuring guests stay warm and comfortable as the afternoon air cools.
- Use a gold metallic sharpie to write guest names on small white pumpkins, serving as both a unique place card and a charming take-home memento of the celebration.
Creating Your Personal Haven
Designing your sanctuary is a journey, not a destination. It’s about listening to what makes you feel most alive—whether that’s the serenity of an aquarium, the history of a vintage quilt, or the bright energy of a summer centerpiece. As you implement these tweaks, remember that the most beautiful home is one that tells the story of the people who live within its walls. Start small, focus on the details that bring you joy, and watch as your home transforms into a place that nourishes your spirit every single day.