
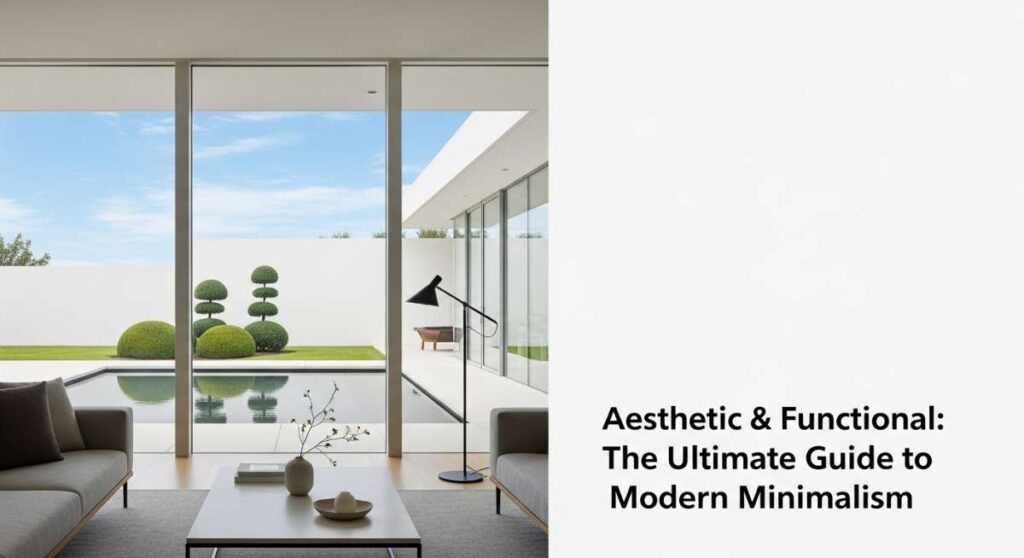
Have you ever walked into a room and felt an immediate sense of relief, like a deep exhale you didn’t know you needed? That’s the magic of modern minimalism. It’s not about living in a cold, empty box; it’s about stripping away the noise so that the things that truly matter—the light through a window, the texture of a linen throw, or the simple joy of a clear countertop—can finally shine. We often overcomplicate our lives with ‘stuff,’ thinking more is better, but there is a profound peace that comes from an intentional, functional aesthetic.
In this guide, we are diving deep into how you can cultivate that serene, high-end look without losing the ‘soul’ of your home. Whether you are revamping your backyard for a summer of hosting or trying to turn your office cubicle into a sanctuary of focus, minimalism is your best friend. It’s about creating a lifestyle that feels as good as it looks, balancing the practical needs of daily life with a visual rhythm that calms the mind. Let’s explore how to transform every corner of your world into a modern masterpiece.
How to Design Simple Landscaping for a Welcoming Front Yard

Why we love this
There is nothing quite like the crisp, clean lines of a well-manicured front yard to welcome you home after a long day. We adore simple landscaping because it emphasizes the architectural beauty of your house while providing a sensory experience of fresh-cut grass and the sweet, subtle aroma of evergreen shrubs. Imagine walking up a path of smooth slate stones, flanked by perfectly spaced lavender that brushes against your ankles, releasing a calming scent as you approach your front door. It’s a visual palette cleanser that makes your home stand out through understated elegance rather than chaotic clutter.
Essential Elements:
- Low-maintenance boxwood shrubs for structure
- Natural slate or concrete pavers for a modern walkway
- Dark wood mulch for a high-contrast finish
- Perennial lavender or salvia for a pop of soft color
- Subtle LED path lighting for evening warmth
How to make it
- Begin by clearing your existing beds of all weeds and old debris. Use a flat-edge spade to create a deep, clean ‘V’ edge between your lawn and the planting area for a professional, crisp look.
- Measure and map out your walkway. If using pavers, dig down about 4 inches, fill with a layer of leveling sand, and compact it firmly before laying your stones. Ensure they are level to prevent tripping hazards.
- Place your structural plants (like boxwoods) first to create a skeleton for the yard. Space them according to their mature width to avoid overcrowding in two years.
- Integrate your flowering perennials in the gaps. Dig holes twice as wide as the root ball and mix in a bit of organic compost to give them a healthy start.
- Spread a 3-inch layer of dark espresso or black mulch across the entire bed. This suppresses weeds and provides a stunning dark backdrop that makes the green foliage ‘pop’ with intensity.
How to Style a Chic Office Desk for a Productive Work Cubicle

Why we love this
A chic, minimalist desk is the ultimate productivity hack, turning a generic cubicle into a curated cockpit of creativity. We love the tactile contrast of a smooth leather desk mat against the cool surface of a laptop, paired with the soft glow of a designer task lamp. When your workspace is free of visual clutter, your brain has more room to breathe and innovate. The scent of a small eucalyptus sprig in a bud vase adds a layer of freshness that cuts through the stale office air, making your 9-to-5 feel like a luxury experience rather than a chore.
Essential Elements:
- Vegan leather desk mat in a neutral tone (tan, grey, or black)
- Minimalist monitor riser to save desk real estate
- A single, high-quality ceramic mug for coffee or tea
- Wireless peripherals to eliminate cord tangles
- One small indoor plant, like a snake plant or succulent
How to make it
- Empty your entire desk and wipe it down with a microfiber cloth. Start with a truly blank canvas to see the potential of the space.
- Place your leather desk mat in the center. This anchors the workspace and protects the surface while providing a soft landing spot for your wrists.
- Organize your tech by using a monitor riser. This elevates your screen to eye level (saving your neck) and creates a ‘garage’ underneath for your keyboard when not in use.
- Use cable clips or a cable management box tucked under the desk to hide every single wire. Visual ‘noise’ from tangled cords is the enemy of a chic aesthetic.
- Add one personal element—a single framed photo or a small sculpture—and one living element. Keep everything else hidden in drawers to maintain that sleek, professional vibe.
How to Curate JBL Speakers Wallpapers for an Edgy Tech Aesthetic

Why we love this
For the tech-obsessed minimalist, your digital environment is just as important as your physical one. We love curating custom JBL-themed wallpapers because they bring a sense of rhythm and vibration to your screens, reflecting a lifestyle of high-fidelity sound and modern design. The bold, iconic orange logo against moody, dark-mode gradients creates an edgy, ‘dark academia’ meets ‘silicon valley’ vibe. It’s about celebrating the engineering and the aesthetic of the devices we use every day, making your phone or desktop feel like a seamless extension of your audio gear.
Essential Elements:
- High-resolution 4K imagery of speaker textures and mesh
- Custom orange and charcoal color palettes
- Minimalist typography logos
- Bokeh backgrounds with neon light accents
- Consistent icon packs for a unified digital look
How to make it
- Search for high-definition macro photography of speaker components. Look for textures like the weave of the JBL fabric or the sleek curve of a bass radiator.
- Use an app like Canva or Photoshop to crop the image to your specific device’s aspect ratio (e.g., 19.5:9 for modern iPhones).
- Apply a subtle ‘vignette’ filter to the edges of the image. This draws the eye to the center and makes your app icons easier to see against the wallpaper.
- Match your system accent colors to the iconic JBL orange. On Android or Windows, you can customize UI elements to create a perfectly synchronized color story.
- Save multiple versions (one for the lock screen with more detail, one for the home screen that is more blurred) to ensure readability of your notifications.
How to Build Cheap Pool Deck Areas for Budget Friendly Summer Fun

Why we love this
You don’t need a massive budget to create a backyard oasis that feels like a boutique resort. We love the ingenuity of budget-friendly pool decks because they prove that style is about creativity, not just cash. There is a specific, sun-drenched joy in stepping onto a warm, wooden platform after a cool dip, the smell of cedar and chlorine mingling in the air. By using smart materials, you can create a dedicated zone for lounging and laughter that looks incredibly expensive while leaving you with plenty of funds for the actual summer parties.
Essential Elements:
- Pressure-treated lumber or reclaimed pallets
- Outdoor-rated weather sealant or stain
- Solar-powered deck cap lights
- Weather-resistant outdoor rugs
- Modern lounge chairs with neutral cushions
How to make it
- Level the ground around your above-ground pool using a rake and a level. Lay down weed barrier fabric and a thin layer of gravel to prevent rot under your deck.
- Build a simple frame using 2×4 or 2×6 pressure-treated boards. If using pallets, ensure they are ‘HT’ (heat treated) and not chemically treated for safety.
- Secure your decking boards with galvanized screws, leaving a small 1/8 inch gap between boards for drainage and wood expansion.
- Sanding is crucial. Use a power sander to smooth the surface until it’s buttery soft to the touch—nobody wants splinters on a pool day.
- Apply a high-quality semi-transparent stain. A ‘driftwood’ grey or ‘teak’ brown will instantly elevate the wood and give it that high-end, modern look.
How to Install Vinyl Lattice Panels for Instant Backyard Privacy
Why we love this
Privacy is the ultimate luxury, and vinyl lattice panels are the secret weapon of the modern gardener. We love them for the way they filter sunlight, creating a beautiful play of shadows across your patio that changes throughout the day. Unlike wood, vinyl offers a crisp, clean white or slate finish that never fades or peels, providing a permanent ‘resort vibe’ in your own backyard. It’s the perfect backdrop for climbing ivy or jasmine, allowing you to create a living wall that smells divine and keeps the prying eyes of neighbors at bay while you enjoy your morning coffee in peace.
Essential Elements:
- High-quality UV-resistant vinyl lattice sheets
- Matching vinyl U-channel molding for the edges
- Stainless steel screws (to prevent rust streaks)
- 4×4 pressure-treated posts or an existing fence frame
- Power drill and a circular saw with a fine-tooth blade
How to make it
- Measure your space carefully and plan your post intervals. Vinyl expands and contracts with heat, so you must leave a 1/4 inch gap inside the channels.
- Cut your lattice panels using a circular saw. Pro tip: turn the blade backward or use a plywood blade to prevent the vinyl from shattering or chipping during the cut.
- Slide the U-channel molding onto the edges of the lattice. This gives the panel a finished, professional look and hides the raw cut edges.
- Pre-drill holes through the lattice that are slightly larger than your screws. This allows the material to move without cracking as the temperature changes.
- Fasten the panels to your support posts. Use a level to ensure everything is perfectly vertical, as even a slight tilt will be visible against the geometric grid of the lattice.
How to Create Summer Table Centerpieces for Elegant Outdoor Dining

Why we love this
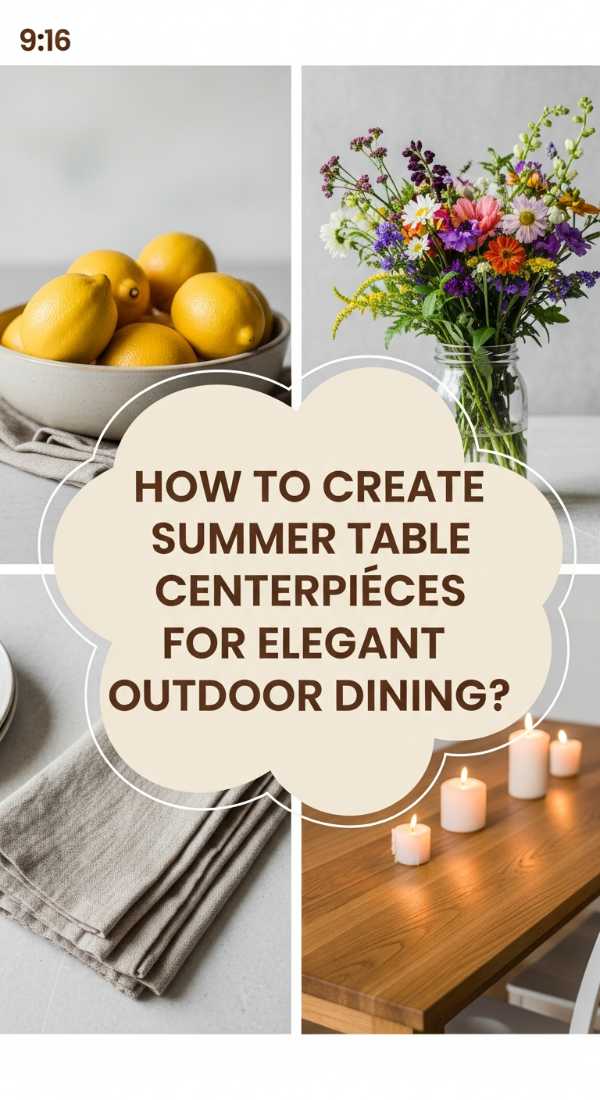
A beautiful centerpiece is the heartbeat of an outdoor dinner party. We love the ‘alfresco’ aesthetic because it combines the wild beauty of nature with the refined elegance of a curated table. Picture this: a long wooden table under the stars, anchored by a centerpiece of sliced citrus, fresh eucalyptus, and flickering white tapers. The air is filled with the zesty scent of lemons and the herbal notes of the greens, creating an atmosphere that feels sophisticated yet effortlessly relaxed. It’s about celebrating the bounty of the season and making your guests feel like they’ve been transported to a villa in Tuscany.
Essential Elements:
- A low-profile wooden or ceramic dough bowl
- Fresh citrus fruits (lemons, limes, or oranges)
- Eucalyptus or olive branches
- Unscented white pillar candles or tapered candles
- Small glass votives for added sparkle
How to make it
- Start with a clean, neutral table runner (linen is perfect for that breathable summer feel). Place your main vessel—like a long wooden tray—in the center.
- Layer your greenery first. Intertwine eucalyptus or olive branches so they spill over the edges of the tray, creating a lush, organic base.
- Nestle your candles into the greenery. Use varying heights to create visual interest, but ensure they are stable and won’t tip over in a light breeze.
- Incorporate your ‘hero’ element: the fruit. Slice some citrus in half to release that incredible fresh aroma and scatter whole fruits throughout the arrangement for pops of color.
- Finish with small glass tea lights. The reflection of the flame in the glass adds a magical, twinkling quality as the sun goes down and the ‘golden hour’ begins.
How to Decorate a Patriotic Front Porch for Classic Americana Charm

Why we love this
There is something deeply nostalgic and comforting about a patriotic porch. We love this look because it uses a limited color palette—red, white, and blue—to create a high-impact, cohesive aesthetic that feels both timeless and celebratory. It evokes memories of firecrackers, homemade lemonade, and warm July evenings. When done with a minimalist touch, it avoids being ‘tacky’ and instead feels like a sophisticated nod to heritage. The sight of a crisp cotton flag rippling in the wind against a white porch railing is a classic image of summer serenity that never goes out of style.
Essential Elements:
- Embroidered cotton American flag with a wooden pole
- Red geraniums in white ceramic planters
- Navy blue outdoor throw pillows
- Bunting for the railings in a ‘tea-stained’ vintage finish
- A natural fiber coir doormat
How to make it
- Mount your flag bracket at a 45-degree angle near the front pillar. Use a high-quality cotton flag rather than nylon for a more textured, ‘expensive’ look.
- Arrange your planters symmetrically on either side of the door. Use bright red geraniums—they are hardy in the sun and provide that iconic punch of Americana color.
- Swap out your standard porch textiles for navy and white stripes. This introduces the ‘blue’ element in a subtle, chic way that works all summer long.
- Hang your bunting along the top rail of the porch. Ensure it is pulled taut and spaced evenly for a clean, professional appearance.
- Incorporate a wooden rocking chair or a simple bench. The goal is to create a ‘scene’ that looks like a snapshot from a classic summer novel.
How to Achieve a Whimsical Apartment Aesthetic for a Dreamy Living Space

Why we love this
The whimsical aesthetic is minimalism’s playful younger sister. We love it because it softens the hard edges of modern design with a sense of wonder and magic. Imagine a living room where sheer curtains catch the afternoon light, and fairy lights twinkle like stars against a backdrop of pastel velvet and curved furniture. It feels like living inside a soft, blurry dream. It’s about choosing pieces that spark joy—a cloud-shaped mirror here, a iridescent vase there—creating a space that feels light, airy, and completely unique to your personality.
Essential Elements:
- Sheer, floor-to-ceiling curtains in white or cream
- Fairy lights or ‘sunset’ lamps for ambient lighting
- Pastel-colored velvet textures (pinks, lavenders, or mints)
- Iridescent glass or acrylic accents
- Whimsical art prints with soft, organic shapes
How to make it
- Focus on lighting first. Replace harsh overhead bulbs with warm-toned LEDs and add a sunset lamp to a corner to create a soft, ethereal glow across the walls.
- Layer your textiles. Start with a plush, high-pile rug and add velvet floor cushions. The goal is to make every surface look soft and inviting.
- Introduce ‘curated clutter.’ Instead of hiding everything, display your prettiest books and trinkets on floating shelves, grouped by color for a harmonious look.
- Use sheer fabrics to diffuse the light. Hang curtains high and wide to make your windows appear larger and to create that ‘breezy’ movement when the window is open.
- Add a few ‘magical’ touches, like a disco ball in a sunny window or a collection of crystals, to catch and scatter light throughout the room.
How to Perfect Aquarium Setup Ideas for a Calming Underwater Oasis
Why we love this
An aquarium is the ultimate ‘living’ decor. We love a well-designed tank because it introduces the calming element of water into the home, complete with the gentle hum of a filter and the rhythmic movement of fish. It’s like a moving piece of art that also humidifies the air and lowers your heart rate. A minimalist aquarium—focused on ‘aquascaping’ with real stones and lush green plants—looks incredibly sophisticated and brings a slice of the natural world into even the smallest city apartment. It’s a tiny, perfect ecosystem that provides endless fascination.
Essential Elements:
- Rimless glass aquarium for a seamless look
- Natural dragon stone or seiryu stone for hardscaping
- Live aquatic plants like Anubias or Java Fern
- Light-colored specialized plant substrate
- Discreet, high-quality LED lighting
How to make it
- Clean your tank thoroughly (no soap!) and place your substrate. Slope it from the back to the front to create a sense of depth and perspective.
- Arrange your ‘hardscape’ (the stones and wood). Follow the ‘rule of thirds’—don’t put your main feature right in the middle; offset it slightly for a more natural look.
- Plant your greens. Use long tweezers to tuck the roots into the substrate. Keep the taller plants in the back and the shorter ‘carpeting’ plants in the front.
- Slowly fill the tank with dechlorinated water. Tip: pour the water onto a saucer placed on the substrate so you don’t disturb your careful planting.
- Install your filter and heater. For a truly minimalist look, use ‘lily pipes’ (clear glass tubes) instead of bulky plastic intake pipes to keep the focus on the fish.
How to Master Vinyl Lattice Fencing for a Polished Garden Look
[IMAGE_10]
Why we love this
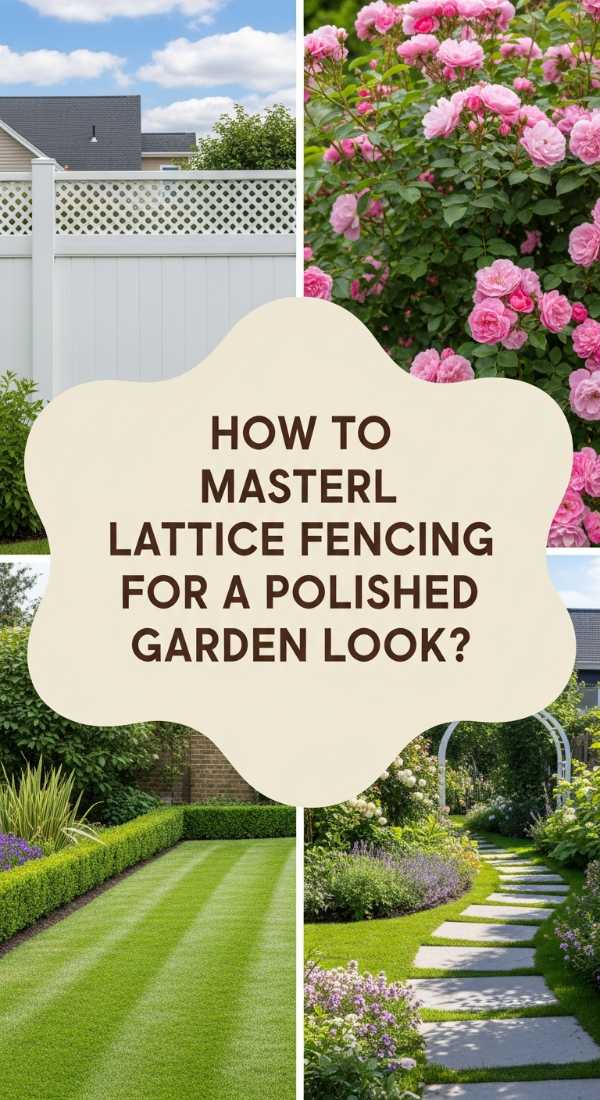
Nothing says ‘polished’ like a white vinyl lattice fence. We love the way it frames a garden, providing a structured boundary that still feels light and breathable. It’s the perfect solution for sectioning off a vegetable patch or a trash can area without making the yard feel smaller. The lattice grid provides a ready-made trellis for climbing roses or clematis, which, when in bloom, creates a stunning wall of color and scent. It’s the ultimate combination of function and beauty, requiring zero maintenance while looking fresh and ‘just-installed’ for decades.
Essential Elements:
- Pre-fabricated vinyl lattice fence panels
- Vinyl fence posts with decorative caps
- Concrete mix for securing posts
- Level and string line for perfect alignment
- Heavy-duty vinyl adhesive or specialized brackets
How to make it
- Stake out your fence line with string to ensure it is perfectly straight. Dig your post holes at least 2 feet deep to ensure stability against wind.
- Set your vinyl posts in the holes and fill with quick-set concrete. Use a level on two sides of the post to ensure it is perfectly vertical before the concrete dries.
- Once the posts are set (usually 24 hours), attach your lattice panels. Most vinyl systems use a ‘rail’ that the lattice slides into, which is then screwed into the posts.
- Ensure you leave a tiny bit of ‘wiggle room’ in the rails for thermal expansion. If you screw the vinyl too tightly, it may buckle during a hot summer day.
- Snap on your decorative post caps. This is the ‘cherry on top’ that hides the raw top of the post and gives the entire project a high-end, finished look.
Conclusion
Modern minimalism isn’t about restriction; it’s about freedom. By choosing quality over quantity and intentionality over impulse, you create a space that supports your life rather than draining your energy. From the calming waters of a curated aquarium to the crisp lines of a patriotic porch, these projects show that an aesthetic life is one where every detail serves a purpose. Start small, focus on the ‘why’ behind your decor, and watch as your home transforms into a functional, beautiful sanctuary that reflects the very best version of you.
FAQ Section
Q: Is minimalism expensive to achieve?
A: Not at all! In fact, minimalism is often cheaper because you are buying fewer items and focusing on high-quality, DIY solutions like the cheap pool deck or simple landscaping ideas mentioned above.
Q: How do I keep a minimalist home from feeling ‘cold’?
A: The key is texture and lighting. Incorporate natural woods, soft textiles like linen or velvet, and warm-toned lighting to add ‘soul’ to your clean spaces.
Q: Can I have a minimalist aesthetic with kids or pets?
A: Yes! Minimalism is actually great for families because it means fewer things to clean. Use durable materials like vinyl lattice and washable rugs to keep the look functional and kid-friendly.