
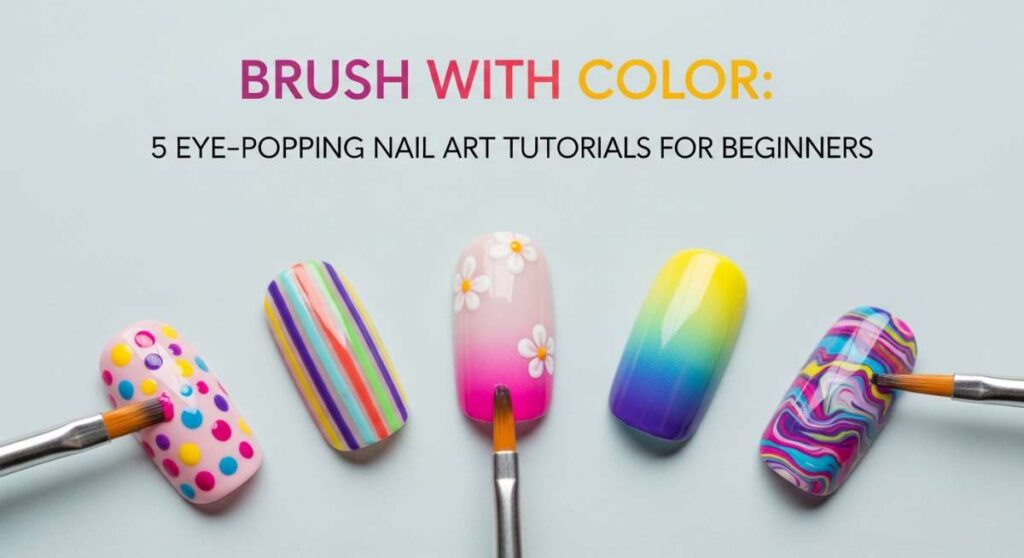
Brush with Color: 5 Eye-Popping Nail Art Tutorials for Beginners
Hi, my loves! Welcome back to our cozy little corner of the internet. Today, I want to talk about something that feels like a warm hug for your spirit—color. There is something so profoundly healing about sitting down, lighting a candle, and painting your nails. It’s not just about the polish; it’s that quiet moment of self-love where you get to create a tiny masterpiece right on your fingertips.
I know many of you feel a bit intimidated by those intricate designs we see on social media, but I promise you, art is for everyone. Whether you’re sipping a latte or curled up in your favorite knit blanket, these tutorials are designed to be a soft, stress-free entry into the world of vibrant expression. Let’s get our brushes ready and bring some light to our hands!
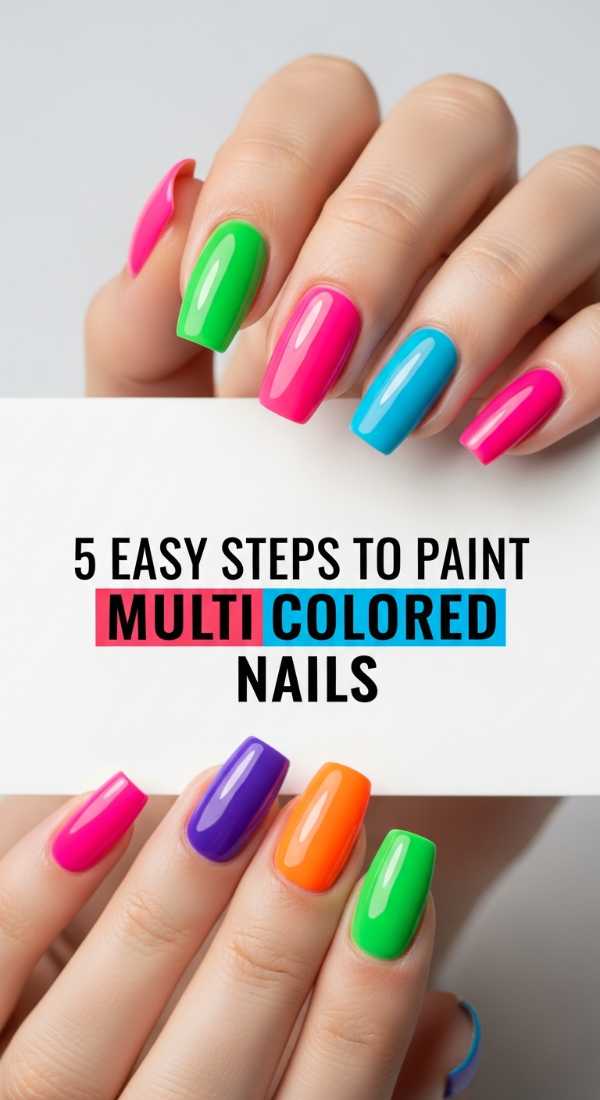
The Rainbow Skittle: 5 Easy Steps to Paint Multi Colored Nails
Why to love this recipe:
This look is the ultimate mood-booster. It is playful, effortless, and requires absolutely zero precision with a brush. It’s perfect for those days when you can’t decide on just one color and want to carry a literal rainbow with you wherever you go. It’s low-pressure and high-impact!
Essential Ingredients:
- 5 Different nail polish colors (think pastels or neons)
- A nourishing base coat
- A high-shine top coat
- Nail polish remover and a small brush for cleanup
How to Prepare:
- Start with a clean, dry nail and apply one thin layer of base coat to protect your natural nails.
- Choose your first color and apply it to your thumb.
- Continue moving across your hand, applying a unique color to each individual finger.
- Wait two minutes, then apply a second coat to every nail for full, opaque coverage.
- Seal the look with a thick top coat to give it that professional, glassy finish.
Budget Range
- Essie Glossy Shine Polishes – $10.00 each
- Holo Taco Long-Lasting Base – $11.00
- Seche Vite Dry Fast Top Coat – $9.95
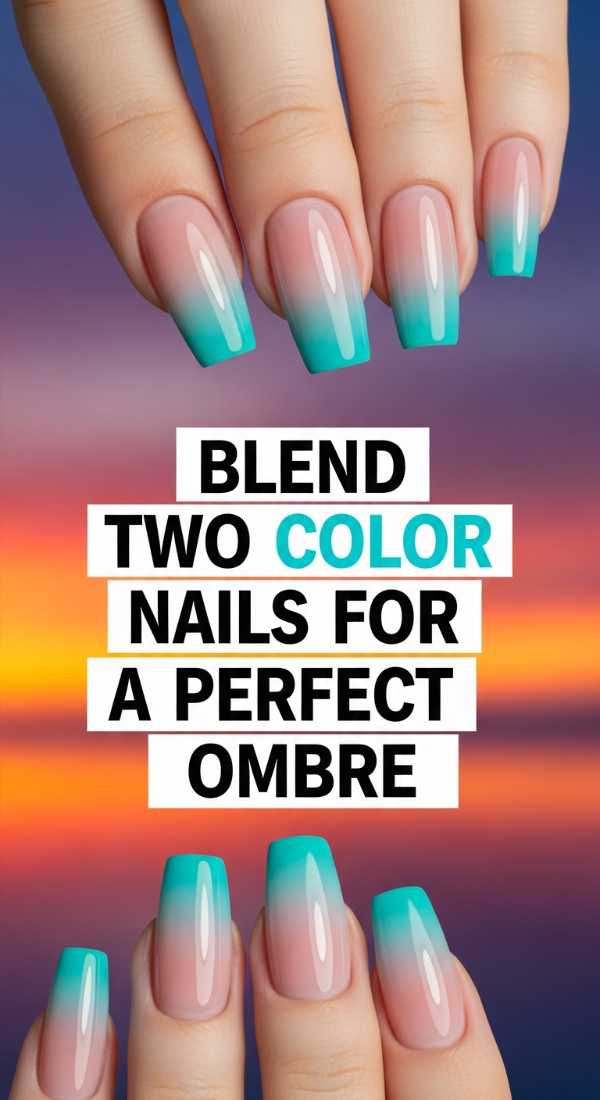
The Dreamy Blend: Master the Perfect Two-Color Ombre
Why to love this recipe:
There is something so incredibly soothing about a perfect gradient. It looks like a sunset trapped on your nails. While it looks complicated, the secret lies in a simple makeup sponge. It’s a soft, ethereal way to blend your favorite shades together seamlessly.
Essential Ingredients:
- Two coordinating polish colors (e.g., pink and orange)
- A wedge-shaped makeup sponge
- Liquid latex or scotch tape (to protect your skin)
- Tweezers
How to Prepare:
- Apply your lighter color as a solid base on all nails and let it dry completely.
- Apply liquid latex around your cuticles to make cleanup a breeze.
- Paint two horizontal stripes of your two colors directly onto the makeup sponge, slightly overlapping them.
- Gently dab the sponge onto your nail, moving it up and down slightly to blur the line where the colors meet.
- Repeat for a second layer, peel off the latex, and finish with a top coat to smooth out the texture.
Budget Range
- Sally Hansen Insta-Dri Polishes – $5.99
- Beetles Liquid Latex Barrier – $7.99
- Standard Makeup Sponges (10-pack) – $3.00
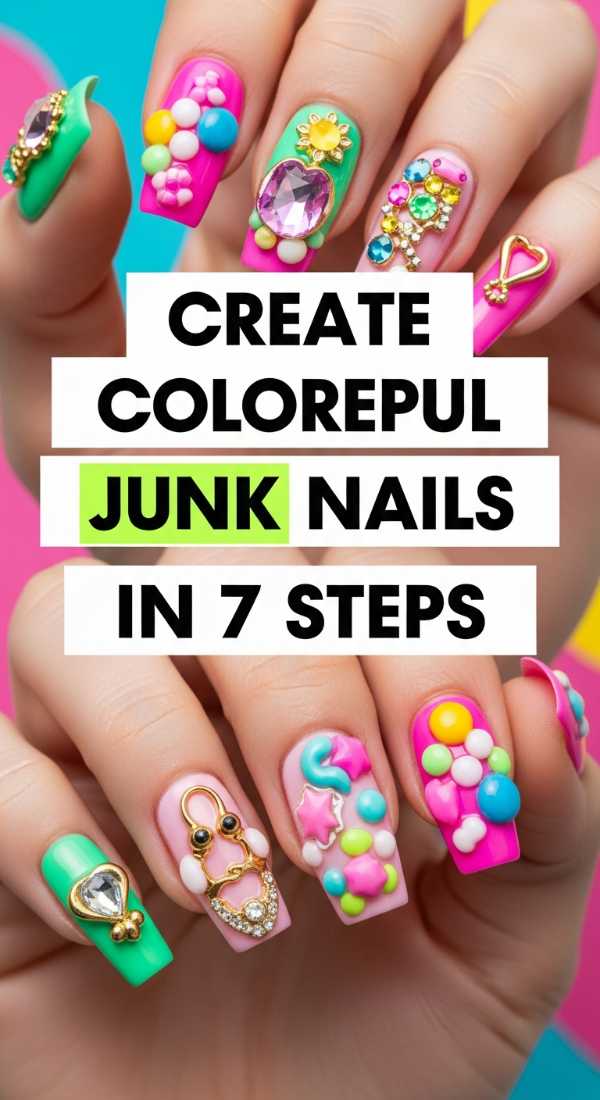
The Maximalist Soul: Colorful Junk Nails in 7 Steps
Why to love this recipe:
This is for my loves who believe ‘more is more!’ Junk nails are a chaotic, beautiful celebration of personality. By mixing charms, gems, and vibrant colors, you create a 3D tactile experience that is uniquely yours. It’s like wearing a treasure chest on your hands.
Essential Ingredients:
- Bright base colors
- Nail glue or a thick builder gel
- Assorted charms (bears, stars, hearts, rhinestones)
- Tweezers or a wax picker tool
How to Prepare:
- Apply two coats of your chosen vibrant base colors and let them dry or cure.
- Plan your layout on a flat surface before applying any glue.
- Apply a small drop of nail glue to the center of your nail.
- Place your largest charm first using your tweezers.
- Add smaller gems or beads around the main charm to fill in the gaps.
- Apply a tiny bit of top coat around the base of the charms (not over them!) to lock them in.
- Finish with cuticle oil to keep the surrounding skin looking hydrated.
Budget Range
- Mixed Nail Art Charm Kit (Amazon) – $8.99
- Makartt Nail Glue – $7.00
- Modelones Gel Polish Set – $15.99
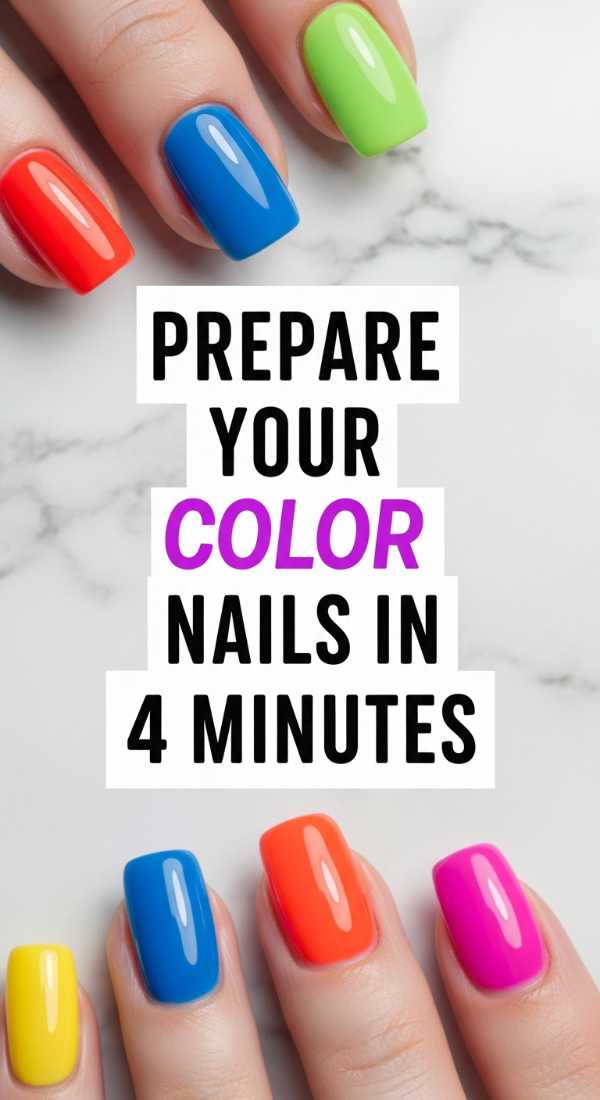
The Quick Refresh: Prepare Your Color Nails in 4 Minutes
Why to love this recipe:
We all have those frantic mornings where we need to look put-together in a flash. This method focuses on high-pigment, one-coat wonders and quick-dry technology. It’s the ‘no-makeup-makeup’ equivalent for nails—fresh, bright, and incredibly fast.
Essential Ingredients:
- One-coat high-pigment polish
- Quick-dry drops or spray
- Nail buffing block
How to Prepare:
- Quickly buff the surface of your nails to create a smooth canvas and remove oils.
- Apply one medium-thick layer of a high-pigment polish, covering the nail in exactly three strokes.
- Wait 60 seconds for the edges to set.
- Apply one drop of quick-dry oil to each nail to instantly harden the surface.
Budget Range
- Orly Breathable 1-Step Polish – $11.00
- Nicole Diary Quick Dry Drops – $6.50
- Basic 4-Way Buffer Block – $2.00
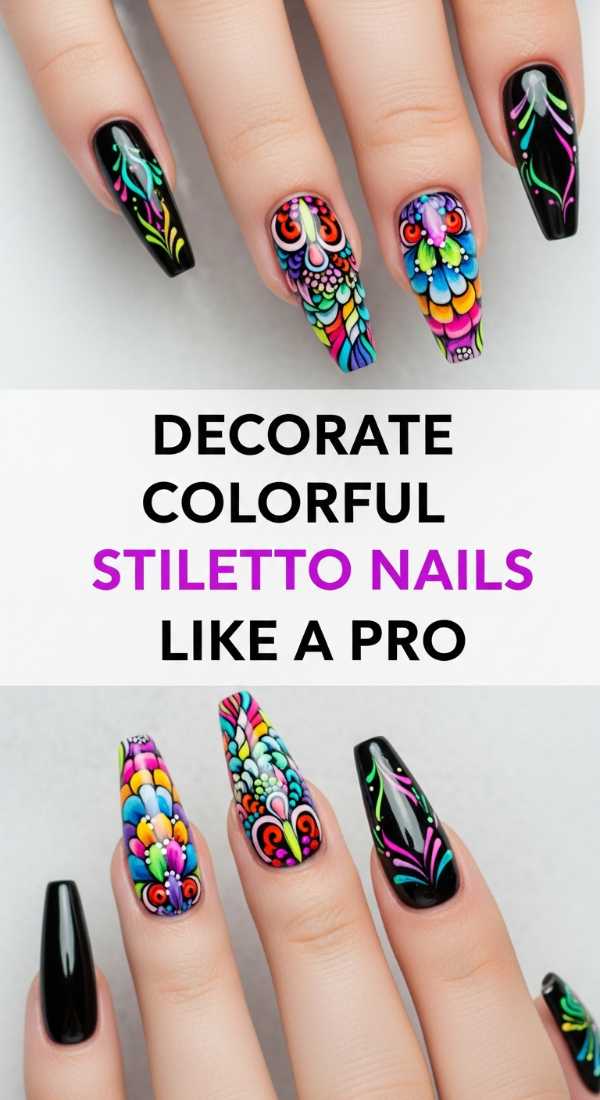
The Sharp Edge: Decorate Colorful Stiletto Nails Like a Pro
Why to love this recipe:
Stiletto nails are the ultimate statement of confidence. The long, tapered shape provides a larger ‘canvas’ for color-blocking and bold geometric designs. It’s fierce, modern, and makes your fingers look incredibly long and elegant.
Essential Ingredients:
- Stiletto-shaped nail tips or extensions
- Fine liner nail art brushes
- Neon or bold primary colors
- Matte top coat (for a modern finish)
How to Prepare:
- Shape your extensions into a sharp point and buff the surface.
- Apply a neutral base or a solid bright color as your foundation.
- Use a fine liner brush to draw a diagonal line from the midpoint to the tip.
- Fill in one half of the triangle with a contrasting bright color.
- Add a second ‘v’ shape at the cuticle area for a double-ended geometric look.
- Apply a matte top coat to give it a sophisticated, velvet-like appearance.
Budget Range
- Kiara Sky Professional Tips – $14.99
- Winstonia Fine Liner Brush Set – $10.00
- OPI Matte Top Coat – $11.50
Stay Bright, My Loves
I hope these tutorials spark a little bit of joy in your heart today. Remember, it doesn’t have to be perfect to be beautiful. The wobbles in your lines and the unique way you choose your colors are what make your art special. Take this time for yourself, breathe deep, and let your hands tell a story of color and light. Until next time, stay vibrant!