
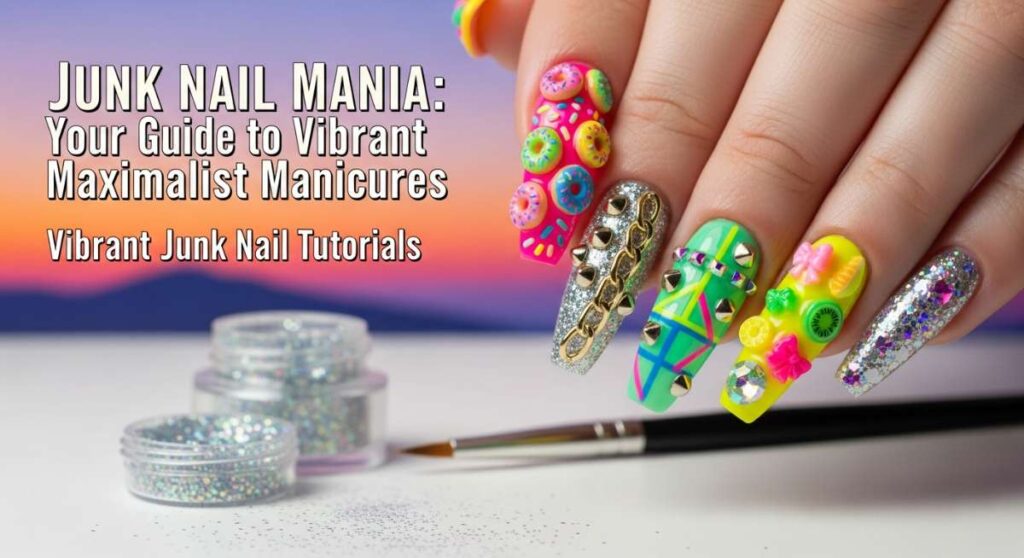
Junk Nail Mania: Your Guide to Vibrant Maximalist Manicures
Hello, my darling loves! Take a deep breath with me and imagine a world where there are no rules, only the soft, warm glow of pure self-expression. I’ve been sitting here in my favorite cozy nook, watching the sunlight dance through the window, and I realized something: our nails are like tiny canvases for our souls. In a world that often asks us to be quiet and uniform, choosing vibrant, ‘junk’ nails is a beautiful act of rebellion and joy.
You know I’m all about that cloud-soft embrace of creativity, and right now, my heart is absolutely bursting for the maximalist manicure trend. It’s not just about ‘stuff’ on your nails; it’s about textures, stories, and the colors that make your heart sing. It’s about looking down at your hands while you’re typing or holding a cup of tea and feeling a rush of genuine happiness. Let’s dive into this colorful wonderland together, shall we?
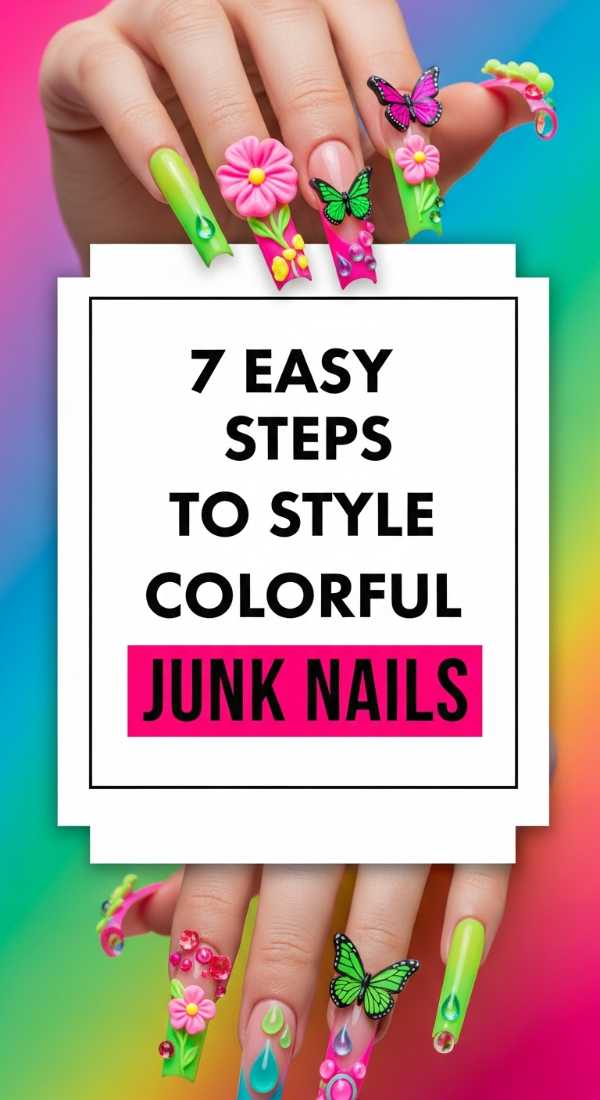
Dancing through the Rainbow: 7 Easy Steps to Style Colorful Junk Nails
Why to love this recipe:
Oh, my sweet friends, there is something so incredibly liberating about the ‘junk nail’ movement. It’s like a party on your fingertips! This style allows you to mix every texture you love—from tiny pearls to chunky glitter—without ever feeling like it’s ‘too much.’ It celebrates the beautiful chaos of our lives.
Essential Ingredients:
- A clear builder gel or strong nail glue
- Assorted 3D charms (bears, hearts, bows)
- Micro-pearls and rhinestones
- A variety of neon and pastel gel polishes
- Fine-tipped tweezers
- A high-shine top coat
- A steady hand and a heart full of play
How to Prepare:
- Start with a clean, prepped nail base and apply your favorite base coat.
- Paint each nail a different vibrant base color to create a playful canvas.
- Apply a thin layer of builder gel where you want your largest charms to sit.
- Gently place your ‘hero’ charms (like a big resin bear or a heart) using tweezers.
- Fill in the ’empty’ spaces with smaller rhinestones and pearls to create that ‘junk’ look.
- Flash cure under a UV/LED lamp to lock everything in place.
- Seal the edges of the charms (not the tops!) with a glossy top coat for a long-lasting finish.
Budget Range
- Makartt 3D Nail Charm Kit ($12.99)
- Beetles Gel Polish Pastel Set ($15.99)
- Modelones Rhinestone Glue Gel ($7.99)
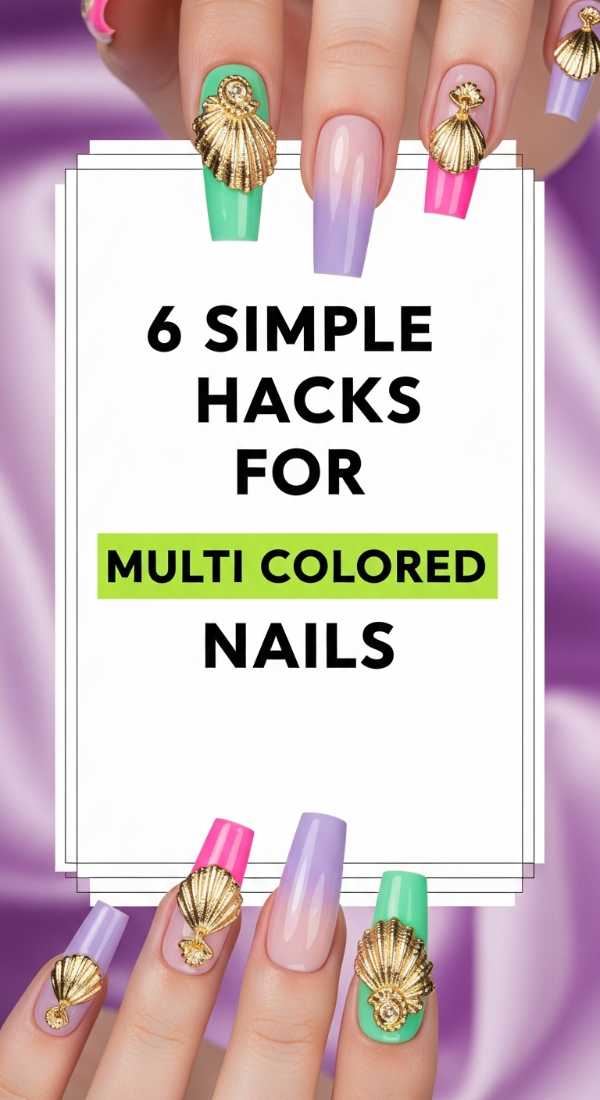
Harmonious Hues: 6 Simple Hacks for Multi Colored Nails
Why to love this recipe:
Sometimes we want color, but we want it to feel like a soft, warm hug rather than a shout. These hacks help you blend different shades so they look intentional and poetic, rather than just random. It’s the secret to that ‘perfectly curated’ look we all adore.
Essential Ingredients:
- A makeup sponge
- Latex nail tape (or liquid peel-off tape)
- Five complementary polish shades
- A matte top coat for a velvet finish
- Mixing palette
- Detail brush
How to Prepare:
- Apply the liquid latex around your cuticles to keep things tidy and stress-free.
- Use a ‘tonal’ approach—pick colors in the same family (like sunset oranges and pinks).
- Dab two colors onto a makeup sponge and press onto the nail for a soft gradient hack.
- Use a detail brush to add tiny dots of a third color at the base of the nail.
- If a color feels too bright, mix it with a drop of white on your palette to soften it.
- Apply a matte top coat to instantly make multi-colored nails look sophisticated and high-end.
Budget Range
- Pueen Latex Tape ($8.50)
- Saviland Gel Paint Set ($19.99)
- Aibrit Matte Top Coat ($6.99)
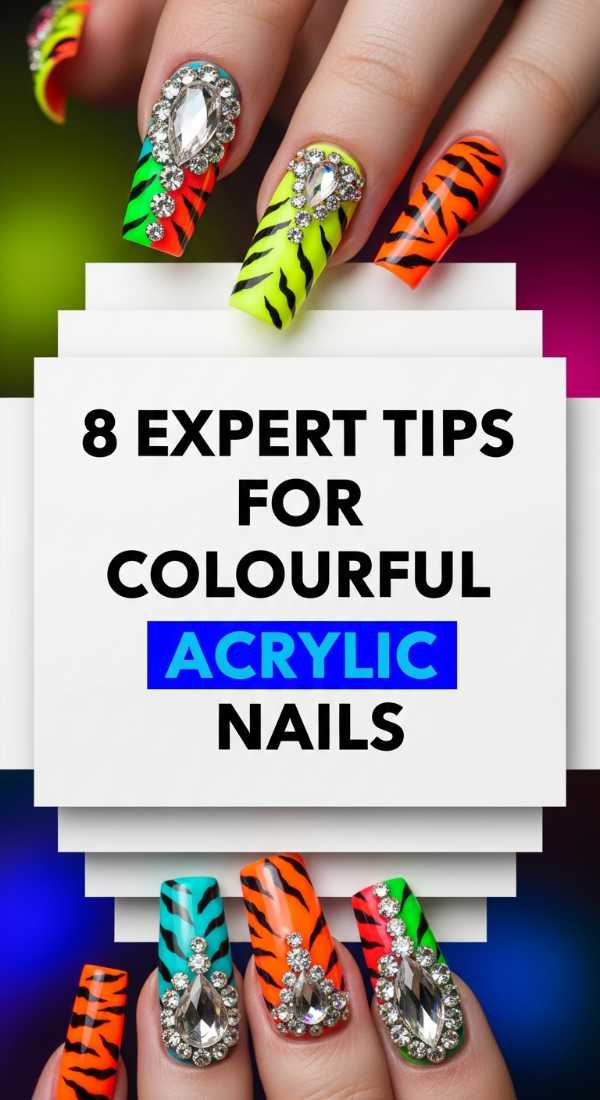
The Artist’s Touch: 8 Expert Tips for Colourful Acrylic Nails
Why to love this recipe:
Acrylics give us that wonderful length and strength—the perfect sturdy foundation for our maximalist dreams. This ‘recipe’ is all about ensuring your vibrant masterpieces stay secure while looking absolutely breathtakingly professional.
Essential Ingredients:
- High-quality acrylic powder in various colors
- Monomer (liquid)
- Acrylic brush (Size 8 or 10)
- Nail forms or tips
- Hand file and e-file
- Cuticle oil (for that healthy glow)
- Buffer block
- Clear encapsulation powder
How to Prepare:
- Apply your nail forms securely to ensure a graceful shape.
- Dip your brush into the monomer, then into colored acrylic powder to create a small ‘bead.’
- Place the bead at the free edge and gently pat it into shape.
- Work in small sections, alternating colors for a marbled or ‘color-block’ effect.
- Use clear acrylic powder to ‘encapsulate’ any chunky glitters you add.
- File the sidewalls and surface once dry to ensure a smooth, sleek silhouette.
- Buff the surface until it’s smooth as silk.
- Finish with a generous drop of cuticle oil to nourish your skin.
Budget Range
- Mia Secret Colorful Acrylic Powder Set ($24.00)
- Morovan Monomer Liquid ($13.99)
- Kolinsky Acrylic Nail Brush ($18.00)
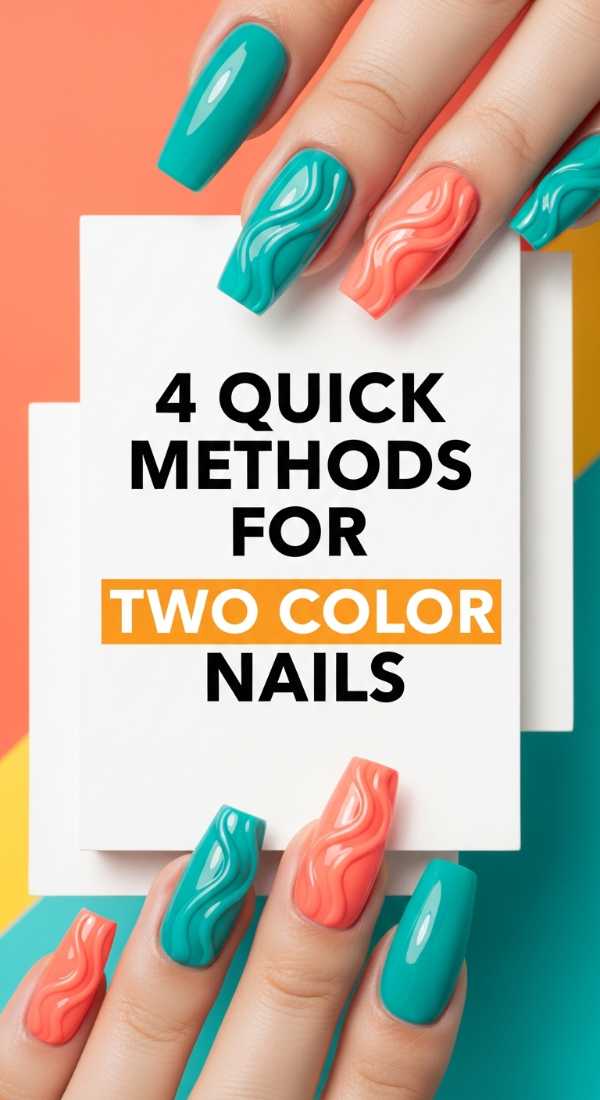
Perfect Pairings: 4 Quick Methods for Two Color Nails
Why to love this recipe:
My loves, sometimes simplicity is the most vibrant thing of all! Two-color nails are like a beautiful conversation between two friends. It’s quick, it’s punchy, and it’s a great way to dip your toes into the maximalist pool without feeling overwhelmed.
Essential Ingredients:
- Two high-contrast gel polishes (like cobalt and lemon)
- French tip guides or vinyls
- A fine liner brush
- Base and Top coat
How to Prepare:
- Paint your entire nail with the lighter of the two shades and cure.
- Use a liner brush to paint a vertical line down the center for a ‘half-and-half’ look.
- Or, use a tip guide to create a deep ‘V’ shape with the second color.
- Apply a second coat to ensure the colors are deep and soul-satisfyingly rich.
Budget Range
- Orly Bonder Base Coat ($12.00)
- Gellen Gel Polish Duo ($9.99)
- Winstonia Fine Liner Brushes ($7.50)
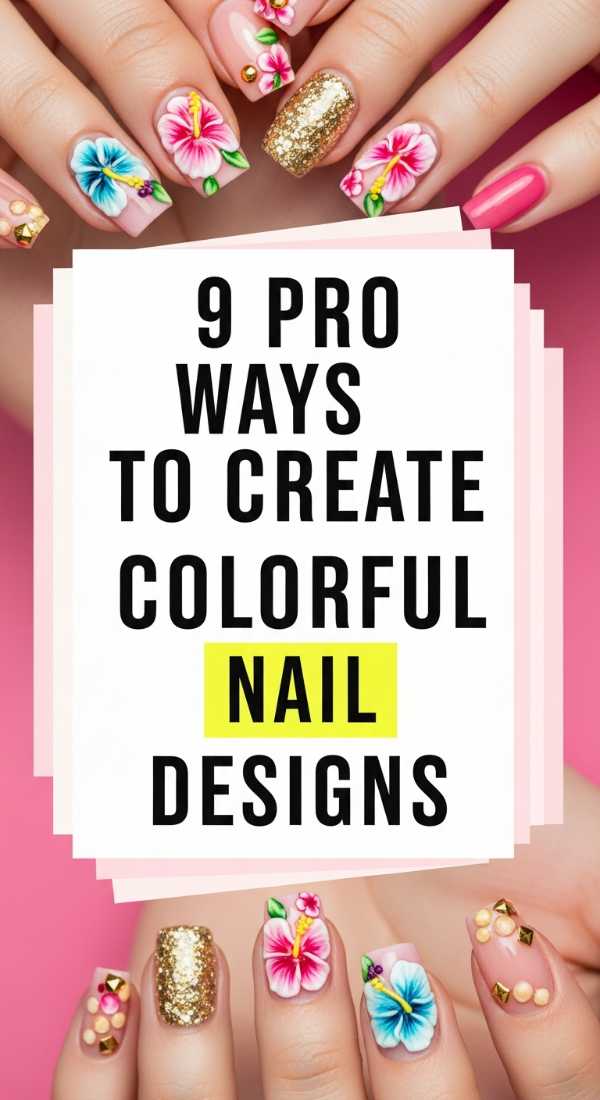
The Creative Soul: 9 Pro Ways to Create Colorful Nail Designs
Why to love this recipe:
This is where we let our inner child out to play! These designs are about movement and texture. From ‘blooming’ flowers to psychedelic swirls, these methods turn your nails into a moving art gallery that reflects your unique light.
Essential Ingredients:
- Blooming gel
- Dotting tools (various sizes)
- Striping tape
- Gold leaf flakes
- Chrome powder
- Gel liners
- Silicone stamper
- Small dish for mixing
- UV/LED Lamp
How to Prepare:
- Apply blooming gel and drop small dots of color onto the wet surface to watch them spread like watercolor flowers.
- Use a dotting tool to create ‘leopard print’ using neon shades for a wild touch.
- Lay striping tape in a geometric pattern before painting over with a contrasting shade.
- Press gold leaf into the tacky layer of your polish for a touch of luxury.
- Rub chrome powder onto a no-wipe top coat for a metallic, magical sheen.
- Use a silicone stamper to create ‘marble’ textures by swirling two colors together.
- Add tiny ‘starbursts’ using a ultra-fine liner brush.
- Mix clear gel with a bit of pigment to create ‘jelly’ layers.
- Cure each layer thoroughly to keep the designs crisp and clear.
Budget Range
- Born Pretty Blooming Gel ($6.99)
- Kads Nail Art Stamping Plates ($8.00)
- Artdone Gold Leaf & Chrome Set ($11.99)
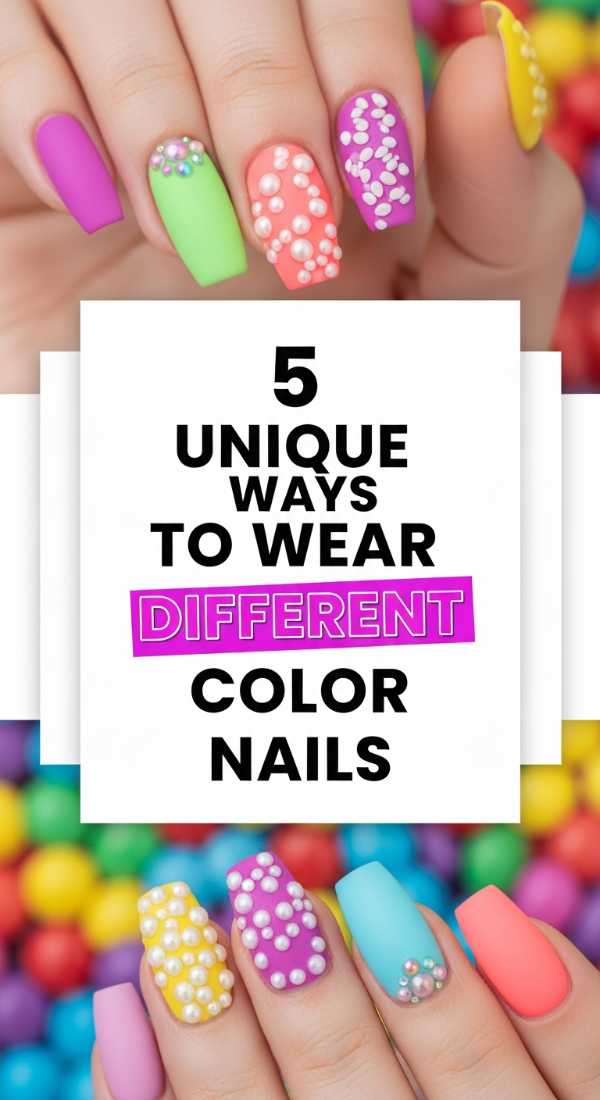
Sweet Variety: 5 Unique Ways to Wear Different Color Nails
Why to love this recipe:
The ‘Skittles’ mani is a classic for a reason, my darlings! It’s the ultimate way to wear your favorite palette all at once. It’s easy, it’s cheerful, and it makes every outfit feel curated and special.
Essential Ingredients:
- 5 to 10 different shades of the same brand
- Nail strengthener
- Quick-dry top coat
How to Prepare:
- Line up your polishes in a ‘gradient’ from thumb to pinky.
- Apply two coats of a different color to each finger.
- Try an ‘alternate’ hand pattern where the thumb on the left matches the pinky on the right.
- Add a single ‘junk’ charm to just the ring finger for a ‘pop’ of maximalism.
- Use a matte top coat on one hand and glossy on the other for a textural contrast.
Budget Range
- Zoya ‘Big 10 Free’ Polish ($12.00/bottle)
- Essie Expressie Quick-Dry ($9.00)
- Sally Hansen Hard as Nails ($3.99)
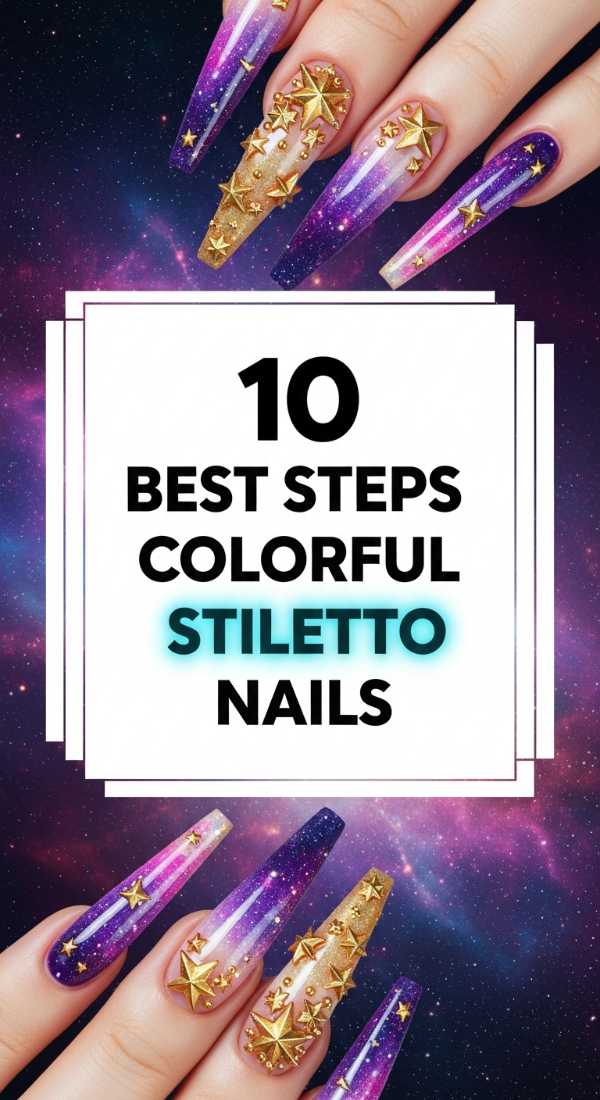
Dramatic Heights: 10 Best Steps for Colorful Stiletto Nails
Why to love this recipe:
Stiletto nails are for the bold, the dreamers, and the magical ones! The extra real estate on these nails allows for incredible gradients and heavy ‘junk’ elements that smaller shapes just can’t hold. It’s like wearing a crown on each finger.
Essential Ingredients:
- Long stiletto tips
- Strong adhesive
- Coarse grit file
- Nail dehydrator and primer
- Highly pigmented gel paints
- Large statement charms
- Oversized crystals
- Clear building resin
- Top coat
- Cuticle softener
How to Prepare:
- Ensure your natural nails are prepped and dehydrated for maximum grip.
- Apply the stiletto tips, ensuring they are straight and level.
- File the edges to a sharp, elegant point (be careful, loves!).
- Apply a primer to help the color ‘hug’ the nail.
- Create a vertical ombre using three vibrant colors.
- Apply a thick layer of resin at the base for larger ‘junk’ pieces.
- Cluster three different sized crystals around a central charm.
- Seal the ‘valleys’ between charms with extra top coat for durability.
- Cure for double the time to ensure the thick layers are solid.
- Oil those cuticles—stiletto styling can be a bit drying!
Budget Range
- UNA GELLA Stiletto Tips ($9.99)
- Young Nails Protein Bond ($14.50)
- BTArtbox Nail Glue ($7.99)
Finding Your Spark: 3 Ways to Find Colorful Nail Inspo
Why to love this recipe:
Sometimes the hardest part is knowing where to begin. Finding inspiration is like opening a window and letting the fresh air in. It connects us to the world and to our own inner preferences.
Essential Ingredients:
- A Pinterest account
- A walk in nature
- Vintage jewelry boxes
How to Prepare:
- Create a ‘Mood Board’ on Pinterest specifically for ‘Maximalist Textures.’
- Take a walk outside and look at the way wildflowers group together—nature is the original junk nail artist!
- Look at old costume jewelry; the way colors are clustered in vintage brooches is perfect nail inspo.
Budget Range
- Pinterest App (Free)
- A walk in the park (Free)
- Local Thrift Store Jewelry ($5.00)
Instant Magic: 6 Easy Tricks for Color Street Nails
Why to love this recipe:
If you’re in a hurry but still want that vibrant soul, dry nail strips are your best friend. They provide a perfectly smooth, colorful base that we can then ‘junk up’ with our favorite additions. It’s the ultimate time-saver!
Essential Ingredients:
- Color Street or similar nail strips
- Alcohol prep pads
- Glass nail file
- UV Top coat (optional but recommended)
- Small charms
How to Prepare:
- Clean your nails thoroughly with alcohol to remove any oils.
- Apply the strip, stretching gently for a smooth, bubble-free finish.
- Use a glass file in a downward motion to remove the excess.
- Apply a UV top coat over the strip to give it a ‘gel’ look.
- While the top coat is wet, drop in a few tiny flat-back crystals.
- Cure to turn a simple strip into a maximalist masterpiece.
Budget Range
- Color Street Strips ($11.00 – $14.00)
- Mont Bleu Glass Nail File ($10.00)
- Alcohol Prep Pads ($5.00)
The Perfect Finish: 7 Smart Steps to Apply Multicolor Nails
Why to love this recipe:
This is the ‘technical’ part that makes the ‘art’ part last! Applying multicolor designs requires a bit of strategy so the colors stay vibrant and don’t bleed into one another. It’s about protecting your hard work.
Essential Ingredients:
- High-quality LED Lamp
- Lint-free wipes
- 91% Isopropyl Alcohol
- Thin detail brush
- No-wipe top coat
- Buffer
- Color-blocking tape
How to Prepare:
- Buff the nail gently to create a ‘key’ for the polish to stick to.
- Apply thin layers—thick layers lead to peeling, and we want these beauties to last!
- Cure each color individually if they are touching.
- Use a lint-free wipe with alcohol to remove the ‘sticky layer’ between steps if you’re drawing fine lines.
- Apply your top coat carefully, ‘floating’ it over the designs so you don’t smear the paint.
- Check the ‘sidewalls’ to make sure no polish has flooded the cuticles.
- Give one final ‘mega-cure’ for 120 seconds at the very end.
Budget Range
- SUNUV LED Nail Lamp ($23.99)
- ForPro Lint-Free Wipes ($7.00)
- 91% Isopropyl Alcohol ($4.00)
Embrace Your Vibrant Self
My sweet friends, I hope this guide feels like a warm invitation to play, experiment, and love your hands a little more today. Whether you go for a full set of ‘junk’ nails with charms galore or a simple two-tone look, remember that the most important ingredient is your own joy. There is no such thing as ‘too much’ when it comes to expressing the beautiful, colorful person you are. Now, go grab your favorite polish and let your creativity bloom!