
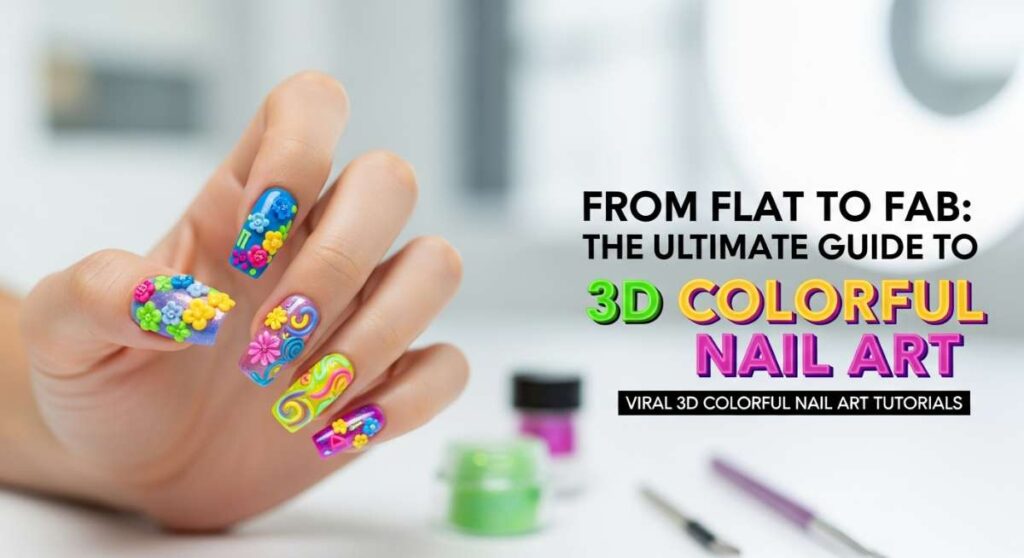
From Flat to Fab: The Ultimate Guide to 3D Colorful Nail Art
Hello, my loves! Welcome back to our little corner of the internet where we turn everyday moments into pockets of magic. You know that feeling when you look down at your hands while sipping a warm matcha latte and see a canvas of colors staring back at you? It’s more than just a manicure; it’s a soft embrace for your soul, a way to whisper to the world exactly who you are without saying a single word.
Lately, I’ve been completely obsessed with the tactile beauty of 3D nail art. There is something so deeply satisfying about the texture, the way the light catches a raised petal or a shimmering stripe. It’s like wearing tiny sculptures on your fingertips! Today, I want to walk you through a journey from the simple and sweet to the wonderfully complex, all while keeping that cloud-soft energy we love so much. Let’s dive into these viral tutorials together, shall we?
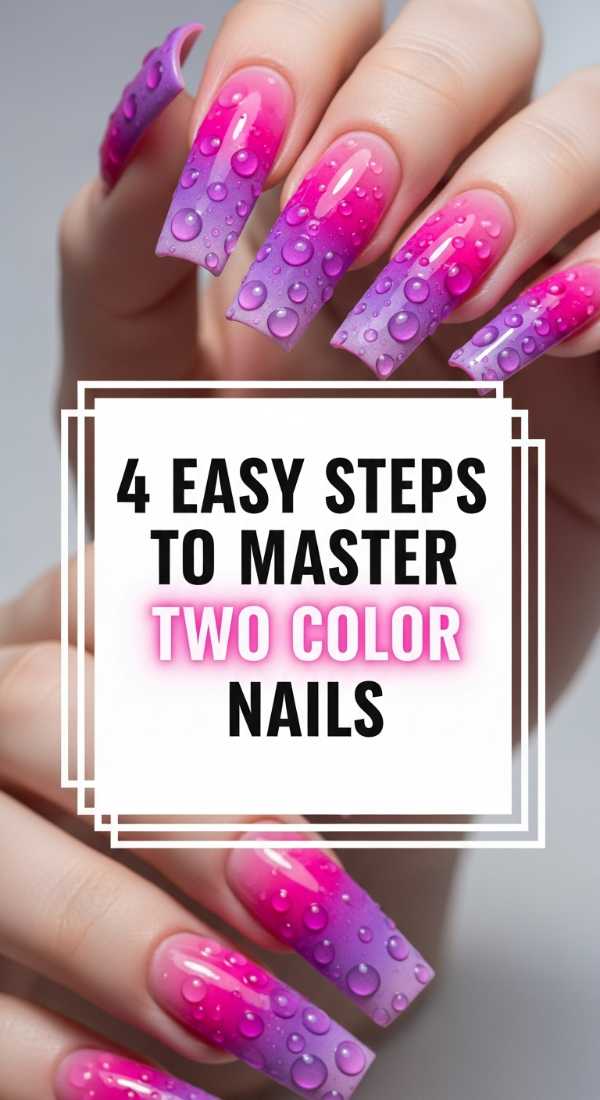
4 Easy Steps to Master Two Color Nails
Why to love this recipe:
This is the ultimate ‘quiet luxury’ look for when you want to feel polished but playful. Combining two colors allows you to experiment with contrast—like a soft lavender paired with a bold cream—creating a visual rhythm that is both calming and chic. It’s the perfect entry point for those of us just starting to explore the world of multi-tonal art.
Essential Ingredients:
- Two complementary gel polishes
- Fine detailing brush
- Base and top coat
- LED/UV lamp
How to Prepare:
1. Apply your base color to the entire nail and cure. 2. Use a detailing brush to paint the second color on exactly half of the nail vertically. 3. Refine the center line with a clean brush dipped in alcohol. 4. Apply a glossy top coat to seal the duo and cure one last time.
Budget Range
- Beetles Gel Polish Set ($15)
- Modelones Detail Brushes ($8)
- SunUV LED Lamp ($25)
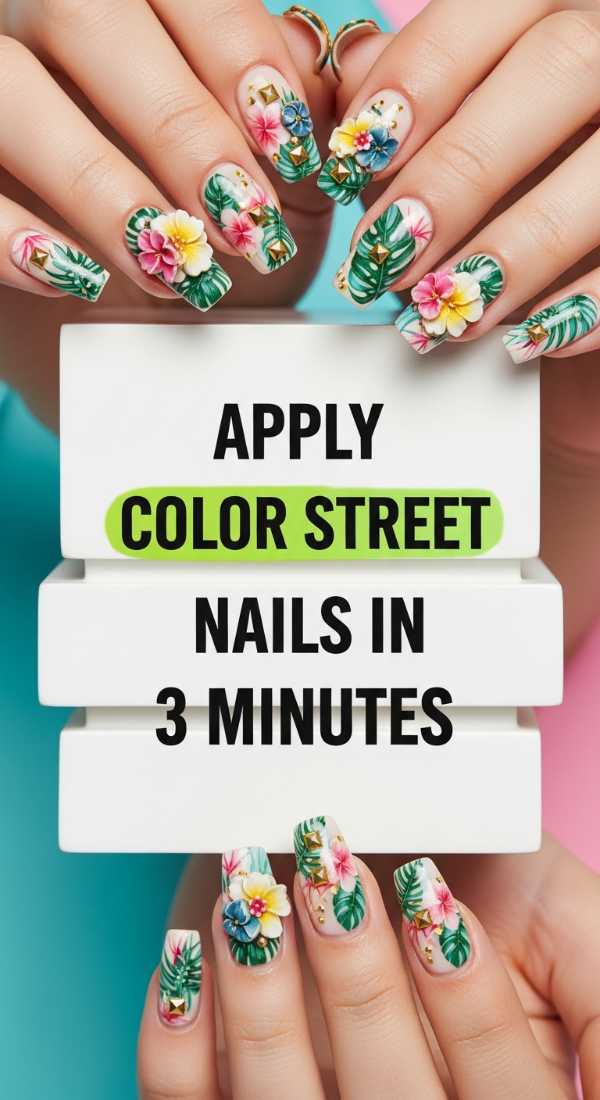
Apply Color Street Nails in 3 Minutes
Why to love this recipe:
For my busy loves who are always on the go but refuse to sacrifice their aesthetic, this is a total lifesaver. These real nail polish strips give you that salon-quality, high-pigment look without the drying time or the mess. It’s like a warm hug for your schedule—efficient and beautiful.
Essential Ingredients:
- Color Street nail strips
- Nail prep pad
- Mini nail file
How to Prepare:
1. Clean nails with the prep pad to remove oils. 2. Peel the clear plastic cover and the polish strip from the paper. 3. Press the strip onto your nail, smoothing from the center outward. 4. Fold the excess over the tip and file it off in a downward motion.
Budget Range
- Color Street Mixed Mani Sets ($13)
- Glass Nail File ($5)
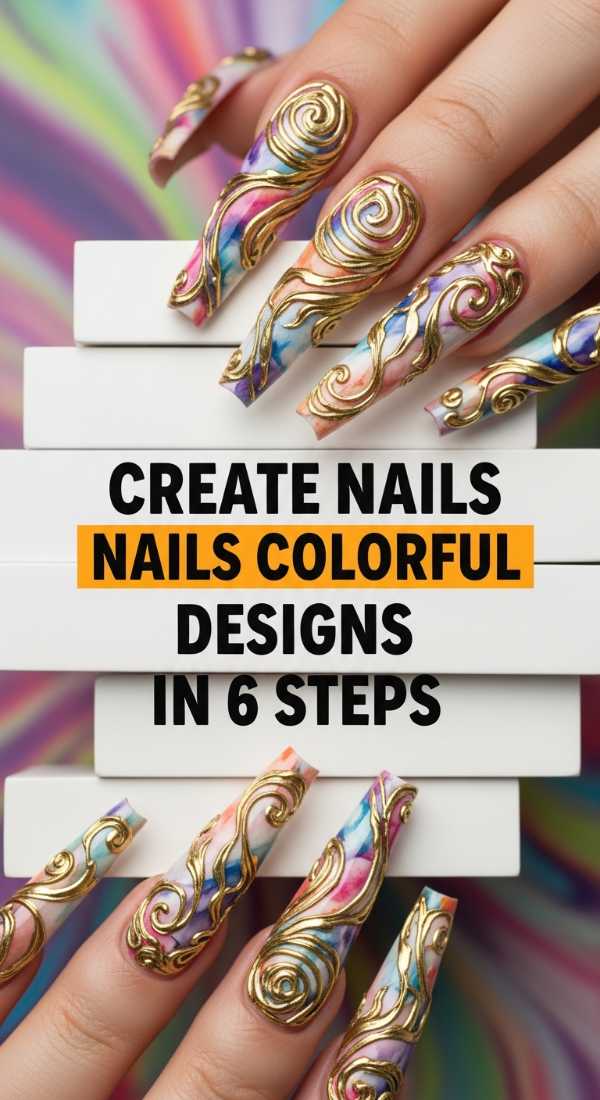
Create Nails Colorful Designs in 6 Steps
Why to love this recipe:
This ‘recipe’ is all about unleashing your inner artist. It’s a meditative process where you get to play with shapes and negative space. These designs are viral for a reason—they look incredibly intricate but are actually built on very simple, mindful movements that anyone can master with a bit of patience.
Essential Ingredients:
- 4-5 bright polish shades
- Dotting tools
- Striping tape
- Matte top coat
How to Prepare:
1. Prep with a neutral base. 2. Place striping tape in a geometric pattern. 3. Fill the sections with different colors. 4. Remove tape while wet. 5. Use a dotting tool to add tiny accents. 6. Finish with a matte coat for a modern, velvet-like texture.
Budget Range
- Winstonia Dotting Tool Set ($7)
- Art 77 Striping Tape ($6)
- OPI Matte Top Coat ($11)
Blend 5 Shades for Perfect Multicolor Nails
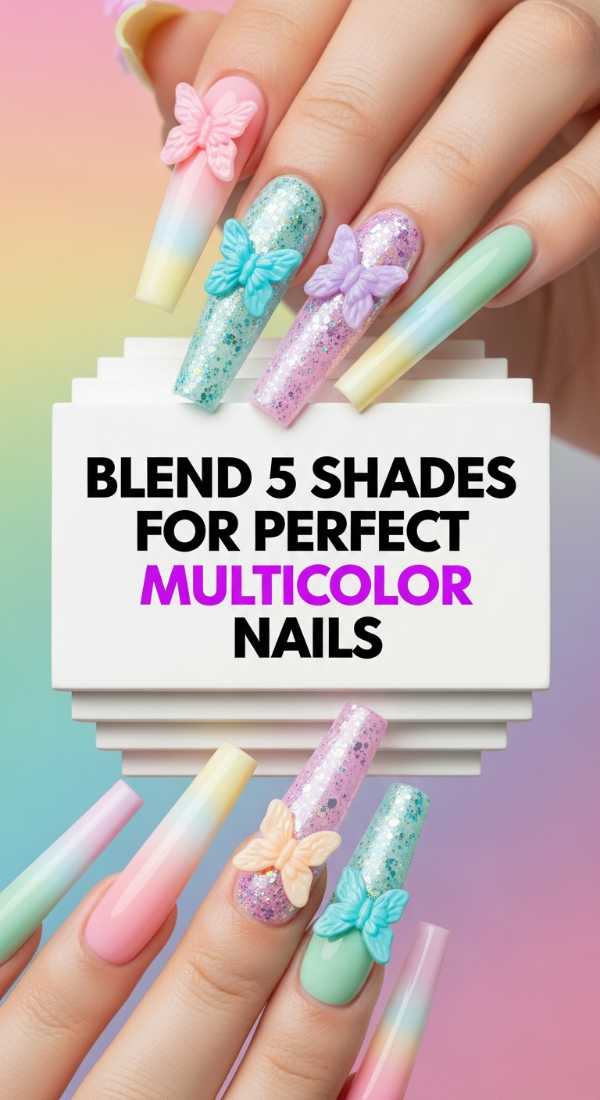
Why to love this recipe:
Imagine a sunset captured on your fingertips. Blending five shades creates a seamless transition that feels like a watercolor painting. It’s a soft, dreamy look that reminds us that even when things are different, they can blend together into something breathtakingly harmonious.
Essential Ingredients:
- 5 gradient colors (e.g., pink to yellow)
- Makeup sponges
- Liquid latex or barrier cream
How to Prepare:
1. Apply liquid latex around your cuticles. 2. Paint the five shades in stripes onto a makeup sponge. 3. Gently dab the sponge onto the nail. 4. Repeat for vibrancy. 5. Peel off the latex. 6. Apply a thick top coat to smooth out the texture.
Budget Range
- Sally Hansen Xtreme Wear Polishes ($4 each)
- Wedge Makeup Sponges ($3)
- Pueen Liquid Peel Off Tape ($9)
Find 7 Ideas for Colorful Nail Inspo
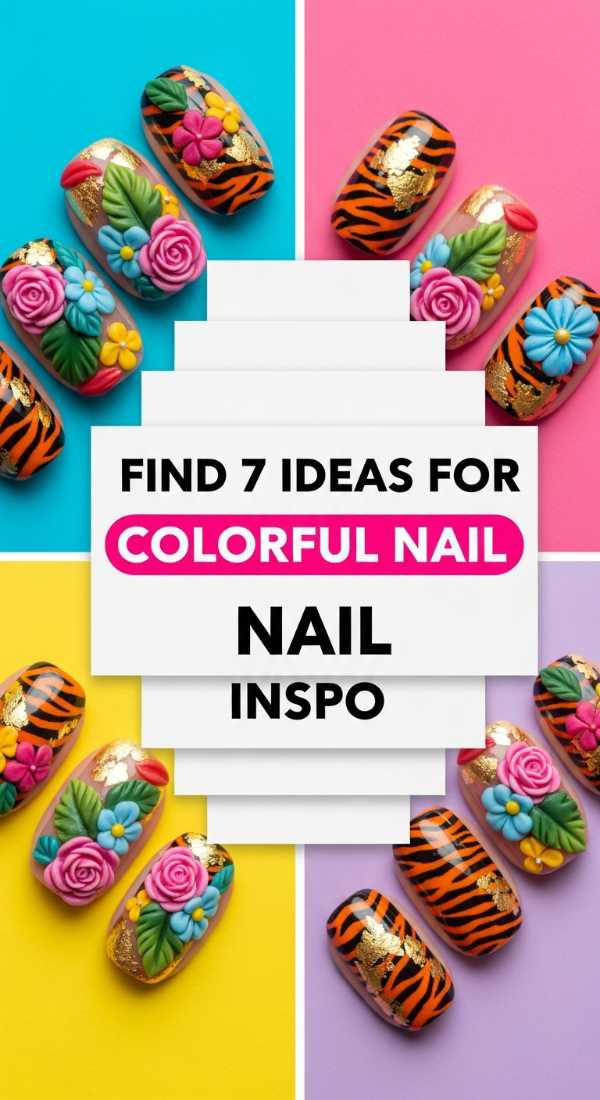
Why to love this recipe:
Sometimes the hardest part is just starting! This guide is like a mood board for your soul. It’s designed to spark that little flame of creativity within you, offering a variety of moods from ‘Soft Pastel Dreams’ to ‘Electric Neon Nights.’ It’s the ultimate reference for when you need a boost of inspiration.
Essential Ingredients:
- Pinterest or Instagram access
- A notebook for sketching
- Your favorite color palette
How to Prepare:
1. Browse trending ‘3D Nail’ hashtags. 2. Save 7 distinct styles (Marble, Aura, Chrome, etc.). 3. Sketch how you would customize them. 4. Pick one that matches your current energy. 5. Gather your colors. 6. Lay out your tools before you begin.
Budget Range
- Gratitude Journal/Notebook ($10)
- Phone Stand for recording your process ($12)
Build 3D Flowers on Colourful Acrylic Nails
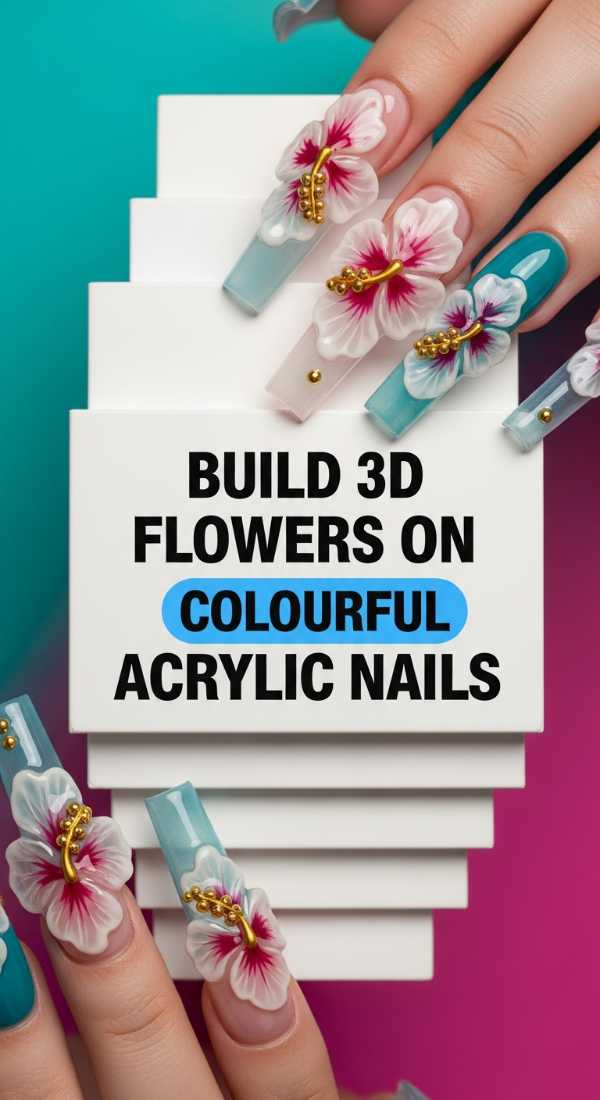
Why to love this recipe:
This is where the ‘Fab’ in our title really shines. 3D flowers add a sculptural dimension that feels so incredibly feminine and high-end. It’s like carrying a tiny, permanent bouquet with you wherever you go. The texture is mesmerizing and serves as a constant reminder of growth and beauty.
Essential Ingredients:
- 3D Sculpting Gel (hard gel)
- Silicone carving tools
- Small pearls or rhinestones
How to Prepare:
1. Apply your colorful base acrylic. 2. Roll a tiny ball of sculpting gel and place it on the nail. 3. Use the silicone tool to press and shape it into a petal. 4. Repeat for 5 petals. 5. Place a pearl in the center. 6. Cure thoroughly under the lamp.
Budget Range
- Saviland 3D Sculpting Gel ($12)
- Silicone Nail Art Tool Set ($9)
- Flatback Pearls ($6)
Paint Tiger Stripes on Colorful Stiletto Nails
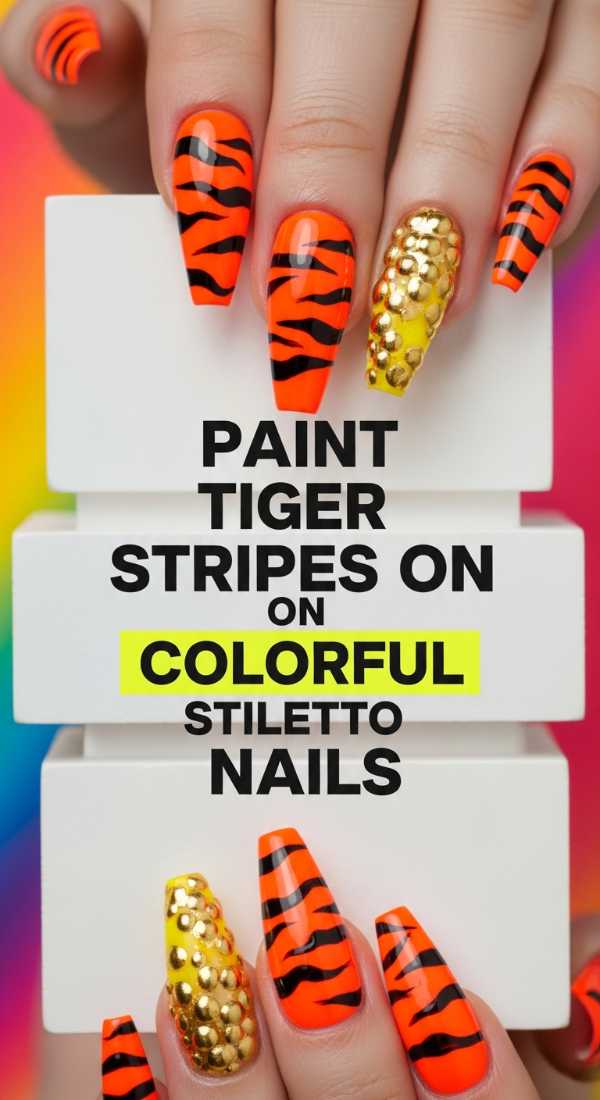
Why to love this recipe:
For my fierce loves who want to show off their strength! Tiger stripes are timeless, but when you put them over a rainbow or a neon stiletto base, they become a modern statement of power and grace. It’s edgy, it’s viral, and it’s surprisingly easy to achieve with a steady hand.
Essential Ingredients:
- Vibrant base color
- Black liner gel
- Long liner brush
How to Prepare:
1. Shape nails into a sharp stiletto. 2. Apply a bright, solid base color. 3. Using the liner brush, draw thin, wavy lines from the edges toward the center. 4. Vary the thickness of the lines for a natural look. 5. Add ‘Y’ shapes for authentic stripes. 6. Cure and top coat.
Budget Range
- Makartt Stiletto Nail Tips ($10)
- Born Pretty Black Liner Gel ($7)
Create Ombre Two Color Nails Effortlessly
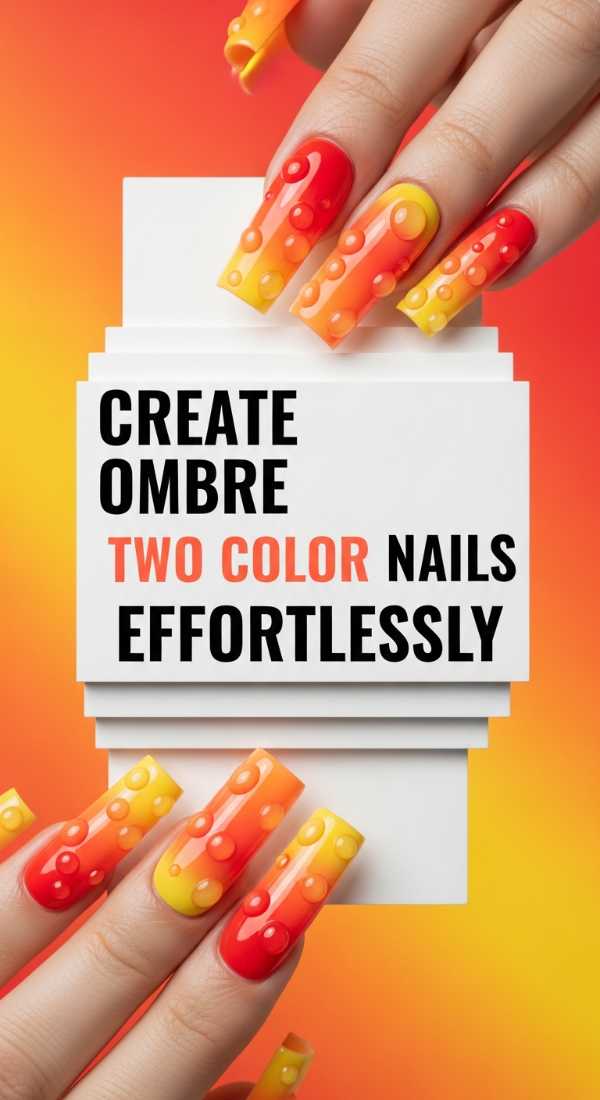
Why to love this recipe:
This is the ‘no-makeup makeup’ of the nail world. It’s soft, it’s blurred, and it’s absolutely effortless. An ombre creates a sense of depth and mystery that flat colors just can’t match. It’s like a soft fog lifting to reveal a beautiful morning—totally serene.
Essential Ingredients:
- Two gel colors
- An ombre brush (fan or slanted)
- Clear mixing gel
How to Prepare:
1. Apply the lighter color to the base. 2. Apply the darker color to the tip. 3. Use the ombre brush to ‘wiggle’ the colors together where they meet. 4. Wipe the brush and repeat for a smooth blend. 5. Cure. 6. Add a second layer for depth.
Budget Range
- Kiara Sky Ombre Brush ($14)
- Gelish Foundation Base ($13)
Decorate Multicolor Nails in 5 Minutes
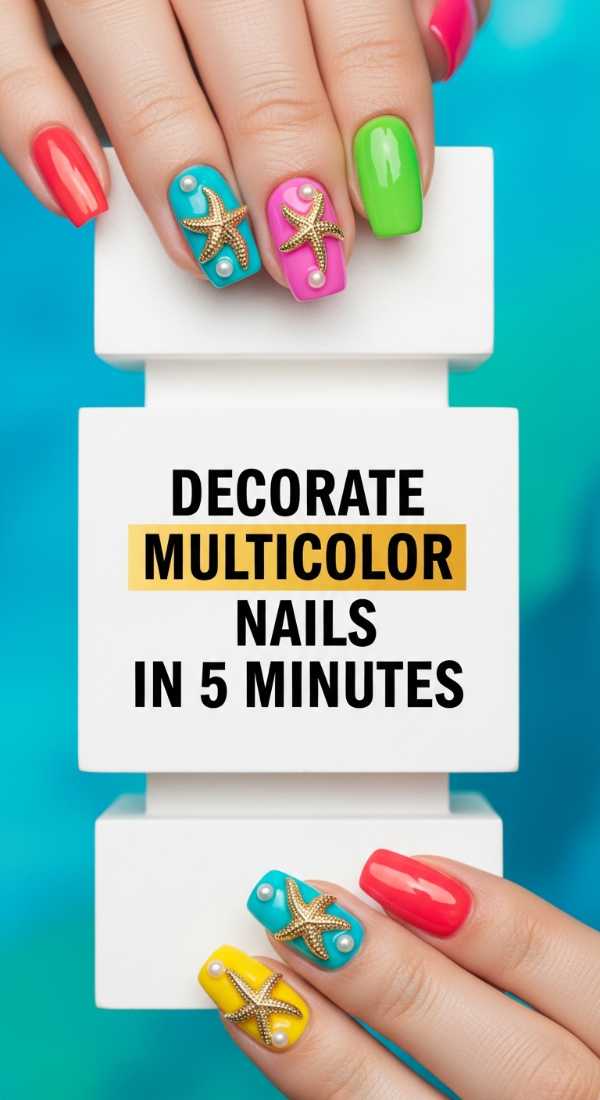
Why to love this recipe:
Sometimes we just need a quick glow-up! This recipe is about the ‘jewelry’ for your nails. It takes a simple multicolor set and elevates it to something red-carpet worthy in minutes. It’s all about the sparkle and the joy that comes from a little extra shimmer.
Essential Ingredients:
- Nail charms or stickers
- Rhinestone glue (gem gel)
- Tweezers
How to Prepare:
1. Start with already painted multicolor nails. 2. Dab a tiny amount of gem gel where you want decoration. 3. Use tweezers to place a charm or stone. 4. Adjust the placement. 5. Cure for 60 seconds. 6. Apply top coat around (not over) the gems.
Budget Range
- Mixed Nail Art Charms ($8)
- Makartt Rhinestone Glue ($10)
Finish Your Colourful Acrylic Nails Today
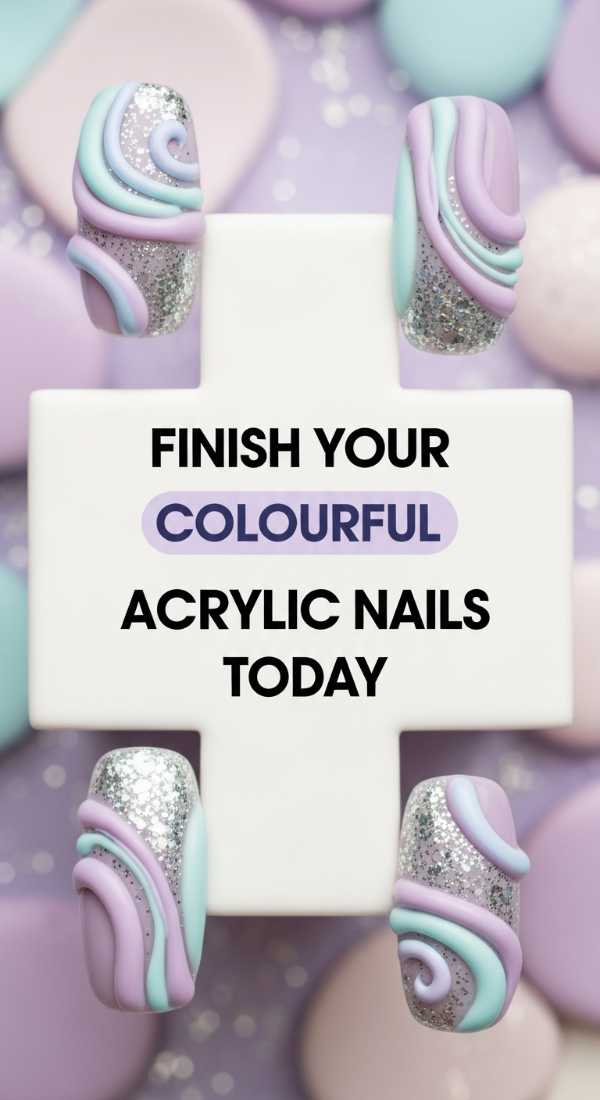
Why to love this recipe:
The finale! This step is all about the health and longevity of your art. Taking the time to finish your nails properly is an act of self-care. It ensures your hard work lasts for weeks and keeps your natural nails underneath feeling loved and nourished.
Essential Ingredients:
- High-shine non-wipe top coat
- Cuticle oil (lavender or rose)
- Buffer block
How to Prepare:
1. Buff away any tiny bumps or imperfections. 2. Cleanse with alcohol to remove dust. 3. Apply a generous layer of non-wipe top coat. 4. Cure for a full 90 seconds. 5. Massage cuticle oil into the skin surrounding the nail. 6. Snap a photo of your masterpiece!
Budget Range
- Cuccio Revitalize Cuticle Oil ($11)
- Kupa High Shine Top Coat ($15)
Conclusion
And there you have it, my loves! Your journey from flat to absolutely fabulous. I hope these tutorials fill your heart with as much joy as they fill your nails with color. Remember, nail art isn’t about perfection; it’s about the process of creating something that makes you smile every time you look down. You are an artist, and your hands are your most beautiful tool. Stay colorful, stay bright, and I’ll see you in the next post!