
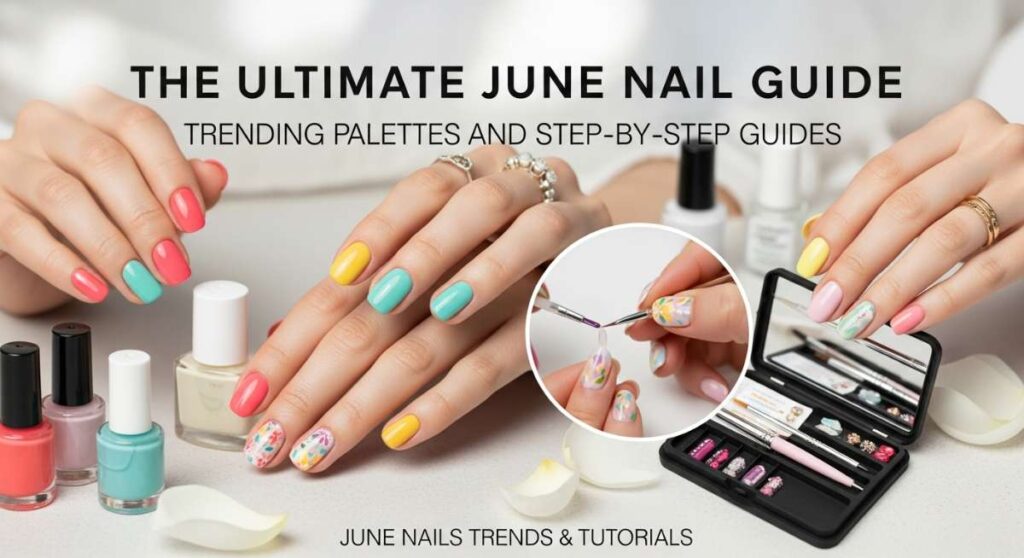
The Ultimate June Nail Guide: Trending Palettes and Step-by-Step Guides
Hello my loves, and welcome to that magical time of year when the air feels like a soft, silk ribbon and the sun stays just a little longer to watch us bloom. June is finally here, and I can’t think of a better way to celebrate the changing season than by wrapping ourselves in a cloud-soft embrace of color and creativity. There is something so grounding about taking a moment for ourselves, sitting by a sun-drenched window, and painting a little piece of art onto our fingertips.
This month is all about balance—mixing the fierce energy of the approaching summer with the gentle, pastel whispers of late spring. Whether you’re prepping for a tropical getaway or just want to feel like a mermaid while sipping your morning matcha, I’ve gathered my absolute favorite trends to share with you. Let’s dive into this world of shimmer, texture, and joy together. My loves, your hands do so much for the world; let’s make them look as beautiful as the soul they carry.
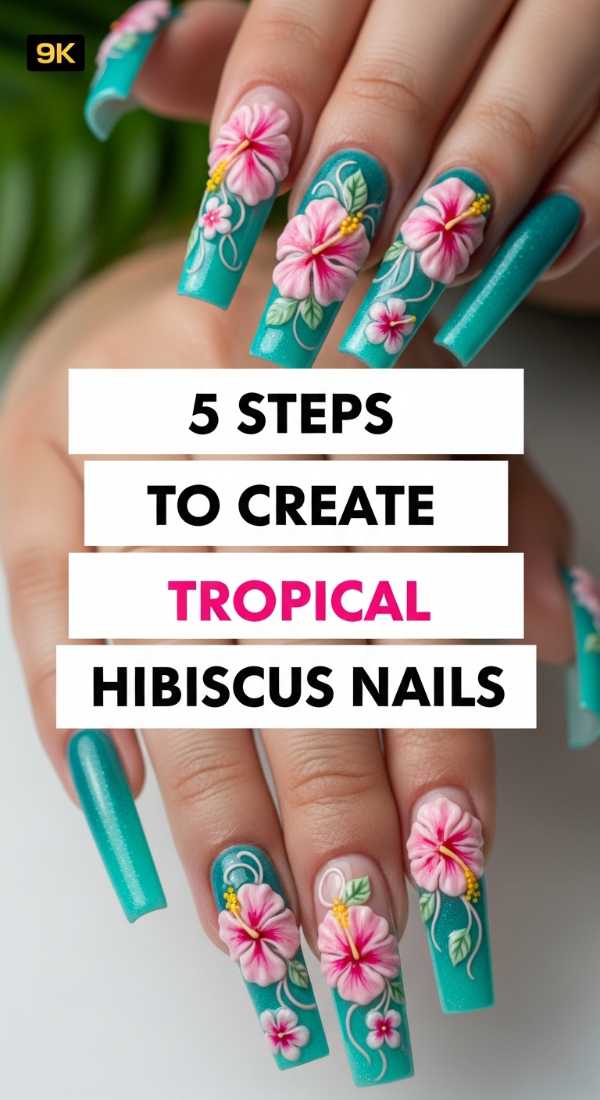
5 Steps to Create Tropical Hibiscus Nails
Why to love this Design:
This design is like a vacation in a bottle. It brings the vibrant, rhythmic heartbeat of the tropics right to your hands, making every movement feel like a dance under a palm tree. It’s bold, feminine, and undeniably joyful.
Essential Elements:
- Bright coral or hot pink polish
- Fine-liner nail brush
- Sunshine yellow center polish
- Creamy white for petal highlights
- High-gloss top coat
How to Prepare:
- Apply two thin coats of your base color and let them dry completely.
- Using a fine brush, draw five teardrop shapes meeting at a central point to form the petals.
- Add a tiny dot of yellow in the center of the bloom for that sun-kissed look.
- Gently drag a thin line of white from the center outward to create petal texture.
- Seal the tropical magic with a thick layer of gloss for a glass-like finish.
Budget Range
- Sally Hansen Insta-Dri in ‘Flashy Fuchsia’ – $6.00
- Beetles Nail Art Liner Brushes – $8.99
- Essie ‘Check In to Check Out’ – $10.00
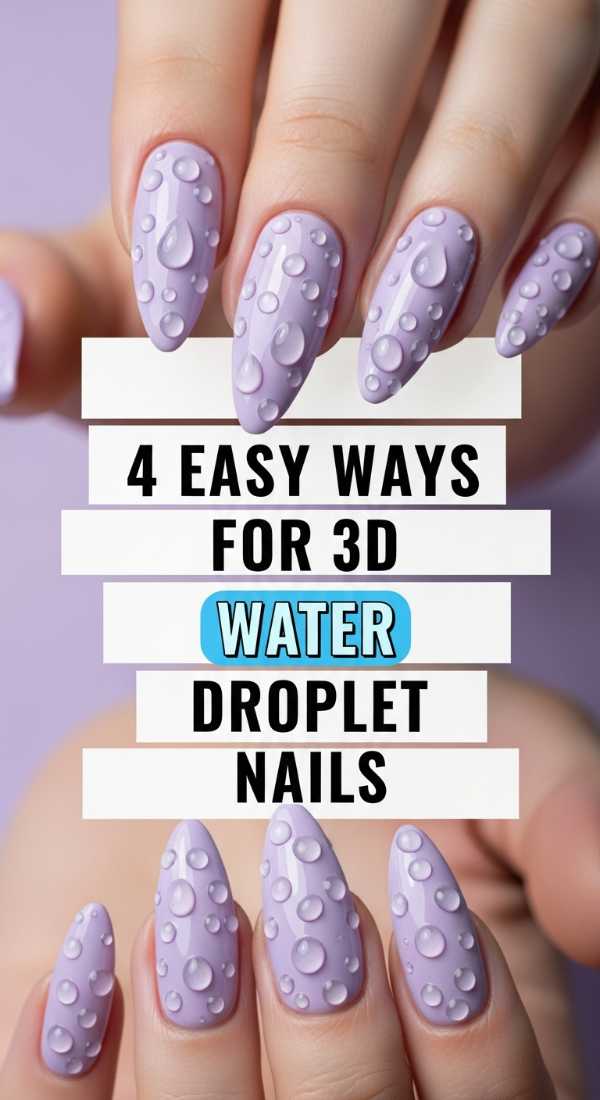
4 Easy Ways for 3D Water Droplet Nails
Why to love this Design:
There is something so incredibly ethereal about water droplets that never dry. It creates a dewy, fresh-from-the-ocean aesthetic that feels cooling even on the hottest June afternoon. It’s the ultimate conversation starter.
Essential Elements:
- Clear Builder Gel or Hard Gel
- Dotting tool
- Matte top coat (for contrast)
- UV/LED Lamp
How to Prepare:
- Method 1: Apply droplets of builder gel over a matte base for a realistic ‘rain’ look.
- Method 2: Use a thick top coat to build height in small, intentional circles.
- Method 3: Place tiny clear caviar beads and encapsulate them in clear gel.
- Method 4: Mix a tiny bit of blue tint into your clear gel for a deep-sea droplet effect.
Budget Range
- Makartt Rhinestone Glue/Builder Gel – $9.99
- Modelones Matte Top Coat – $7.99
- Nail Dotting Tool Set – $5.00
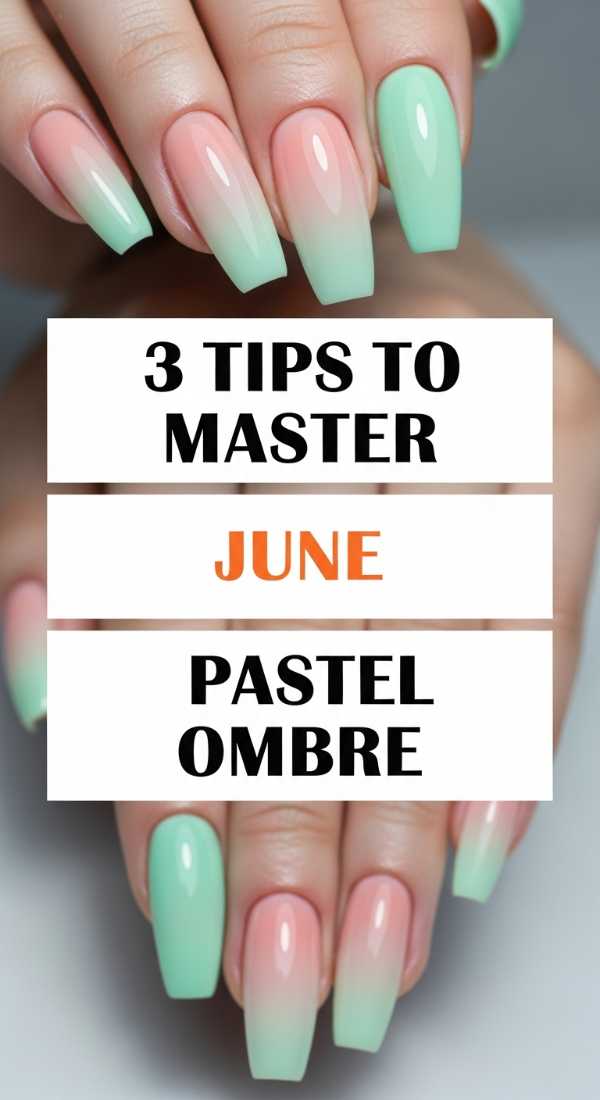
3 Tips to Master June Pastel Ombre
Why to love this Design:
Pastel ombre is like a soft summer sunset caught on your nails. It’s gentle, sophisticated, and bridges the gap between different moods perfectly. It’s a cloud-soft embrace for your style.
Essential Elements:
- Makeup sponges
- Liquid latex (for easy cleanup)
- Complementary pastel shades (lavender, mint, peach)
How to Prepare:
- Tip 1: Always apply a white base coat first to make the pastel colors pop with vibrancy.
- Tip 2: Dampen your makeup sponge slightly so it doesn’t soak up too much of the precious polish.
- Tip 3: Use a ‘dabbing’ motion rather than dragging to ensure a seamless, cloud-like transition.
Budget Range
- OPI ‘It’s a Boy!’ Blue – $11.50
- Wedge Makeup Sponges (Bulk) – $4.00
- Pueen Liquid Latex – $9.00
6 Steps to Design Your Dream Beach Nails
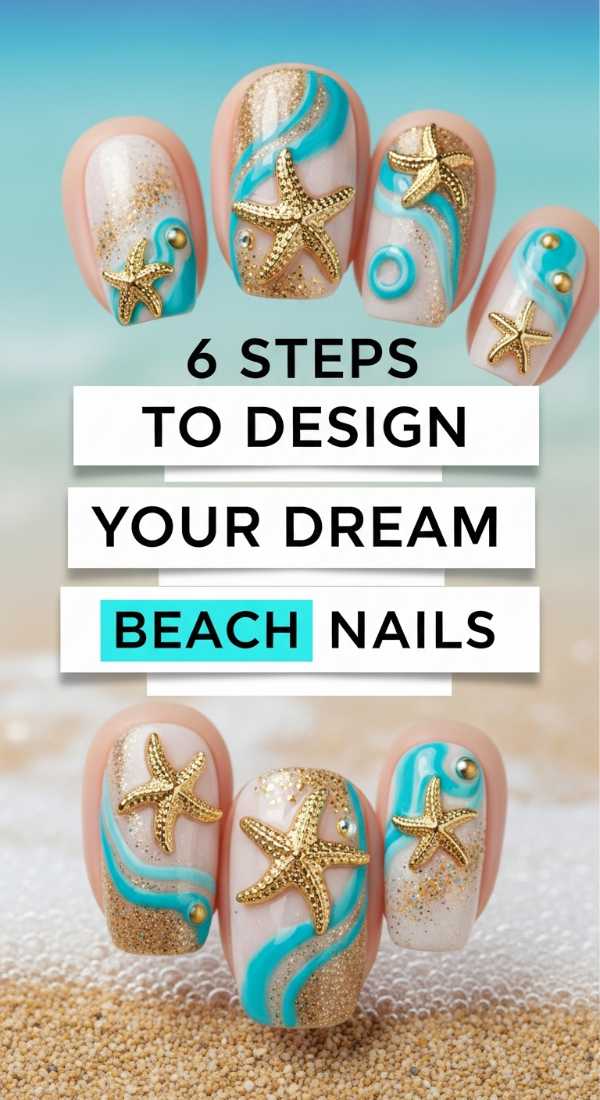
Why to love this Design:
If you close your eyes, you can almost hear the waves. This design captures the textures of the shore—the gritty sand, the foamy surf, and the deep blue horizon. It’s pure escapism at your fingertips.
Essential Elements:
- Sand-textured polish or beige crème
- Translucent turquoise gel
- White stamping polish (for foam)
- Gold leaf flakes
How to Prepare:
- Paint the bottom third of the nail with your sand color.
- Apply turquoise to the top two-thirds, overlapping slightly with the ‘sand’.
- Use a crumpled piece of plastic wrap to dab white polish at the ‘shoreline’ for foam.
- Place tiny gold leaf flakes in the sand area to mimic sparkling shells.
- Add a second layer of turquoise to create depth in the water.
- Finish with a UV-protectant top coat to keep the colors from fading in the sun.
Budget Range
- Holo Taco ‘Gold Flake’ – $11.00
- Revlon ‘Coastal Surf’ – $7.00
- Maniology White Stamping Polish – $8.00
5 Ways to Apply 3D Butterfly Nail Charms

Why to love this Design:
Butterflies symbolize transformation and grace, making them the perfect June companion. Adding 3D charms gives your manicure a whimsical, jewelry-like quality that feels so special and dainty.
Essential Elements:
- Resin butterfly charms
- Strong nail adhesive or polygel
- Tweezers
How to Prepare:
- Way 1: Place a single charm on the ring finger as a focal point.
- Way 2: Scatter tiny butterflies across all nails for a garden effect.
- Way 3: Pair charms with dried flowers for a ‘fairy-core’ vibe.
- Way 4: Secure with a bead of clear polygel for maximum longevity.
- Way 5: Angle the wings slightly upward to give the illusion of flight.
Budget Range
- Amazon 3D Butterfly Charm Pack (100pcs) – $7.99
- IBD 5-Second Nail Glue – $5.50
- Precision Tweezers – $6.00
4 Steps to Achieve the Tiger Floral Aesthetic
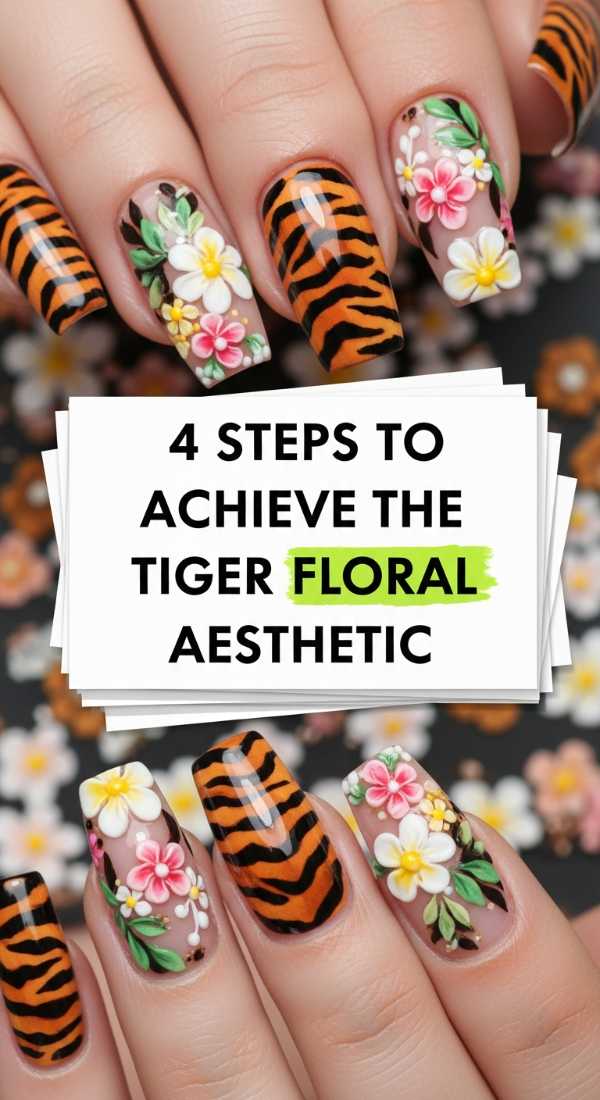
Why to love this Design:
This is for my loves who want a little bit of ‘edge’ with their ‘soft’. It combines fierce animal prints with delicate floral motifs, representing the wild beauty of summer nature.
Essential Elements:
- Muted orange or amber base
- Black detail ink or polish
- Soft white and pink floral stickers
How to Prepare:
- Paint your base in a warm tiger-eye orange.
- Hand-paint thin, irregular black stripes on half of each nail.
- Apply delicate floral stickers or hand-painted buds on the other half.
- Blend the two styles with a light dusting of gold shimmer at the center.
Budget Range
- Zoya ‘Honey’ Amber – $12.00
- Orly ‘Liquid Vinyl’ Black – $9.50
- Floral Nail Decals – $6.00
3 Ways to Style Lavender Summer Nails
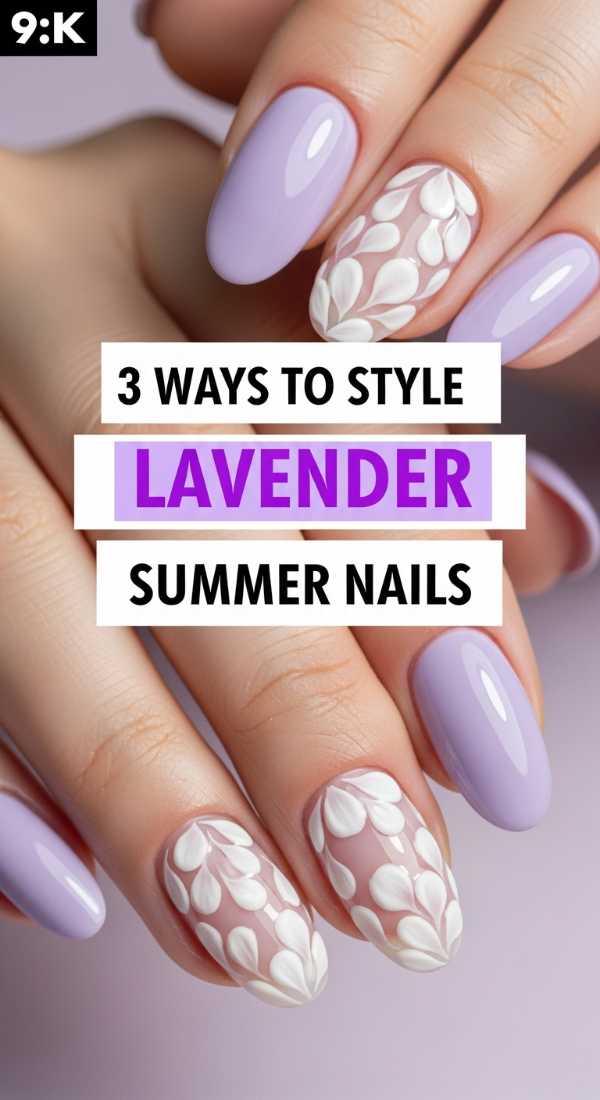
Why to love this Design:
Lavender is the color of peace. It’s cool-toned enough to be refreshing but colorful enough to feel festive. It’s like a breath of fresh air on a humid day.
Essential Elements:
- Lavender crème polish
- Iridescent chrome powder
- Matte top coat
How to Prepare:
- Way 1: The ‘Glazed Lavender’—rub iridescent powder over a purple base for a pearly glow.
- Way 2: The ‘Velvet Matte’—apply a matte top coat for a modern, sophisticated texture.
- Way 3: The ‘Lavender French’—swap your white tips for a soft purple smile line.
Budget Range
- ILNP ‘Full Moon’ Lavender – $10.00
- Born Pretty Chrome Powder – $8.00
- Essie ‘Matte About You’ – $10.00
7 Steps for Ultra-Glossy Vacation Nails
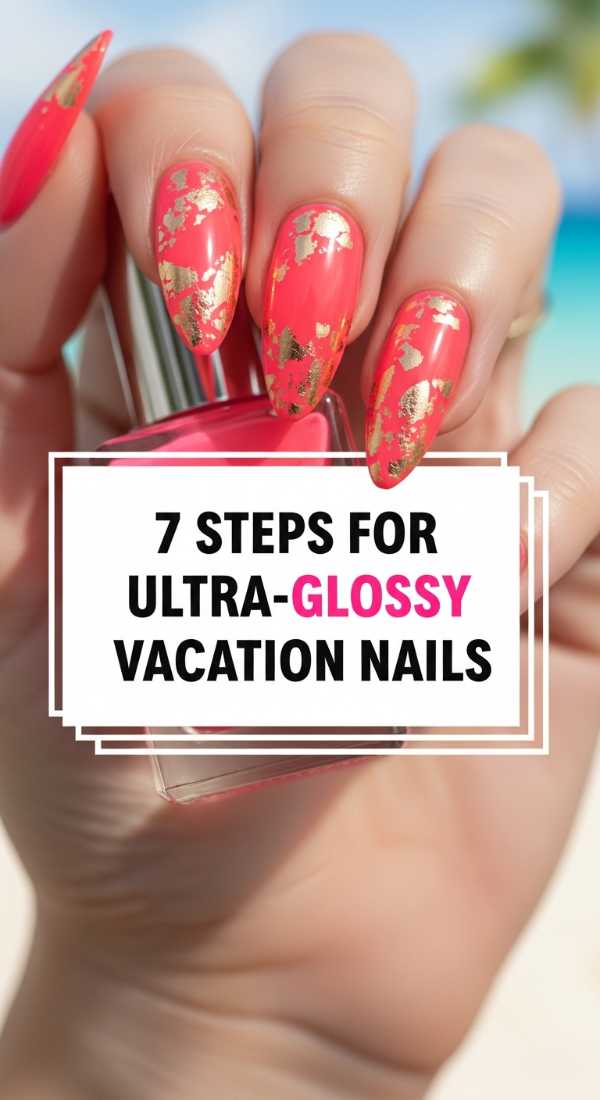
Why to love this Design:
There is nothing quite as satisfying as a manicure so shiny you can see your reflection in it. It looks clean, expensive, and perfectly polished for all those vacation photos.
Essential Elements:
- High-quality base coat
- Plumping top coat
- Cuticle oil
How to Prepare:
- Gently buff the nail surface to remove any ridges.
- Apply a ridge-filling base coat for a smooth canvas.
- Apply two very thin, even coats of your favorite June color.
- Wait exactly 2 minutes between coats for proper adhesion.
- Apply a ‘plumping’ top coat to mimic a professional gel finish.
- Seal the free edge of the nail to prevent chipping.
- Massage cuticle oil in daily to keep the surround skin glowing.
Budget Range
- Seche Vite Dry Fast Top Coat – $9.50
- CND SolarOil – $12.50
- OPI Natural Nail Base Coat – $11.00
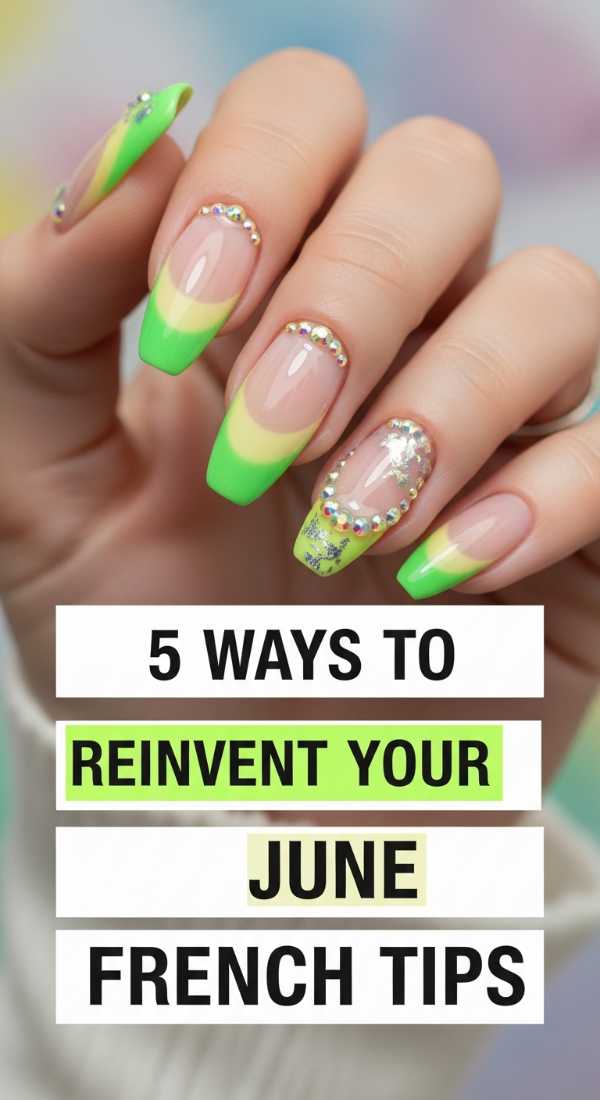
5 Ways to Reinvent Your June French Tips
Why to love this Design:
We all love a classic, but June calls for a remix! These variations keep the elegance of the French tip while injecting a dose of summer personality and fun.
Essential Elements:
- Neon polishes
- Fine-tip detail brushes
- Nail guides/tape
How to Prepare:
- Way 1: The ‘Double Tip’—draw two thin lines instead of one thick one.
- Way 2: The ‘Neon Pop’—use bright lime or hot pink for the tips.
- Way 3: The ‘Floral Edge’—replace the white line with tiny painted daisies.
- Way 4: The ‘Sideways French’—tilt the tip to one side for a modern geometry.
- Way 5: The ‘Ombre Tip’—fade the tip color into the base for a softer look.
Budget Range
- Mani Me Stick-on French Guides – $7.00
- Color Club Neon Set – $15.00
- Lights Lacquer ‘Paper Snow’ – $13.00
4 Tips for Perfect Long-Lasting 3D Nail Art

Why to love this Design:
Don’t let the fear of a charm falling off stop you! Mastering the art of longevity means your 3D creations can last through beach days and garden parties alike.
Essential Elements:
- Alcohol prep pads
- UV bonding gel
- Non-wipe top coat
How to Prepare:
- Tip 1: Always cleanse the nail with alcohol to remove oils before applying adhesive.
- Tip 2: Buff the specific spot where the charm will sit to create ‘grip’.
- Tip 3: ‘Flood’ the base of the charm with top coat to anchor it down securely.
- Tip 4: Cure the adhesive from multiple angles under the lamp to ensure a full set.
Budget Range
- Gelish Foundation Base Gel – $14.00
- Young Nails Protein Bond – $15.00
- Pure Alcohol Prep Pads – $5.00
Wrapping Your June in Beauty
As we step into the warmth of the month, I hope these designs remind you to take a breath and appreciate the small, shimmering details of your life. Whether you chose a bold tiger-floral or a soft lavender cloud, your nails are now a reflection of the vibrant energy you bring into June. Go out there, soak up the sun, and let your hands tell a story of beauty and self-love. I’ll be right here with you, cheering you on. Until next time, stay glowing, my loves!