
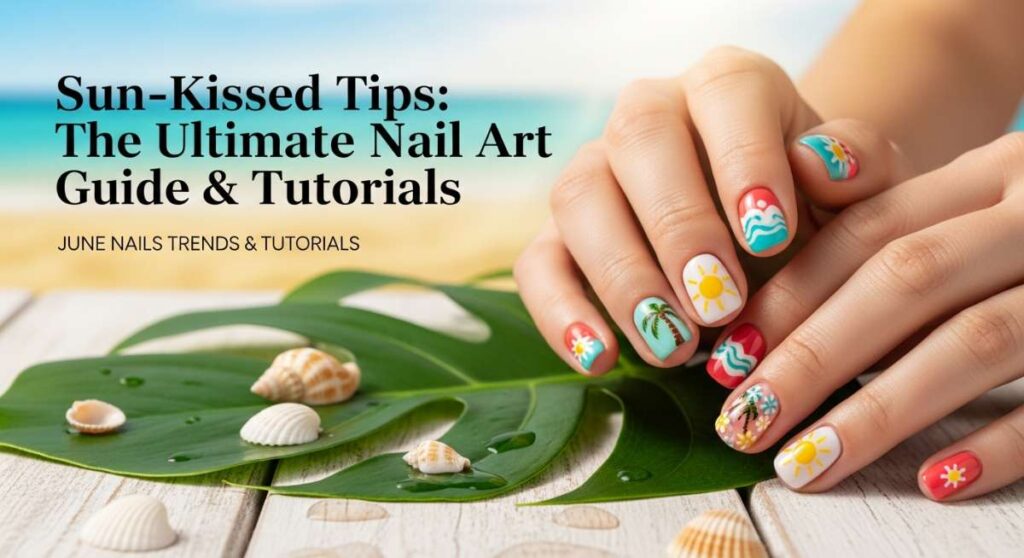
Sun-Kissed Tips: The Ultimate June Nail Art Guide & Tutorials
Hello my beautiful loves! Can you feel it? That soft, golden warmth of the June sun peaking through the curtains, inviting us to step outside and embrace the magic of early summer. June has always felt like a gentle exhale to me—a time for picnics in the grass, ice-cold lemonades, and expressing our inner glow through every little detail, right down to our fingertips. I’ve been spending my afternoons daydreaming about the perfect summer aesthetic, and I am so excited to share this little slice of heaven with you.
Lately, I’ve been obsessed with how a simple manicure can transform your entire mood. Whether you’re lounging by the pool or heading to a sunset dinner, your nails are the ultimate accessory to your summer soul. This month is all about texture, vibrance, and that playful 3D magic that catches the light just right. So, grab a cozy seat, your favorite iced latte, and let’s dive into the dreamiest nail trends of the season together.
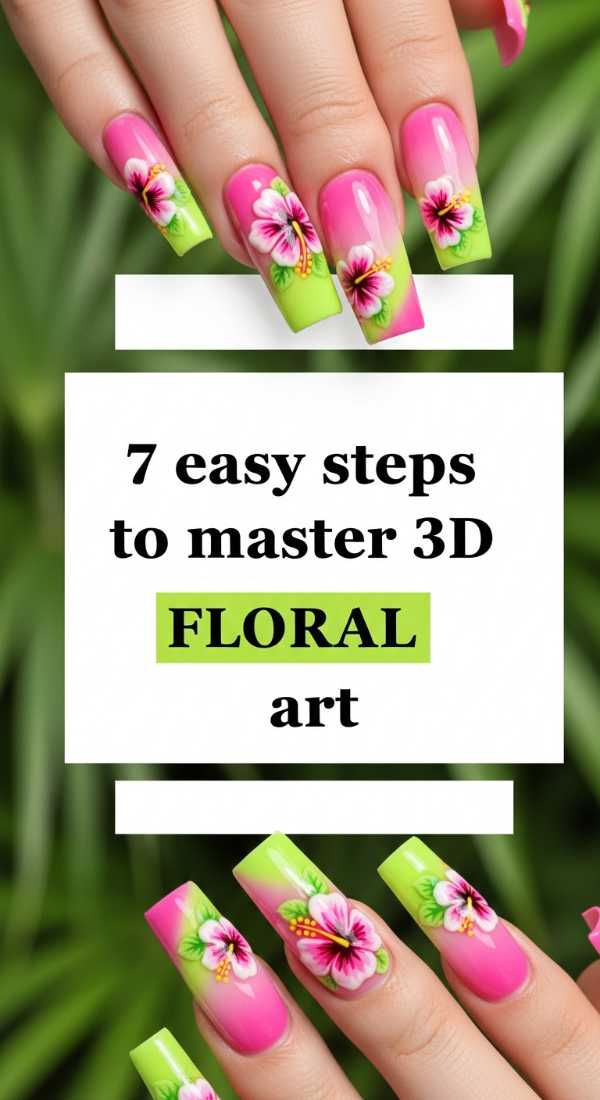
Mastering 3D Floral Art in 7 Easy Steps
Why to love this Design:
There is something so incredibly romantic about having tiny, blooming gardens right on your nails. 3D floral art adds a touch of whimsical elegance that feels like a soft embrace from nature itself. It’s perfect for those June garden parties where you want to feel a little extra special and feminine.
Essential Elements:
- 3D Sculpting Gel (White or Pastel)
- Fine liner brush
- Silicone sculpting tool
- Matte top coat (for the base)
How to Prepare:
- Prep nails and apply your base color.
- Apply a matte top coat to create a non-slip surface.
- Pick up a tiny bead of sculpting gel.
- Place the bead on the nail and press down with your silicone tool.
- Shape into a petal by pulling the center outward.
- Repeat for five petals to form a bloom.
- Flash cure for 30 seconds before adding a tiny gold bead in the center.
Budget Range
- Saviland 4-Color Carving Gel ($12.99)
- Winstonia Professional Fine Liner Set ($9.50)
- Beetles Matte Top Coat ($7.99)
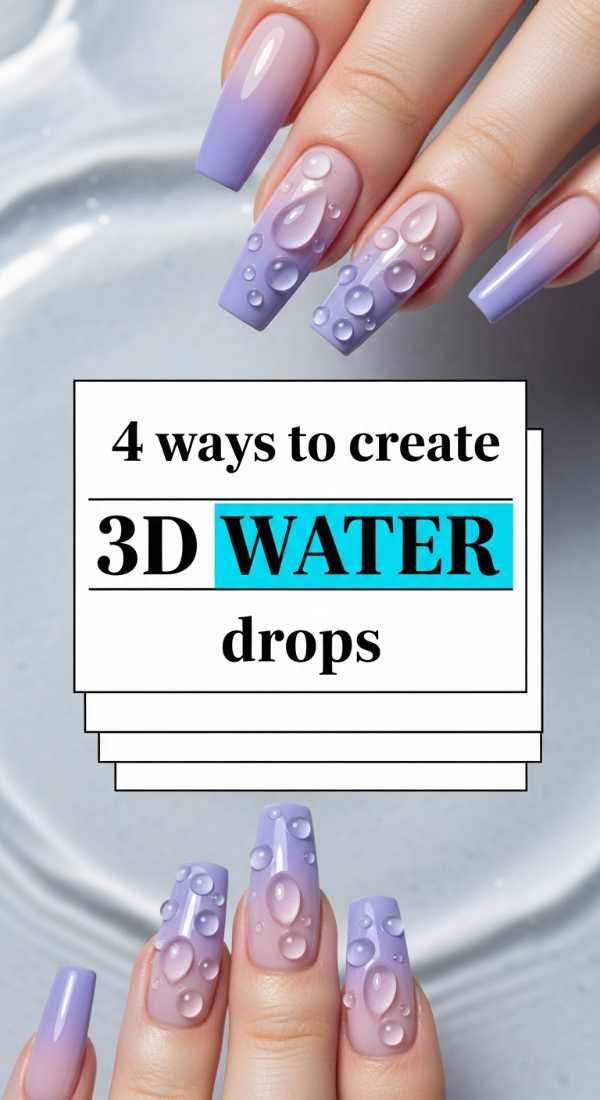
4 Dreamy Ways to Create 3D Water Drops
Why to love this Design:
This is the ultimate ‘cool girl’ summer look. These little droplets look so realistic, like you’ve just dipped your hands into a crystalline spring. It’s refreshing, modern, and adds a stunning tactile element to any solid color or ombre base.
Essential Elements:
- Non-wipe Hard Gel or Builder Gel
- Dotting tool
- High-shine Top Coat
How to Prepare:
- Complete your base color and top coat (cure fully).
- Dip your dotting tool into a thick builder gel.
- Gently place varying sizes of ‘drops’ onto the nail surface.
- Cure immediately for 60 seconds to prevent the gel from leveling out.
Budget Range
- Modelones Builder Gel in a Bottle ($8.99)
- Dual-ended Dotting Tool Set ($5.00)
- Maikon Non-Wipe Top Coat ($6.50)
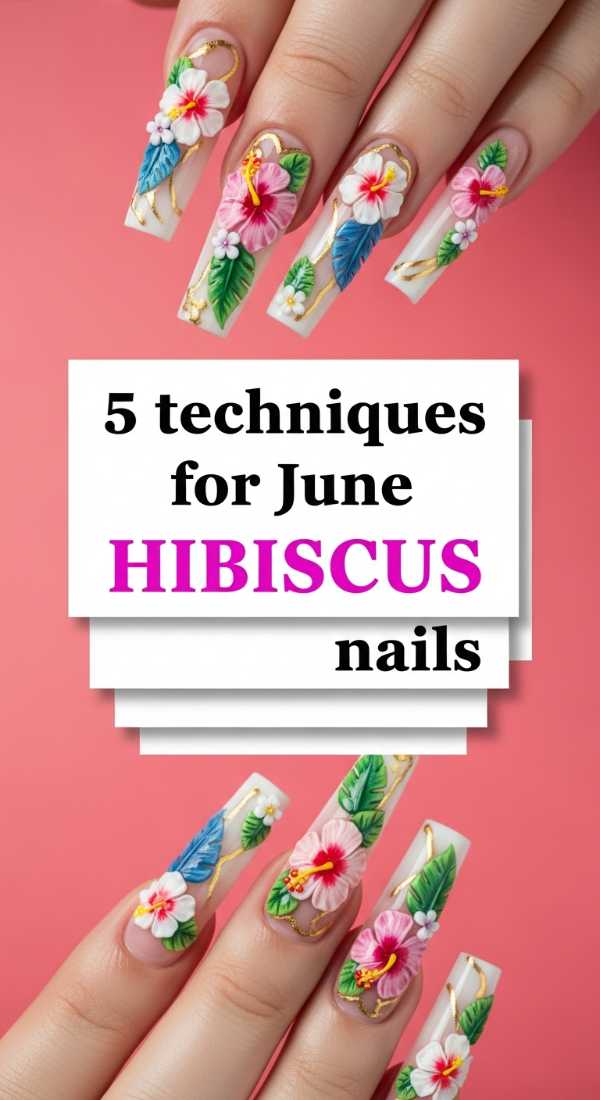
5 Techniques for June Hibiscus Nails
Why to love this Design:
Nothing screams ‘June’ quite like the vibrant, tropical soul of a hibiscus flower. This design is a total mood booster, transporting you straight to a sandy beach with a tropical breeze. It’s bold, beautiful, and oh-so-summery!
Essential Elements:
- Bright pink and orange gel polishes
- Thin striping brush
- Yellow detail gel for the stamen
How to Prepare:
- Paint a soft gradient base.
- Sketch the five large heart-shaped petals.
- Fill in with a vibrant pink, blending slightly toward the center.
- Draw a long, thin yellow line from the center (the stamen).
- Add tiny white dots at the tip of the stamen for detail.
Budget Range
- Gellen Tropical Gel Set ($15.99)
- Any 15mm Nail Art Detail Brush ($7.00)
- Born Pretty Neon Gel Polish ($4.99)
3 Easy Tricks for Ombre Gradients
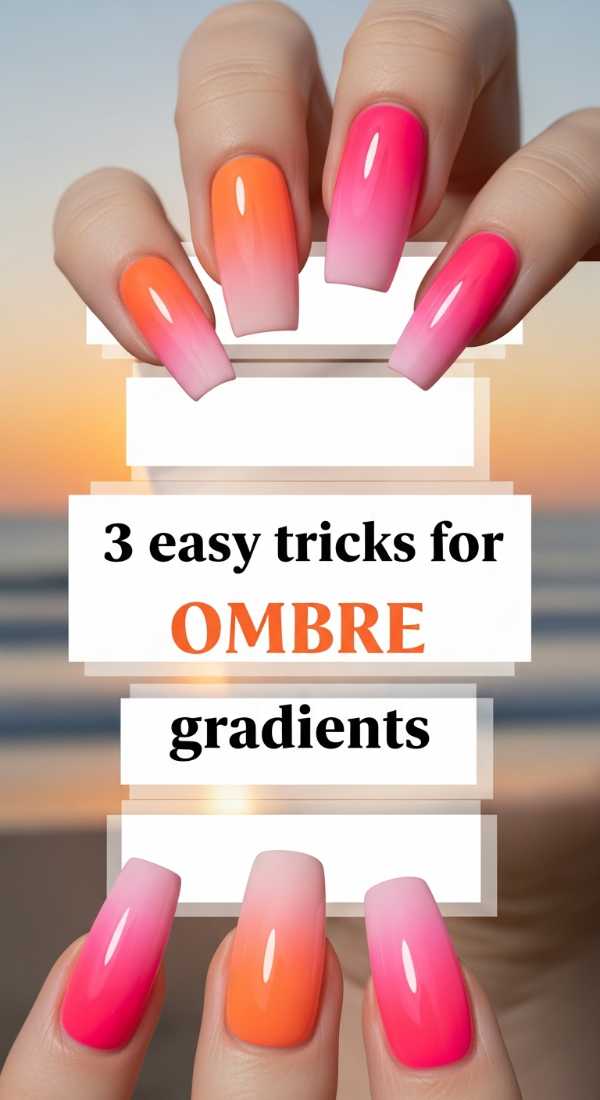
Why to love this Design:
Ombre is like a sunset captured on your nails. It’s seamless, soothing, and works with every single color palette imaginable. It’s the perfect foundation for any summer art or looks stunning all on its own for a sophisticated, soft look.
Essential Elements:
- Makeup sponges (wedge style)
- Liquid latex (for easy cleanup)
- Two complementary gel colors
How to Prepare:
- Apply liquid latex around your cuticles.
- Paint the two colors side-by-side on a makeup sponge.
- Gently dab the sponge onto the nail until the colors blend smoothly.
Budget Range
- Disposable Wedge Makeup Sponges ($3.00)
- Pueen Latex Tape ($8.99)
- Modelones Nude Gel Polish Duo ($10.00)
6 Steps to Apply Gold Charms with Grace

Why to love this Design:
Adding gold charms is like jewelry for your nails! It brings a touch of luxury and sunshine to your manicure. These little golden accents catch the light beautifully during those long June golden hours.
Essential Elements:
- Assorted gold nail charms (shells, stars, studs)
- Rhinestone glue or thick gel
- Tweezers or a wax picker
How to Prepare:
- Finish your base color.
- Apply a small dot of rhinestone glue where you want the charm.
- Place the charm using your wax picker.
- Adjust position carefully.
- Cure for 60 seconds.
- Seal the edges of the charm with a tiny bit of top coat for security.
Budget Range
- Makartt Rhinestone Glue Gel ($9.99)
- 3000pcs Gold Nail Art Studs Box ($7.50)
- Wax Rhinestone Picker Tool ($4.00)
5 Secrets for Perfect Summer Nails
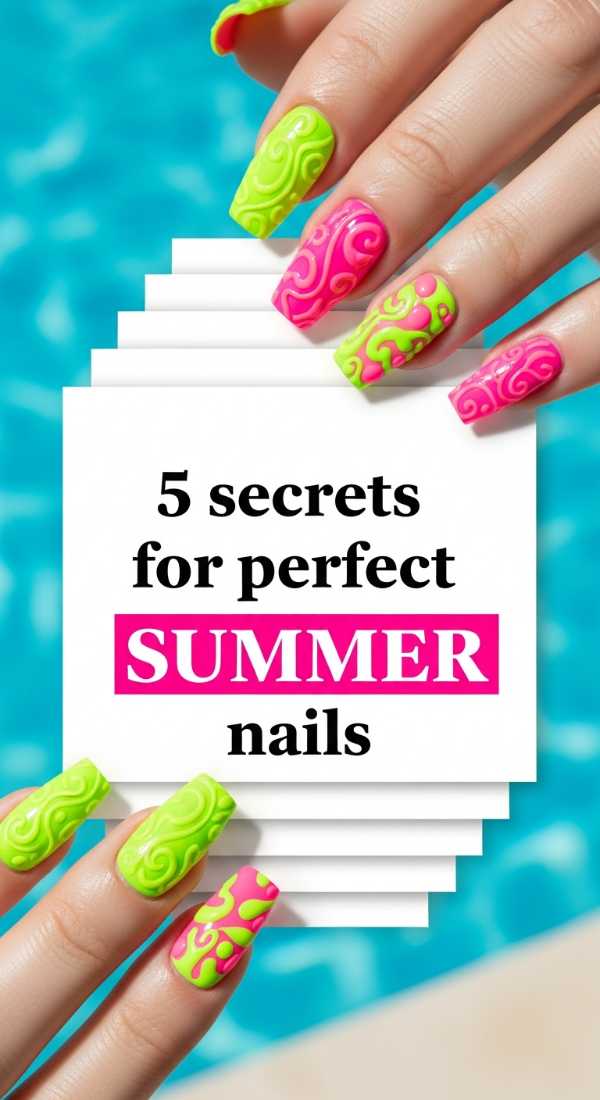
Why to love this Design:
Before the art comes the canvas! These secrets are the foundation of every viral June look. Healthy, hydrated nails make your art pop and ensure you feel confident and glowing all month long.
Essential Elements:
- Cuticle oil
- Glass nail file
- UV-protective top coat
How to Prepare:
- Always use a glass file to prevent peeling.
- Hydrate your cuticles nightly with Jojoba oil.
- Apply a UV-resistant top coat to prevent yellowing in the sun.
- Avoid using nails as tools to prevent lifting.
- Keep a travel-sized hand cream in your summer tote.
Budget Range
- Bliss Kiss Simply Pure Oil Pen ($8.97)
- Mont Bleu Glass Nail File ($9.99)
- Orly Sunscreen Top Coat ($12.00)
8 Minutes to Create 3D Butterflies

Why to love this Design:
Butterflies symbolize transformation and joy—perfect for the start of summer! These 3D versions add a fluttering, lifelike dimension to your nails that will have everyone asking where you got them done.
Essential Elements:
- Pre-made 3D resin butterflies
- Clear builder gel
- Fine-point tweezers
How to Prepare:
- Apply your base color and cure.
- Add a bead of builder gel to the center of the nail.
- Carefully place the butterfly at an angle so it looks like it’s landing.
- Hold in place and flash cure.
- Fully cure for 90 seconds to ensure the weight is supported.
Budget Range
- 50pcs Acrylic 3D Butterfly Charms ($6.99)
- Ibd Hard Gel Clear ($14.50)
- Tweezerman Point Tweezers ($15.00)
4 Steps for Neon June Designs
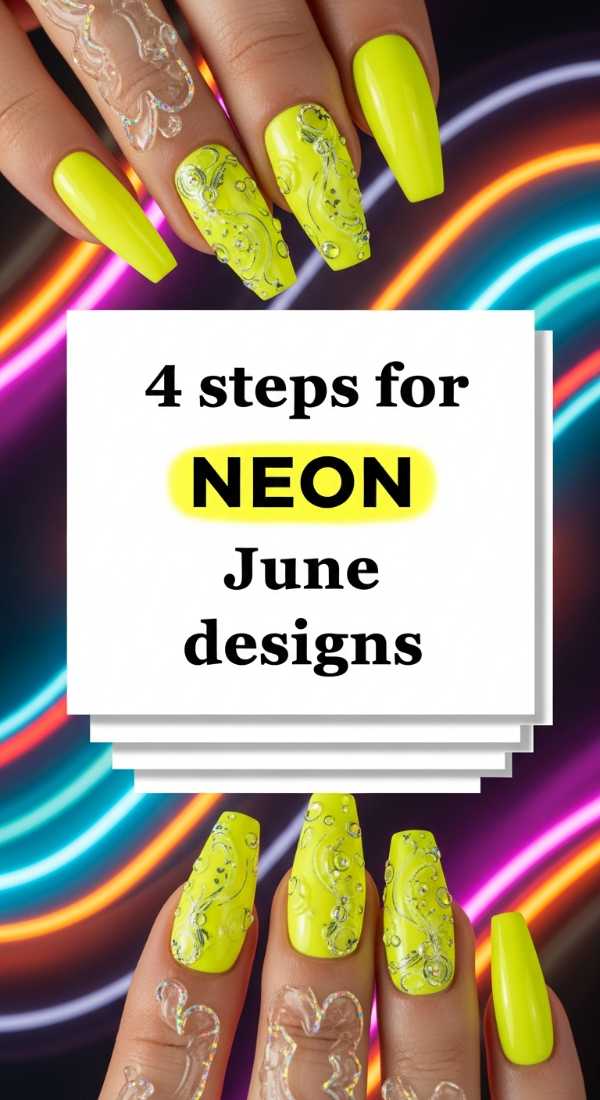
Why to love this Design:
When the sun is out, the neons come out! Neon nails are electric, fun, and youthful. They make your summer tan look incredible and bring a sense of high-energy joy to your everyday life.
Essential Elements:
- Neon pigment or gel
- White gel polish (for a base pop)
- Matte or Glossy top coat
How to Prepare:
- Apply a coat of bright white polish (this makes neons glow!).
- Apply two thin coats of neon polish.
- Add a simple geometric accent line.
- Seal with a high-shine top coat for maximum impact.
Budget Range
- Beetles Neon Gel Polish Set ($19.99)
- Vishine Pure White Gel ($6.99)
- Kupa High Gloss Top Coat ($14.00)
6 Ways to Style Duck Nails
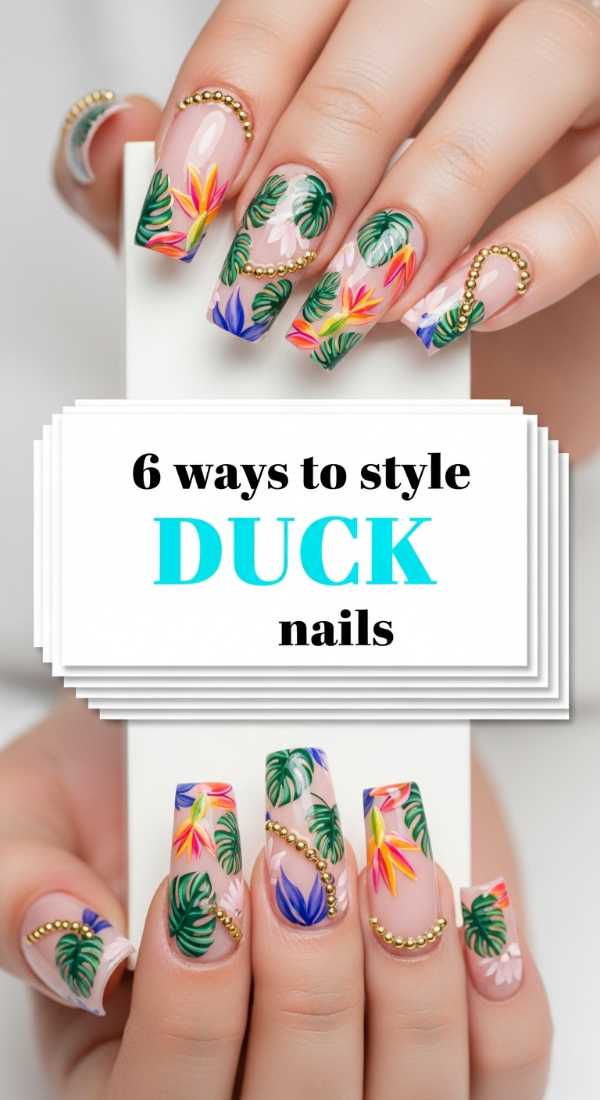
Why to love this Design:
Duck nails (wide-tip flares) are making a huge Y2K comeback! They offer a massive canvas for art and have a playful, retro vibe that is perfect for anyone wanting to make a bold, nostalgic statement this June.
Essential Elements:
- Duck-shaped nail tips
- Acrylic or builder gel system
- Bold charms and glitter
How to Prepare:
- Apply the duck-shaped tips to the natural nail.
- Blend the seam with a file.
- Overlay with clear acrylic for strength.
- Shape the wide ‘flare’ at the end.
- Decorate with chunky glitters or 3D charms.
- Seal with a thick top coat.
Budget Range
- 500pcs Duck Nail Tips ($10.99)
- Mia Secret Acrylic System ($18.00)
- Holographic Chunky Glitter Set ($8.50)
5 Tips for Long Lasting 3D Art
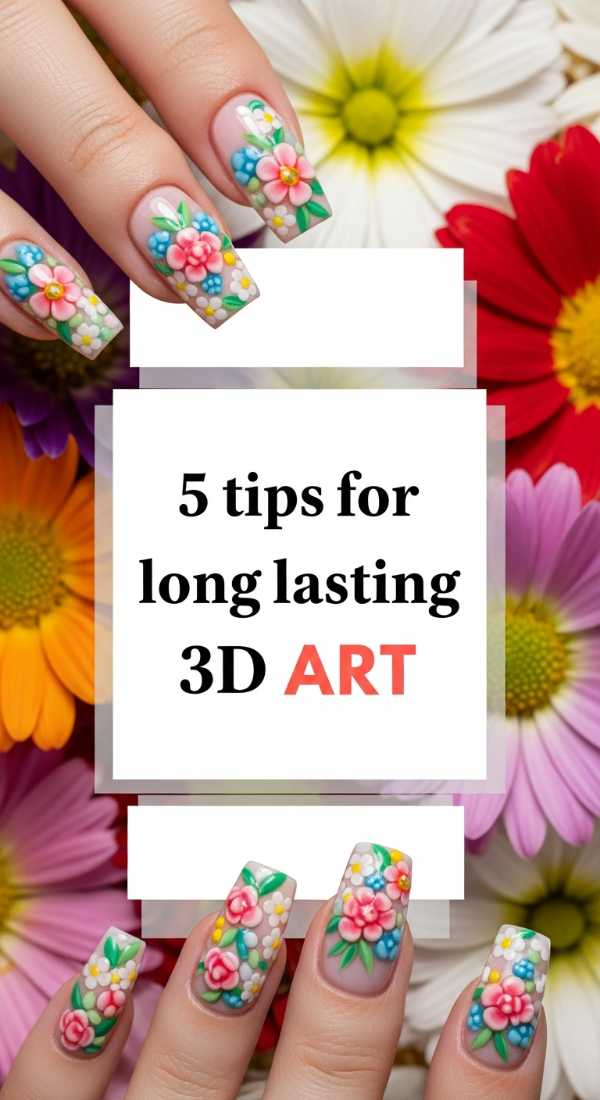
Why to love this Design:
There is nothing worse than losing a beautiful charm or petal! These tips ensure your 3D masterpieces stay put through all your summer adventures, from beach days to music festivals.
Essential Elements:
- Strong adhesive gel
- Detailed curing habits
- Precision brushes
How to Prepare:
- Always ‘anchor’ your 3D art by tucking top coat around the base.
- Cleanse the nail with alcohol before applying charms.
- Use a higher wattage UV lamp for thick gels.
- Don’t touch the art before it is fully cured.
- Apply a second thin layer of top coat around the edges of the 3D elements.
Budget Range
- SunUV 48W LED Lamp ($29.99)
- 99% Isopropyl Alcohol ($5.00)
- Saviland Liner Brushes ($8.00)
Embrace Your Summer Glow
My loves, I hope these tips and tutorials inspire you to play, create, and shine a little brighter this month. Nail art is such a beautiful way to practice self-care and express the colors of your soul. Remember, there are no rules in art—only what makes your heart flutter when you look down at your hands. I can’t wait to see the stunning June designs you create. Stay sun-kissed and beautiful!