
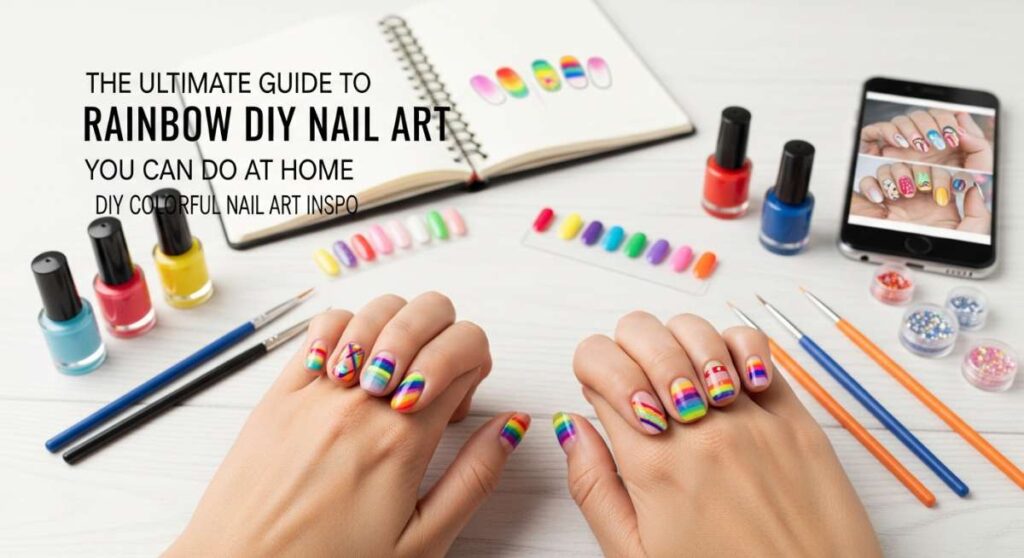
The Ultimate Guide to Rainbow DIY Nail Art You Can Do at Home
Hello, my loves! Welcome back to our little corner of the internet where we turn self-care into a masterpiece. I’ve been feeling so much light and joy lately, and I wanted to channel that energy into something we can literally hold in our hands. There is something so incredibly therapeutic about sitting down with a cup of herbal tea, putting on your favorite playlist, and painting a little piece of your personality onto your nails.
You know those days when everything feels a bit too gray? This guide is the antidote. We’re leaning into the ‘cloud-soft embrace’ of creativity today, diving deep into the world of rainbow hues and tactile textures. Whether you’re a seasoned pro or you’ve never touched a bottle of polish before, I promise this journey will make your heart—and your fingertips—sing with color. Let’s get messy, let’s get bright, and let’s create some magic together.
5 Easy Steps to Create 3D Flower Junk Nails

Why to love this recipe:
Junk nails are the ultimate expression of ‘more is more.’ This style is like a tiny, beautiful garden you get to carry around, full of texture and personality that feels so tactile and grounding.
Essential Ingredients:
- Clear builder gel
- Miniature resin flower charms
- Fine-tip tweezers
- Irregular chunky glitter
- UV/LED Lamp
How to Prepare:
- Apply a clear or pastel base coat and cure it under your lamp.
- Apply a small bead of builder gel where you want your first flower to sit.
- Using tweezers, carefully press the 3D flower into the gel bead.
- Fill the gaps around the flowers with tiny glitters or smaller beads.
- Cure for 60 seconds and finish with a ‘no-wipe’ top coat around the charms to seal.
Budget Range
- Modelones 3D Nail Charms Kit – $8.99
- Saviland Builder Nail Gel – $12.00
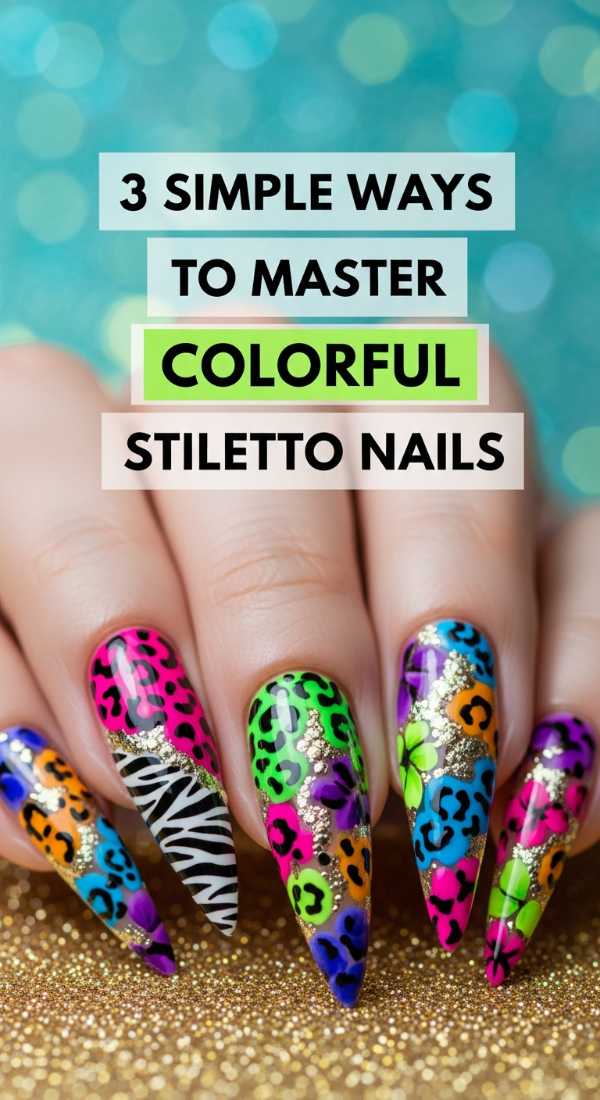
3 Simple Ways to Master Colorful Stiletto Nails
Why to love this recipe:
Stiletto nails are fierce, but when you paint them in soft rainbows, they become an ethereal statement. It’s the perfect blend of edgy shape and soft, dreamy color.
Essential Ingredients:
- Full-cover stiletto nail tips
- Rainbow gel polish set
- Nail file (100/180 grit)
How to Prepare:
- Shape your tips by filing the sides toward the center to create that sharp, elegant point.
- Apply a different rainbow shade to each nail for a ‘gradient’ effect across the hand.
- Seal with a high-shine top coat to accentuate the sleek length.
Budget Range
- BTArtbox Stiletto Tips – $9.99
- Beetles Rainbow Gel Polish Set – $15.99
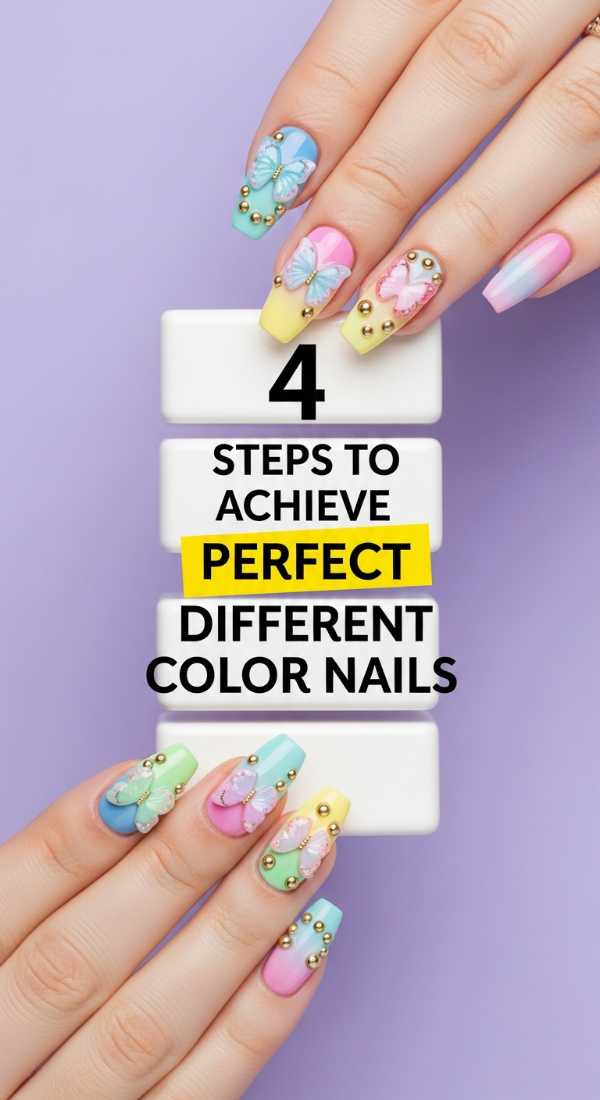
4 Steps to Achieve Perfect Different Color Nails
Why to love this recipe:
Can’t decide on just one color? You don’t have to! This ‘Skittles’ manicure is the easiest way to look trendy while embracing every mood in your palette.
Essential Ingredients:
- 5 coordinating polish shades
- Nail dehydrator
- Glossy top coat
How to Prepare:
- Line your 5 bottles up from lightest to darkest to visualize the flow.
- Apply two thin coats of a unique color to each finger.
- Ensure you cap the free edge to prevent chipping.
- Apply a thick layer of top coat for a professional, ‘plump’ look.
Budget Range
- Essie Spring Collection Set – $22.00
- Sally Hansen Insta-Dri Polishes – $5.50 each
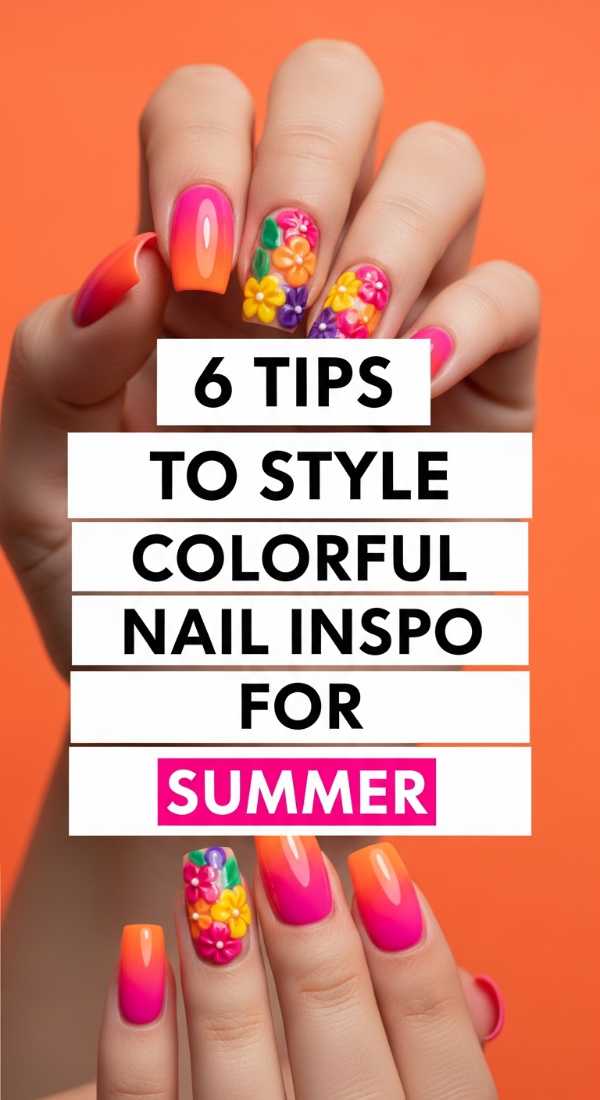
6 Tips to Style Colorful Nail Inspo for Summer
Why to love this recipe:
Summer is all about vitamin D and vibrant energy. Styling your nails with summer in mind means they become your best accessory for beach days and sun-drenched brunches.
Essential Ingredients:
- Neon pigments
- White base polish
- Matte top coat
How to Prepare:
- Use a white base to make neon colors ‘pop’ more intensely.
- Mix textures: try three glossy nails and two matte nails.
- Add a ‘sugar’ effect using fine iridescent glitter on the ring finger.
- Coordinate with gold rings to make the colors feel more expensive.
- Keep cuticles hydrated with oil for that healthy summer glow.
- Try a French tip style using neon colors instead of white.
Budget Range
- Cuccio Revitalize Cuticle Oil – $7.00
- Kiara Sky Neon Pigment Kit – $25.00
5 Secrets to Applying Colorful Acrylic Nails at Home

Why to love this recipe:
Acrylics give you that salon-strength durability. Learning to do them yourself is a total game-changer for your budget and your creative freedom.
Essential Ingredients:
- Colored acrylic powder
- Acrylic liquid monomer
- Kolinsky acrylic brush
- Dappen dish
- Nail primer
How to Prepare:
- Prep the natural nail by pushing back cuticles and removing the shine.
- Apply primer to ensure the acrylic bonds perfectly without lifting.
- Dip your brush into the monomer, then the colored powder to create a small bead.
- Lay the bead at the center of the nail and gently pat it toward the edges.
- File and buff the surface once dry to achieve a smooth, colorful finish.
Budget Range
- MIA SECRET Acrylic System – $18.00
- Morovan Colored Acrylic Powder Set – $21.99
3 Methods to Blend Two Color Nails Perfectly
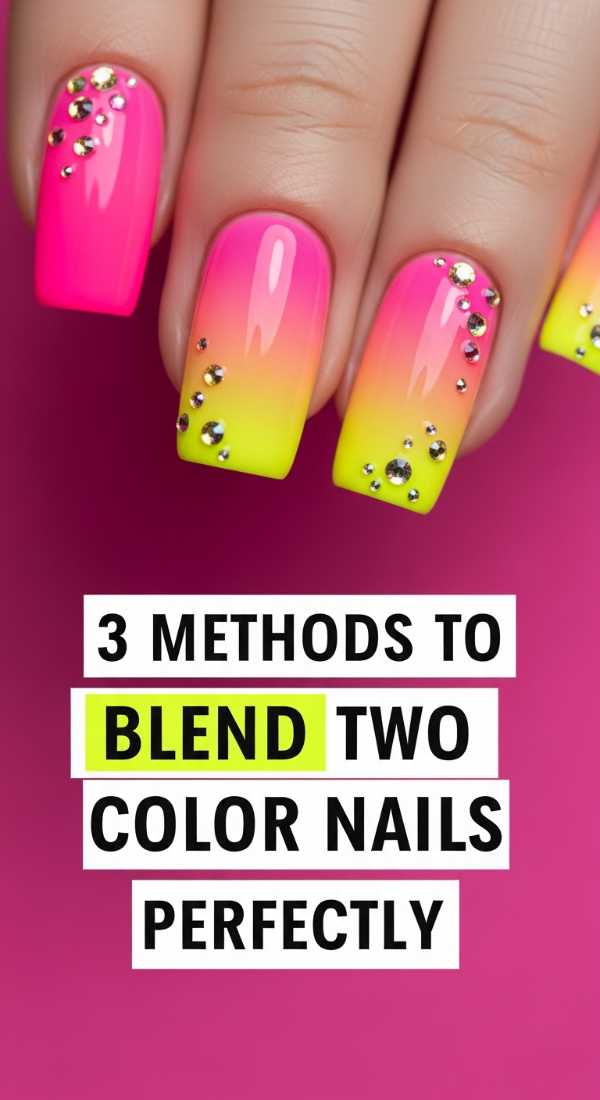
Why to love this recipe:
Blending creates a sunset-like transition that is so soothing to look at. It’s sophisticated, artistic, and surprisingly simple once you know the secret.
Essential Ingredients:
- Makeup sponges (latex-free)
- Liquid latex or masking tape
- Two contrasting polish colors
How to Prepare:
- Apply liquid latex around your skin to keep the mess at bay.
- Paint two stripes of color directly onto the makeup sponge, slightly overlapping.
- Dab the sponge onto the nail repeatedly until the colors blur into a soft ombre.
Budget Range
- Pueen Latex Tape – $8.50
- Wedge Makeup Sponges – $4.00
4 Techniques for Vibrant Colorful Nail Designs
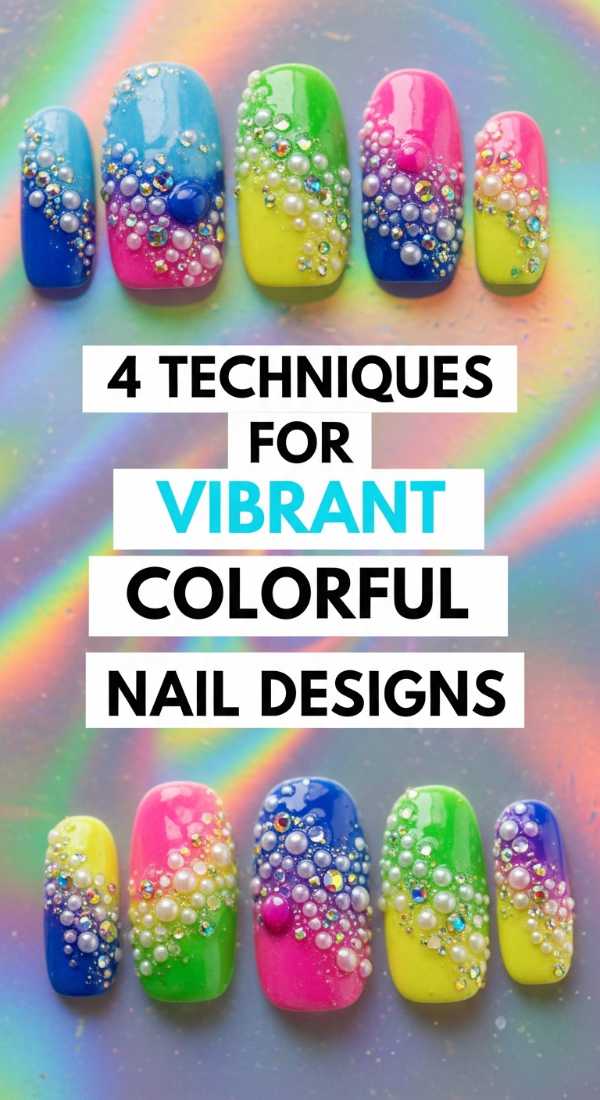
Why to love this recipe:
Vibrant designs are all about the details. These techniques allow you to turn your nails into a canvas for tiny, wearable art pieces.
Essential Ingredients:
- Striper brushes (long and thin)
- Dotting tools
- Highly pigmented ‘spider’ gel
- Palette for mixing
How to Prepare:
- Use a striper brush to create ‘abstract swirls’ across a neutral base.
- Utilize dotting tools to create ‘leopard print’ using rainbow colors.
- Apply spider gel for perfectly straight, thin neon lines.
- Flash-cure between layers to prevent the colors from bleeding into each other.
Budget Range
- Nail Art Brush Set (15 pcs) – $6.99
- Born Pretty Spider Gel Set – $13.00
7 Ideas to Customize Your Colorful Junk Nails

Why to love this recipe:
Customization is where your soul shines through. This is about making your nails a reflection of everything you love, from tiny stars to miniature treats.
Essential Ingredients:
- Flat-back pearls
- Alphabet stickers
- Tiny gold chains
- Fruit slices (fimo clay)
- Small star sequins
- Rhinestones
- Heart shapes
How to Prepare:
- Start with a colorful base and decide on a ‘theme’ (e.g., Candy Land or Ocean Dreams).
- Place your largest charms first to create a focal point.
- Fill in the gaps with alphabet stickers to spell out your name or a mood.
- Add pearls and chains for a touch of ‘jewelry’ for your fingers.
- Layer fruit slices over a bright yellow or green base.
- Scatter stars for a celestial vibe.
- Seal everything with a thick ‘encapsulating’ top coat.
Budget Range
- Fimo Fruit Slices – $5.00
- Nail Art Rhinestone Wheel – $6.50
5 Hacks for Long-Lasting Colorful Stiletto Nails

Why to love this recipe:
There’s nothing sadder than a chip on a masterpiece. These hacks ensure your vibrant claws stay perfect for weeks.
Essential Ingredients:
- 91% Isopropyl Alcohol
- Acid-free primer
- Reinforcement gel
How to Prepare:
- Cleanse the nail plate with alcohol to remove all oils before starting.
- Apply a ‘reinforcement gel’ layer to give stiletto tips extra strength in the center.
- Avoid getting polish on the cuticles; if you do, clean it before curing.
- Apply two layers of top coat, focusing on the very tip of the stiletto.
- Wear gloves while doing dishes—water is the enemy of longevity!
Budget Range
- Kupa Gelfinity Top Coat – $14.00
- Reinforcement Gel by Kodi – $11.00
3 Steps to Pick the Best Multicolor Nails Palette
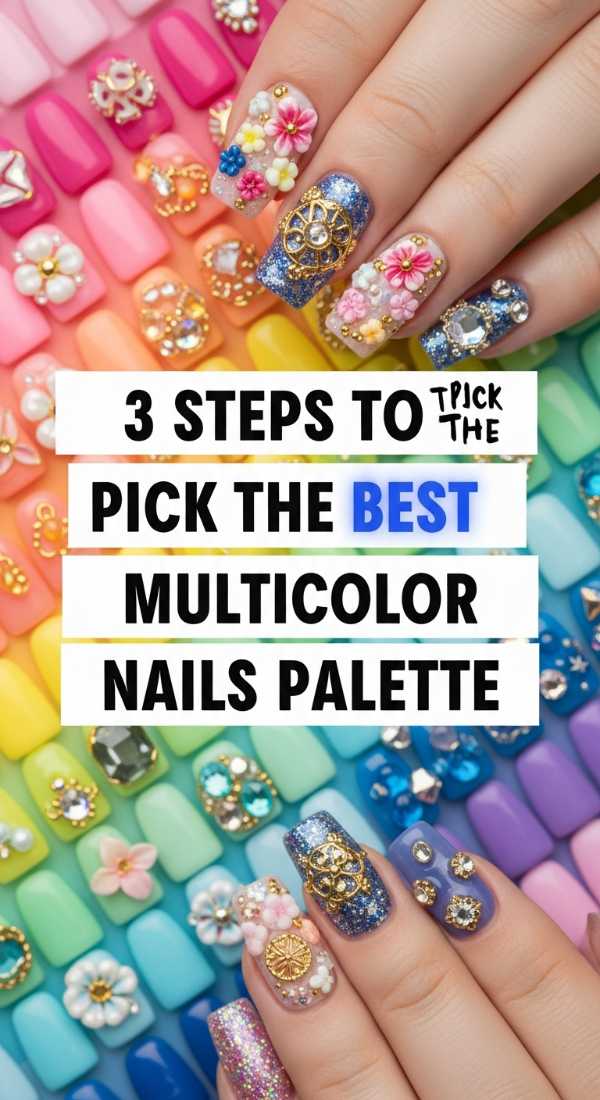
Why to love this recipe:
Choosing colors can be overwhelming, but a curated palette makes the whole look feel intentional and high-fashion rather than chaotic.
Essential Ingredients:
- Color wheel (physical or digital)
- Pinterest mood board
How to Prepare:
- Choose a ‘temperature’—either all warm (reds, oranges) or all cool (blues, purples).
- Pick one ‘hero’ color and choose four ‘analogous’ colors (those sitting next to it).
- Test the colors on a clear swatch stick to see how they look in natural light together.
Budget Range
- Artist Color Wheel – $4.00
- Clear Nail Swatch Sticks – $5.99
Embrace Your Inner Artist
And there you have it, my loves! A complete roadmap to bringing more color into your world, one fingernail at a time. I hope this guide feels like a warm hug and a spark of inspiration. Remember, nail art isn’t about perfection; it’s about the joy of creating something that makes you smile every time you look down at your hands. Go forth, be bold, and let your colors shine. You deserve to feel this bright every single day!