
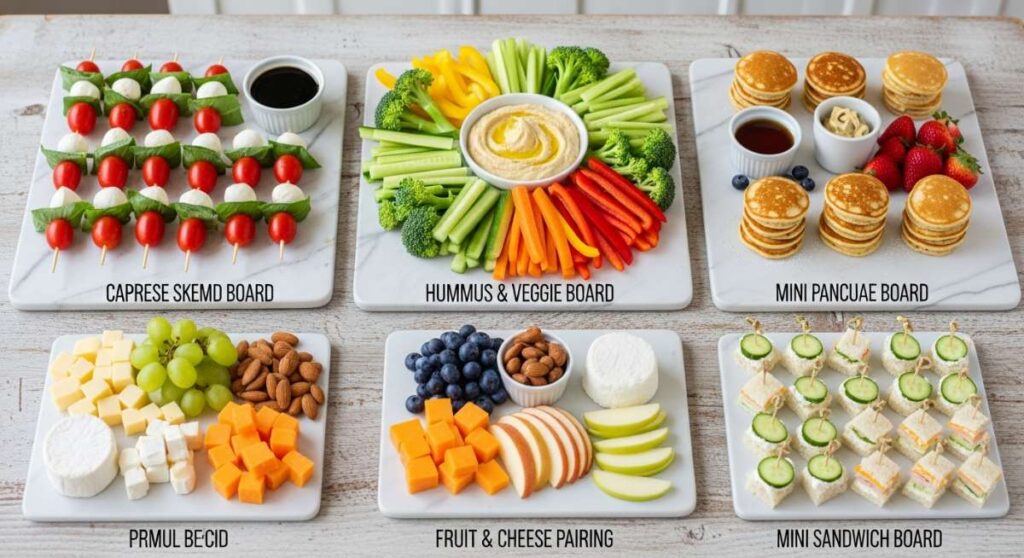
There is something truly magical about the way a beautifully arranged food board can turn a simple gathering into a lifetime memory. Whether it is the laughter shared over a grazing platter or the quiet joy of a perfectly brewed coffee board on a Sunday morning, these visual feasts have taken over our feeds for a reason: they celebrate the art of living well. I have spent the last few months experimenting with textures, colors, and flavors to bring you the ultimate guide to the trends that are currently setting the internet on fire.
As we transition into the warmer months and celebration season, the focus has shifted from just meat and cheese to themed experiences that tell a story. From the tart, nostalgic scent of fresh rhubarb to the sophisticated snap of tempered chocolate, these boards are about more than just food; they are about the experience of creating something by hand. Grab your favorite platter and let’s dive into the techniques that will make your next spread go viral.
How to decorate graduation cakes?
Why we love this
A graduation cake is more than just a dessert; it is a centerpiece of achievement and new beginnings. We love the way smooth, silken buttercream acts as a blank canvas for vibrant school colors, contrasted against the delicate crunch of gold-leaf accents or edible pearls. The aroma of vanilla bean wafting through the kitchen as you pipe intricate borders creates an atmosphere of celebration that is both sophisticated and deeply personal, making every slice feel like a victory lap.
Ingredients
- Pre-baked layered sponge cake
- Swiss meringue buttercream
- Gel food coloring (school colors)
- Edible gold leaf or metallic sprinkles
- Piping bags and assorted tips (1M, 2D, and round tips)
- Offset spatula and cake scraper
How to make it
- Begin by applying a thin ‘crumb coat’ of buttercream to your chilled cake layers using an offset spatula. This seals in the moisture and ensures your final layer is perfectly smooth. Chill the cake for 30 minutes until the frosting is firm to the touch.
- Divide your remaining buttercream into separate bowls and add gel food coloring. Use a toothpick to add color gradually, as gel is highly concentrated. Mix thoroughly until the hue is vibrant and consistent.
- Apply a generous second layer of buttercream. Hold your cake scraper at a 45-degree angle against the side of the cake while spinning the turntable. This creates that professional, sharp-edged finish that looks incredible on camera.
- Fill your piping bag with a star tip (1M) and create a ‘shell’ border along the base. To do this, squeeze the bag, let a small mound form, then pull away quickly while releasing pressure. Repeat around the entire circumference.
- For the top, use a fine round tip to write the graduation year or a congratulatory message. If you are nervous, trace the letters into the cold frosting with a toothpick first. Finish by carefully placing edible gold leaf using tweezers for a touch of luxury.
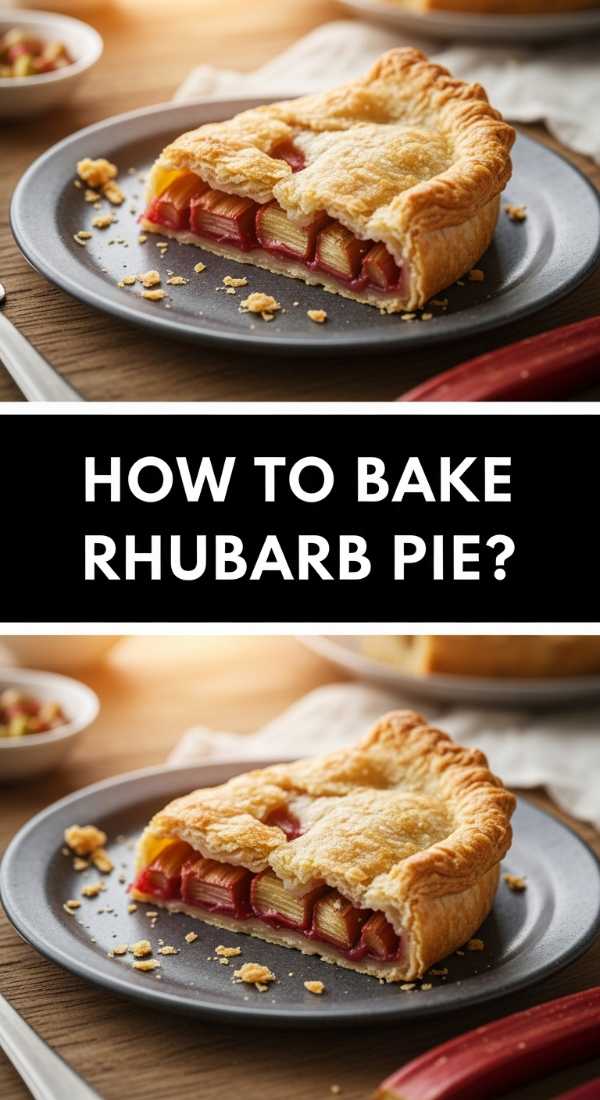
How to bake rhubarb pie?

Why we love this
There is nothing quite like the rustic charm of a rhubarb pie, where the aggressive tartness of the crimson stalks mellows into a jammy, ruby-red filling under a blanket of buttery pastry. The scent of cinnamon and bubbling fruit juice escaping through a lattice crust is the epitome of home-cooked comfort. Every bite offers a symphony of textures: the shattering flake of the crust followed by the soft, tangy warmth of the fruit, making it the perfect centerpiece for a spring-themed food board.
Ingredients
- Double pie crust (chilled)
- 5-6 cups fresh rhubarb, chopped into 1-inch pieces
- 1 1/4 cups granulated sugar
- 1/4 cup cornstarch
- 1 teaspoon ground cinnamon
- 1 tablespoon cold butter, cubed
- 1 egg (for egg wash)
- Coarse sparkling sugar
How to make it
- Preheat your oven to 400°F (200°C). Roll out your bottom crust on a floured surface until it is about 12 inches in diameter. Gently drape it over your 9-inch pie plate, pressing it into the corners without stretching the dough.
- In a large mixing bowl, toss the chopped rhubarb with the sugar, cornstarch, and cinnamon. Ensure every piece is evenly coated; the cornstarch is vital for thickening the juices so the pie doesn’t become ‘soupy.’
- Pour the filling into the prepared crust and dot the top with the small cubes of cold butter. This adds a rich, silky mouthfeel to the fruit filling as it bakes.
- Roll out the second piece of dough and cut into 1-inch strips. Weave the strips over the filling to create a lattice pattern, tucking the ends under the bottom crust and crimping the edges with a fork or your fingers to seal.
- Whisk the egg with a splash of water and brush it lightly over the pastry. Sprinkle generously with coarse sugar. Bake for 20 minutes, then reduce the heat to 350°F (175°C) and bake for another 35-45 minutes until the crust is deep golden brown and the filling is bubbling thick juices.
How to style graduation cupcakes?
Why we love this
Cupcakes are the ultimate grab-and-go treats for a party board, and styling them for a graduation adds a layer of whimsical elegance. We adore the way a high-swirled frosting mimics the look of a classic mortarboard tassel, especially when paired with miniature chocolate ‘caps.’ The combination of moist cake and airy frosting provides a decadent sensory experience, while the uniform look of a styled dozen creates a high-impact visual that guests will be rushing to photograph.
Ingredients
- Vanilla or chocolate cupcakes
- Stiff buttercream frosting
- Square chocolate pieces (Ghirardelli squares work well)
- Miniature peanut butter cups or chocolate truffles
- Sour belt candy or fruit leather (for tassels)
- M&Ms or small round candies
How to make it
- Ensure your cupcakes are completely cool before styling; any residual heat will cause your frosting to slide off. Fit a piping bag with a large round tip and pipe a flat, sturdy mound of frosting on each cupcake.
- To create the ‘cap,’ place a miniature peanut butter cup upside down on the center of the frosting mound. This acts as the base of the graduation hat.
- Place a square chocolate piece on top of the peanut butter cup, using a tiny dot of frosting as ‘glue’ to keep it in place. Ensure the square is level.
- Cut thin strips of sour belt candy or fruit leather to about 1.5 inches long. Fray one end with a knife to look like a tassel. Attach the other end to the center of the chocolate square using another tiny dot of frosting.
- Finish by placing a single M&M or candy on top of the tassel’s attachment point to act as the button. Arrange these on a tiered board for a stunning vertical display.
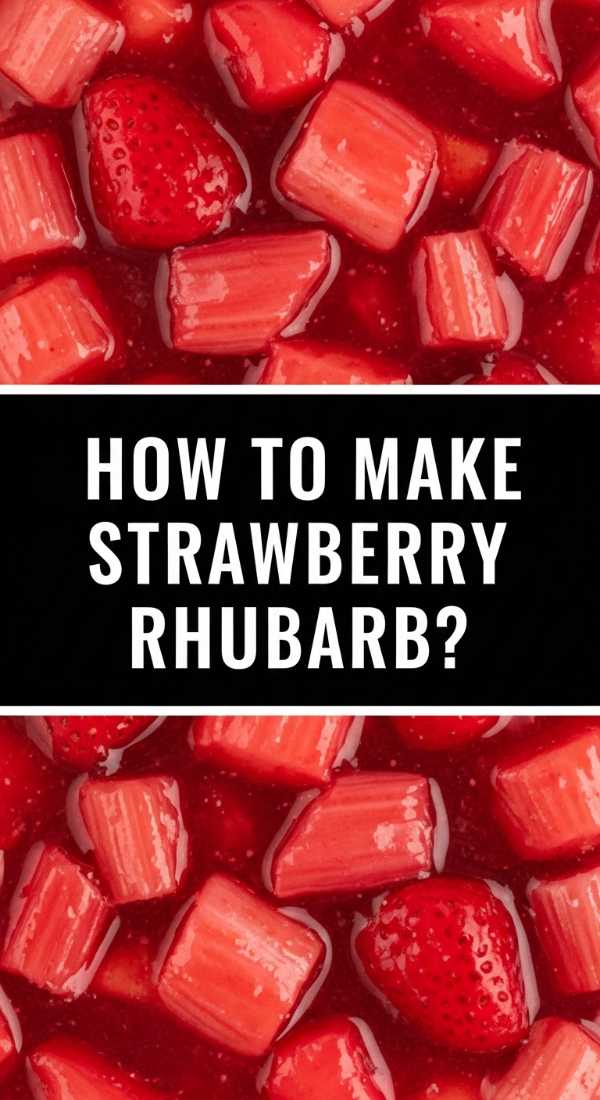
How to make strawberry rhubarb?
Why we love this
Strawberry rhubarb is the power couple of the culinary world, where the intense sweetness of sun-ripened berries perfectly balances the sharp, vegetal zing of the rhubarb. When cooked down, they transform into a vibrant, glowing compote that smells like pure summer sunshine. This versatile mix can be served warm over ice cream or chilled as a topping for a dessert board, offering a luscious, velvety texture that feels both sophisticated and deeply nostalgic.
Ingredients
- 3 cups fresh strawberries, hulled and halved
- 3 cups rhubarb, sliced into half-inch pieces
- 3/4 cup granulated sugar
- 1 tablespoon lemon juice
- 1 teaspoon vanilla extract
- Pinch of sea salt
How to make it
- In a heavy-bottomed saucepan, combine the strawberries, rhubarb, sugar, and lemon juice. The lemon juice is crucial as it helps release the natural pectin in the fruit, resulting in a better set.
- Set the burner to medium-low heat. Stir frequently as the sugar begins to melt and the fruit starts to release its liquid. Do not rush this process; slow heating prevents the sugar from scorching.
- Once the mixture reaches a simmer, let it cook for about 15-20 minutes. You are looking for the rhubarb to break down into soft fibers and the strawberries to become translucent and soft.
- Remove from heat and stir in the vanilla extract and salt. The salt is a secret professional tip—it enhances the sweetness of the berries and the tartness of the rhubarb without making it salty.
- Allow the mixture to cool completely. It will thicken significantly as it rests. Serve in a glass bowl as the centerpiece of a fruit and pastry board.
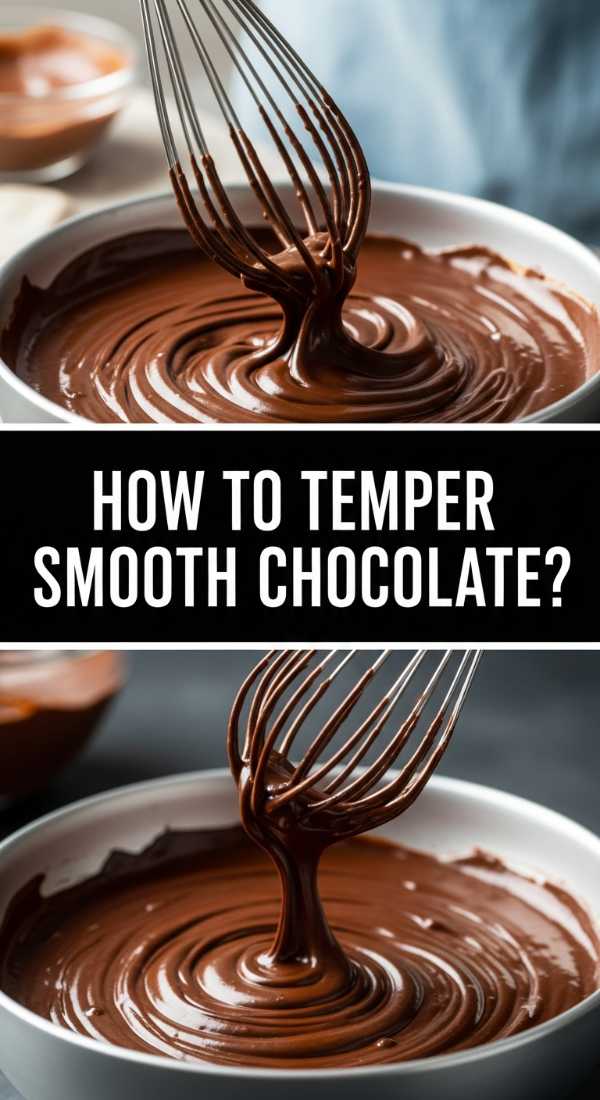
How to temper smooth chocolate?
Why we love this
Tempering is the holy grail of chocolate work, turning a simple ingredient into a glossy, professional masterpiece. We love the satisfying ‘snap’ of perfectly tempered chocolate and the way it melts evenly across the tongue without any grittiness. It’s a sensory delight that elevates any dessert board from amateur to artisanal, providing a mirror-like sheen that catches the light beautifully and makes every dipped strawberry or pretzel look like it came from a high-end boutique.
Ingredients
- 1 pound high-quality chocolate (couverture is best)
- Thermometer (digital infrared or probe)
- Heat-proof bowl
- Saucepan with simmering water (double boiler)
How to make it
- Finely chop your chocolate. Set aside about one-third of it—this is your ‘seed’ chocolate which will help create the correct crystal structure.
- Place the remaining two-thirds of the chocolate in a heat-proof bowl over a pot of simmering water. Ensure the bottom of the bowl does not touch the water. Stir gently until the chocolate reaches 115°F (46°C) for dark chocolate or 110°F (43°C) for milk/white.
- Remove the bowl from the heat. Gradually stir in the ‘seed’ chocolate one handful at a time. Stir constantly; the friction and the temperature drop are what create the stable Beta crystals.
- Continue stirring until the temperature drops to 88-90°F (31-32°C) for dark chocolate or 84-86°F (29-30°C) for milk/white. This is the working temperature.
- Test the temper by dipping a knife into the chocolate. It should set at room temperature within 3-5 minutes with a matte-to-glossy finish and no streaks. Keep the chocolate at this temperature while you use it for dipping or drizzling on your board.
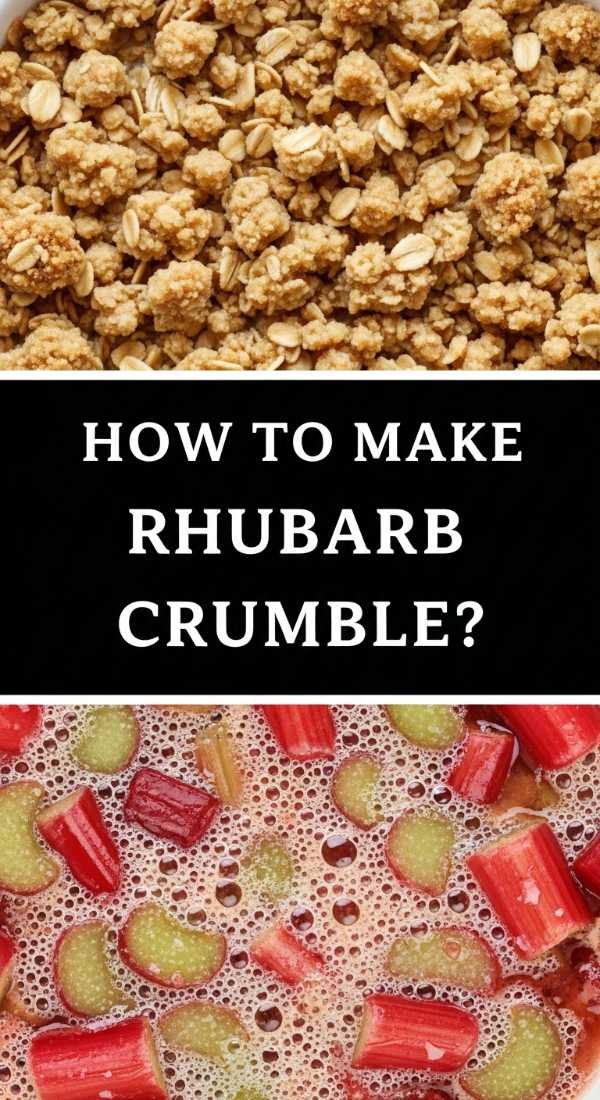
How to make rhubarb crumble?
Why we love this
Rhubarb crumble is the ultimate ‘messy-chic’ dessert that focuses on the contrast between a bubbling, tart fruit base and a golden, crunchy oat topping. The aroma of toasted oats and brown sugar is intoxicating, promising a warm, comforting hug in every spoonful. It is a staple for a relaxed dinner party board where guests can scoop their own portions, enjoying the interplay of the soft, pink fruit and the buttery, spiced nuggets of crumble.
Ingredients
- 4 cups rhubarb, chopped
- 1/2 cup sugar
- 1 tablespoon flour
- Topping: 1 cup rolled oats, 1 cup flour, 1/2 cup brown sugar, 1/2 cup cold butter (cubed), 1 teaspoon cinnamon
How to make it
- Preheat your oven to 375°F (190°C). In a baking dish, toss the chopped rhubarb with the sugar and 1 tablespoon of flour. Spread it out in an even layer.
- In a separate bowl, combine the oats, flour, brown sugar, and cinnamon. Use your fingertips or a pastry cutter to work the cold butter into the dry ingredients.
- Work the mixture until it resembles coarse breadcrumbs with some larger, pea-sized chunks of butter remaining. This variety in size is what creates the best texture.
- Sprinkle the crumble topping evenly over the rhubarb. Do not press it down; you want it to remain airy so the heat can circulate through the topping.
- Bake for 35-40 minutes. The topping should be a deep amber gold, and the rhubarb juices should be bubbling up around the edges. Let it rest for 10 minutes before serving so the juices can thicken.
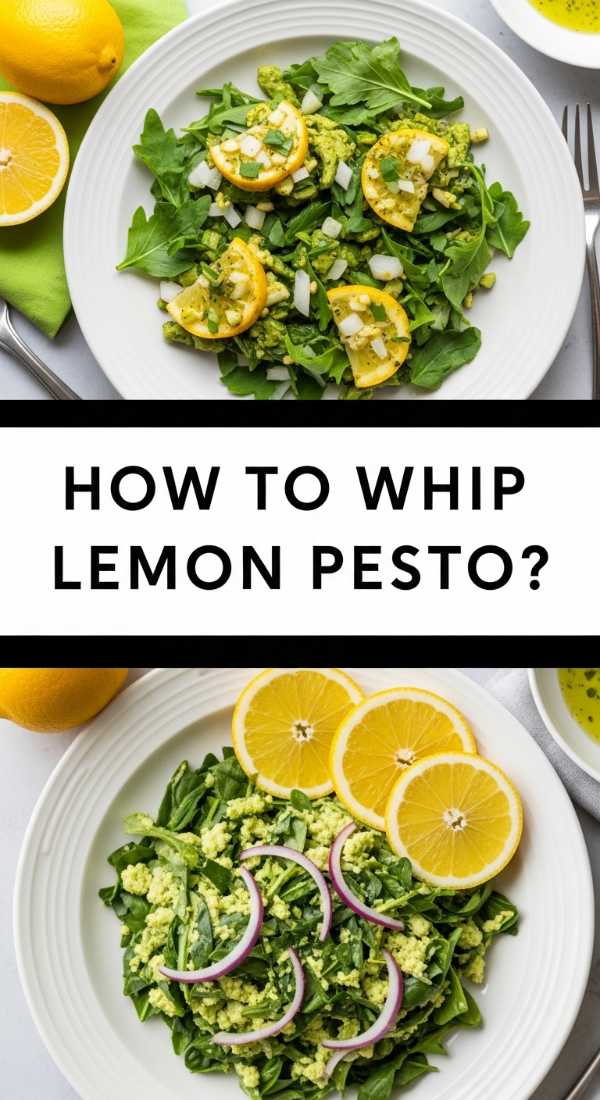
How to whip lemon pesto?

Why we love this
Traditional pesto gets a bright, citrusy makeover that is perfect for summer savory boards. This whipped lemon pesto is light, airy, and bursting with the fragrance of fresh basil and zesty lemon peel. The texture is creamy yet herbaceous, offering a refreshing zing that cuts through the richness of cheeses and cured meats. It’s a vibrant green addition that brings a pop of color and a sophisticated, gourmet feel to any Mediterranean-inspired spread.
Ingredients
- 2 cups fresh basil leaves
- 1/2 cup grated Parmesan cheese
- 1/3 cup toasted pine nuts
- 2 cloves garlic
- Zest and juice of 1 large lemon
- 1/2 cup extra virgin olive oil
- 1/4 cup heavy cream (for whipping)
How to make it
- In a food processor, pulse the basil, pine nuts, garlic, lemon zest, and Parmesan until finely minced. Do not over-process at this stage or the basil may oxidize and turn brown.
- With the processor running on low, slowly drizzle in the olive oil and lemon juice in a steady stream. This creates a smooth emulsion.
- Transfer the pesto to a chilled mixing bowl. In a separate bowl, whip the heavy cream until it reaches soft peaks.
- Gently fold the whipped cream into the pesto using a silicone spatula. Use a folding motion—cutting through the center and lifting from the bottom—to maintain the airiness.
- Chill for at least 30 minutes before serving. This allows the lemon flavor to infuse the cream, resulting in a dip that is incredibly light and spreadable.
How to ice graduation cookies?

Why we love this
Graduation cookies are miniature works of art that capture the personality of the graduate. We love the smooth, satin-like finish of royal icing and the precision it allows for intricate details like diplomas or tassels. The sweet, almond-scented icing provides a satisfying crunch that gives way to a soft sugar cookie base. Styling these on a board with coordinating ribbons and confetti creates a festive, high-energy vibe that makes the achievement feel truly special.
Ingredients
- Sugar cookies (cut into cap or diploma shapes)
- Royal icing (stiff and flood consistencies)
- Gel food coloring
- Fine-tip piping bags
- Scribe tool or toothpick
How to make it
- Outline your cookies using ‘stiff’ consistency icing. Hold the piping bag about half an inch above the cookie and let the icing ‘fall’ onto the edge for a clean, straight line.
- Once the outline is dry (about 10 minutes), fill the center with ‘flood’ consistency icing. Use a scribe tool to pop any tiny air bubbles and push the icing into the corners.
- For a ‘wet-on-wet’ look (like polka dots or stripes), add a different color of flood icing immediately. For defined details like a tassel or text, let the base coat dry for at least 4 hours.
- Pipe the graduation year or the school’s logo using a very fine tip and stiff icing. This creates a 3D effect that stands out against the smooth base.
- Allow the cookies to dry completely for 12-24 hours before stacking or placing them on a board. This ensures the icing is hard enough to handle without smudging the details.
How to host summer dinners?

Why we love this
Summer hosting is all about the ‘slow living’ movement—long, golden-hour evenings where the food is shared and the conversation flows freely. We love the effortless elegance of a dinner board that combines grilled proteins, fresh salads, and artisanal breads in one stunning display. The aroma of charred vegetables mixed with sea salt and fresh herbs creates an inviting, communal atmosphere where guests feel relaxed and pampered at the same time.
Ingredients
- Grilled chicken skewers or halloumi
- Fresh arugula and heirloom tomato salad
- Assorted olives and marinated artichokes
- Grilled sourdough bread
- Fresh fruit (peaches or grapes)
- Chilled white wine or sparkling water
How to make it
- Choose a large, food-safe wooden board or a marble slab as your base. Start by placing any bowls (for dips or olives) first to create ‘anchor points’ for your layout.
- Arrange your main proteins in the center of the board. If using skewers, fan them out to create a sense of movement.
- Surround the proteins with ‘piles’ of fresh ingredients. Group the tomatoes together and the olives together to create blocks of color, which is more visually appealing than mixing everything.
- Fill the gaps with fresh herbs like sprigs of rosemary or mint. This not only looks beautiful but adds a wonderful fragrance as guests reach for food.
- Set the board in the middle of your table and serve ‘family style.’ This encourages interaction and makes the meal feel like a curated event rather than just a dinner.
How to mix fun coffee?
[IMAGE_10]
Why we love this
A ‘coffee bar’ board is the ultimate morning treat, turning a daily routine into a viral-worthy ritual. We love the visual of swirling cream into dark espresso and the creative possibilities of flavored syrups and frothy cold foams. The sensory experience of the warm, roasted aroma combined with the chilled, sweet cream is the perfect way to start the day. It’s a customizable experience that lets everyone be their own barista, adding a touch of whimsy to your breakfast spread.
Ingredients
- Strong brewed coffee or cold brew concentrate
- Assorted syrups (vanilla, lavender, or salted caramel)
- Whole milk or oat milk (for frothing)
- Ice cubes
- Toppings: Cocoa powder, cinnamon, or dried flower petals
How to make it
- Start by preparing a base of high-quality coffee. If making a cold version, use a 1:4 ratio of coffee to water for a concentrate that holds its flavor when diluted with ice.
- Prepare ‘cold foam’ by frothing cold milk with a teaspoon of syrup using a handheld milk frother. Froth until the volume has doubled and the bubbles are microscopic—this creates a velvet-like texture.
- Fill a glass with ice and pour in your syrup of choice first. Then, slowly pour the coffee over the back of a spoon to create layers.
- Top with the cold foam, allowing it to slowly cascade down into the coffee. This ‘waterfall’ effect is the key to a viral-looking drink.
- Dust the top with cinnamon or cocoa powder using a stencil for a professional finish. Place the glasses on a board with small bowls of garnishes like chocolate shavings or orange peels.
Bringing it All Together
Creating these viral food boards is a journey of both taste and aesthetic. Whether you are celebrating a graduation with custom cupcakes or enjoying the quiet tartness of a rhubarb pie, the key is to focus on fresh ingredients and thoughtful presentation. Remember, the best boards are the ones that reflect your personality and make your guests feel truly at home. Now, go forth and create something beautiful!