
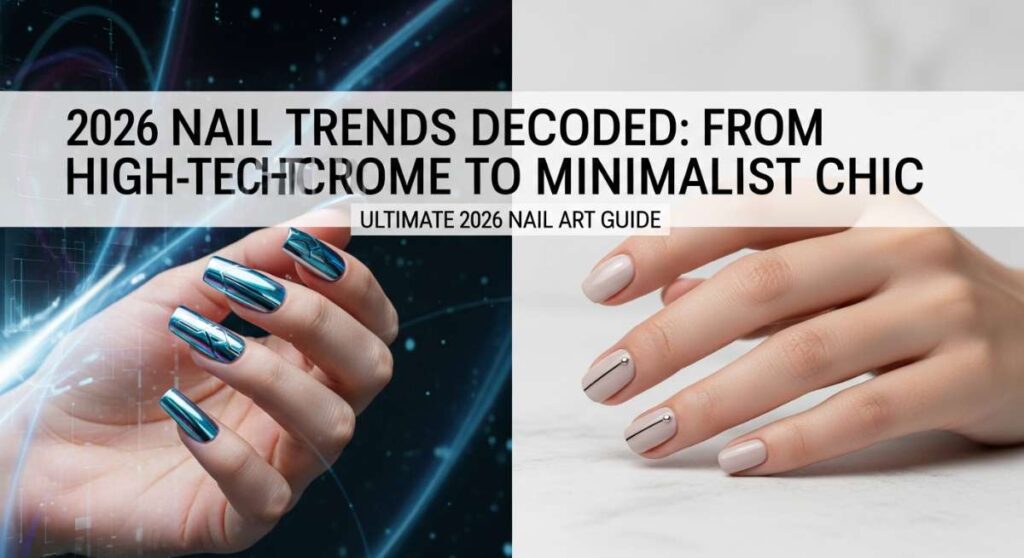
2026 Nail Trends Decoded: From High-Tech Chrome to Minimalist Chic
Hello, my sweethearts. As we step into the beautiful unknown of 2026, I can’t help but feel a deep sense of renewal in the air. It’s like the universe is giving us a fresh canvas, and what better way to express our evolving souls than through the art at our fingertips? Our nails are more than just a beauty routine; they are tiny masterpieces that carry our mood, our dreams, and our light into the world.
This year, the trends are whispering a story of balance—a soft, cloud-soft embrace of minimalist chic dancing alongside the high-tech brilliance of chrome and 3D textures. I’ve spent months gathering inspiration to bring you this ultimate guide, designed to make you feel empowered and radiant. Let’s dive into these trends together, loves, and find the magic that speaks directly to your heart.
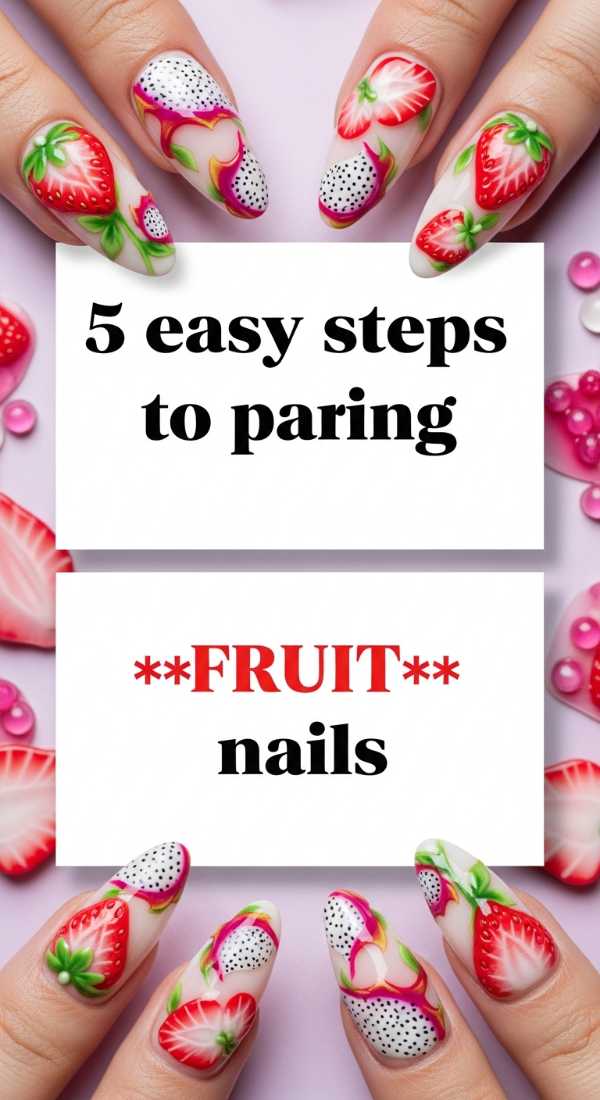
Fresh Picked: 5 Easy Steps to Paint Spring Fruit Nails
Why to love this Design:
There is something so incredibly nostalgic and sweet about fruit-themed nails. It’s like carrying a little piece of a sun-drenched orchard right at your fingertips. These designs bring a sense of playfulness and joy that is perfect for those first warm days of spring when everything feels new and possible.
Essential Elements:
- Dotting tools in various sizes
- Vibrant red, green, and white polishes
- A high-shine glossy top coat
- Precision detail brushes
How to Prepare:
- Start with a clean, buffed nail and a nourishing base coat.
- Apply two thin layers of a sheer nude or milky white background.
- Use a large dotting tool to place two red circles for cherries or a teardrop shape for strawberries.
- With a fine brush, add tiny green leaves and stems to connect your fruit.
- Once dry, seal the magic with a thick, protective top coat for that juicy finish.
Budget Range
- Zoya Anchor Base Coat ($12)
- Holler and Glow Fruit Decal Set ($5)
- Essie ‘Rock the Runway’ Red ($10)
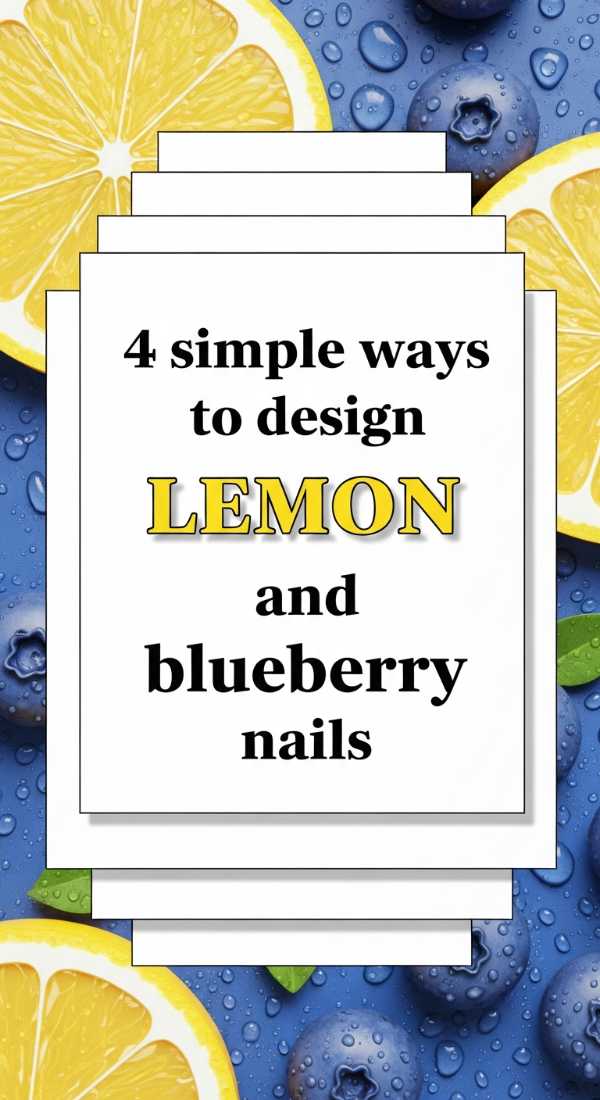
Zesty Duo: 4 Simple Ways to Design Lemon and Blueberry Nails
Why to love this Design:
Nothing says fresh quite like the zest of a lemon and the sweetness of a blueberry. This duo is the ultimate color story for anyone looking to add a pop of brightness to their aesthetic. It’s a cheerful, Mediterranean-inspired look that feels like a long lunch under the sun.
Essential Elements:
- Pastel yellow and deep cobalt blue polishes
- Matte and gloss top coats for texture contrast
- Small nail art sponges
- White acrylic paint for highlights
How to Prepare:
- Alternate yellow and blue bases across your fingers for a whimsical variety.
- Use a sponge to create a soft yellow-to-white ombre on accent nails.
- Hand-paint tiny blueberries using three shades of blue for depth.
- Add ‘lemon slices’ using a thin brush to create white segments over a yellow base.
Budget Range
- Olive & June ‘Lemonade’ ($9)
- Orly ‘Midnight Show’ ($11)
- Nail Art Brush Set from Amazon ($8)
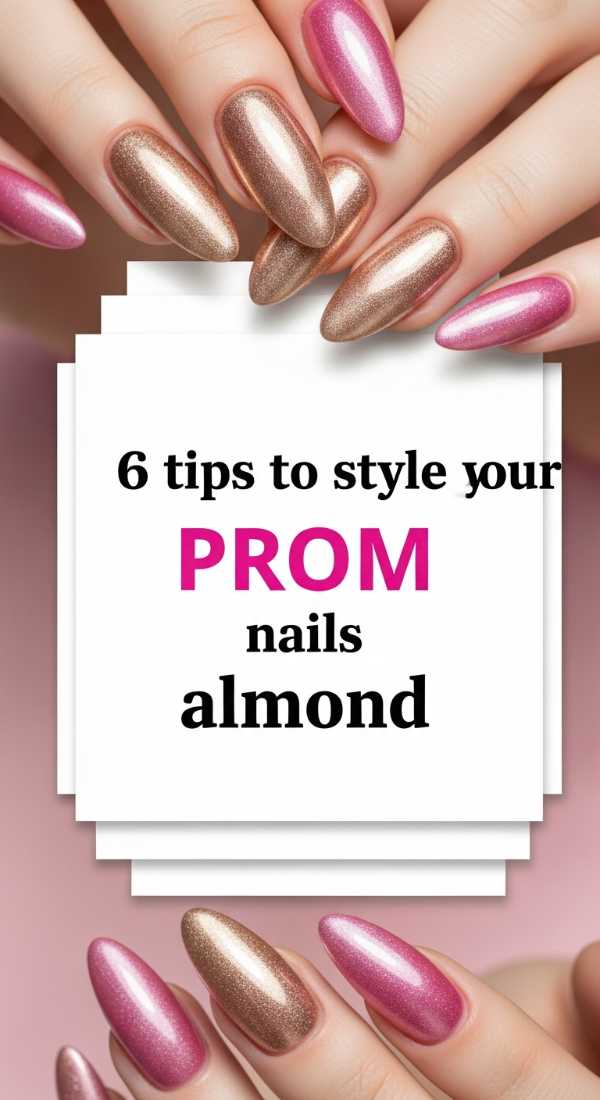
The Almond Muse: 6 Tips to Style Your Prom Nails Almond
Why to love this Design:
Prom is a night of pure magic, and the almond shape is the absolute epitome of elegance. It elongates the fingers and provides a sophisticated canvas for any gown. It’s timeless, graceful, and feels incredibly feminine.
Essential Elements:
- High-quality nail files (180/240 grit)
- Neutral or iridescent base colors
- Micro-rhinestones or pearls
- Cuticle serum
How to Prepare:
- Ensure all nails are grown to a uniform medium-long length.
- File the sides at an angle, rounding the tip to a soft point.
- Apply a strengthening treatment to prevent breakage during the big night.
- Choose a base color that complements your dress’s undertones.
- Add a single crystal at the base of each nail for a touch of sparkle.
- Finish with a 60-second quick-dry top coat.
Budget Range
- Glass Nail File ($10)
- CND Vinylux ‘Romantique’ ($11)
- Swarovski Nail Crystals ($15)
Crimson Renewal: 3 Methods to Achieve Stunning Red Spring Nails
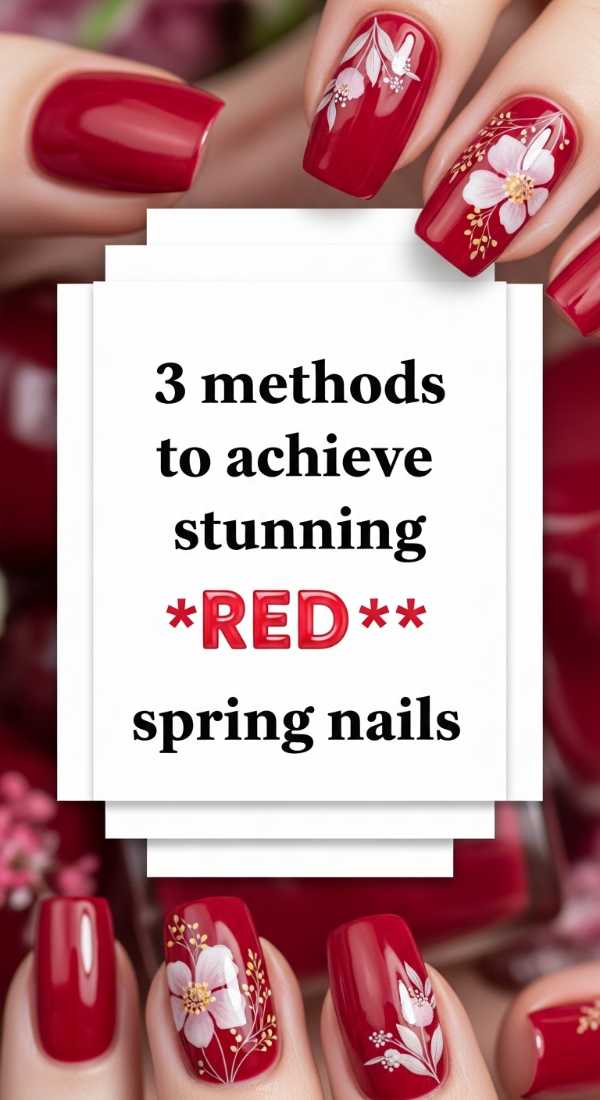
Why to love this Design:
Red isn’t just for the winter holidays, my darlings. In 2026, we are reinventing this classic shade to feel airy, bright, and full of spring life. It’s a statement of confidence and a nod to the blooming flowers outside.
Essential Elements:
- Jelly red polish for a translucent look
- Floral nail stickers or stamps
- Gold leaf accents
How to Prepare:
- The Jelly Method: Apply three thin layers of translucent red for a ‘glass’ effect.
- The Floral Accent: Paint nails solid red but leave the ring finger clear with pressed flower art.
- The Red French: Swap the traditional white tip for a bold cherry red on a nude base.
Budget Range
- Cirque Colors ‘Lucky Jelly’ ($13)
- Dried Pressed Flowers for Nails ($7)
- Seche Vite Dry Fast Top Coat ($10)
Island Escape: 7 Quick Tricks for a Tropical Nail Set
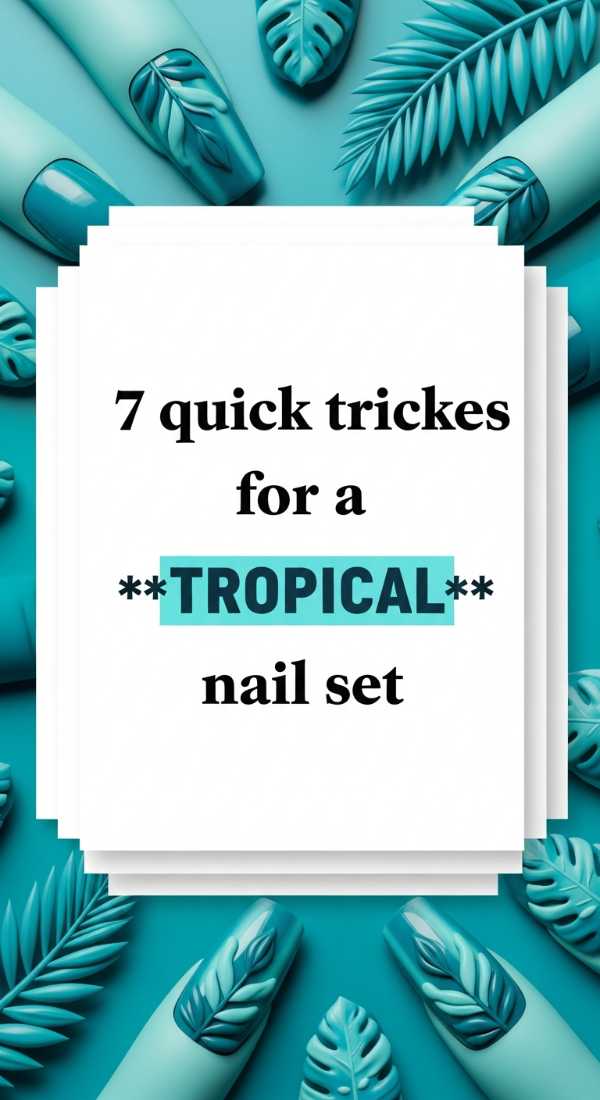
Why to love this Design:
Close your eyes and imagine the salt in the air and the sand between your toes. These tropical tricks are designed to bring the vacation to you. It’s all about vibrant energy and the lush, green beauty of a paradise island.
Essential Elements:
- Neon coral and seafoam green shades
- Palm leaf stencils
- Gold foil flakes
- Sponge for gradients
How to Prepare:
- Use a sponge to create a sunset gradient from orange to pink.
- Apply a palm leaf stencil using a dark forest green.
- Dab bits of gold foil onto the ‘sand’ area of your design.
- Keep the thumb and pinky solid colors to balance the art.
- Add a layer of holographic shimmer for a ‘water’ effect.
- Use a matte top coat on the green leaves for dimension.
- Seal everything with a UV-protectant top coat to prevent fading in the sun.
Budget Range
- Lights Lacquer ‘Palm Springs’ ($13)
- Gold Leaf Flakes ($6)
- Maniology Stamping Plate ($8)
Sunshine Chrome: 5 Easy Ways to Apply Butter Yellow Nails Chrome
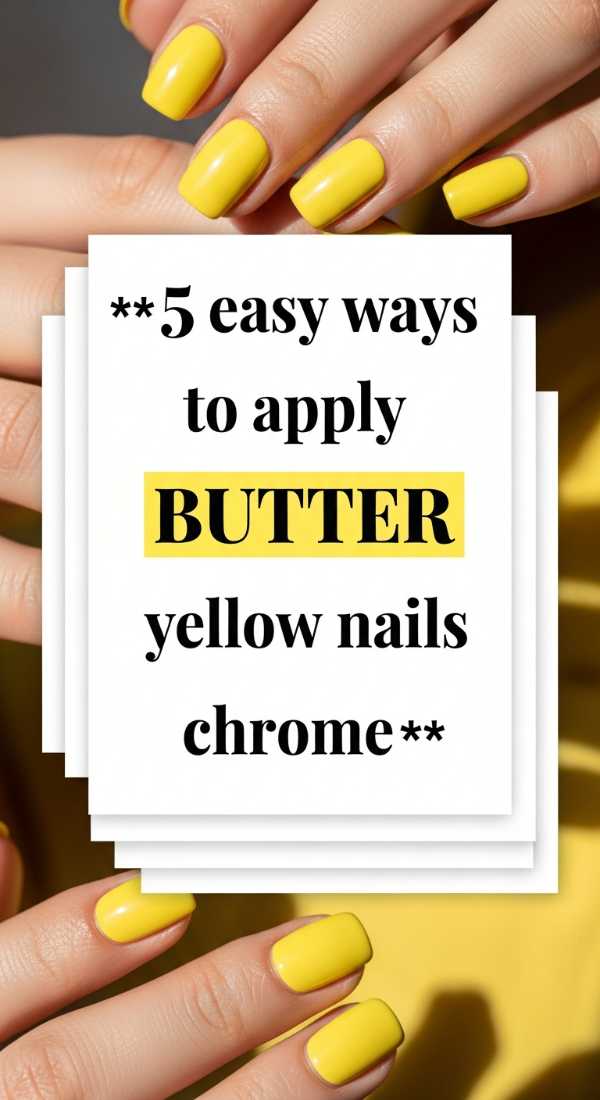
Why to love this Design:
Butter yellow is the breakout star of 2026, and when you add that high-tech chrome finish, it becomes something truly ethereal. It’s soft like a cloud but shines like a star—the perfect blend of comfort and futuristic style.
Essential Elements:
- Butter yellow gel or regular polish
- Pearl or yellow chrome powder
- Silicone applicator tool
- No-wipe top coat
How to Prepare:
- Apply two coats of creamy butter yellow and dry completely.
- Apply a ‘no-wipe’ top coat and cure/dry until just slightly tacky.
- Gently buff the chrome powder over the surface using the silicone tool.
- Wipe away excess powder with a soft brush.
- Seal with a final glossy top coat to lock in the metallic glow.
Budget Range
- Modelones Butter Yellow Gel ($8)
- Artdone Pearl Chrome Powder ($9)
- UV LED Nail Lamp for home ($20)
Step into Summer: 4 Steps to Perfect Summer Toe Nails
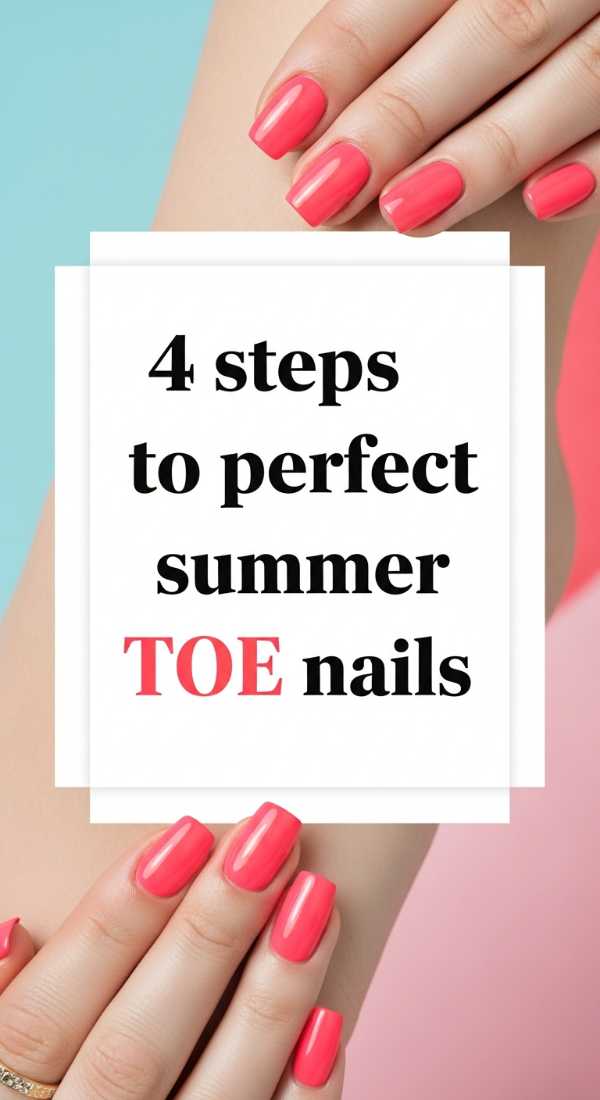
Why to love this Design:
Let’s not forget our toes, loves! Summer sandals deserve a perfect canvas. A clean, bright pedicure makes you feel put together from head to toe, giving you that extra boost of confidence at the beach or the pool.
Essential Elements:
- Exfoliating foot scrub
- Bright neon or white polish
- Toe separators
- Nail buffer
How to Prepare:
- Exfoliate and hydrate the feet to ensure a smooth canvas.
- Clip nails straight across to prevent ingrowns and buff the surface.
- Apply two coats of a high-pigment neon shade (white base first makes it pop!).
- Finish with a hard-wearing, chip-resistant top coat.
Budget Range
- Tree Hut Foot Scrub ($8)
- OPI ‘Big Apple Red’ ($11)
- Flowery Toe Separators ($2)
Midnight Elegance: 8 Rules for Black and Gold Prom Nails
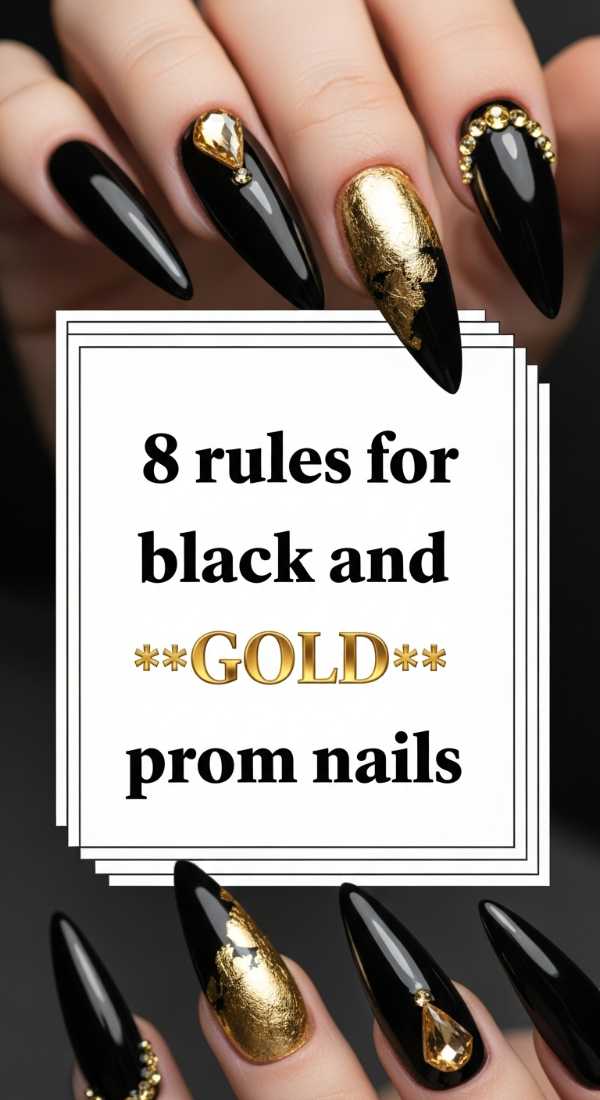
Why to love this Design:
For the bold and the beautiful, black and gold is the ultimate power couple. It’s dramatic, expensive-looking, and commands attention. It’s the perfect choice for a night where you want to feel like royalty.
Essential Elements:
- True matte black polish
- Metallic gold striping tape or paint
- Long coffin or stiletto tips
How to Prepare:
- Contrast is King: Always mix matte black with high-shine gold.
- Use striping tape for razor-sharp geometric lines.
- Keep the gold accents thin to maintain sophistication.
- Match your gold polish to the jewelry you’ll be wearing.
- Apply a black base coat twice for full opacity.
- Use a detailer brush for ‘dripping gold’ effects at the cuticle.
- Avoid chunky glitter; stick to smooth metallics for a 2026 look.
- Ensure the nail shape is uniform across both hands.
Budget Range
- Sally Hansen ‘Black Heart’ ($6)
- Gold Metallic Liner Gel ($9)
- Matte Top Coat by OPI ($11)
Whimsical Lavender: 3 Simple Steps for Lavender Sparkle Nails

Why to love this Design:
Lavender is the color of peace, and a little sparkle is the light we all need. This look is soft, romantic, and incredibly easy to achieve at home. It’s like a little hug for your hands.
Essential Elements:
- Lavender cream polish
- Fine holographic glitter polish
- Makeup sponge
How to Prepare:
- Paint all nails with a soft lavender base.
- Dab glitter onto the tips of the nails using a sponge for a faded gradient.
- Apply a plump, gel-like top coat to smooth out the glitter texture.
Budget Range
- Essie ‘Win Me Over’ ($10)
- ILNP ‘Harlow’ Sparkle ($12)
- Wedge Sponges ($4)
Future Visions: 10 Secrets for Trending Spring Summer Nails 2026
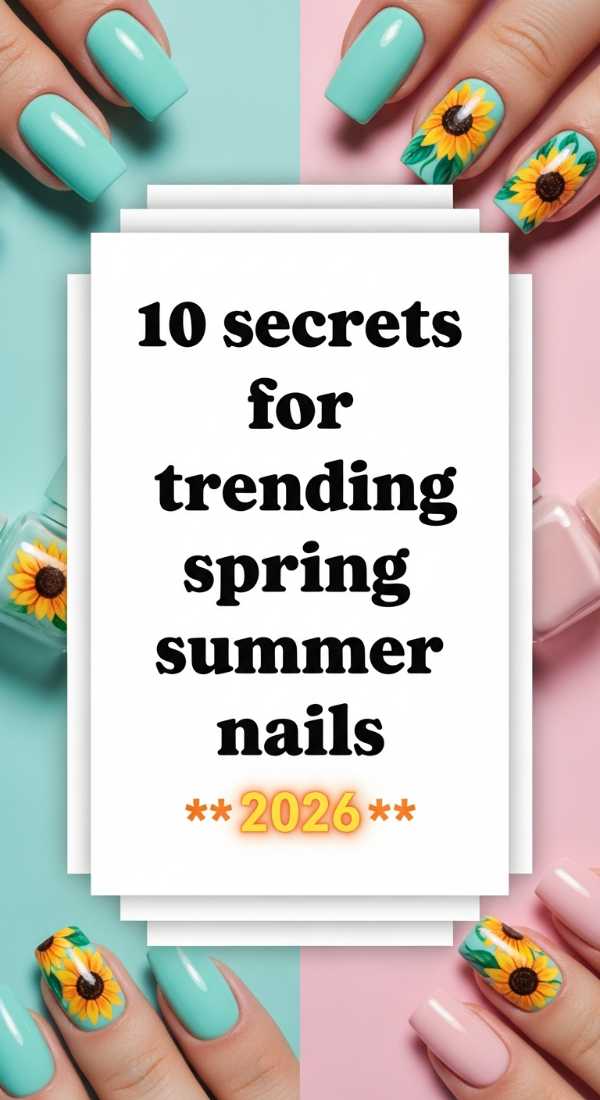
Why to love this Design:
The future of beauty is here, and it is more creative than ever. These secrets represent the heartbeat of the 2026 season—focusing on sustainability, texture, and the marriage of technology and nature.
Essential Elements:
- Bio-sourced resins
- 3D nail charms
- Thermal color-changing pigments
- Eco-friendly glitter
How to Prepare:
- Secret 1: Kinetic Chrome—use magnetic wands for movement.
- Secret 2: Bio-Resins—look for plant-based formulas.
- Secret 3: 3D Textures—add small ‘bubbles’ with clear builder gel.
- Secret 4: Earth Tones—pair neon with clay colors.
- Secret 5: Glass Nails—use clear extensions with a tint.
- Secret 6: Minimalist Cutouts—leave the center of the nail bare.
- Secret 7: Sustainable Kits—reuse your press-on sets.
- Secret 8: Thermal Polish—nails that change color with your latte.
- Secret 9: Scented Top Coats—notes of jasmine and sea salt.
- Secret 10: AI-Custom Shapes—3D printed nails tailored to your nail bed.
Budget Range
- Cirque Colors Thermal Polish ($16)
- Plant-Based Polish by Sally Hansen ($9)
- 3D Clear Builder Gel ($12)
Embrace Your Inner Glow
As we wrap up our journey through the stunning landscape of 2026 nail trends, I want you to remember one thing, my loves: the most beautiful trend you can ever wear is your own confidence. Whether you choose a high-tech chrome that reflects the world around you or a soft, minimalist lavender that brings you peace, let it be a reflection of your beautiful soul. Don’t be afraid to experiment, to get a little polish on your cuticles, and to laugh through the process. Beauty is a journey, not a destination. Stay radiant, stay kind, and keep shining from the inside out. I can’t wait to see which of these looks you choose to make your own!