
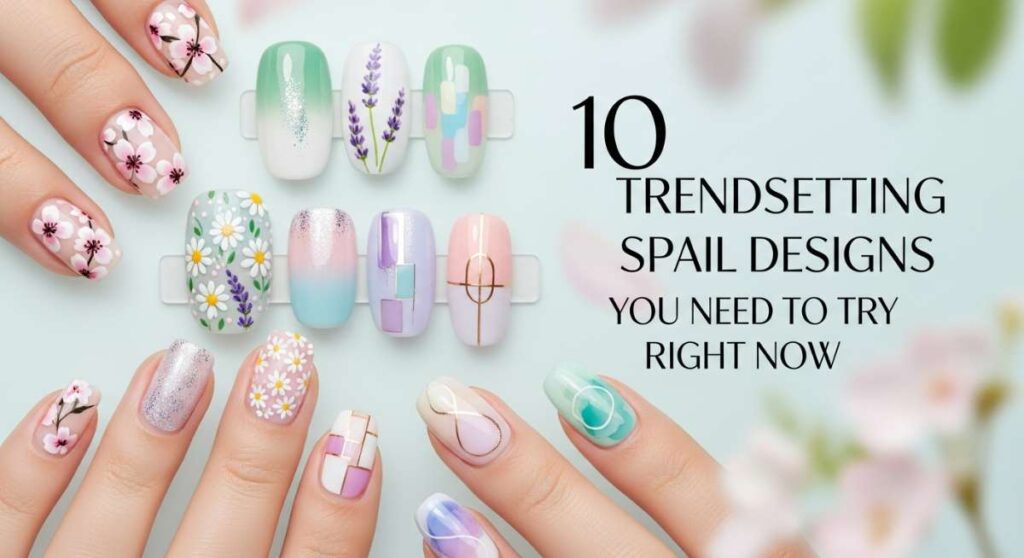
10 Trendsetting Spring Nail Designs You Need to Try Right Now
Hello, my sweet loves! Can you feel it? That gentle, soft shift in the air when the sun starts to linger just a little bit longer on your skin? As the frost melts away and the first tiny buds begin to peek through the soil, I find myself craving a fresh start—not just in my home, but right down to my fingertips. There is something so incredibly healing about sitting down with a cup of chamomile tea and painting a little bit of spring onto your nails, isn’t there?
This season, it’s all about embracing that cloud-soft energy and letting our inner light shine through. Whether you’re a fan of bold, vibrant splashes or you prefer the quiet elegance of a sheer tint, I’ve gathered the ultimate spring nail art guide to help you transition into this beautiful new chapter. Let’s dive into these designs together, like we’re catching up over a cozy brunch in a flower garden.
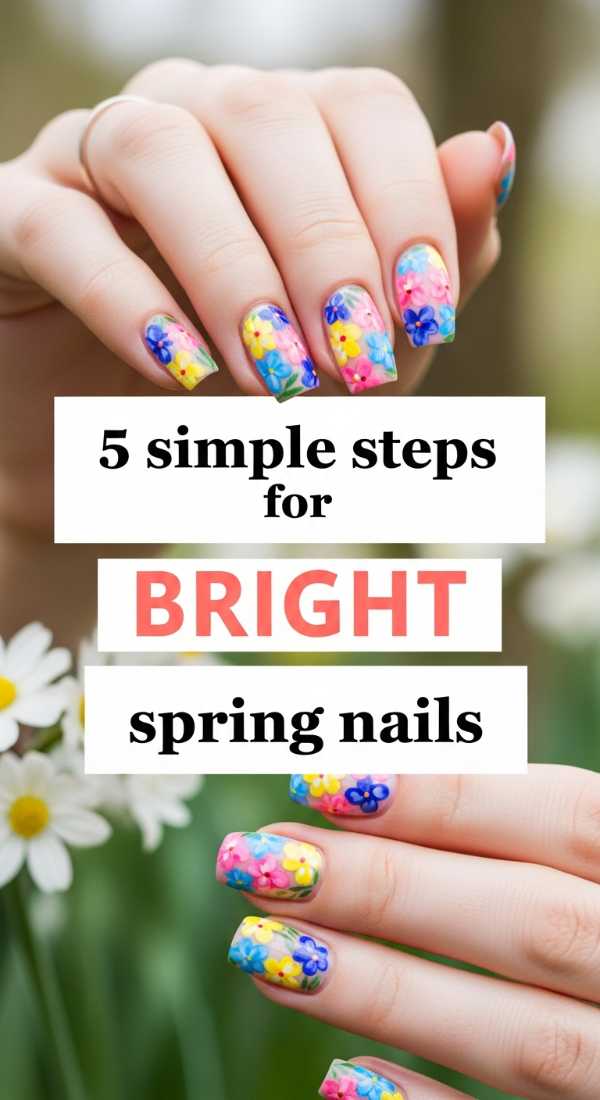
5 simple steps for bright spring nails
Why to love this Design:
These are like a cup of pure sunshine for your hands! Bright spring nails are the ultimate mood-booster after a long, grey winter. They represent the energy of waking up and feeling truly alive again.
Essential Elements:
- Sunflower yellow polish
- Sky blue accents
- Glossy top coat
- Precision detail brush
How to Prepare:
- Cleanse nails with a gentle remover to create a fresh canvas.
- Apply a nourishing base coat to prevent staining from bright pigments.
- Paint two thin layers of your chosen sunny shade.
- Add a tiny white flower or dot for a whimsical touch.
- Seal with a high-shine top coat for that glass-like finish.
Budget Range
- Essie ‘Check Your Baggage’ Yellow ($10)
- Sally Hansen Hard as Nails Base Coat ($4)
- Holler and Glow Nail Stickers ($5)
7 easy ways to style spring nail ideas

Why to love this Design:
Styling is where your personality really gets to dance, my loves. It’s not just about the color, but how you frame it with your favorite rings and cozy knits to create a whole aesthetic vibe.
Essential Elements:
- Stackable gold rings
- Dainty floral patterns
- Mix-and-match pastel shades
- Matte and glossy finishes
How to Prepare:
- Choose a cohesive palette of three to five spring colors.
- Vary the design on each finger—try one solid, one glitter, and one patterned.
- Keep your cuticles hydrated with a lavender oil.
- Select delicate jewelry that complements the soft tones.
- Coordinate with a light linen shirt or a floral dress.
- Use a matte top coat on accent nails for texture.
- Capture a photo in natural golden-hour light to see the colors pop!
Budget Range
- Olive & June Spring Set ($40)
- Target Brand Gold Band Rings ($8)
- Cupa Natural Cuticle Oil ($12)
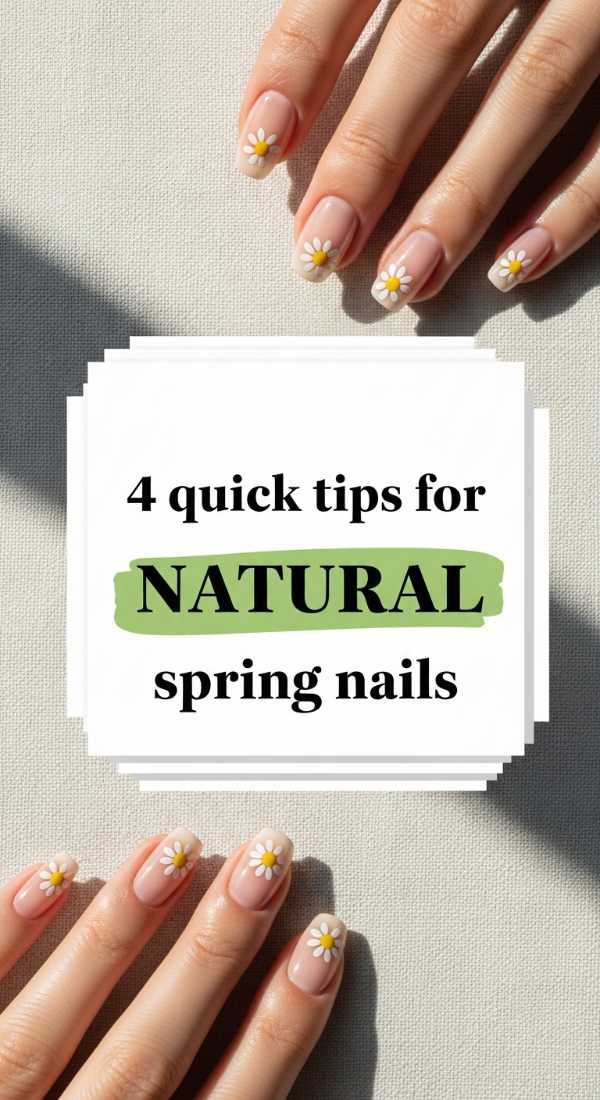
4 quick tips for natural spring nails
Why to love this Design:
Sometimes, a whisper says so much more than a shout. Natural nails are all about that ‘clean girl’ aesthetic—effortless, healthy, and perfectly polished in a way that feels like a soft hug.
Essential Elements:
- Sheer pink or nude polish
- Glass nail file
- Buffing block
- Vitamin-E rich oil
How to Prepare:
- Shape nails gently into a soft oval using a glass file to prevent peeling.
- Buff the surface lightly to remove ridges and add a natural glow.
- Apply one single coat of a sheer, milky pink.
- Massage oil into the cuticles every night before bed.
Budget Range
- Zoya ‘Naked Manicure’ Perfector ($12)
- Mont Bleu Glass Nail File ($10)
- Burt’s Bees Lemon Butter Cuticle Cream ($6)
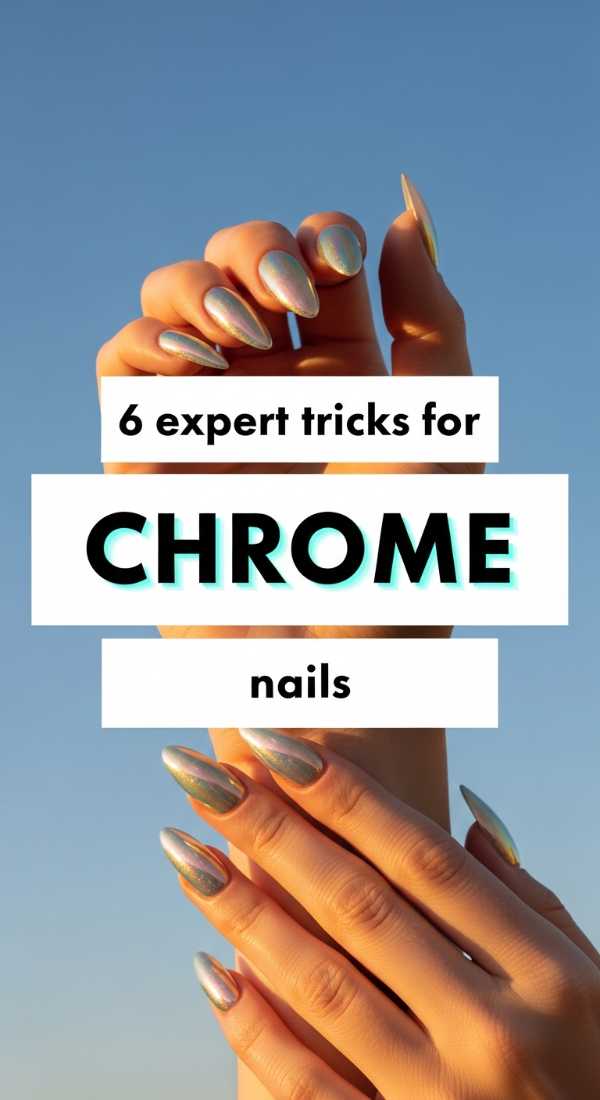
6 expert tricks for spring chrome nails
Why to love this Design:
Chrome isn’t just for the holidays! In the spring, it reflects the morning dew and the shimmering sunlight. It’s like wearing tiny mirrors on your fingers that catch every ray of hope.
Essential Elements:
- Non-wipe top coat
- Holographic chrome powder
- Sponge applicator
- Lint-free wipes
How to Prepare:
- Apply a base color (pastels work beautifully under chrome).
- Apply a non-wipe top coat and cure it for exactly 30 seconds.
- Rub the powder on firmly until the surface is reflective.
- Dust off excess powder with a soft brush.
- Apply a final top coat to lock in the shine.
- Clean up the edges with a brush dipped in alcohol.
Budget Range
- Artdone Chrome Powder Palette ($15)
- Beetles No Wipe Gel Top Coat ($8)
- UV LED Nail Lamp ($20)
8 fun ways to paint spring fruit nails
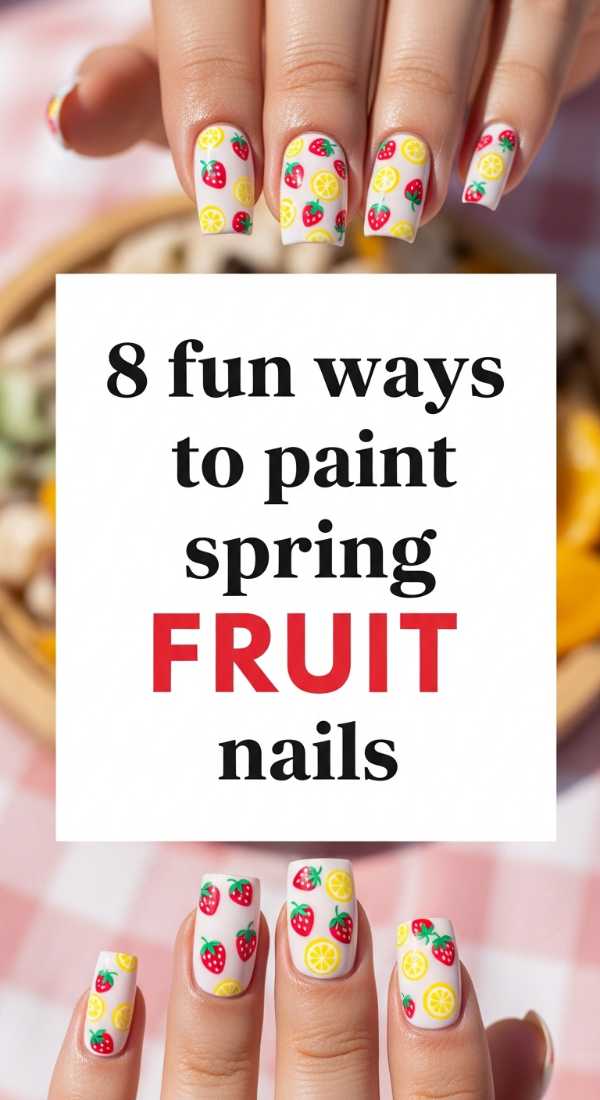
Why to love this Design:
Nothing says ‘fresh’ like tiny strawberries or lemons! This design is playful, youthful, and brings a sense of joyful abundance to your everyday routine. It’s pure happiness in a bottle.
Essential Elements:
- Dotting tools
- Fine liner brush
- Red, yellow, and green polishes
- Opaque white base
How to Prepare:
- Start with a clean white or clear base.
- Use a dotting tool to create the fruit body (a yellow oval for lemons).
- Add tiny green leaves using a fine liner brush.
- Use a toothpick to add ‘seeds’ or texture.
- Try a different fruit on each nail for a fruit salad look.
- Keep the shapes slightly imperfect for a hand-painted charm.
- Add a ‘water droplet’ effect with a thick gel top coat.
- Finish with a super glossy sealer.
Budget Range
- Nail Art Dotting Tool Set ($6)
- OPI ‘Alpine Snow’ White ($11)
- Modelones Fruit Color Gel Set ($18)
3 proven methods for cute square nails
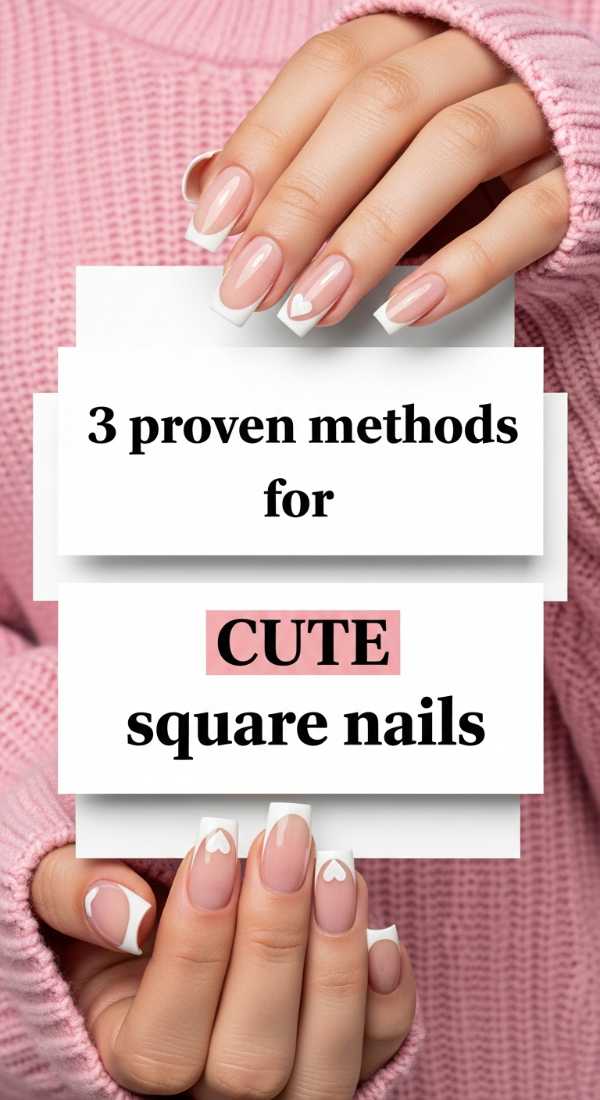
Why to love this Design:
Square nails offer such a modern, clean structure. They provide a beautiful wide canvas for art while feeling strong and grounded—perfect for the girl who is ready to tackle her spring cleaning with style!
Essential Elements:
- Straight-edge nail clippers
- Coarse and fine grit files
- Strengthening treatment
How to Prepare:
- Clip nails straight across in one clean movement.
- File the sides perfectly parallel to ensure the ‘square’ isn’t lopsided.
- Softly round only the very corners so they don’t snag on your favorite spring sweaters.
Budget Range
- Revlon Precision Nail Clippers ($5)
- Orly Nailtrition Strengthener ($15)
- Flowery Blue Files ($3)
5 steps to achieve pearl chrome nails
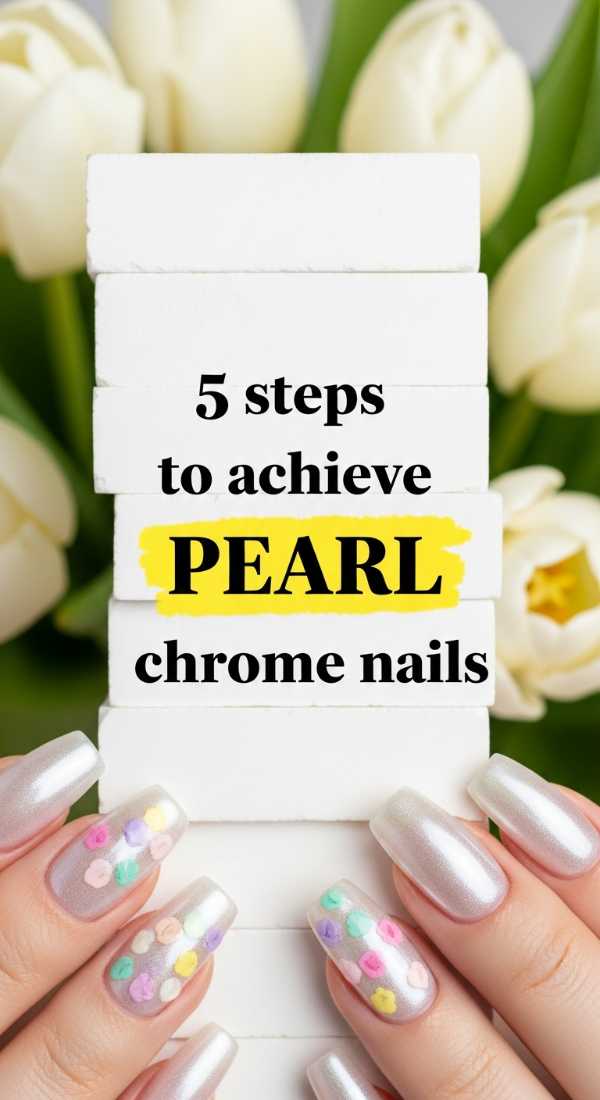
Why to love this Design:
This is the ‘Glazed Donut’ look we all adore, but with a soft spring twist. It looks like the inside of a seashell or a morning mist. It’s ethereal, dreamy, and oh-so-sophisticated.
Essential Elements:
- Iridescent white powder
- Milky white polish
- Silicone applicator
- UV lamp
How to Prepare:
- Apply one coat of milky white gel polish and cure.
- Apply a no-wipe top coat and cure for a shorter time (approx 20s).
- Gently buff the pearl powder over the nail.
- Wipe away any stray shimmer from the skin.
- Seal with a final high-gloss top coat for that pearlescent glow.
Budget Range
- Born Pretty Pearl Powder ($9)
- DND ‘Funny Bunny’ Gel ($13)
- Kupa High Gloss Top Coat ($15)
9 steps to create cherry fruit nails
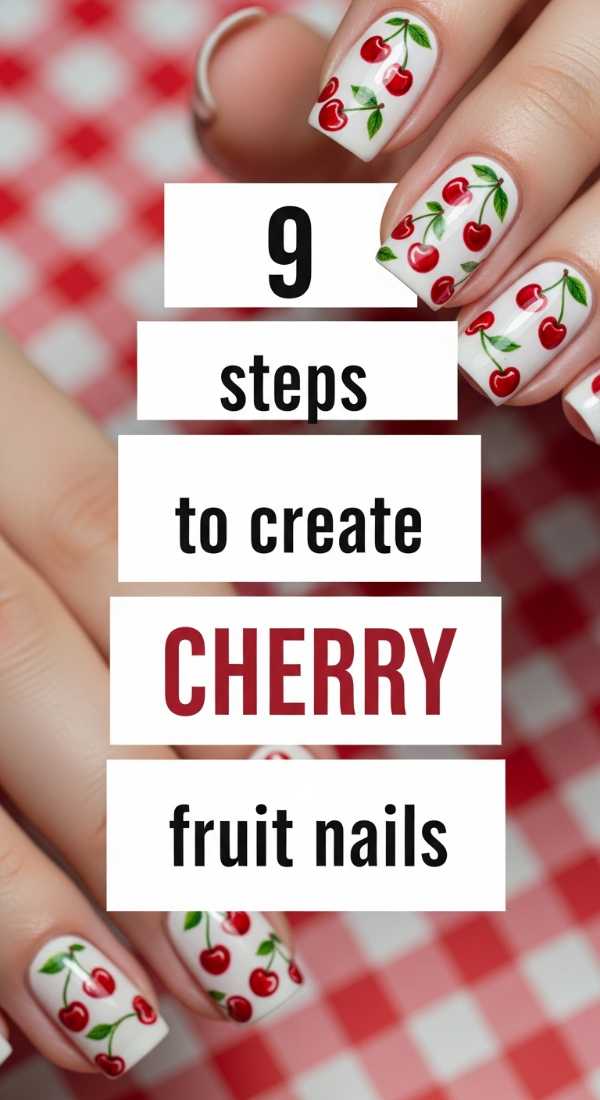
Why to love this Design:
Cherries are the ultimate symbol of sweetness. This design is a timeless spring favorite because it’s bold yet delicate. It reminds me of vintage picnics and laughter in the park.
Essential Elements:
- Cherry red polish
- Deep green polish
- Thin detailing brush
- Large dotting tool
How to Prepare:
- Apply a sheer nude base.
- Use a large dotting tool to place two red dots close together.
- Connect the dots with a thin, curved ‘V’ shape in green for the stems.
- Add a tiny leaf to one side of the stem.
- Place a tiny white ‘highlight’ dot on each cherry for dimension.
- Repeat the pattern sporadically across the nail.
- Add a second set of cherries if space allows.
- Let the art dry completely before sealing.
- Apply a plump top coat to make the cherries look juicy.
Budget Range
- China Glaze ‘Rose Among Thorns’ ($8)
- Winstonia Berry Wine Fine Brush ($7)
- Seche Vite Fast Dry Top Coat ($9)
10 easy hacks for neon spring nails
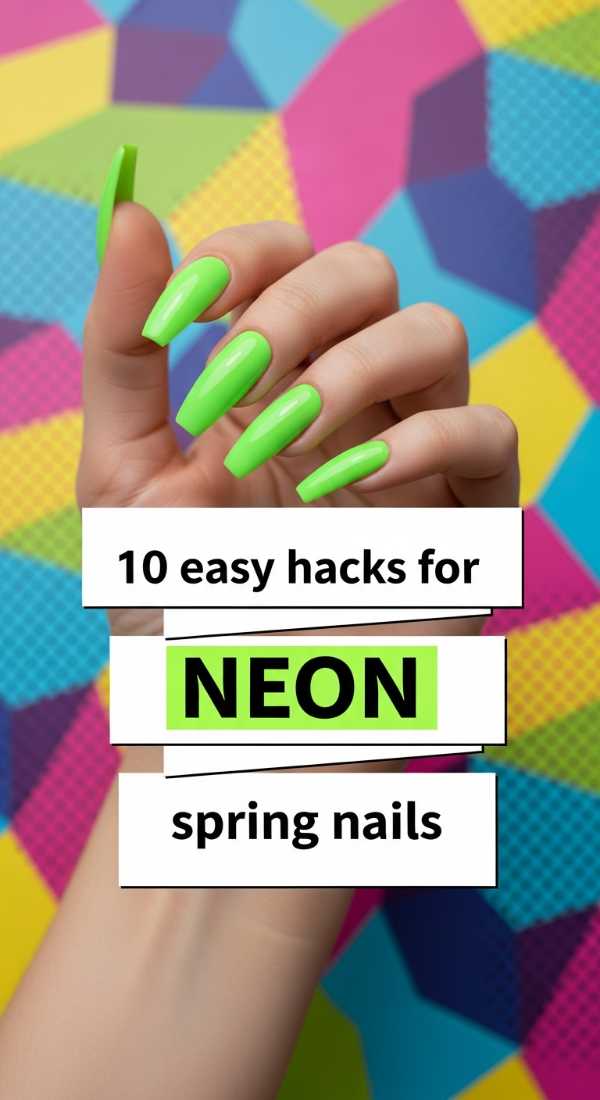
Why to love this Design:
When you’re ready to really celebrate the return of the light, neon is your best friend! It’s electric, brave, and guarantees a compliment from everyone you meet at the flower market.
Essential Elements:
- Neon pigments or polishes
- White base coat (crucial for vibrancy!)
- Matte top coat (optional for a velvet look)
- Cuticle guard or liquid latex
How to Prepare:
- Always start with a white base to make the neon pop.
- Apply liquid latex around the skin to catch mess.
- Sponge on the neon for a gradient effect.
- Use a matte top coat to make the neon look more ‘modern’.
- Try ‘Skittle’ nails (different neon on every finger).
- Use neon for just the French tips for a subtle pop.
- Double coat for maximum saturation.
- Mix neon pink with orange for a sunset vibe.
- Avoid soaking in hot water immediately after to prevent lifting.
- Show them off under the bright midday sun!
Budget Range
- Cirque Colors Vice Collection ($14 per bottle)
- Pueen Liquid Latex ($9)
- Sinful Colors Neon Shades ($3)
4 ways to master minimal spring nails
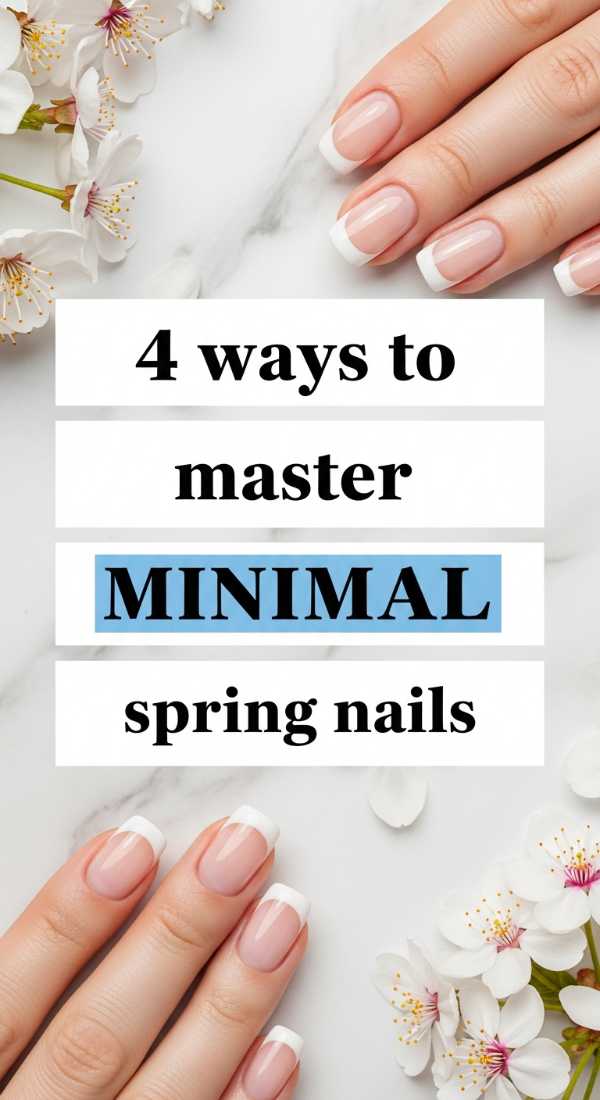
Why to love this Design:
Minimalism is the ultimate form of self-care. It’s about intentionality. A single dot or a thin line represents clarity and peace—exactly what we need as we bloom into this new season.
Essential Elements:
- Striper brush
- Toothpick
- Pastel blue or mint polish
- Clear base
How to Prepare:
- Keep the base completely clear or a sheer nude.
- Place one single tiny dot at the base of each nail.
- Or, paint one thin vertical line down the center of the ring finger.
- Ensure your lines are crisp by steadying your hand on a flat surface.
Budget Range
- Bio Seaweed Gel ‘Unity’ ($18)
- Sally Hansen Nail Art Striper ($6)
- Essie ‘Mint Candy Apple’ ($10)
Conclusion: Blooming Beautifully
Oh, my loves, I hope these designs inspire you to take a little moment for yourself this week. Spring is such a precious reminder that we can always start fresh, and sometimes, that fresh start begins with a beautiful manicure. Whether you choose the playful cherries or the serene pearl chrome, remember that your hands are a reflection of the creative, beautiful soul you are. Go forth and bloom, and don’t forget to show me your gorgeous spring creations!