

There is something magical about gathering friends around a table filled with vibrant colors and mouth-watering textures. Food boards have moved far beyond simple cheese and crackers; they have become a canvas for our culinary creativity and a way to tell a story through the seasons. Whether you are hosting a backyard bash or a cozy night in, these viral food board ideas are designed to spark joy and make every meal feel like a special occasion.
I remember the first time I put together a themed board—it wasn’t just about the food; it was about the conversation that flowed naturally as people picked and chose their favorite bits. These ten ideas are currently taking social media by storm because they are accessible, beautiful, and most importantly, incredibly delicious. Let’s dive into how you can recreate these viral sensations in your own kitchen.
How to Bake Strawberry Pie

Why we love this
There is something inherently nostalgic and comforting about a freshly baked strawberry pie sitting on a rustic wooden board. Imagine the scent of buttery, golden-brown pastry wafting through your kitchen, mingling with the sweet, floral aroma of sun-ripened berries. As you slice into it, the ruby-red glaze glistens under the light, offering a perfect balance of tartness and sugary bliss. Each bite is a symphony of textures—the flaky, crisp crust giving way to a soft, juicy center that reminds you of warm summer afternoons spent in the garden.
Ingredients
- 2 ½ cups all-purpose flour
- 1 cup unsalted butter, chilled and cubed
- 1 teaspoon salt
- 1 tablespoon sugar
- 6-8 tablespoons ice water
- 6 cups fresh strawberries, hulled and halved
- ¾ cup granulated sugar
- 3 tablespoons cornstarch
- 1 tablespoon lemon juice
- 1 egg (for egg wash)
How to make it
- Begin by preparing your crust: mix flour, salt, and sugar in a large bowl. Incorporate the chilled butter using a pastry cutter until the mixture resembles coarse crumbs. Gradually add ice water, one tablespoon at a time, until the dough just holds together.
- Divide the dough into two discs, wrap in plastic, and refrigerate for at least one hour. This step is crucial for ensuring the fat stays cold, which creates those coveted flaky layers.
- Preheat your oven to 400°F (200°C). Roll out one disc of dough on a floured surface to about 12 inches and drape it over a 9-inch pie plate.
- In a separate bowl, toss the fresh strawberries with sugar, cornstarch, and lemon juice. The cornstarch acts as a thickener, ensuring your pie isn’t runny once sliced.
- Fill the crust with the berry mixture. Roll out the second dough disc and place it over the top, crimping the edges to seal. Cut small slits in the top to allow steam to escape.
- Brush the top with a beaten egg for a glossy finish and bake for 45-50 minutes. You are looking for a deep golden-brown crust and juices that are bubbling thickly at the vents.
How to Make Rotel Dip
Why we love this
Rotel dip is the ultimate crowd-pleaser, a creamy and spicy masterpiece that anchors any snack board with its bold presence. The sight of that thick, melted cheese swirling with savory ground meat and tangy tomatoes is enough to make anyone’s mouth water instantly. It’s the kind of dish that brings people together, encouraging a communal dipping experience that is both casual and deeply satisfying. The aroma of toasted cumin and spicy green chilies fills the room, signaling that the party has truly started.
Ingredients
- 1 lb ground beef or sausage
- 1 block (16 oz) Velveeta or processed cheese, cubed
- 1 can (10 oz) Ro-Tel Diced Tomatoes and Green Chilies
- ½ teaspoon garlic powder
- ½ teaspoon onion powder
- Tortilla chips for serving
How to make it
- In a large skillet over medium-high heat, brown the ground meat. Use a spatula to break it into fine crumbles, ensuring it cooks evenly until no pink remains.
- Drain the excess fat from the skillet carefully; this prevents the dip from becoming oily. Stir in the garlic powder and onion powder to season the meat directly.
- Reduce the heat to low. Add the cubed cheese to the skillet along with the entire can of Ro-Tel (do not drain the liquid from the can, as it provides essential flavor and moisture).
- Stir constantly with a wooden spoon as the cheese begins to melt. The goal is a perfectly smooth, homogenous consistency where the tomatoes and chilies are evenly distributed.
- If the dip feels too thick, you can add a splash of milk to reach your desired creaminess. Keep the heat very low to avoid scorching the cheese on the bottom of the pan.
- Serve immediately in a warm bowl or a slow cooker set to ‘warm’ to maintain that irresistible, velvety texture throughout your gathering.
How to Pack Beach Snacks
Why we love this
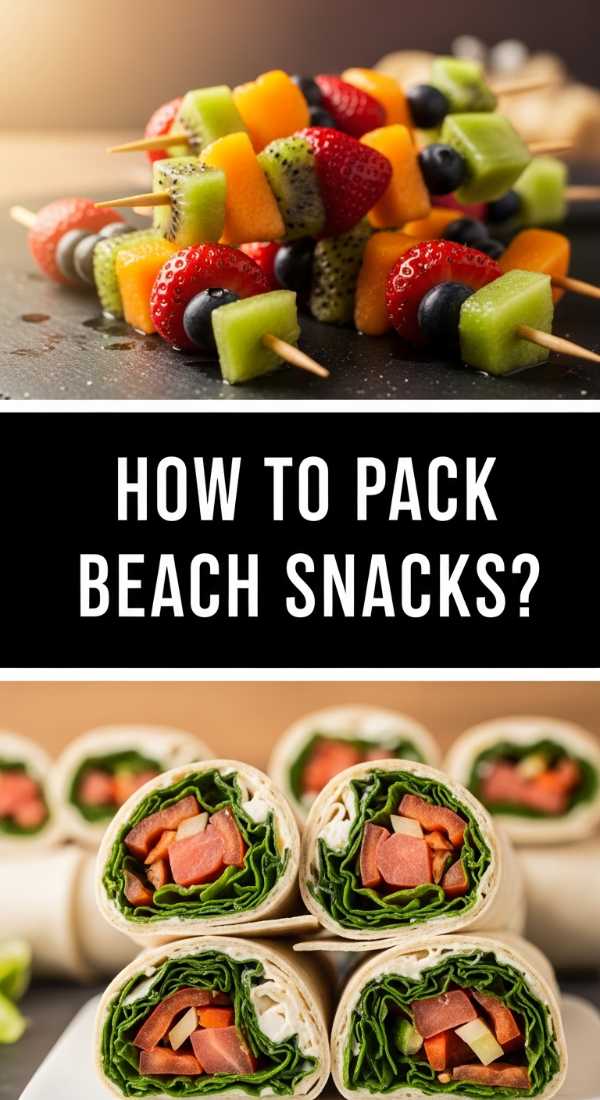
Packing the perfect beach snack board is an art form that balances refreshment with portability. Imagine opening your cooler to find a colorful array of crisp vegetables, juicy fruits, and salty treats, all perfectly chilled against the heat of the summer sun. The salt-tinged air enhances the flavors of simple snacks, making a slice of cold watermelon or a crunchy pretzel feel like a gourmet experience. It is about creating a stress-free grazing station that keeps everyone energized and hydrated between dips in the ocean.
Ingredients
- Firm fruits (grapes, apple slices with lemon, melon chunks)
- Crunchy vegetables (baby carrots, cucumber slices, bell pepper strips)
- Protein bites (cheese cubes, hard-boiled eggs, deli meat roll-ups)
- Salty snacks (pretzels, roasted nuts)
- Individual hummus or dip cups
How to make it
- Select a sturdy, airtight container with dividers to keep different textures separate and prevent sogginess. A ‘snackle box’ design works best for beach environments.
- Prep all fruits and vegetables by washing and drying them thoroughly. Excess moisture is the enemy of a fresh snack board, so pat everything down with paper towels.
- Place heavier items and those that need to stay coldest, like cheese and deli meats, at the very bottom of the container.
- Layer in the fruits and vegetables, ensuring that items like crackers or pretzels are kept in a separate, dry compartment or a waterproof bag until the moment of serving.
- If using hard-boiled eggs, peel them at home and store them in a sealed silicone bag to contain any odors.
- Pack the entire container into an insulated cooler bag surrounded by ice packs. For a professional tip: freeze a few water bottles to use as ice packs; as they melt, you have ice-cold drinking water ready to go.
How to Whip Fresh Butter

Why we love this
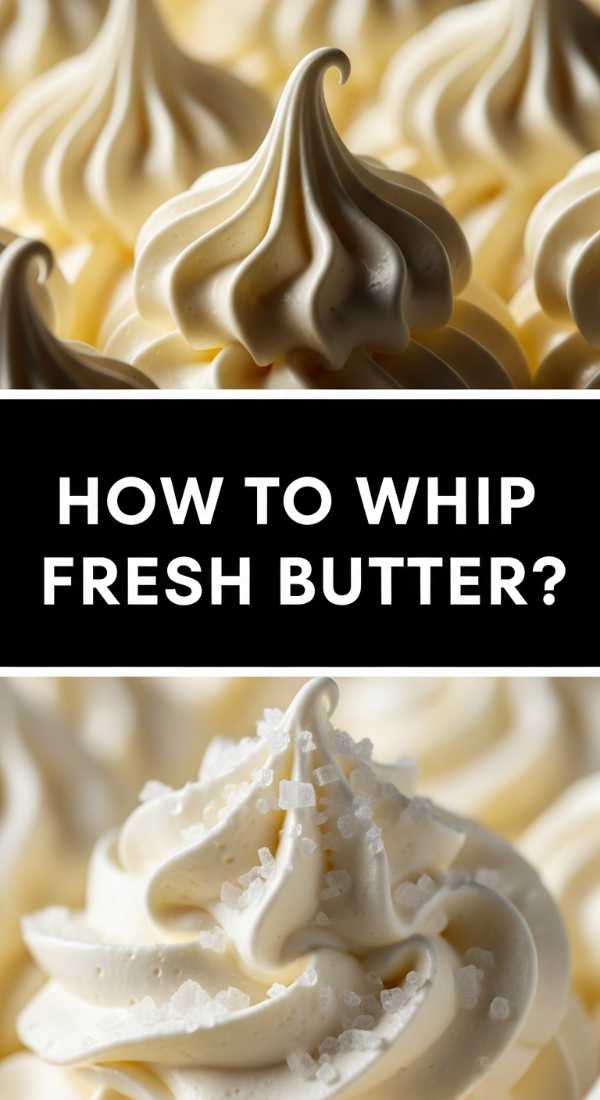
There is a profound sense of accomplishment in making your own butter from scratch, and the flavor is incomparably rich and fresh. As you whip the heavy cream, you witness a fascinating culinary transformation from liquid to soft peaks, then to a stiff yellow mass that smells like a dairy farm in the best possible way. The resulting butter has a silky, indulgent mouthfeel that store-bought versions simply cannot replicate. Serving a bowl of hand-whipped butter on a bread board adds an artisanal touch that will leave your guests in awe of your kitchen skills.
Ingredients
- 2 cups high-quality heavy whipping cream (room temperature)
- ½ teaspoon sea salt (optional)
- Ice water (for rinsing)
- Fresh herbs or honey (optional for flavoring)
How to make it
- Pour the heavy cream into a large bowl or the bowl of a stand mixer fitted with the whisk attachment. Start whisking on medium-low speed to avoid splashing.
- Increase the speed to medium-high as the cream thickens. You will pass through the ‘whipped cream’ stage; keep going until the cream becomes grainy and stiff.
- Continue whisking until the fat solids (butter) suddenly separate from the liquid (buttermilk). You will hear a splashing sound—this is the sign to stop the mixer immediately.
- Strain the mixture through a fine-mesh sieve, catching the buttermilk in a jar (save it for pancakes!).
- Place the solid butter back into a bowl and pour ice-cold water over it. Use a spatula to press the butter, ‘washing’ out the remaining buttermilk. Repeat this process 3-4 times until the water runs completely clear; this prevents the butter from going rancid.
- Stir in salt or herbs, then mold the butter into a log or a bowl and refrigerate until firm.
How to Prep Camping Meals
Why we love this
Camping meals are all about maximizing flavor while minimizing the mess and equipment needed in the great outdoors. There is a specific joy in preparing a meal over an open flame, with the scent of woodsmoke infusing into grilled meats and charred vegetables. When you prep these meals ahead of time, you turn a potentially stressful cooking situation into a relaxing ritual under the stars. The textures are rugged and bold, and every bite feels earned after a long day of hiking or exploring the wilderness.
Ingredients
- Pre-marinated proteins (chicken skewers, steak tips)
- Chopped hardy vegetables (potatoes, onions, carrots)
- Aluminum foil or reusable grill bags
- Cooking oil or butter patties
- Pre-mixed spice blends
How to make it
- Do all your chopping and slicing at home. This reduces the risk of cross-contamination at the campsite and saves you from bringing multiple cutting boards.
- Marinate your meats in leak-proof bags at least 12 hours before leaving. This tenderizes the meat and ensures the flavor is locked in.
- Create ‘foil packets’ by placing a portion of protein and vegetables onto a large square of heavy-duty foil. Add a pat of butter and a generous sprinkle of seasoning.
- Fold the edges of the foil tightly to create a sealed pouch. Double-wrap them if you plan to place them directly onto hot coals to prevent burning.
- Label each packet with a permanent marker so you know what is inside without opening it. Store these in the coldest part of your cooler.
- When ready to cook, place the packets on a grill grate over the fire or nestled in the hot embers. Cook for 15-20 minutes, flipping once, until the potatoes are tender and the meat is cooked through.
How to Make Cucumber Salad
Why we love this
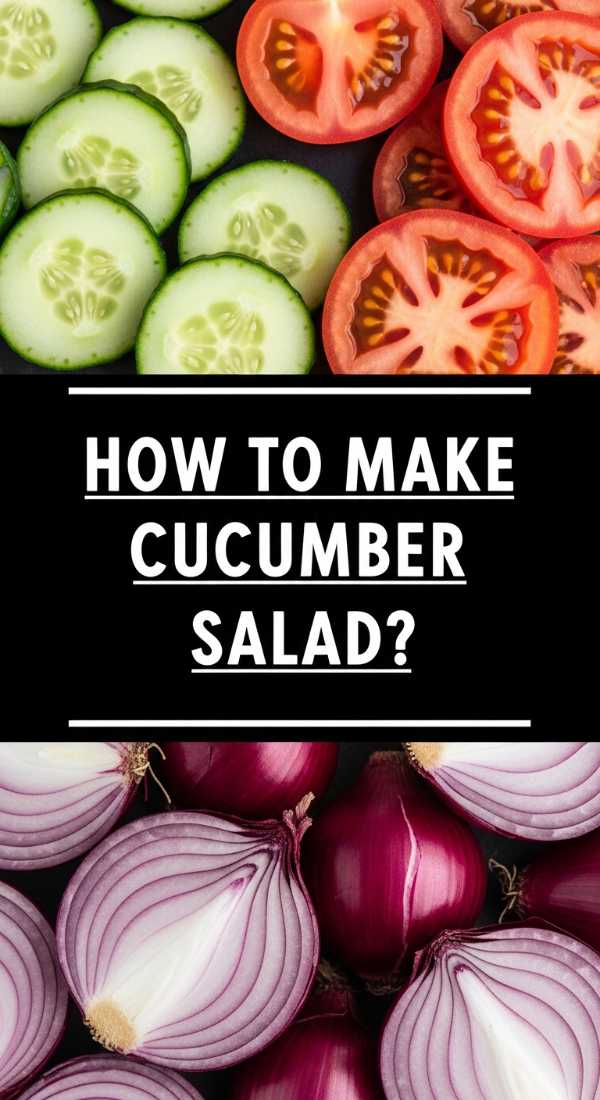
A crisp cucumber salad is the quintessential side dish for any summer board, offering a refreshing burst of acidity and crunch. The sight of translucent green slices tossed with slivers of red onion and flecks of fresh dill is instantly cooling on a hot day. The aroma is bright and clean, dominated by the sharp tang of vinegar and the earthy sweetness of the cucumbers. It serves as the perfect palate cleanser between richer, heavier foods, keeping the dining experience light and balanced.
Ingredients
- 3 large English cucumbers, thinly sliced
- ½ red onion, thinly sliced into half-moons
- ½ cup white vinegar or apple cider vinegar
- 2 tablespoons sugar
- 1 teaspoon salt
- 2 tablespoons fresh dill, chopped
- Black pepper to taste
How to make it
- Use a mandoline slicer to get the cucumbers into uniform, paper-thin rounds. This ensures that every piece absorbs the dressing evenly and provides a delicate texture.
- Place the sliced cucumbers in a colander and sprinkle with salt. Let them sit for about 10 minutes to draw out excess moisture, then pat them dry. This prevents the salad from becoming watery.
- In a large mixing bowl, whisk together the vinegar, sugar, and black pepper until the sugar is completely dissolved.
- Add the cucumbers and red onions to the bowl, tossing them thoroughly to coat every slice in the vinaigrette.
- Fold in the fresh dill gently. Fresh herbs are sensitive to heat and acid, so adding them at the end preserves their vibrant green color and punchy flavor.
- Refrigerate for at least 30 minutes before serving. This ‘marinating’ time allows the onions to soften and the flavors to meld into a harmonious, tangy bite.
How to Grill Perfect Veggies

Why we love this
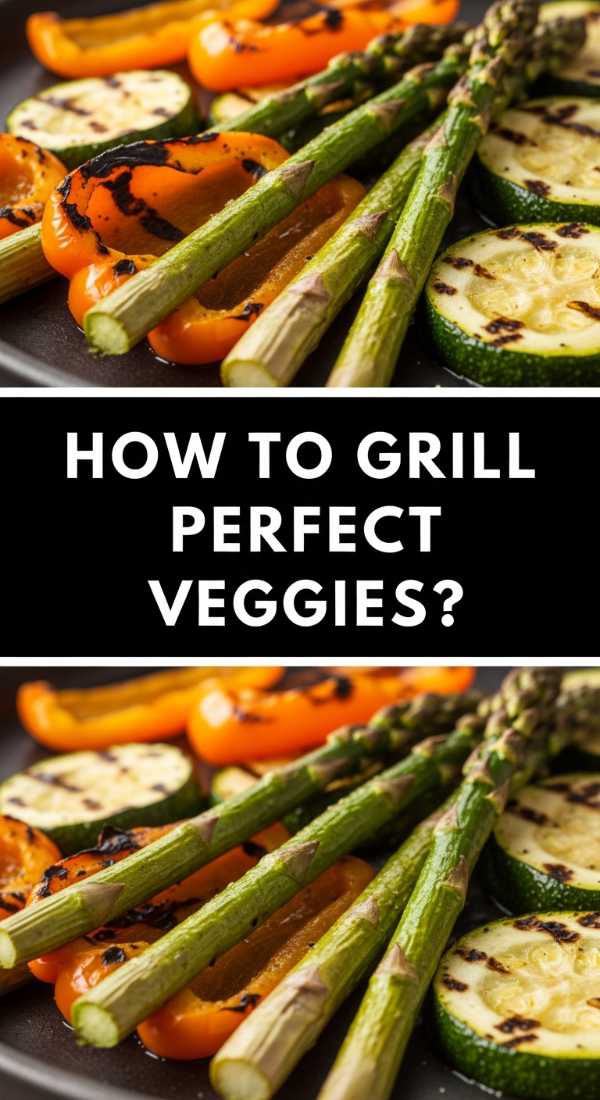
Grilling vegetables transforms humble produce into charred, caramelized stars of the show that look incredible on a platter. The high heat of the grill coaxes out the natural sugars in peppers, zucchini, and asparagus, creating a smoky sweetness that is impossible to achieve in an oven. You get that satisfying snap of a perfectly cooked veggie, paired with the rustic aroma of charcoal and herbs. It is a sensory delight that proves vegetables can be just as indulgent and flavorful as any main course.
Ingredients
- Assorted vegetables (bell peppers, zucchini, asparagus, red onion, portobello mushrooms)
- ¼ cup olive oil
- 2 tablespoons balsamic vinegar
- 2 cloves garlic, minced
- 1 teaspoon dried oregano
- Salt and pepper to taste
How to make it
- Cut your vegetables into large, flat pieces or thick spears to maximize surface area for charring and to prevent them from falling through the grill grates.
- In a large bowl, whisk together the olive oil, balsamic vinegar, minced garlic, and oregano. Toss the vegetables in this mixture until they are thinly but evenly coated.
- Preheat your grill to medium-high heat (about 400°F). Clean the grates thoroughly and lightly oil them to prevent sticking.
- Place the vegetables on the grill. Start with the denser veggies like peppers and onions, which take longer, and save the asparagus and mushrooms for last.
- Grill for 3-5 minutes per side. You are looking for distinct grill marks and a slight softening, but the vegetables should still retain some ‘bite’ or structural integrity.
- Remove from the grill and immediately finish with a sprinkle of flaky sea salt. The residual heat will continue to cook them slightly as they rest.
How to Cook Summer Meals

Why we love this
Summer meals are a celebration of simplicity and the abundance of the season, often focusing on assembly rather than intense cooking. Think of a board overflowing with heirloom tomatoes, fresh mozzarella, and grilled proteins that feel light on the stomach but heavy on flavor. The experience of a summer meal is often tied to the outdoors—the sound of cicadas in the background and the lingering golden hour light. It’s about minimal time spent over a hot stove and maximum time spent enjoying the company of loved ones with food that tastes like sunshine.
Ingredients
- Fresh corn on the cob
- Heirloom tomatoes
- Fresh basil and mint
- Grilled shrimp or chicken breast
- Burrata or fresh mozzarella
- Crusty baguette slices
How to make it
- Focus on sourcing the highest quality seasonal produce. When ingredients are at their peak, you don’t need complex techniques to make them taste amazing.
- Grill your corn until charred, then cut the kernels off the cob to create a fresh relish with lime juice and cilantro.
- Slice the tomatoes and arrange them with torn pieces of burrata. Drizzle with high-quality olive oil and a balsamic reduction; the key here is the visual layering of colors.
- For the protein, keep it light. Grill shrimp with nothing more than lemon, garlic, and butter. Cook them quickly over high heat until they turn opaque and pink.
- Toast the baguette slices on the edge of the grill for a smoky crunch that serves as a vehicle for the cheeses and salads.
- Assemble everything on one large board, allowing the juices from the tomatoes to mingle with the grilled meats for an effortless, rustic sauce.
How to Make Shoneys Pie

Why we love this
The Shoney’s-style strawberry pie is a legendary treat that evokes memories of family diners and weekend brunches. What sets it apart is the magnificent mountain of whole strawberries held together by a thick, translucent red glaze that catches the light like a jewel. The texture is a delightful contrast between the firm, cool berries and the soft, gelatinous glaze, all sitting atop a classic shortcrust. It’s a showstopper of a dessert that feels both impressive and deeply unpretentious, making it the perfect centerpiece for a dessert-themed food board.
Ingredients
- 1 pre-baked 9-inch pie crust
- 1 ½ quarts fresh strawberries, hulled
- 1 cup sugar
- 3 tablespoons cornstarch
- 1 cup water
- 3 oz box of strawberry flavored gelatin (Jello)
- Whipped cream for topping
How to make it
- Start with a fully baked and cooled pie crust. It must be completely cold to prevent the bottom from becoming soggy once the glaze is added.
- In a saucepan, whisk together the sugar and cornstarch. Slowly stir in the water until the mixture is smooth and lump-free.
- Cook over medium heat, stirring constantly, until the mixture thickens and becomes clear. This usually takes about 5-8 minutes of steady simmering.
- Remove the pan from the heat and stir in the dry strawberry gelatin powder. Stir until it is completely dissolved and the color is a vibrant, deep red. Let the glaze cool to room temperature but do not let it set.
- Arrange the whole strawberries, point-side up, in the baked pie crust. Pack them tightly together to create that iconic ‘mountain’ look.
- Pour the cooled glaze evenly over the strawberries, ensuring every berry is coated. Refrigerate the pie for at least 3-4 hours until the glaze is firm and set.
How to Make Cheesy Dip
[IMAGE_10]
Why we love this
A warm, bubbling cheesy dip is the ultimate comfort food that anchors a viral snack board with its gooey, golden allure. There is something hypnotic about the way the cheese stretches as you pull a chip or piece of bread away from the bowl. The aroma is rich and savory, often spiked with garlic, herbs, or a hint of smokiness from bacon or paprika. It’s a tactile, messy, and wonderful eating experience that invites everyone to dig in and enjoy the simple pleasure of melted cheese in its most decadent form.
Ingredients
- 8 oz cream cheese, softened
- 1 cup sour cream
- 2 cups shredded sharp cheddar cheese
- 1 cup shredded mozzarella (for the pull)
- 2 cloves garlic, minced
- ¼ cup chopped green onions
- ½ teaspoon smoked paprika
How to make it
- Preheat your oven to 375°F (190°C). In a large bowl, beat the softened cream cheese and sour cream together until the mixture is smooth and aerated.
- Stir in the garlic, smoked paprika, and half of the green onions. These aromatics will permeate the cheese as it melts in the oven.
- Fold in 1 ½ cups of the cheddar cheese and all of the mozzarella. Mixing the cheeses ensures that every bite has both the sharp flavor of cheddar and the elastic texture of mozzarella.
- Transfer the mixture to a small baking dish or a cast-iron skillet. Smooth the top with a spatula.
- Sprinkle the remaining cheddar cheese over the top. This creates a beautiful golden crust as it bakes.
- Bake for 20-25 minutes until the dip is bubbling around the edges and the top is starting to brown. For a truly viral look, turn on the broiler for the last 2 minutes to get those dark, toasted cheese spots.
Wrapping Up Your Food Board Journey
Creating a viral food board is less about perfection and more about the love you put into the preparation. From the nostalgic sweetness of a Shoney’s-style pie to the smoky char of perfectly grilled vegetables, these ideas offer something for every palate. Remember that the best boards are those that encourage people to linger, talk, and try something new. So grab your biggest platter, pick a few of these recipes, and start building a meal that your friends and family will be talking about for weeks to come!
Frequently Asked Questions
How do I keep my food board looking fresh?
The key is to prep your ingredients but assemble them as close to serving time as possible. For fruits and vegetables that oxidize (like apples), a quick dip in lemon water helps. For hot dips, use a small slow cooker or a cast-iron skillet that retains heat well.
Can I make these recipes ahead of time?
Most of these components can be prepped in advance. You can bake the pie crust, chop the vegetables, and mix the dip bases a day early. However, wait to assemble the final board until you are ready to eat to maintain the best textures.
What is the best board to use for serving?
Wooden boards are classic and beautiful, but marble or slate are excellent for keeping cheeses and fruits cool. If you are serving something messy like Rotel dip, ensure you have a sturdy bowl in the center of the board to contain the liquid.