
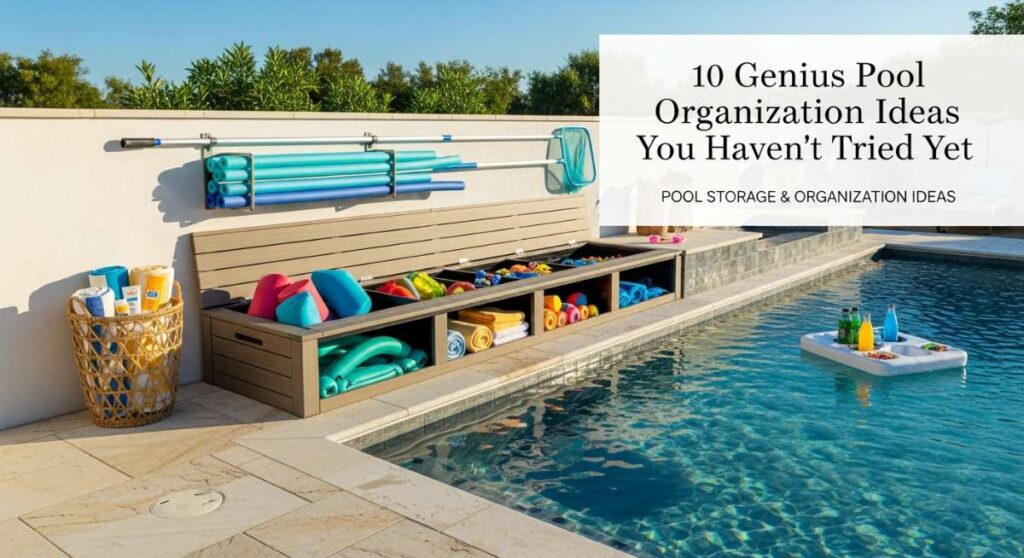
There is nothing quite like that first splash into a crystal-clear pool on a sweltering July afternoon, the sun warming your shoulders while the cool water invites you to leave your worries behind. But let’s be real for a moment: that Pinterest-perfect summer dream often turns into a chaotic reality of soggy towels draped over patio chairs, giant inflatable unicorns taking over the grass, and a treacherous obstacle course of goggles and dive rings underfoot. It’s hard to find your Zen when you’re tripping over a noodle every time you try to reach your iced tea.
I’ve spent years trying to tame the backyard beast, and I’ve finally realized that a truly relaxing pool day doesn’t start with the water—it starts with the organization. When everything has a dedicated home, your deck transforms from a cluttered storage unit into a high-end resort oasis. You deserve a space that feels like a getaway, and today I’m sharing the secret sauce to making that happen with these ten game-changing organization hacks.
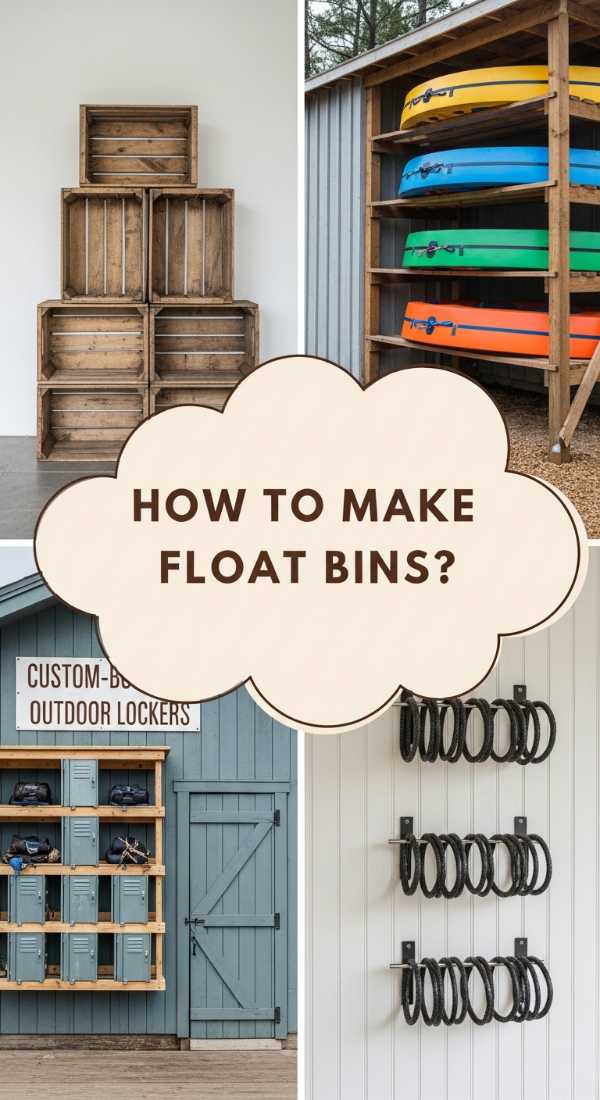
How to Build Custom Pool Float Storage for a Tidy Backyard
Why we love this
There is a profound sense of relief that comes when those giant, awkward inflatables are finally corralled into a dedicated home. Imagine walking out to your pool deck and seeing your colorful swans and oversized pizza slices neatly upright, catching the golden hour light rather than scattered like debris across the lawn. The smell of fresh cedar or the clean lines of white PVC against the emerald green of your grass creates an architectural focal point that feels intentional and sophisticated. It turns a messy necessity into a curated display that signals summer has truly arrived in style.
Essential Elements:
- PVC Pipes or Cedar Lumbar boards
- Heavy-duty mesh fabric or bungee cords
- Outdoor-rated wood screws or PVC cement
- Electric drill and circular saw
- Locking caster wheels for easy mobility
How to make it
- Start by measuring your largest floats; you want the frame to be at least 4 feet wide and 3 feet deep to prevent tipping. Use a circular saw to cut your base pieces, ensuring all cuts are perfectly square for maximum stability.
- Assemble the base frame using your screws or cement, then attach vertical support posts at each corner, rising roughly 4 feet high. This creates the skeleton of your bin which will support the weight of the inflatables.
- For the side panels, stretch heavy-duty mesh fabric tightly across the frame or drill holes every 6 inches to thread bungee cords horizontally. This allows for airflow, preventing that dreaded stagnant water smell and mildew growth.
- Sand every edge of the wood or PVC until it is buttery smooth to the touch, ensuring no sharp burrs can puncture your expensive floats. If using wood, apply a high-quality outdoor sealant to protect against UV rays.
- Finish by attaching the locking caster wheels to the bottom four corners. This allows you to roll the entire unit into the garage or shed when a storm hits or when the season ends, keeping your deck pristine.
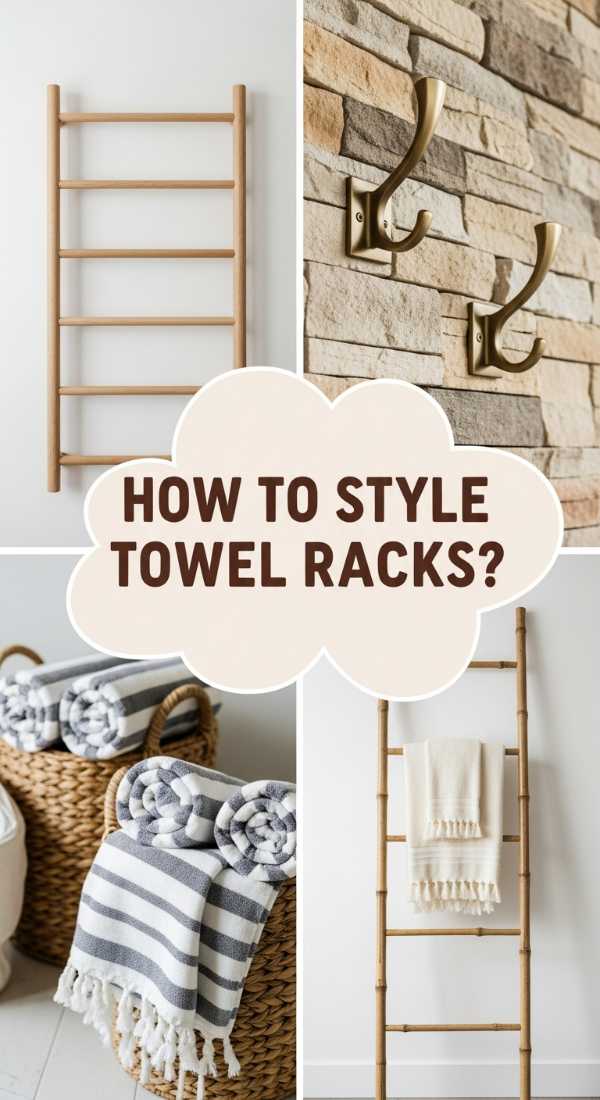
How to Design a Chic Pool Towel Rack for Maximum Convenience
Why we love this
Nothing ruins the aesthetic of a beautiful patio faster than soggy towels draped over a fence. This chic towel rack brings the luxury of a boutique hotel right to your backyard, offering a dedicated space for those plush linens to dry in the breeze. The sight of organized, hanging fabrics dancing slightly in the wind creates a soft, tactile texture that balances the hard surfaces of the pool deck. It evokes the feeling of a spa retreat, where convenience meets high-end design, making your post-swim transition seamless and stylish.
Essential Elements:
- Large vertical wooden board (reclaimed or pressure-treated)
- Heavy-duty decorative coat hooks (matte black or brass)
- Stain or exterior paint
- Level and measuring tape
- Wall anchors or heavy-duty mounting brackets
How to make it
- Select a high-quality wood plank and sand it down starting with 80-grit sandpaper and finishing with 220-grit for a professional, splinter-free finish. This provides the foundation for your “towel station” aesthetic.
- Apply a coat of weather-resistant stain—I love a deep walnut or a crisp driftwood grey—and allow it to cure for at least 24 hours until it no longer feels tacky to the touch.
- Use your level and measuring tape to mark exactly where each hook will go, spacing them at least 10 inches apart so that thick, wet towels have plenty of room to breathe and dry efficiently.
- Pre-drill pilot holes for each hook to prevent the wood from splitting, then secure the hardware tightly. Opt for hooks with a wide curve so towels don’t slip off when the wind picks up.
- Mount the rack to an exterior wall or fence using heavy-duty anchors. Test the weight capacity by pulling down firmly; it needs to withstand the weight of multiple water-logged towels without budging.
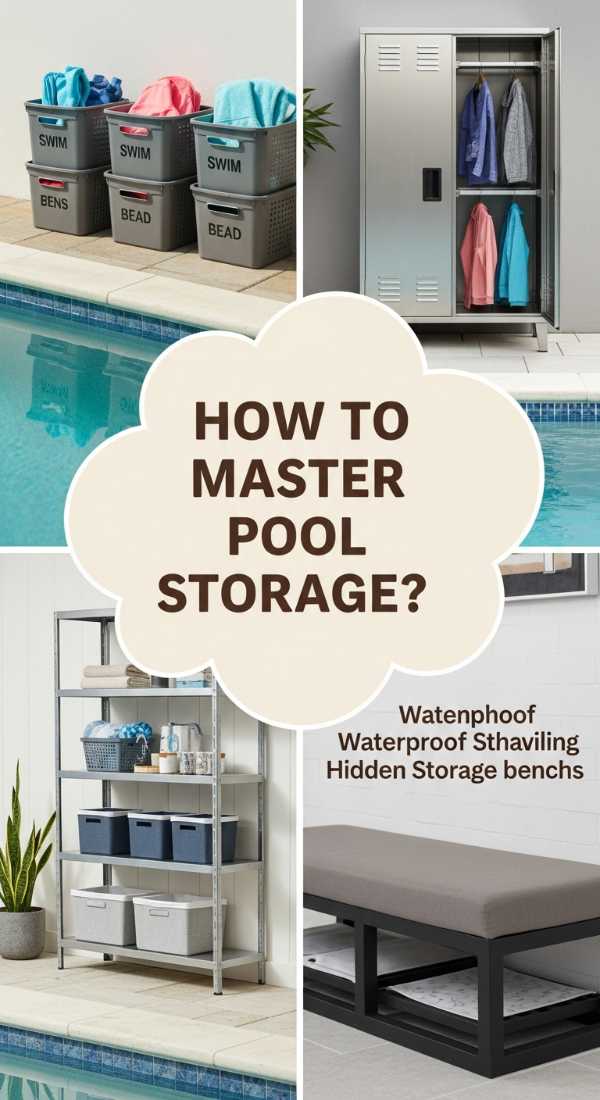
How to Organize Every Pool Accessory for Stress Free Summer Days
Why we love this
The mental clarity of knowing exactly where the sunscreen, the goggles, and the dive sticks are is absolutely priceless. We love this approach because it eliminates the frantic “Mom, where’s my mask?” search that usually precedes every swim. There is a satisfying, sensory joy in seeing clear bins lined up, filled with colorful toys that look like gems in the sunlight. It creates a ritual of organization that makes the end of the day just as pleasant as the beginning, ensuring your deck remains a sanctuary of calm.
Essential Elements:
- Clear plastic stackable bins with drainage holes
- Waterproof vinyl labels
- A multi-tier outdoor utility cart
- Small mesh bags for tiny toys
- Command hooks for goggles
How to make it
- Begin by sorting all pool toys by category: diving toys, goggles, sun protection, and cleaning supplies. This inventory check is the most critical phase for long-term success.
- Take your clear bins and use a small drill bit to create 5-10 drainage holes in the bottom of each one. This is a crucial professional tip: it allows water to escape so your toys don’t sit in a puddle of chlorine water.
- Apply waterproof vinyl labels to the front of each bin. Visual cues like “GOGGLES” or “SUNCARE” make it easy for children to participate in the cleanup process.
- Place the bins onto your utility cart, putting the heaviest items on the bottom shelf for a low center of gravity. This ensures the cart won’t tip over when being moved across the uneven patio stones.
- Hang small mesh bags on the side of the cart for items that need extra airflow, like sponge balls or wet dive rings. This system keeps everything visible, accessible, and perfectly dry.
How to Create DIY Pool Float Storage for an Organized Oasis
Why we love this
This DIY solution is all about reclaiming your floor space and creating an airy, open feel on your patio. By utilizing vertical space with a minimalist storage system, you allow the natural beauty of your landscaping to take center stage. There’s something so satisfying about seeing floats tucked away neatly against a wall—it feels like the backyard has finally taken a deep breath. The breeze can flow freely, the sun can hit the tiles, and the visual weight of those large inflatables simply disappears into the background.
Essential Elements:
- Heavy-duty elastic bungee cords
- Large eye-bolt screws
- A sturdy fence or wall surface
- Tape measure and pencil
How to make it
- Identify a hidden or secondary wall area, such as the side of a shed or a sturdy fence section, that is out of the direct line of sight from the main lounging area.
- Measure the height of your tallest floats and mark two horizontal lines on your wall: one about 12 inches from the ground and another about 3 feet above it.
- Screw your eye-bolts into the wall at 2-foot intervals along these lines. Ensure they are driven deep into the studs or solid wood to prevent them from pulling out under tension.
- Thread your bungee cords vertically or in a crisscross pattern between the top and bottom eye-bolts. The tension should be firm but flexible enough to pull back and slide a float behind.
- Slide your floats behind the cords. The pressure of the elastic holds them securely against the wall, even in high winds, while keeping them thin and out of the way.
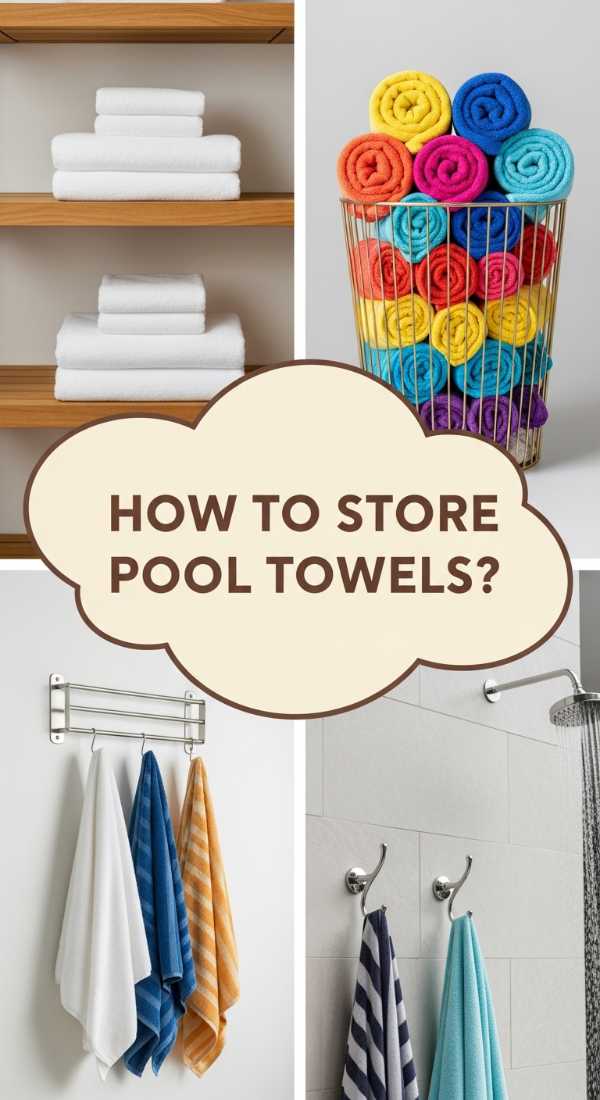
How to Style Fresh Pool Towels for a Resort Style Vibe
Why we love this
The aesthetic of a pile of perfectly rolled, fluffy towels is the ultimate signal of luxury. We love this styling technique because it transforms a basic utility item into a decorative element that wouldn’t look out of place at a 5-star Mediterranean resort. The soft texture of the terry cloth, the vibrant stripes, and the neat symmetry of the arrangement provide a visual softness that makes guests feel instantly pampered. It turns the simple act of grabbing a towel into an experience of comfort and intentionality.
Essential Elements:
- High-quality, extra-large cotton pool towels
- Large wicker or seagrass baskets
- A small side table or dedicated shelving unit
- Lavender or citrus linen spray (optional)
How to make it
- Wash your towels with a cup of white vinegar instead of fabric softener to strip away chemical buildup, resulting in towels that are incredibly absorbent and stand up taller when rolled.
- To achieve the “resort roll,” fold the towel in half lengthwise, then take one corner and fold it down to create a point. Fold the entire towel in half again lengthwise.
- Starting from the flat end, roll the towel tightly toward the pointed end. Once finished, tuck the point into the roll to secure it. This creates a tight, uniform cylinder that won’t unravel.
- Place your baskets near the most frequent exit point of the pool. Line the bottom of the basket with a moisture-wicking liner to protect the wicker from any residual dampness.
- Stack the towel rolls horizontally in the basket with the tucked ends facing down. For an extra touch of luxury, lightly mist the towels with a citrus linen spray to provide a refreshing aroma when guests dry off.
How to Master Pool Organization for a Clutter Free Deck
Why we love this
Zoning your deck is the master key to a peaceful summer. This approach works because it treats your outdoor space with the same respect as your indoor living room. When you designate a “wet zone” for swimming and a “dry zone” for lounging, the entire flow of your backyard improves. The air feels clearer, the pathways are open, and the transition from sunbathing to swimming feels effortless. It’s about creating a harmonious environment where activities don’t bleed into one another, allowing for true relaxation.
Essential Elements:
- Outdoor area rugs to define zones
- Consistent color palette for all storage containers
- A large trunk or deck box
- Strategically placed side tables
How to make it
- Divide your deck into three specific functional zones: The Splash Zone (near the ladder), The Lounge Zone (sunbeds), and The Dining Zone. Use outdoor rugs to visually anchor these spaces.
- Place a large, weather-tight deck box in the Splash Zone. This is the “catch-all” for everything that comes out of the water, keeping wet items concentrated in one area.
- Ensure every sitting area has a small side table with a lip. This prevents drinks from spilling and provides a designated spot for sunglasses and phones, keeping them off the floor.
- Use a consistent color for all your bins and furniture. A monochromatic look (all white, all navy, or all wood) reduces visual noise, making the space feel twice as organized as it actually is.
- Perform a “5-minute sweep” at the end of every pool session. Because every item now has a designated zone, this quick reset keeps the clutter from ever reaching a breaking point.
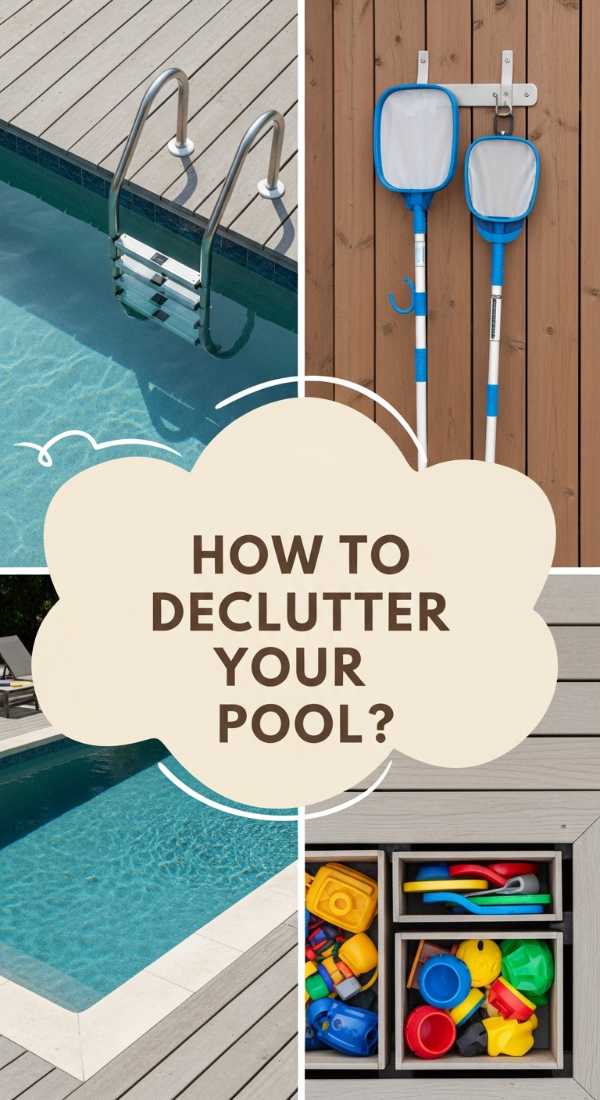
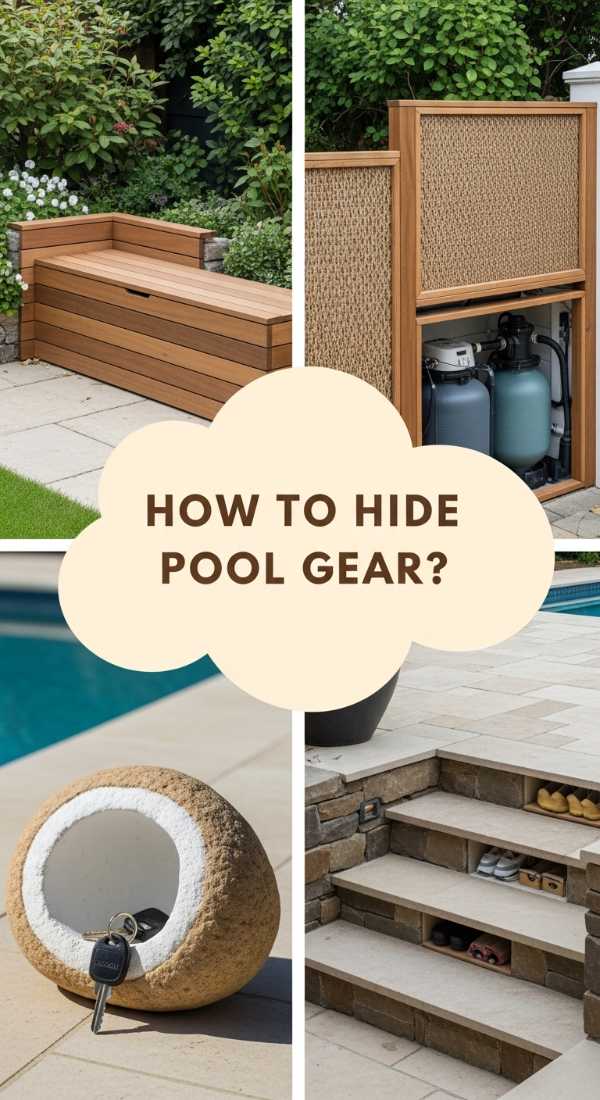
How to Find Hidden Pool Storage Space for a Sleek Patio
Why we love this
There is something almost magical about storage that you can’t see. We love hidden storage because it maintains the sleek, minimalist lines of a modern patio while still providing ample room for all the summer essentials. It feels like a secret garden trick—one moment you’re sitting on a beautiful wooden bench, and the next, you’re revealing a hidden cache of pool chemicals and cleaning supplies. It maximizes every square inch of your property, making even the smallest decks feel expansive and high-end.
Essential Elements:
- Hinged storage benches
- Under-deck drawer systems (if applicable)
- Hollow decorative faux rocks
- Custom-built cabinetry or outdoor kitchen units
How to make it
- Replace standard patio seating with hinged storage benches. Look for models with an internal waterproof liner to ensure cushions or chemicals stay dry through summer thunderstorms.
- Utilize the “dead space” under your deck if it is raised. Install a sliding drawer system on heavy-duty tracks to store long items like pool skimmer poles and vacuum hoses out of sight.
- Use hollowed-out “faux rocks” to hide unsightly pool pumps or utility valves. This integrates the mechanical side of pool ownership into your landscaping.
- Install a vertical “wall cabinet” painted the same color as your house. When closed, it looks like a decorative shutter; when open, it reveals shelves for sunscreen and goggles.
- Check for visual cues of clutter. If a pump or filter is visible, use a small cedar lattice screen to hide it. This keeps the focus on the water and the view, not the maintenance.
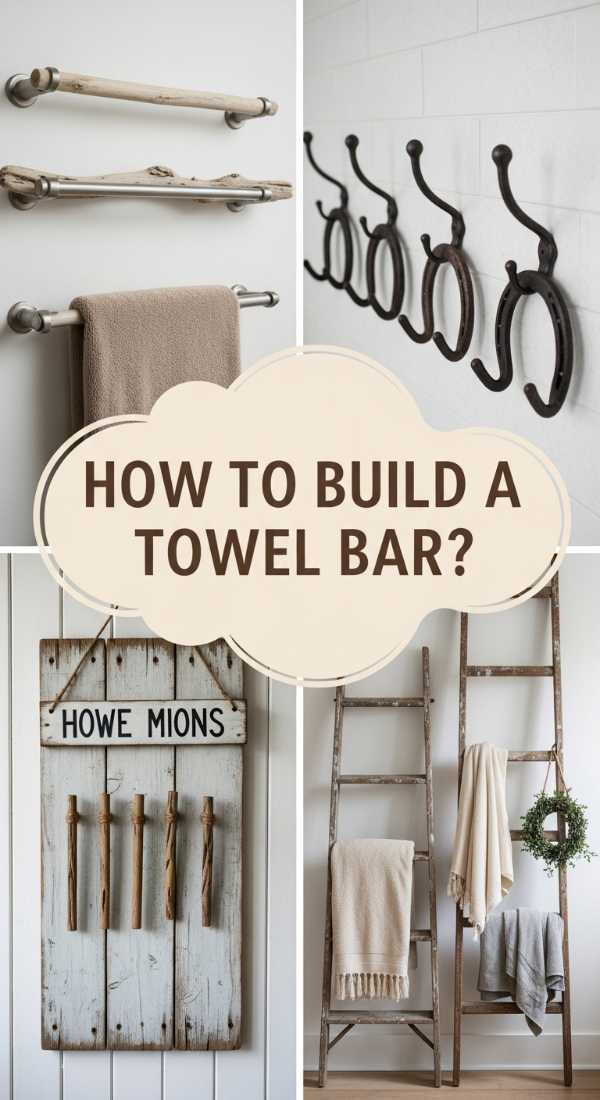
How to Craft a Rustic Pool Towel Station for Cozy Swims
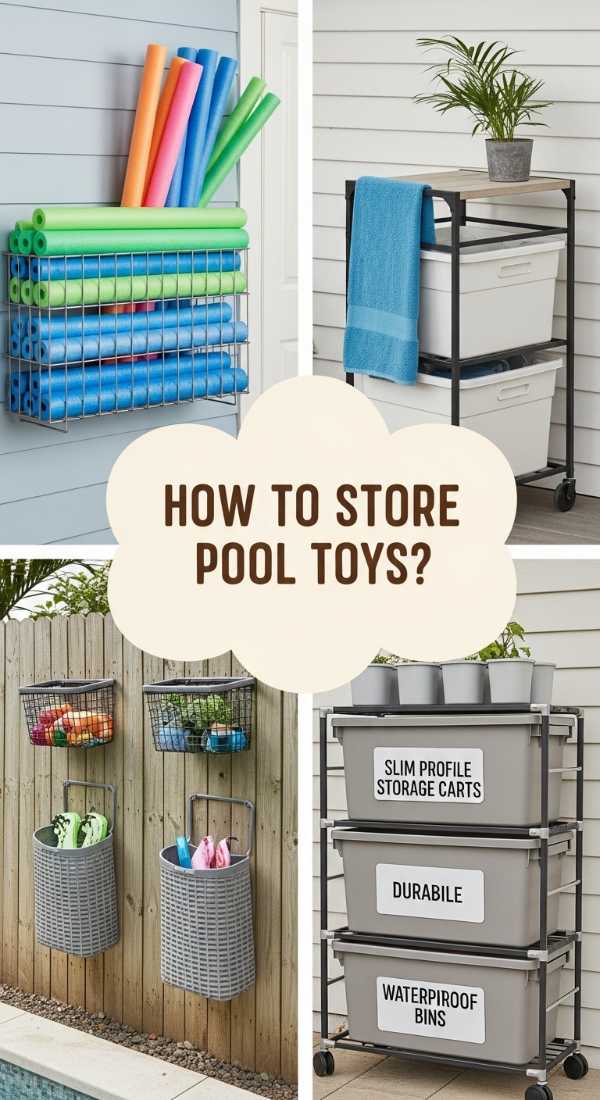
Why we love this
The rustic aesthetic brings a grounded, earthy warmth to the often-sterile environment of tile and concrete. We love this towel station because it feels personal and handcrafted, like something you’d find at a cozy lake house. The texture of weathered wood combined with the weight of cast iron hardware provides a beautiful sensory contrast to the shimmering blue of the pool. It’s a design choice that invites people to relax, get comfortable, and stay for one more sunset swim.
Essential Elements:
- An old wooden ladder or reclaimed pallet wood
- Wire milk crates or galvanized buckets
- Sanding block and outdoor-grade matte sealant
- Rope or twine for decorative accents
How to make it
- Find a vintage wooden ladder. Check the structural integrity by ensuring the rungs are still securely fastened to the side rails. Sand down any rough spots to protect your towels.
- Lean the ladder against a wall at a slight angle. This creates a vertical towel drying rack that takes up minimal floor space while adding a beautiful farmhouse vibe.
- Attach galvanized metal buckets to the lower rungs using heavy-duty twine or zip ties. These buckets are perfect for holding rolled-up dry towels or small pool toys.
- Apply a matte exterior sealant. Unlike gloss, a matte finish preserves the “raw” look of the wood while providing a barrier against moisture and sun damage.
- Place a small chalkboard sign next to the ladder with a friendly message like “Grab a Towel!” This adds a human, welcoming touch that makes guests feel immediately at home.
How to Optimize Small Pool Areas for Perfect Summer Hosting
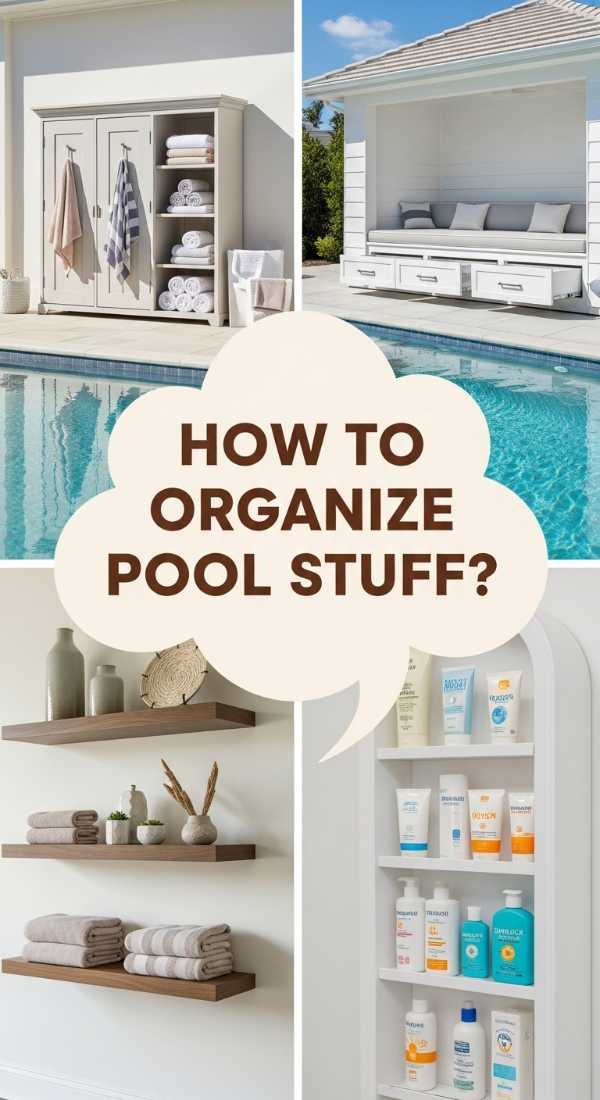
Why we love this
Small spaces often feel more intimate and curated when handled correctly. We love the challenge of optimizing a tiny pool area because it forces you to choose quality over quantity. Every item must be functional and beautiful. By going vertical and using multi-purpose furniture, you create a “jewelry box” effect—a space that is small but perfectly formed, sparkling, and incredibly efficient for hosting memorable summer nights.
Essential Elements:
- Vertical wall-mounted shelving
- Folding furniture that can be tucked away
- Over-the-door organizers for pool fences
- Compact, rolling bar carts
How to make it
- Install floating shelves on the fence or exterior wall. Use these for “eye-level storage,” keeping items like speakers and drinks off the limited floor space.
- Swap large fixed chairs for high-quality folding loungers. When not in use, these can be hung on large hooks on the wall, completely clearing the deck for a standing cocktail party.
- Use a “vertical pocket organizer” (designed for shoes) on the back of a gate or fence. The clear pockets are perfect for sunscreens, sunglasses, and snacks, keeping them organized without using a single inch of floor space.
- Choose a narrow, tiered rolling cart instead of a stationary table. This can act as a towel station, a drink station, or a toy bin, and can be moved around as the sun shifts throughout the day.
- Utilize corner spaces. Most people ignore corners, but a triangular corner bench or shelf can provide significant storage while keeping the central path to the pool clear.
How to Achieve the Ultimate Organized Pool Deck for Relaxation
[IMAGE_10]
Why we love this
The ultimate organized deck is the holy grail of summer living. We love this because it’s the culmination of all the small efforts—the labels, the racks, the hidden bins—coming together to create a space that breathes. When you reach this level of organization, the “work” of owning a pool disappears. You aren’t managing a mess; you are enjoying a lifestyle. The air feels lighter, the water looks bluer, and you can finally close your eyes and listen to the birds instead of wondering where you left the skimmer.
Essential Elements:
- A comprehensive seasonal maintenance plan
- High-quality, UV-resistant storage units
- Regular decluttering rituals
- Ambient lighting to highlight organized areas
How to make it
- Perform a “end of week” reset. Take 15 minutes every Sunday evening to ensure everything has returned to its designated zone, preventing the “clutter creep” that happens over a busy weekend.
- Invest in high-end storage containers that are specifically rated for high-UV exposure. Cheap plastic will crack and yellow, ruining the organized aesthetic within a single season.
- Group your items by “frequency of use.” Items you use daily (sunscreen, towels) should be in the most accessible spots, while weekly maintenance items (pool chemicals) should be tucked into hidden storage.
- Install soft LED path lighting or string lights above your storage areas. This makes it easy to put things away during evening swims and ensures the organization remains functional after dark.
- Celebrate your success. Sit in your favorite chair, look at your tidy, resort-style deck, and acknowledge that the work you put in is what allows you to truly relax.
A Summer of Serenity
Organizing your pool area isn’t just about tidying up—it’s about reclaiming your time and your peace of mind. When you implement these genius storage ideas, you’re not just moving things around; you’re designing an experience. You’re ensuring that the next time the sun hits that high-noon heat, you won’t be searching for a towel or tripping over a float. You’ll be exactly where you belong: floating in the water, completely at ease in your own private oasis. Cheers to a clutter-free, sun-soaked summer!