
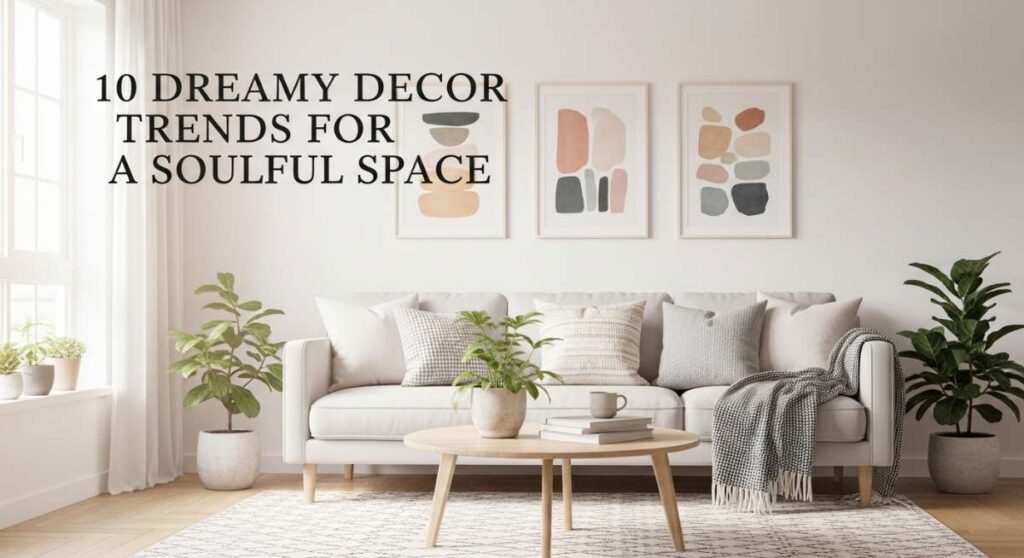
Have you ever walked into a room and felt an immediate sense of ‘home’—not just a place to sit, but a space that breathes with your own rhythm? There is a quiet magic in the way we curate our surroundings, a soulful dialogue between the objects we choose and the peace they bring to our busy minds. In our fast-paced world, turning our living spaces into sanctuaries isn’t just a hobby; it’s an act of self-care that honors our need for rest and beauty.
Today, we are diving deep into the softest, most transformative element of home decor: the humble throw pillow. These plush accents are the secret language of interior design, capable of shifting the mood of a room from cold and sterile to warm and inviting with just a single toss. Join me as we explore how to layer, sew, and style your way to a home that feels like a warm hug at the end of a long day.
How to Curate Chic Throw Pillow Combinations for an Elegant Living Room
Why we love this
There is something undeniably sophisticated about a perfectly balanced sofa that whispers of luxury without trying too hard. We love this approach because it mixes rich, tactile textures like heavy Belgian linen with the soft, reflective sheen of silk or velvet, creating a sensory playground for your fingertips. Imagine sinking into a corner where every pillow feels intentional—the scent of a nearby soy candle mingling with the crisp, clean feel of high-end fabrics. It’s about creating a visual melody where muted tones and bold textures harmonize to elevate your daily lounging into a five-star experience.
Essential Elements:
- Two large 22-inch solid velvet pillows in a grounding neutral.
- Two 20-inch patterned pillows in a complementary tone-on-tone print.
- One 12×24 inch lumbar pillow in a high-texture fabric like boucle.
- High-quality down or down-alternative inserts for that ‘karate chop’ look.
How to make it
- Start by placing your largest 22-inch pillows in the far corners of the sofa. These act as your anchor; ensure they are pushed firmly into the crevice between the arm and the backrest.
- Layer the 20-inch patterned pillows directly in front of the anchors, slightly overlapping them toward the center. This creates depth and introduces your secondary color palette.
- Place your lumbar pillow in the dead center or slightly off-center for an asymmetrical look. The lumbar should bridge the gap between the two sides, drawing the eye across the arrangement.
- Perform the ‘karate chop’: Use the side of your hand to firmly strike the top center of each pillow. This creates a soft indentation that signals the pillows are plush and ready for relaxing.
- Step back and check for balance; if one side looks ‘heavier,’ swap a patterned pillow for a solid to redistribute the visual weight until it feels effortlessly symmetrical.
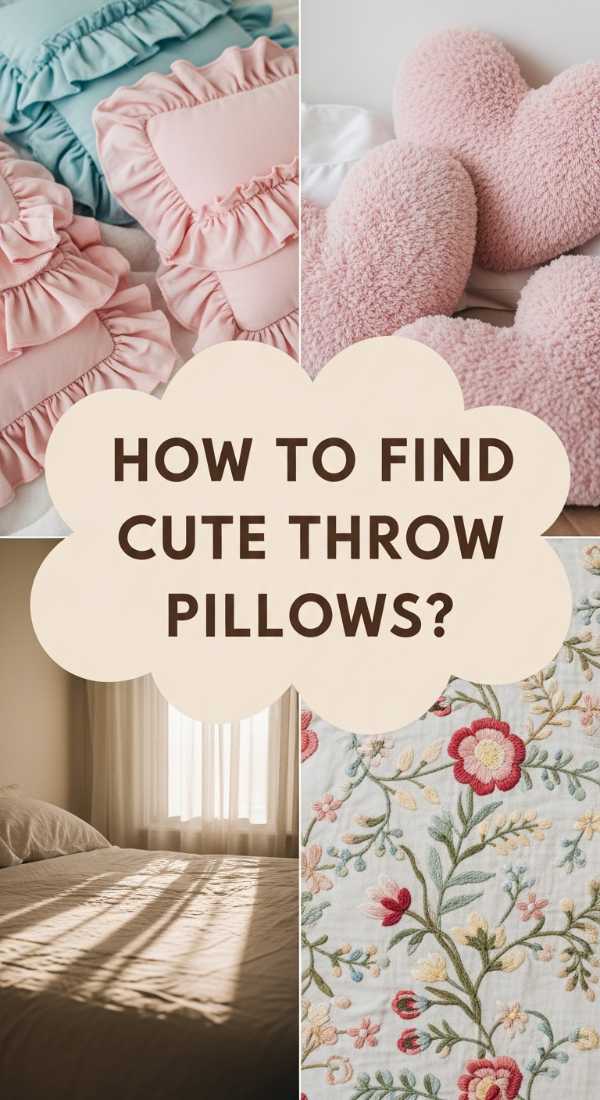
How to Find Cute Throw Pillows for a Whimsical Guest Space
Why we love this
A guest room should feel like a delightful surprise, a place where whimsy and comfort collide to make your visitors feel truly special. We adore using playful pillows with scalloped edges, delicate floral embroidery, or unexpected pom-pom trims because they spark joy and evoke a sense of childhood wonder. Picture your guest opening the door to see a bed adorned with soft pastels and quirky shapes that smell faintly of fresh lavender sachets. It’s an inviting, tactile environment that encourages your loved ones to kick off their shoes, forget their travels, and sink into a dreamscape of soft cotton and charming details.
Essential Elements:
- Round or heart-shaped accent pillows.
- Pillows with organic textures like ruffled edges or eyelet lace.
- A color palette of soft sage, dusty rose, and buttercream.
- Whimsical motifs like botanical sketches or embroidered birds.
How to make it
- Begin by identifying a ‘hero’ pillow that features a whimsical print or a unique shape, such as a circular velvet cushion, to serve as your focal point.
- Source coordinating pillows by looking for ‘sister’ fabrics—materials that share at least one color with your hero pillow but vary in scale (e.g., a tiny floral paired with a large stripe).
- Check the ‘hand-feel’ of the fabric; for a whimsical space, prioritize soft materials like brushed cotton or linen-mixes that feel gentle against the skin.
- Arrange the pillows in a relaxed, non-linear cluster rather than a stiff row. Lean a smaller heart-shaped pillow against a larger square one at a slight angle to keep the vibe casual and inviting.
- Incorporate a ‘surprise’ element, like a pillow with a hidden quote embroidered on the back or a vintage button closure, to add a layer of discovery for your guests.
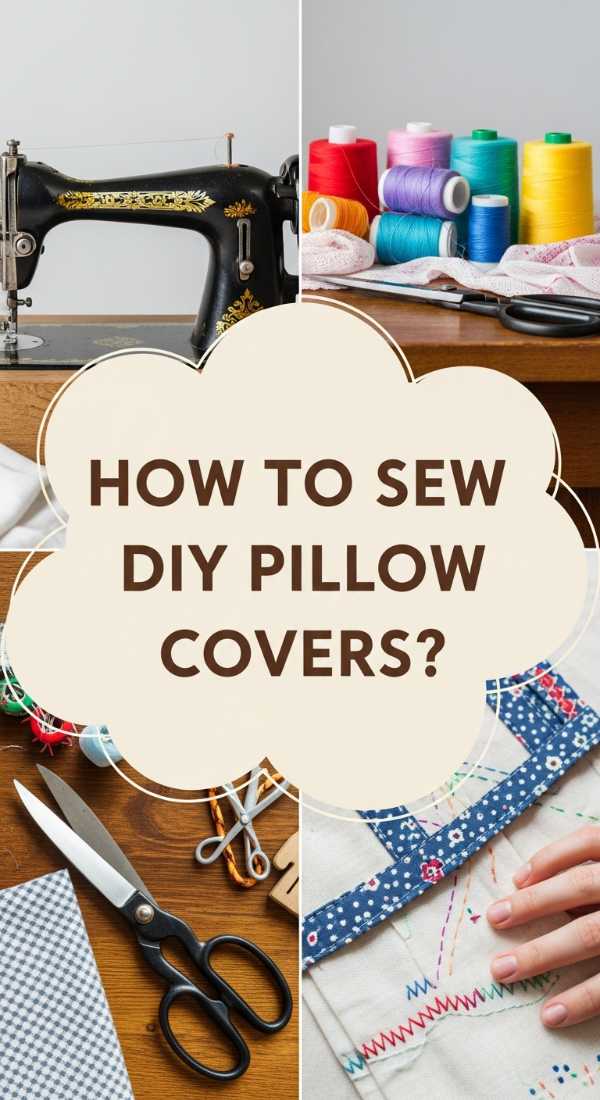
How to Sew Custom DIY Pillow Covers for a Personal Touch

Why we love this
There is a profound satisfaction in running your hand over a pillow and knowing you stitched every seam yourself. DIY covers allow you to break free from the limitations of big-box stores and choose fabrics that speak directly to your soul—perhaps a heavy-weight denim for durability or a vintage floral found at a thrift shop. The process of sewing is rhythmic and meditative, the hum of the machine a background track to your creativity. When you finish, you have a bespoke piece of art that fits your insert perfectly, smelling of crisp fabric starch and the pride of craftsmanship.
Essential Elements:
- 1/2 yard of your chosen fabric (linen, cotton, or upholstery weight).
- Matching all-purpose polyester thread.
- A sewing machine with a universal needle.
- Fabric shears, pins, and a measuring tape.
- A standard pillow insert (18×18 is a great starting size).
How to make it
- Measure your pillow insert and add one inch to both the width and height for your ‘cut size’ (e.g., for an 18-inch insert, cut two 19-inch squares). This ensures a snug, professional fit.
- Place the two fabric squares together with the ‘right sides’ (the pretty sides) facing each other, aligning all four edges perfectly.
- Pin three sides of the square together, placing pins every 3 inches to prevent the fabric from shifting during the sewing process.
- Sew a straight stitch along the three pinned sides using a 1/2-inch seam allowance. Be sure to backstitch at the beginning and end of each side to secure the thread.
- On the fourth side, sew only 2 inches in from each corner, leaving a large opening in the middle. Turn the cover right-side out through this gap, stuff the insert inside, and hand-sew the remaining opening shut using a ‘ladder stitch’ for an invisible finish.
How to Layer Decorative Pillows on Bed for Maximum Comfort
Why we love this
The bed is the altar of the home, and layering pillows is how we prepare it for the ritual of rest. We love this trend because it transforms a flat mattress into a cloud-like retreat that visually promises a deep, restorative slumber. The sight of plush Euro shams standing tall against a headboard, followed by layers of textured squares and a final, supportive lumbar, creates a sense of abundance. It feels like a boutique hotel, where the sheets are cool, the pillows are perfectly plump, and the world outside simply ceases to exist once you climb under the covers.
Essential Elements:
- Two or three 26×26 Euro shams (depending on bed size).
- Two standard sleeping pillows with high-quality cases.
- Two 20-inch decorative square pillows.
- One extra-long lumbar pillow (approx. 12×36 inches).
How to make it
- Prop your Euro shams against the headboard first. These provide the height and structure needed to make the bed look professionally styled and offer great back support for reading.
- Place your standard sleeping pillows flat or slightly propped in front of the Euro shams. If your pillowcases have a decorative ‘flange’ or border, ensure it is smoothed out flat.
- Add your 20-inch decorative squares in front of the sleeping pillows. Choose a fabric with a contrasting texture, like a chunky knit or a heavy linen, to create visual interest.
- Finish with the long lumbar pillow centered in front of the entire arrangement. This ‘grounds’ the look and hides the gaps between the pillows behind it.
- Smooth out any wrinkles in the fabric with your palms, moving from the center of the pillow toward the edges, to ensure a crisp, clean appearance that looks magazine-ready.
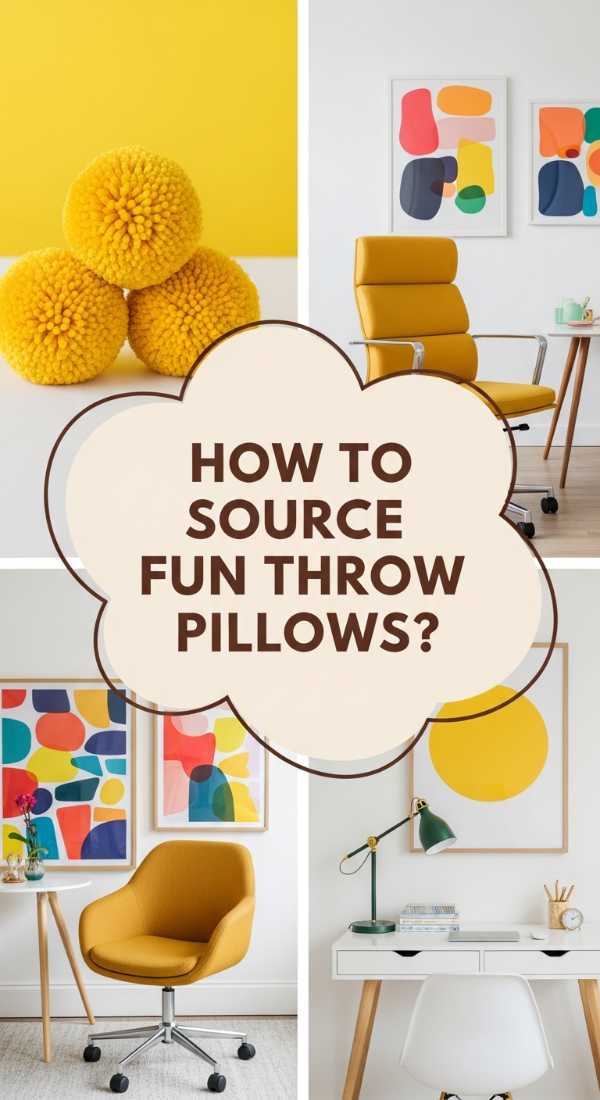
How to Source Fun Throw Pillows for an Energetic Home Office
Why we love this
Your workspace should be an engine for inspiration, and ‘fun’ pillows are the fuel that keeps the creative gears turning. We love incorporating vibrant colors and bold, graphic patterns here because they stimulate the brain and provide a much-needed break from the monotony of a computer screen. Imagine leaning back against a bright citrus-colored cushion or a funky geometric print that feels firm and supportive against your lower back. These pillows don’t just look good; they inject a sense of personality and ‘life’ into a space often relegated to utilitarian boredom, making the 9-to-5 feel like a creative adventure.
Essential Elements:
- Firm inserts (synthetic down is best for back support).
- Durable fabrics like canvas or outdoor-rated polyester.
- Bright, saturated colors (cobalt blue, tangerine, or emerald).
- Motivational or abstract prints.
How to make it
- Identify the ‘energy gap’ in your office; if the room is mostly gray or white, search for pillows in a primary color like yellow or red to create a high-contrast focal point.
- Look for ‘firmness’ when sourcing. For an office chair, you need a pillow that won’t flatten instantly. Check the fill weight of the insert—aim for at least 20-22 ounces for an 18-inch pillow.
- Select a fabric that is easy to clean. Since you’ll be using this pillow daily, choose a ‘performance’ fabric or a heavy canvas that can withstand the friction of your back moving against it.
- Incorporate a ‘productivity pattern’—stripes suggest order and focus, while abstract swirls can encourage ‘out of the box’ thinking. Choose the one that matches your work style.
- Place the pillow at the base of your chair’s backrest to serve as a lumbar support, or toss a pair on a nearby accent chair to create a cozy ‘brainstorming’ nook for coffee breaks.
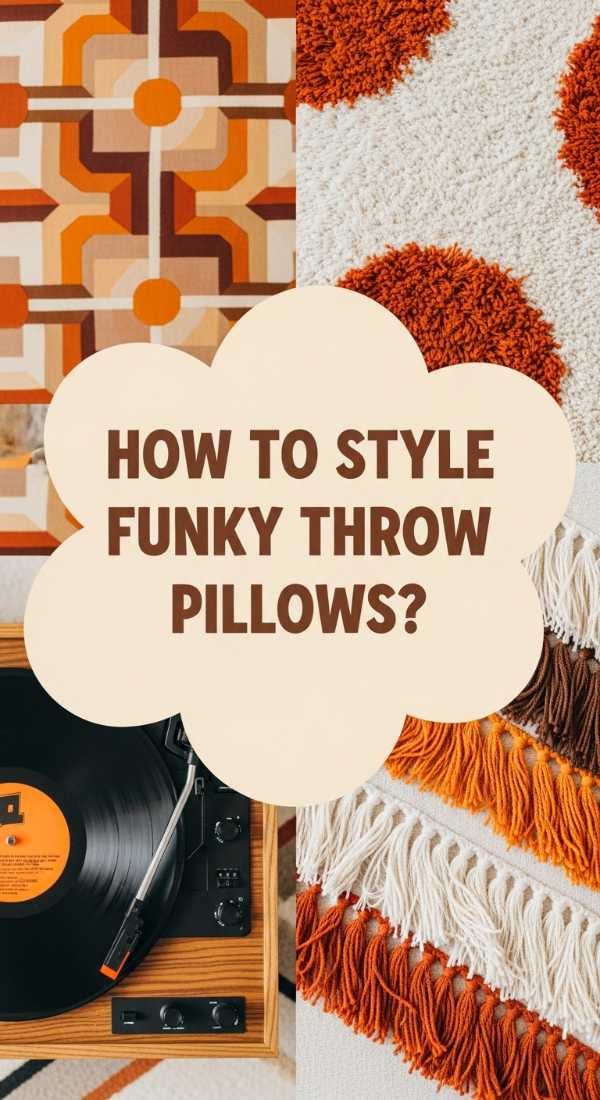
How to Style Funky Throw Pillows for a Retro Aesthetic
Why we love this
Retro styling is all about nostalgia, warmth, and a fearless approach to color. We love this look because it brings the best of the 60s and 70s—think shaggy faux fur, burnt orange velvets, and groovy mustard yellows—into the modern home. It feels like a tribute to a time when design was bold and homes were built for conversation. The texture is the star here; the tactile sensation of a long-pile shag pillow or the ribbed feel of corduroy creates an atmosphere that is unapologetically cozy and full of character, perfect for a vinyl-spinning evening with friends.
Essential Elements:
- Faux fur or high-pile shag fabrics.
- Corduroy or ribbed velvet materials.
- A color palette of avocado green, burnt orange, and mustard.
- Geometric or ‘psychedelic’ prints.
How to make it
- Start with a ‘base’ of corduroy pillows in a deep, earthy tone like rust or chocolate brown to establish the vintage color story.
- Introduce a ‘statement’ texture, such as a white or cream shag pillow. Place this in the center of the grouping to add that iconic 70s contrast against the darker, smoother fabrics.
- Mix shapes aggressively. Retro design thrives on variety, so pair a large square pillow with a smaller round ‘sunburst’ pleated cushion for a truly authentic period feel.
- Keep the arrangement loose. Retro styling shouldn’t feel too ‘perfect.’ Lean pillows at slightly different angles and don’t worry about perfect symmetry; the goal is a lived-in, groovy vibe.
- Complement the pillows with a vintage-style knit throw blanket draped over the back of the sofa, ensuring the colors of the throw weave through the patterns of the pillows.
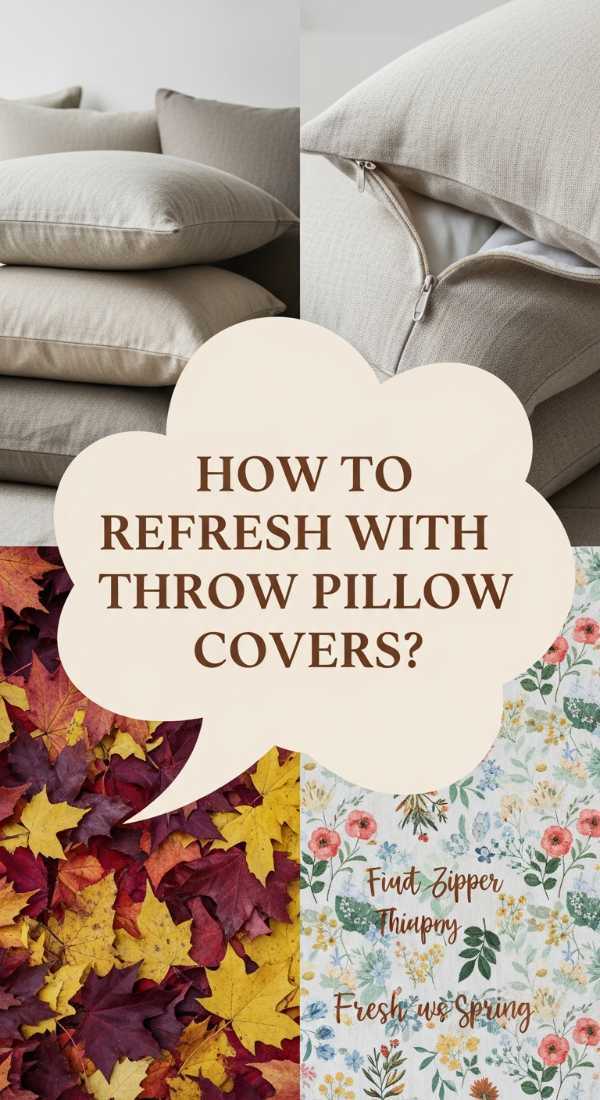
How to Refresh Your Space Using Throw Pillow Covers for Seasonal Change
Why we love this
Seasonal decorating shouldn’t mean a total overhaul; it’s about the subtle shift in light and mood as the months turn. We love using pillow covers for this because they are the ultimate design ‘hack’—they store flat and change the entire soul of a room in minutes. In spring, the air smells of rain and blossoms, and your pillows should reflect that with light linens and cool blues. Come winter, as the fireplace crackles, you can zip on heavy wools and deep berries. It allows your home to breathe with the seasons, keeping your interior feeling fresh and aligned with the world outside.
Essential Elements:
- A set of high-quality pillow inserts (keep these year-round).
- Covers in various weights (linen for summer, velvet/wool for winter).
- Vacuum-seal bags for storing off-season covers.
- A consistent size strategy (e.g., all 20×20) so covers are interchangeable.
How to make it
- Assess the current natural light in your room. In the darker winter months, choose covers with a slight sheen (like sateen or velvet) to bounce what little light there is around the space.
- When spring arrives, remove heavy covers and replace them with ‘breathable’ fabrics like cotton or washed linen in shades of sage green or sky blue to mimic the awakening garden.
- Use the ‘two-third’ rule for patterns: keep two-thirds of your seasonal pillows solid-colored and one-third patterned to ensure the transition doesn’t feel overwhelming or cluttered.
- Steam your covers once they are on the inserts. Seasonal covers often get folded lines while in storage; a quick pass with a handheld steamer makes them look brand new and high-end.
- Store your off-season covers in a cool, dry place inside a breathable fabric bin or vacuum bag with a cedar block to keep them smelling fresh and protected from moths.
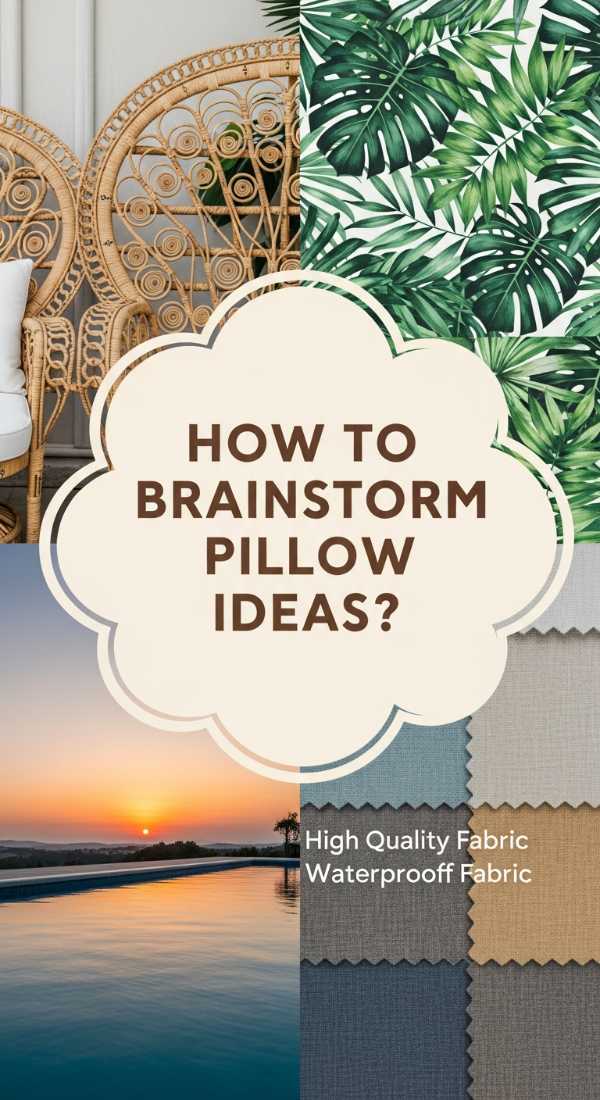
How to Brainstorm Creative Pillow Ideas for an Outdoor Lounge
Why we love this
An outdoor lounge is where the boundaries between nature and home blur, and the right pillows can make a wooden deck feel like a luxury resort. We love this trend because it encourages us to spend more time under the stars, surrounded by the scent of fresh-cut grass and grilled peaches. Outdoor pillows are now so soft they rival indoor ones, but with the added resilience to handle sun, wind, and the occasional splash from the pool. They provide the necessary softness to hard outdoor furniture, turning a simple bench into a destination for afternoon naps and sunset cocktails.
Essential Elements:
- Weather-resistant fabrics (like Sunbrella or treated polyester).
- Mold-resistant foam or polyester fiberfill inserts.
- Bold stripes, tropical prints, or nautical themes.
- Tie-downs or heavy-weighted inserts for windy days.
How to make it
- Choose a color palette that either blends with your garden (greens, browns, beiges) or contrasts vibrantly (corals, teals, yellows) to create a ‘vacation’ atmosphere.
- Prioritize UV-resistant fabrics. Look for materials labeled ‘solution-dyed acrylic,’ which means the color is part of the fiber itself and won’t fade under the harsh afternoon sun.
- Mix and match sizes to accommodate different types of lounging. Provide large 24-inch floor cushions for extra seating on the deck and smaller lumbars for back support on chairs.
- Incorporate ‘texture’ through outdoor-safe weaves. Many brands now offer outdoor-rated ‘boucle’ or ‘macrame’ styles that look like high-end indoor decor but can be hosed off if they get dirty.
- At the end of the evening, stand your pillows ‘up’ rather than leaving them flat. This allows morning dew to run off the surface rather than pooling in the center of the cushion.
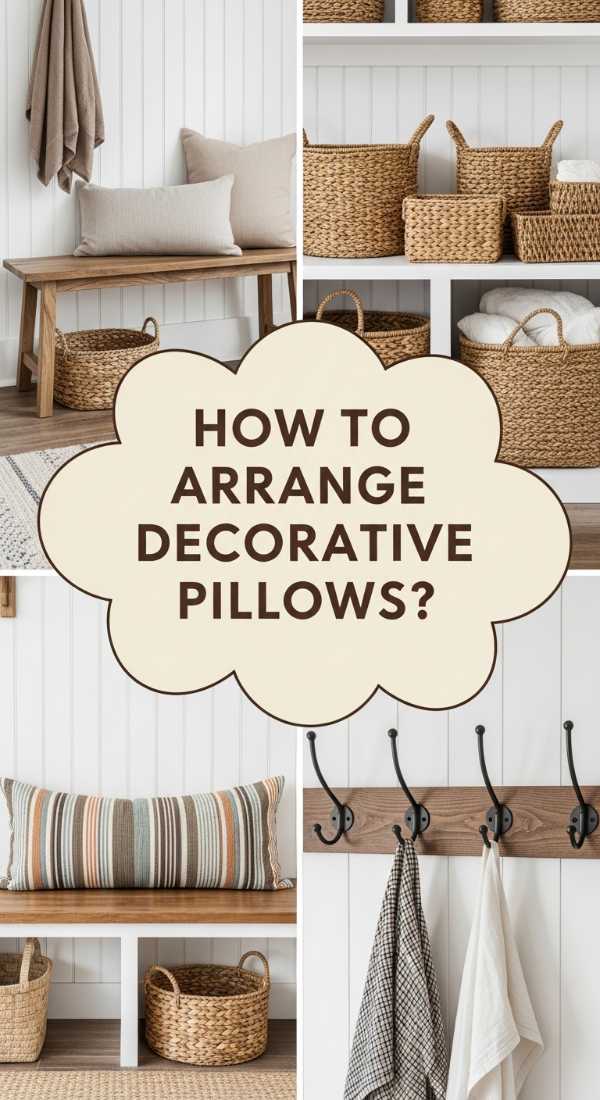
How to Arrange Decorative Pillows for a Polished Entryway Bench
Why we love this
The entryway is the ‘handshake’ of your home—it sets the tone for everything that follows. We love a well-styled bench because it offers a moment of transition, a place to sit while you tug off your boots or set down your mail. A curated pillow arrangement here makes the space feel cared for rather than just a pass-through. Imagine walking through the door to the scent of your favorite home fragrance and the sight of a crisp, perfectly placed pillow in a welcoming texture like grain-sack or soft ticking stripe. It’s an immediate signal that you are safe, home, and welcome.
Essential Elements:
- A narrow bench or built-in nook.
- One or two ‘statement’ pillows with a high-contrast design.
- A small throw blanket for layering.
- Practical, easy-to-clean fabrics (for high-traffic areas).
How to make it
- Evaluate the scale of your bench. For a standard 4-foot bench, two 20-inch square pillows are usually the perfect limit to avoid looking cluttered.
- Place one pillow at each end of the bench, angled slightly toward the center. This frames the seating area and keeps the middle clear for someone to actually sit down.
- Layer a thin, fringed throw blanket under one of the pillows. Drape it so it hangs off the front of the bench about 6 inches; this adds a vertical line that draws the eye down and grounds the look.
- Choose a fabric with a ‘story’—perhaps a vintage textile or a fabric that matches the color of your front door—to create a cohesive design thread from the exterior to the interior.
- Add a small basket underneath the bench for shoes, ensuring the colors of the basket (like natural seagrass) complement the textures of your pillows for a ‘complete’ look.
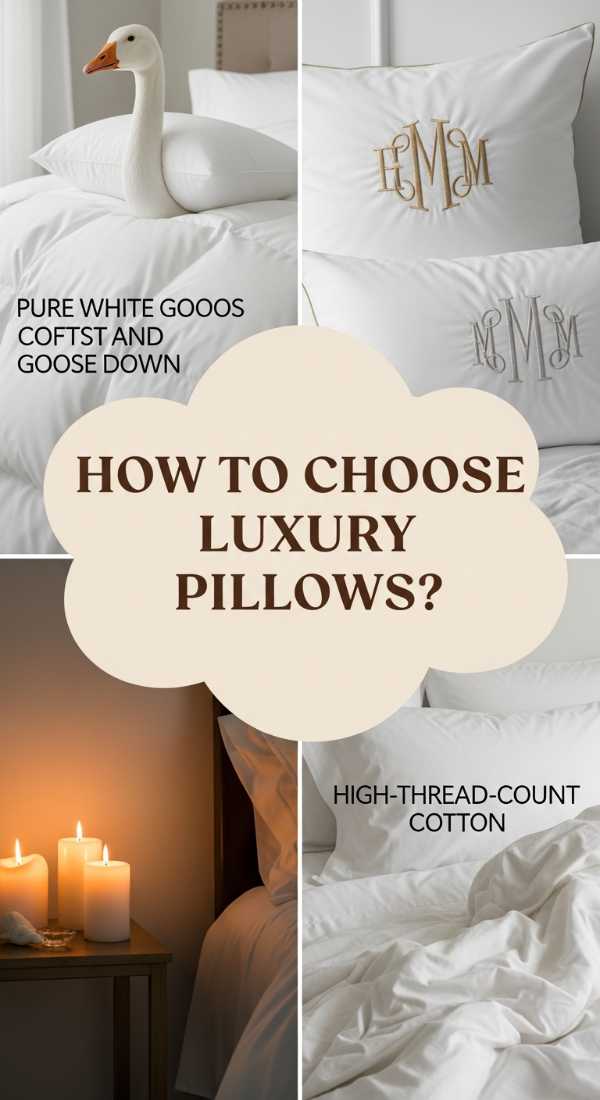
How to Choose Luxury Pillows for the Ultimate Night of Sleep
[IMAGE_10]
Why we love this
Luxury isn’t just about looks; it’s about the profound quality of your rest. We love investing in high-end pillows because they are the foundation of physical recovery. There is no feeling quite like resting your cheek against a silk pillowcase that stays cool all night long, or the way a high-fill-power down pillow gently cradles your head without collapsing. It’s a sensory experience of pure weightlessness. The subtle aroma of a silk-mist or a touch of eucalyptus can turn your bed into a holistic recovery zone, ensuring you wake up feeling as beautiful as your space looks.
Essential Elements:
- 100% Mulberry silk or high-thread-count Egyptian cotton cases.
- High-fill-power white goose down or natural latex inserts.
- Hypoallergenic protectors.
- Varying lofts (low for stomach sleepers, high for side sleepers).
How to make it
- Determine your sleep position first. Side sleepers need a ‘high loft’ pillow (thicker) to keep the neck aligned, while back sleepers should look for ‘medium loft’ with a contour.
- Invest in ‘fill power.’ For down pillows, a fill power of 600 or higher indicates larger down clusters that provide more loft and breathability, staying cooler than lower-quality options.
- Switch to silk pillowcases. Not only do they feel incredibly luxurious and cool to the touch, but they also reduce friction on your hair and skin, preventing ‘sleep creases’ and morning frizz.
- Layer a ‘functional’ pillow (the one you sleep on) with a ‘luxury sham’ (the one that looks pretty). Use the sham as a barrier against dust and oils during the day, then toss it aside at night.
- Refresh your luxury pillows weekly by placing them in a dryer on a ‘no heat’ or ‘air fluff’ cycle for 10 minutes with two clean tennis balls. This redistributes the fill and keeps them incredibly plush.
The Heart of the Home is in the Details
As we’ve explored, the journey to a soulful home is often paved with the softest materials. Whether you are sewing your own covers to tell your unique story or carefully layering pillows to create a five-star bedroom retreat, remember that decor is more than just ‘stuff.’ It is the environment in which your life unfolds. Take the time to touch the fabrics, play with the colors, and most importantly, create a space that feels like you. Happy decorating!