
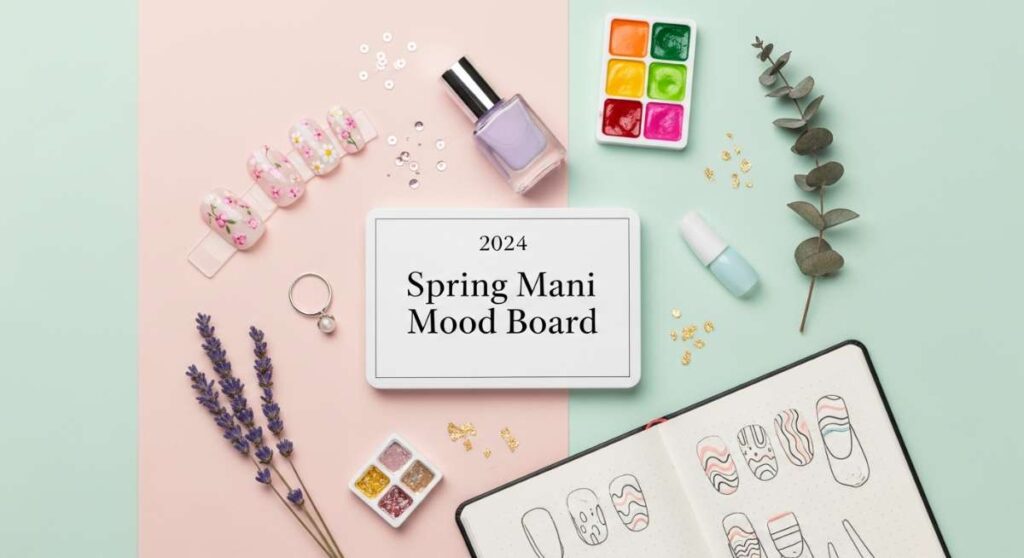
Your 2024 Spring Mani Mood Board: Aesthetic Designs for the New Season
Hi there, my loves. There is something so incredibly healing about the first few days of spring, isn’t there? It’s that soft, quiet moment when the world finally decides to wake up, stretching its limbs toward the sun. I’ve been sitting by my window today, watching the tiniest green buds peek through the soil, and it felt like a gentle reminder that we are all allowed to begin again. For me, that renewal always starts with a fresh manicure—a tiny canvas to reflect the light and color I want to carry into the world.
I’ve spent the last few weeks curating a mood board that feels like a cloud-soft embrace for your hands. Whether you’re feeling the whimsical magic of a forest floor or the clean, crisp energy of a clear blue sky, I’ve gathered the most enchanting trends for 2024. Think of this as our little tea date where we pick out your next signature look together. Let’s dive into these blooming designs, shall we?
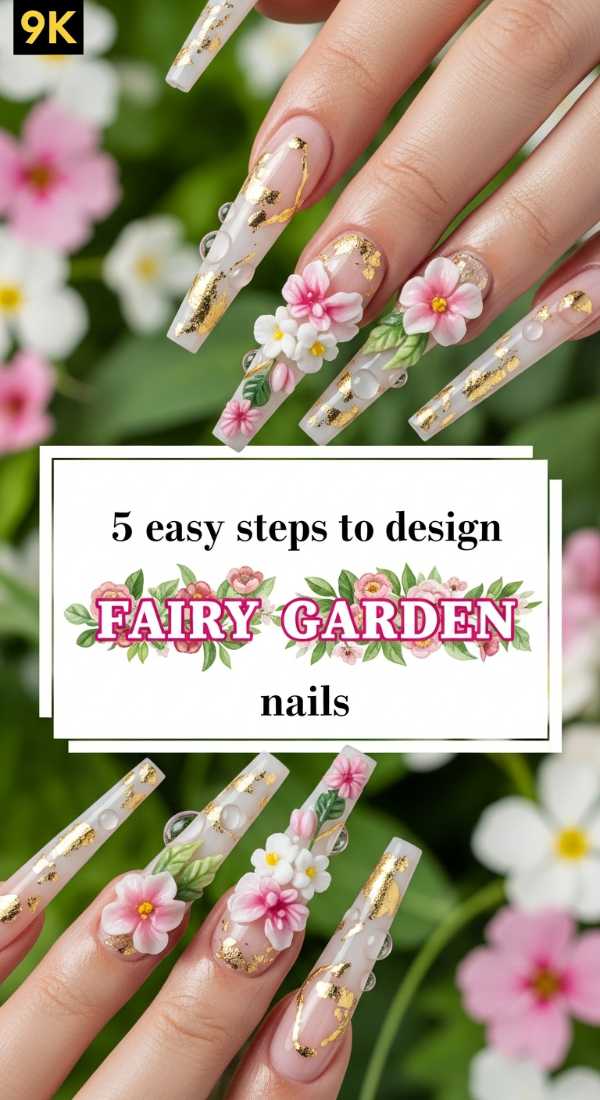
5 easy steps to design fairy garden nails
Why to love this recipe:
This look is for the dreamers who want to carry a tiny, enchanted meadow wherever they go. It feels organic, ethereal, and perfectly imperfect, mixing soft textures with delicate botanical accents that catch the light like morning dew.
Essential Ingredients:
- Sheer nude base polish
- Dried mini flowers or floral decals
- Gold leaf flakes
- Ultra-fine liner brush
- Glossy top coat
How to Prepare:
- Apply two coats of a sheer, skin-toned nude base.
- While slightly tacky, use tweezers to place tiny dried flowers near the cuticle or tip.
- Add small flecks of gold leaf to fill in the gaps for a magical shimmer.
- Use a liner brush to paint tiny green vines connecting the elements.
- Seal the entire garden with a thick layer of high-shine top coat.
Budget Range
- Essie Gel Couture ‘Bodice Goddess’ ($13)
- Amazon Nail Art Dried Flowers Kit ($8)
- Holo Taco Gold Flake Taco ($11)
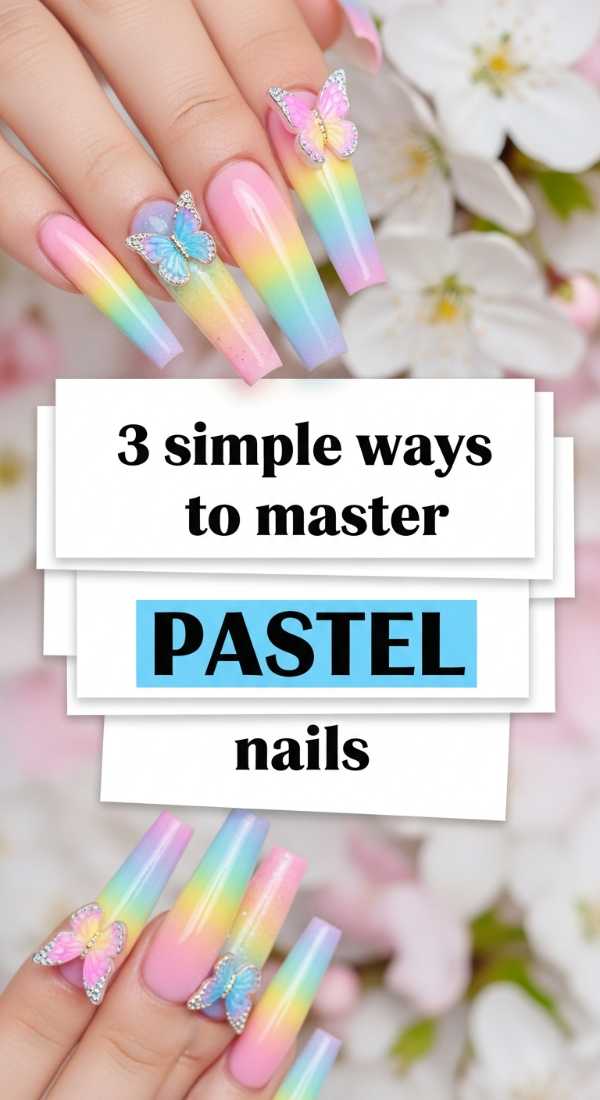
3 simple ways to master pastel nails
Why to love this recipe:
Pastels are the heartbeat of spring. They are soft, comforting, and instantly brighten your mood. Mastering them is all about achieving that creamy, opaque finish without the streaks, making your hands look like a fresh box of macarons.
Essential Ingredients:
- White base polish (as an anchor)
- Pastel shade of choice (lavender, mint, or pink)
- Matte and Glossy top coats
How to Prepare:
- Layer one thin coat of white polish first to make the pastel pigment pop without needing four coats.
- Apply your pastel shade in two smooth, even strokes, letting it dry completely between layers.
- Finish with a matte top coat for a ‘velvet’ look or a high-gloss one for a candy finish.
Budget Range
- OPI ‘Suzi Shops & Island Hops’ ($11)
- Olive & June ‘KMC’ Mint ($9)
- Sally Hansen Insta-Dri White ($6)
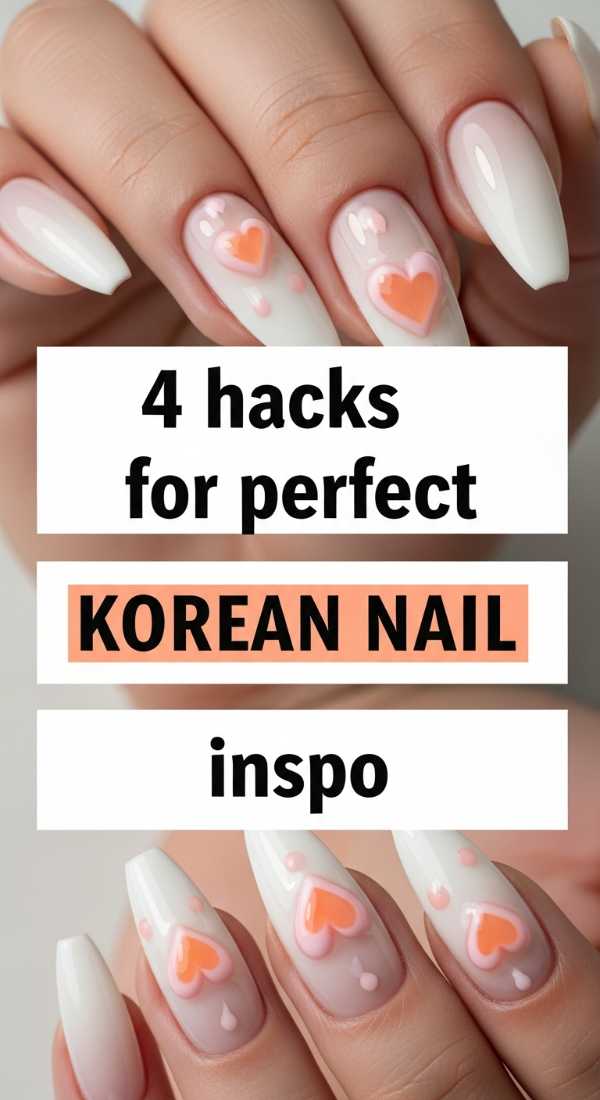
4 hacks for perfect Korean nail inspo
Why to love this recipe:
Korean nail art is all about ‘syrup’ textures and 3D dimensions. It’s a sophisticated take on playfulness, focusing on ‘blush’ centers and chunky charms that feel like jewelry for your fingertips.
Essential Ingredients:
- Translucent ‘syrup’ polish
- Small makeup sponge
- 3D Builder gel or nail gems
- Iridescent powder
How to Prepare:
- Apply a clear base and use the sponge to dab a darker pink in the center of the nail for a ‘blush’ effect.
- Rub iridescent powder over the edges for a glass-like shine.
- Apply a dollop of builder gel to create a ‘water droplet’ or attach a chunky heart gem.
- Lock everything in with a strong UV-curable top coat.
Budget Range
- Rom&nd Mood Pebble Nail Syrup ($9)
- Makartt Rhinestone Glue ($10)
- Pearlescent Chrome Powder ($7)
6 steps to achieve coquette nails

Why to love this recipe:
The coquette aesthetic is a love letter to femininity—all ribbons, pearls, and soft pinks. It feels like a vintage tea party and adds a touch of romantic whimsy to your daily look.
Essential Ingredients:
- Soft ballet-pink polish
- Tiny 3D bow charms
- Half-pearl stickers
- White nail art pen
- Strong nail glue
How to Prepare:
- Paint nails with a soft, semi-sheer pink.
- Use the white pen to draw tiny lace scallops along the tips.
- Place a tiny bow charm at the base of your ring finger.
- Accent the other nails with 1-2 half-pearls.
- Add a second coat of pink over the lace for a ‘veiled’ look.
- Secure everything with a heavy-duty top coat.
Budget Range
- Zoya ‘Bela’ Soft Pink ($12)
- Nail Art Bow Charms Bulk Pack ($6)
- Essie ‘Stay Longer’ Top Coat ($11)
7 tips for sage green nails
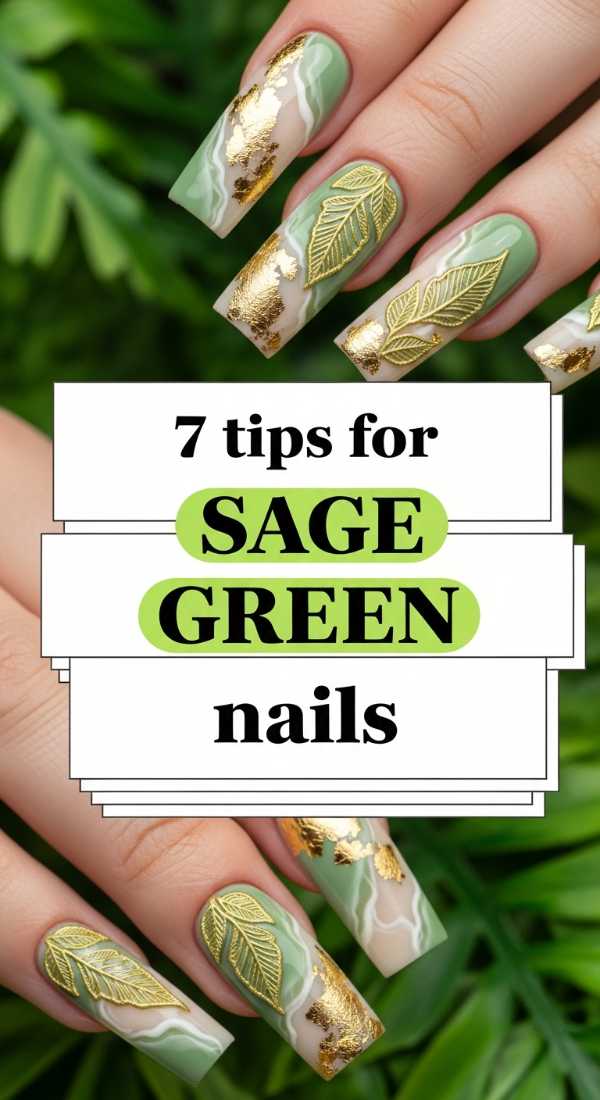
Why to love this recipe:
Sage green is the ultimate ‘cool girl’ neutral for spring. It’s earthy, calming, and looks stunning against every skin tone. It’s the color of new leaves and fresh beginnings.
Essential Ingredients:
- Sage green cream polish
- Gold striping tape
- Matte top coat
- Cuticle oil
How to Prepare:
- Shape nails into a soft almond or oval to mimic leaf shapes.
- Apply two thin coats of sage green.
- Use gold striping tape for a minimalist geometric accent.
- Try a matte finish on three fingers and glossy on two for texture.
- Always finish with cuticle oil; green looks best against hydrated skin.
- Keep the length moderate for a clean, organic vibe.
- Avoid ‘neon’ greens; stick to muted, dusty tones.
Budget Range
- Orly ‘Sagebrush’ ($15)
- Lights Lacquer ‘Paper Snow’ ($13)
- Cuccio Revitalize Oil ($10)
5 methods to style butter yellow nails
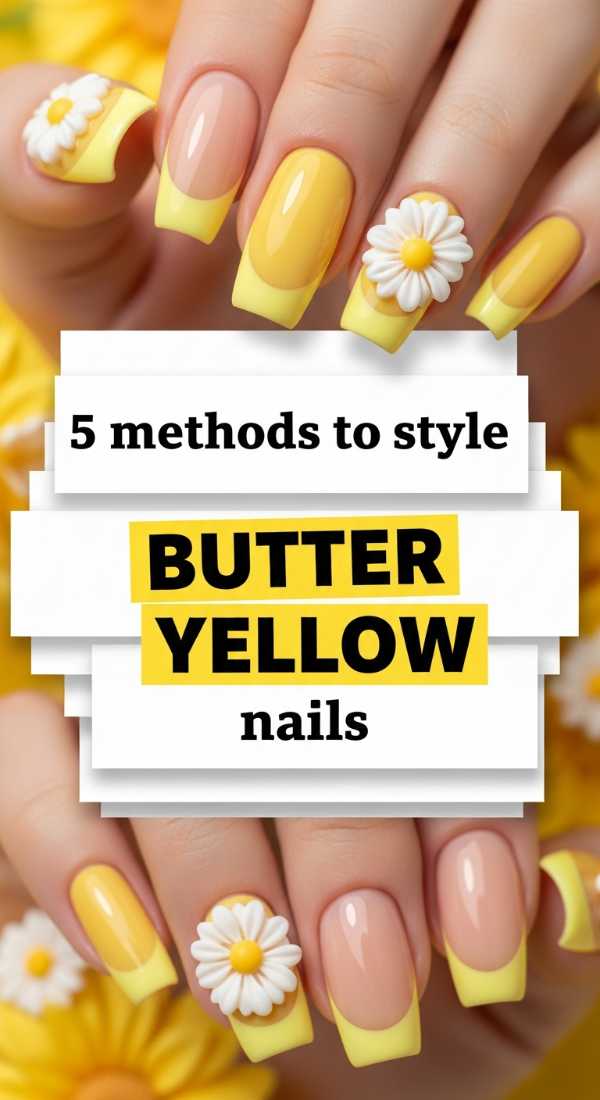
Why to love this recipe:
Butter yellow is the breakout star of 2024. It’s softer than lemon and warmer than cream—like a little splash of sunshine on your hands without being too loud.
Essential Ingredients:
- Pale yellow ‘butter’ polish
- White polish for mixing
- Floral decals
- Glitter topper
How to Prepare:
- Apply the butter yellow as a full-color manicure for a clean look.
- Mix a drop of yellow with white for a custom ‘vanilla-butter’ gradient.
- Add a single daisy decal on each thumb for a retro vibe.
- Apply a very fine gold glitter topper just at the base of the nails.
- Try a ‘mismatched’ look by pairing it with soft lavender on the other hand.
Budget Range
- Chanel Le Vernis ‘Pastel Yellow’ ($32)
- Dashing Diva Gloss Strips ($8)
- J.Hannah ‘Eames’ ($22)
3 quick ways to create peach nails
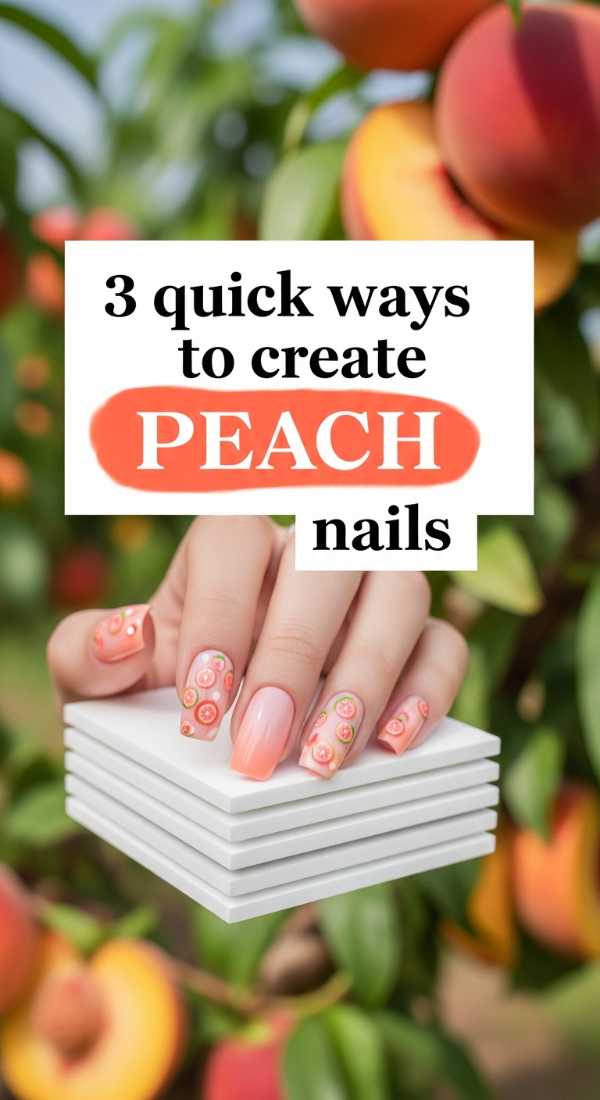
Why to love this recipe:
Peach Fuzz is the color of the year, and for good reason! It’s juicy, warm, and incredibly flattering. It brings a healthy, glowing look to your hands as we transition out of winter paleness.
Essential Ingredients:
- Peach cream polish
- Peach shimmer topper
- Makeup sponge
How to Prepare:
- The Classic: Two coats of a solid peach cream for a sophisticated, uniform look.
- The Ombre: Sponge peach onto the tips of a nude base for a ‘sun-kissed’ gradient.
- The Glaze: Add a single coat of shimmer over your peach base for a ‘glazed donut’ effect.
Budget Range
- OPI ‘Data Peach’ ($11)
- ILNP ‘Daydreamer’ ($10)
- Wet n Wild ‘Peach Please’ ($3)
8 easy steps for colorful French tips
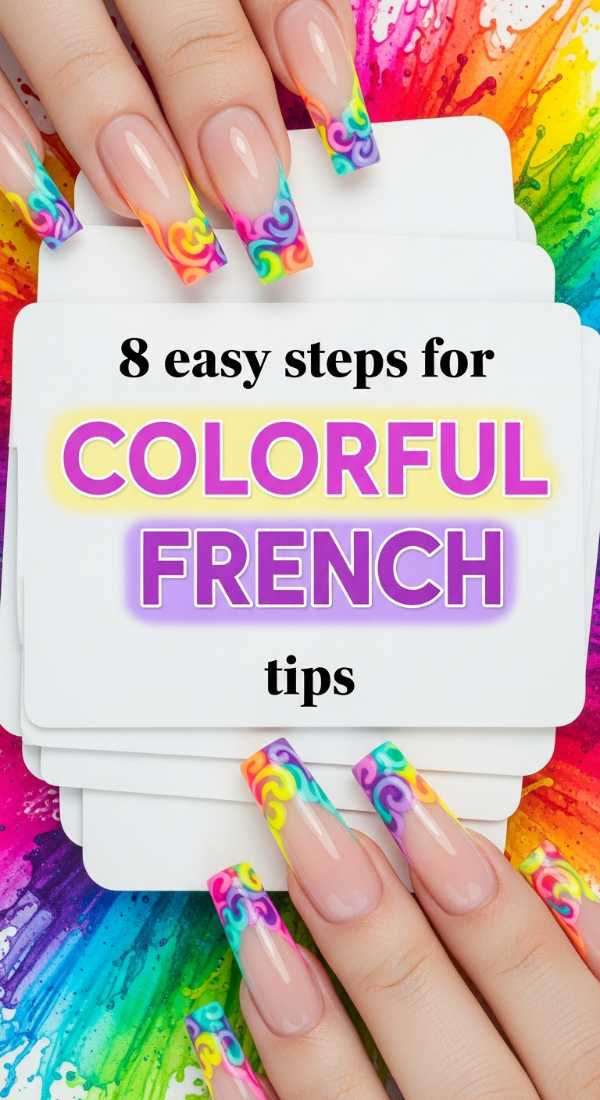
Why to love this recipe:
The traditional French mani gets a playful spring makeover. By swapping white for a rainbow of colors, you get a look that’s professional yet full of personality.
Essential Ingredients:
- Nude base polish
- 5 different spring colors (mint, lilac, blue, yellow, pink)
- Fine liner brush or French tip guides
How to Prepare:
- Prep nails with a clean, buffed base and a nude primer.
- Starting with the pinky, paint a thin arc of mint green on the tip.
- Repeat on the ring finger with lilac.
- Continue with a different color for every finger.
- Use a brush dipped in acetone to clean the ‘smile line’ of the French tip.
- Ensure the tips are the same thickness across all fingers.
- Add a tiny dot of a contrasting color at the center of the tip for extra flair.
- Seal with a high-gloss top coat to blend the edges.
Budget Range
- Ella + Mila ‘Pastel Collection’ ($45 set)
- Maniology Nail Art Brushes ($12)
- Orly Bonder Base Coat ($10)
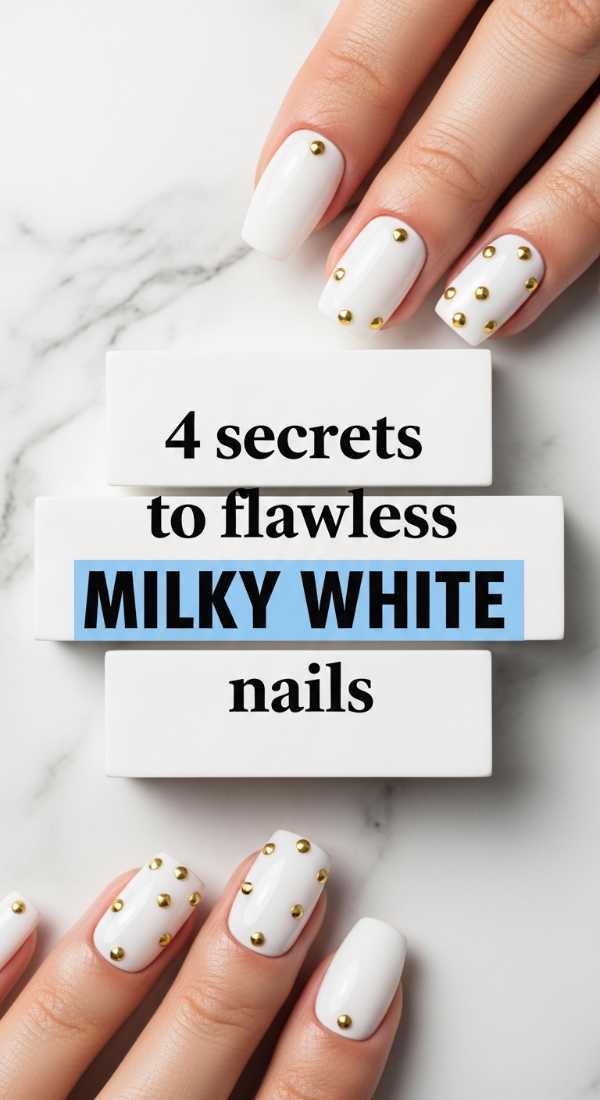
4 secrets to flawless milky white nails
Why to love this recipe:
Milky white is the ‘clean girl’ aesthetic perfected. It looks expensive, clean, and ethereal—like a splash of milk in water. It’s the perfect palate cleanser between bolder designs.
Essential Ingredients:
- Sheer white polish
- Self-leveling base coat
- High-shine top coat
How to Prepare:
- Use a ridge-filling base coat to ensure the surface is perfectly smooth.
- Apply one coat of sheer white, moving the brush quickly to avoid pooling.
- Apply the second coat only after the first is 100% dry to maintain the ‘cloudy’ transparency.
- Cap the free edge of the nail to prevent the sheer polish from peeling.
Budget Range
- Londontown Kur Illuminating Nail Concealer ($20)
- Essie ‘Marshmallow’ ($10)
- CND Vinylux ‘Studio White’ ($11)
5 simple techniques for sky blue nails

Why to love this recipe:
There is nothing quite like looking up at a clear spring sky. This shade brings that sense of peace and limitless possibility to your aesthetic. It’s crisp, cool, and incredibly refreshing.
Essential Ingredients:
- Sky blue polish
- White acrylic paint
- Dotting tool
- Silver foil
How to Prepare:
- Paint a solid sky blue base.
- Use a dotting tool and white paint to create ‘cloud’ clusters on two accent nails.
- Apply tiny specs of silver foil to mimic stars or light reflections.
- Try a ‘double French’ where you use sky blue and a darker navy for the tips.
- Finish with a plumping top coat for a gel-like depth.
Budget Range
- OPI ‘It’s a Boy!’ ($11)
- Nails Inc ‘Daily Edit’ Blue ($15)
- Dotting Tool Set ($5)
Blooming with Confidence
I hope these designs spark a little joy in your heart, my loves. Remember, your nails are just a reflection of the beauty already growing inside of you. Whether you choose a simple milky white or a full fairy garden, wear it with the confidence of a flower blooming in the sun. I can’t wait to see which look you choose for your spring awakening. Stay soft, stay bright, and keep blooming.