

Why This Viral Simple Food Board is the Ultimate Party Hack
We’ve all been there—the frantic house cleaning, the over-complicated three-course menu, and the ultimate realization that you’ve spent your entire party in the kitchen instead of with your friends. I used to be that host, stressed and covered in flour, until I discovered the magic of the ‘Viral Simple Food Board.’ It’s more than just a trend; it’s a lifestyle shift that prioritizes connection over perfection, allowing you to serve a spread that looks like a masterpiece but takes half the effort.
There is something inherently communal about a board overflowing with colors, textures, and aromas. It invites guests to linger, to graze, and to discover new flavor combinations at their own pace. Whether you are hosting a sun-drenched backyard bash or a cozy spring evening, these curated elements come together to create a visual and culinary feast that will have everyone asking for your secret. Let’s dive into the essential components that make this board the viral sensation it deserves to be.
How to make creamy rotel dip
Why we love this
This dip is the ultimate comfort food, offering a velvety, molten texture that clings perfectly to every chip. As it heats, the sharp cheddar notes mingle with the bright, acidic pop of canned tomatoes and the subtle, smoky warmth of green chilis. The aroma alone—savory, cheesy, and just a hint of spice—is enough to draw a crowd to the table before you even set the platter down. It is the kind of gooey, indulgent treat that feels like a hug in a bowl, keeping guests dipping back in for ‘just one more’ bite.
Ingredients
- 1 lb Velveeta or high-quality melting cheese, cubed
- 1 can (10 oz) Ro-Tel Diced Tomatoes and Green Chilies, undrained
- 1/2 lb ground sausage or lean beef, browned and drained
- 1/4 cup heavy cream (optional for extra silkiness)
- Fresh cilantro and sliced jalapeños for garnish
How to make it
- Begin by browning your choice of meat in a skillet over medium-high heat. Use a wooden spoon to break the meat into fine crumbles, ensuring it cooks evenly until no pink remains. Drain the excess fat thoroughly to keep the dip from becoming oily.
- In a slow cooker or a heavy-bottomed saucepan over low heat, combine the cubed cheese and the entire can of Ro-Tel (do not drain the liquid, as it provides essential flavor and moisture).
- Stir the mixture frequently with a silicone spatula. The goal is a slow, gentle melt; if the heat is too high, the cheese can become grainy or scorched.
- Once the cheese is about 80% melted, fold in the cooked meat and the heavy cream if you’re looking for that ultra-luxurious restaurant consistency.
- Continue stirring until the mixture is completely smooth and bubbling slightly at the edges.
- Transfer to a serving bowl or keep on the ‘warm’ setting of your slow cooker. Garnish with fresh cilantro and jalapeños immediately before serving to add a pop of color and freshness.
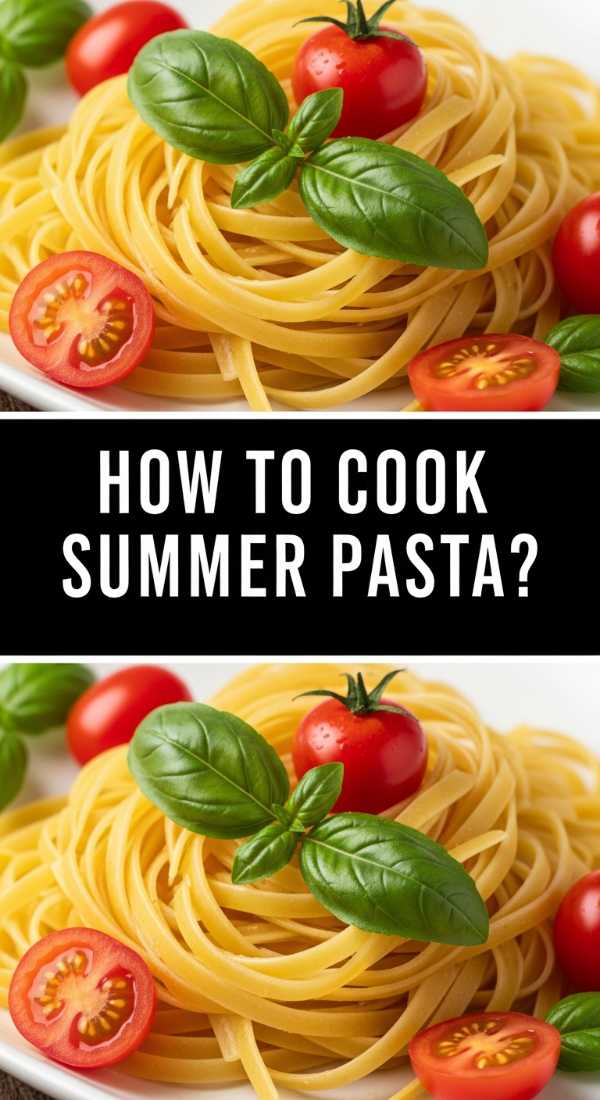
How to cook fresh summer pasta
Why we love this
Fresh summer pasta is like capturing sunshine on a plate. The dish relies on the fragrance of garden-picked basil and the burst of vine-ripened cherry tomatoes that collapse into a light, silky sauce when tossed with high-quality olive oil. Each bite offers a clean, herbaceous finish that feels incredibly light despite being a pasta dish, making it the perfect centerpiece for an outdoor gathering. The way the golden oil coats each strand of al dente pasta ensures a luxurious mouthfeel that highlights the simplicity of the ingredients.
Ingredients
- 1 lb Linguine or Tagliatelle
- 2 cups cherry tomatoes, halved
- 3 cloves garlic, thinly sliced
- 1/2 cup extra virgin olive oil
- 1 large bunch fresh basil, torn
- 1/2 cup shaved Parmesan cheese
- Sea salt and cracked black pepper
How to make it
- Bring a large pot of heavily salted water to a rolling boil. Use about one tablespoon of salt per gallon of water; it should taste like the sea to properly season the pasta from the inside out.
- Add the pasta and cook for 1-2 minutes less than the package directions specify. You want it ‘al dente,’ meaning it still has a firm bite in the center, as it will finish cooking in the sauce.
- While the pasta cooks, heat the olive oil in a large skillet over medium-low heat. Add the sliced garlic and cook for about 2 minutes until it is fragrant and translucent, but not browned.
- Add the halved cherry tomatoes to the skillet with a pinch of salt. Increase the heat to medium and cook for 4-5 minutes, stirring occasionally, until the tomatoes begin to soften and release their juices.
- Reserve 1 cup of the starchy pasta water before draining the noodles.
- Transfer the pasta directly into the skillet with the tomatoes. Add half of the reserved pasta water and the fresh basil. Toss vigorously with tongs for 2 minutes. The starch in the water will emulsify with the oil to create a glossy sauce.
- Remove from heat, fold in the Parmesan cheese, and add more pasta water if the dish looks too dry. Season with black pepper and serve immediately.
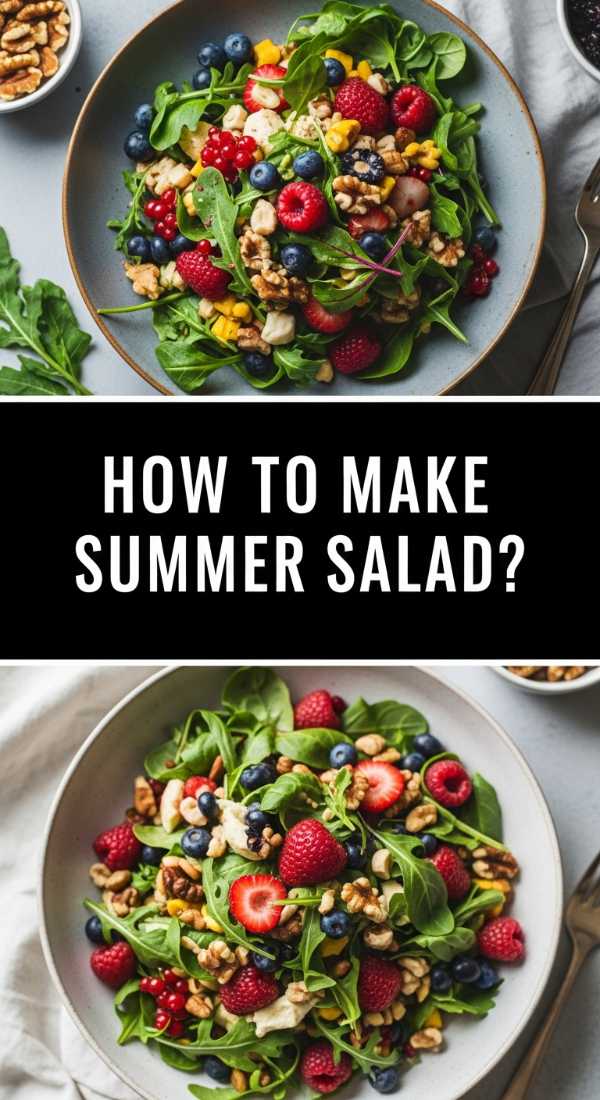
How to make crisp summer salad

Why we love this
There is nothing more refreshing than the audible ‘crunch’ of a perfectly chilled summer salad. This dish is all about the contrast between the crisp, watery snap of cucumbers and radishes against the creamy, fatty richness of avocado or feta cheese. The scent of a lemon-shallot vinaigrette adds a zesty, uplifting top note that wakes up the palate and balances heavier grilled items on your food board. It’s a vibrant, multicolored mosaic that provides a much-needed cooling element to any warm-weather spread.
Ingredients
- 2 heads of Romaine or Little Gem lettuce, chopped
- 1 English cucumber, thinly sliced
- 1 bunch radishes, shaved thin
- 1 pint blueberries or sliced strawberries
- 1/2 cup crumbled feta or goat cheese
- For the dressing: 1/4 cup olive oil, 1 lemon (juiced), 1 tsp honey, 1 shallot (minced)
How to make it
- Place your chopped greens in a bowl of ice-cold water for 10 minutes before serving. This step is a professional secret that ensures the maximum ‘snap’ and crispness of the leaves. Drain and spin them completely dry.
- Prepare the dressing by whisking the minced shallot, lemon juice, and honey in a small bowl. Slowly stream in the olive oil while whisking constantly to create a stable emulsion. Season with salt and pepper to taste.
- In a large wide-rimmed bowl, layer the dried greens. Layering is better than tossing for a board presentation as it keeps the ingredients visible.
- Distribute the sliced cucumbers and radishes evenly over the greens. These should be sliced as thinly as possible (a mandoline works best) to allow the dressing to penetrate quickly.
- Add the berries for a surprising burst of sweetness that cuts through the savory elements.
- Drizzle the dressing over the salad just moments before the guests arrive to prevent wilting. Top with the crumbled cheese and a final crack of black pepper.
How to brew iced summer coffee

Why we love this
A glass of iced coffee is the ultimate afternoon pick-me-up, offering a deep, roasted cocoa profile that is instantly transformed by the shock of ice and a swirl of cream. The aroma of freshly brewed beans mingling with chilled air creates a sensory experience that feels both sophisticated and incredibly relaxing. When done correctly, the coffee is smooth and low in acidity, allowing the natural sweetness of the bean to shine through without any bitterness. It’s the perfect non-alcoholic ‘cocktail’ for a lifestyle-focused board.
Ingredients
- 1 cup coarsely ground coffee beans
- 4 cups filtered cold water
- Ice cubes (made from coffee for best results)
- Simple syrup or sweetened condensed milk
- Fresh mint or a cinnamon stick for garnish
How to make it
- For the smoothest results, use a cold-brew method. Combine the coarsely ground coffee and cold filtered water in a large jar or pitcher. Stir gently to ensure all grounds are saturated.
- Cover and let the mixture steep at room temperature or in the fridge for at least 12 to 16 hours. This long, slow extraction prevents the release of bitter tannins.
- Strain the concentrate through a fine-mesh sieve lined with a coffee filter or cheesecloth. Do not squeeze the grounds, as this will push fine sediment into your clean brew.
- To serve, fill a tall glass with ice. Use coffee ice cubes if you have them to prevent dilution as the ice melts.
- Pour the coffee concentrate over the ice, filling the glass about three-quarters of the way.
- Add your sweetener of choice and a splash of cream. Stir gently to create those beautiful marbled swirls. Garnish with a sprig of mint for a fresh, aromatic finish.
How to bake sweet summer desserts
Why we love this
Sweet summer desserts should celebrate the harvest, featuring bubbling fruit fillings and buttery, flaky crusts that crumble at the touch of a fork. The smell of caramelized peaches or tart berries baking in the oven creates a nostalgic, homey atmosphere that draws everyone into the kitchen. These treats strike a delicate balance between the natural sugars of the fruit and the savory depth of a well-salted pastry, resulting in a finish that is satisfying without being cloying. They are the perfect ‘grand finale’ to any food board.
Ingredients
- 2 cups fresh peaches or nectarines, sliced
- 1 cup fresh blackberries
- 1/2 cup granulated sugar
- 1 tbsp cornstarch
- 1 refrigerated pie crust or puff pastry sheet
- 1 egg (for wash)
- Turbinado sugar for dusting
How to make it
- Preheat your oven to 400°F (200°C). Line a large baking sheet with parchment paper to ensure easy removal and a crisp bottom.
- In a medium bowl, gently toss the sliced fruit with the granulated sugar and cornstarch. The cornstarch is vital; it thickens the fruit juices as they heat, preventing a ‘soggy bottom’ on your pastry.
- Roll out your dough on the parchment paper until it is about 12 inches in diameter. It doesn’t need to be a perfect circle; a rustic look is part of the charm.
- Mound the fruit mixture into the center of the dough, leaving a 2-inch border all the way around.
- Fold the edges of the dough over the fruit, pleating as you go. The center should remain open so the fruit can vent and caramelize.
- Whisk the egg with a teaspoon of water and brush the exposed dough lightly. Sprinkle generously with turbinado sugar for a professional, crunchy texture.
- Bake for 25-30 minutes until the crust is a deep golden brown and the fruit filling is thick and bubbling. Let it cool for at least 15 minutes before slicing so the juices can set.
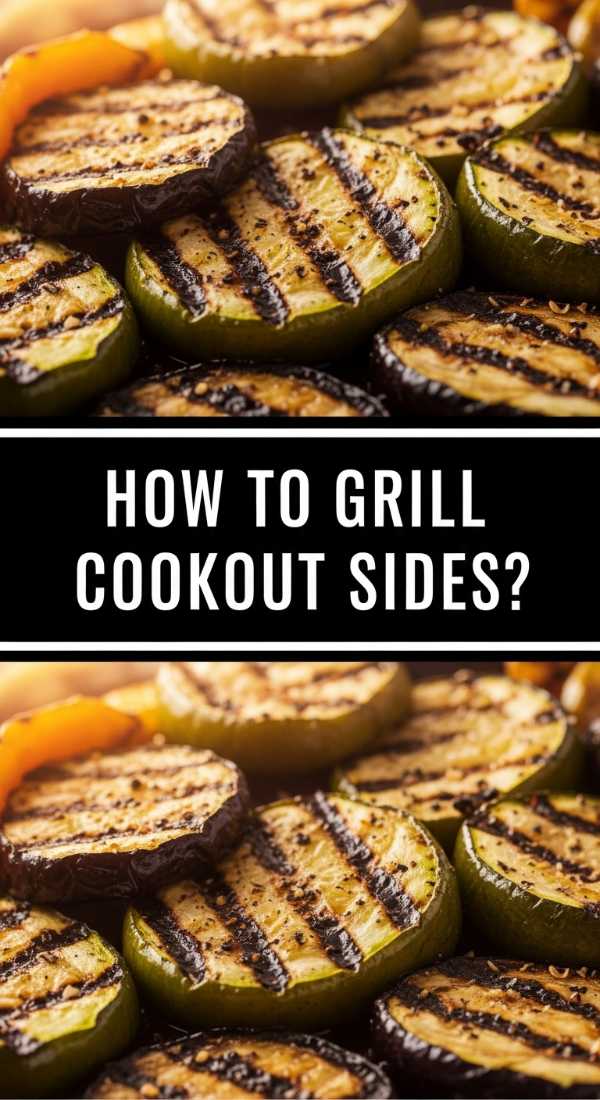
How to grill cookout side dishes

Why we love this
Grilling transforms simple vegetables into charred, smoky delights that add an earthy depth to your board. There is a primal joy in the sound of a sizzle and the sight of perfect grill marks on a stalk of asparagus or a cob of corn. The heat caramelizes the natural sugars in the produce, creating a sweet-and-savory profile that you simply can’t achieve on the stovetop. It brings a rustic, ‘just-plucked-from-the-earth’ energy to your party spread that feels both impressive and effortless.
Ingredients
- 4 ears of corn, husks removed
- 1 bunch thick asparagus, woody ends trimmed
- 2 bell peppers, quartered
- 3 tbsp melted butter or avocado oil
- 1 tsp smoked paprika
- Flaky sea salt
How to make it
- Clean your grill grates thoroughly and preheat to medium-high heat (about 400°F). A clean grate prevents sticking and ensures clean flavor.
- In a small bowl, whisk the melted butter or oil with smoked paprika and a pinch of salt.
- Brush the corn, asparagus, and peppers generously with the flavored oil. Ensure an even coating to help the char develop without burning the exterior too quickly.
- Place the corn on the hottest part of the grill first, as it takes the longest. Rotate every 2-3 minutes for about 10-12 minutes total until kernels are charred and tender.
- Add the peppers and asparagus to the slightly cooler edges of the grill. Asparagus only needs 3-5 minutes, while peppers take about 6-8 minutes until the skins are blistered and slightly softened.
- Remove the vegetables and immediately sprinkle with flaky sea salt. The residual heat will help the salt adhere and draw out the maximum flavor. Serve warm or at room temperature.
How to make authentic comida rica
Why we love this
Comida rica is all about ‘rich food’ in the sense of flavor, history, and heart. It’s the slow-simmered beans and the perfectly seasoned rice that serve as the soul of the board. The aroma of cumin, garlic, and slow-cooked onions creates a savory foundation that feels incredibly grounded and nourishing. It’s a style of cooking that values patience, resulting in textures that are soft, comforting, and deeply infused with spices that have had time to bloom and marry together perfectly.
Ingredients
- 2 cups long-grain white rice
- 1 can (15 oz) black beans, rinsed
- 1 white onion, finely diced
- 4 cloves garlic, minced
- 1 tbsp ground cumin
- 1 tsp dried oregano
- 3 cups chicken or vegetable broth
How to make it
- In a large pot with a tight-fitting lid, heat a tablespoon of oil over medium heat. Sauté the onion until it is soft and translucent, about 5 minutes. Add the garlic and cook for 1 more minute until fragrant.
- Add the dry rice to the pot. This is a crucial step: sauté the dry rice in the oil and aromatics for 2-3 minutes until the grains smell ‘toasty’ and look slightly opaque. This prevents the rice from becoming mushy.
- Stir in the cumin and oregano, allowing the dry spices to toast in the heat for 30 seconds.
- Pour in the broth and the rinsed beans. Bring the mixture to a full boil.
- Once boiling, turn the heat down to the lowest possible setting and cover the pot tightly. Do not lift the lid during the cooking process!
- Simmer for 18-20 minutes. Turn off the heat and let the pot sit, still covered, for another 5-10 minutes. This allows the steam to finish the job, resulting in fluffy, distinct grains.
- Fluff with a fork and serve with a squeeze of lime to brighten the deep, earthy flavors.
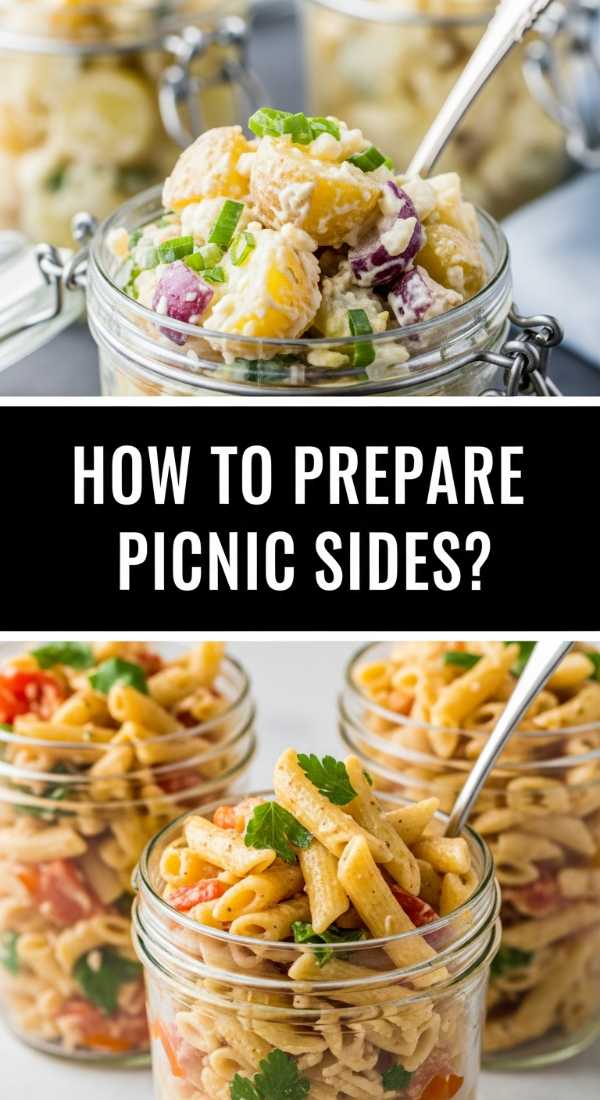
How to prepare picnic side dishes
Why we love this
The perfect picnic side dish is resilient, flavorful, and better after it sits for an hour. We love the creamy, tangy profile of a classic potato salad or a vinegar-based slaw that cuts through the richness of grilled meats. These dishes offer a chilled, creamy mouthfeel that contrasts beautifully with the warm items on your board. The combination of mustard, mayo, and fresh herbs creates a complex, zesty flavor profile that feels timeless and quintessentially ‘summer’.
Ingredients
- 2 lbs Yukon Gold potatoes, cubed
- 1/2 cup mayonnaise
- 2 tbsp Dijon mustard
- 3 hard-boiled eggs, chopped
- 1/4 cup chopped celery for crunch
- 2 tbsp fresh dill, chopped
How to make it
- Place your cubed potatoes in a large pot of cold water. Starting with cold water ensures the outside of the potato doesn’t turn to mush before the inside is cooked.
- Bring to a boil and cook for 10-12 minutes until fork-tender but not falling apart. Drain and let them cool slightly—they should be warm but not hot when you mix them.
- In a large bowl, whisk together the mayonnaise, Dijon mustard, salt, and pepper. Mixing while the potatoes are warm allows them to absorb the dressing, rather than just having it sit on top.
- Gently fold in the chopped celery, hard-boiled eggs, and the warm potatoes. Use a ‘folding’ motion with a spatula to avoid mashing the potatoes.
- Fold in the fresh dill last to preserve its bright green color and punchy aroma.
- Chill in the refrigerator for at least 2 hours before serving. This time allows the flavors to meld and the starches to set, creating that perfect picnic consistency.
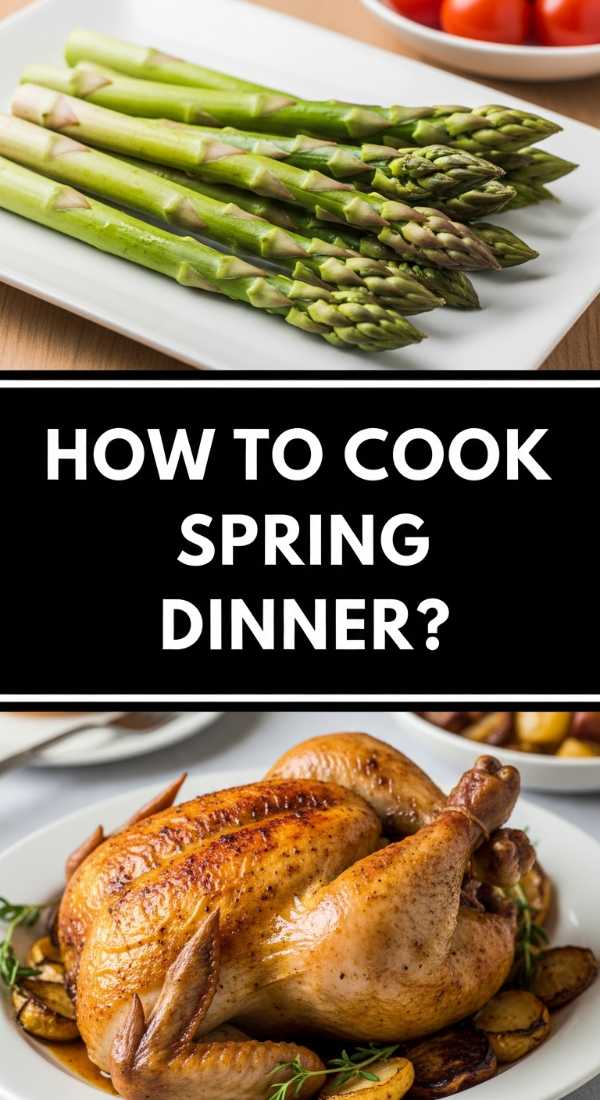
How to cook easy spring dinner

Why we love this
An easy spring dinner is defined by its elegance and its use of tender, young vegetables like peas and leeks. The flavors are delicate, often highlighted by citrus and white wine, creating a light and sophisticated profile that doesn’t weigh you down. The visual appeal is undeniable—vibrant greens against pale proteins—making it a stunning addition to a food board that aims for a ‘farm-to-table’ aesthetic. It’s a meal that feels like a fresh start, clean and incredibly satisfying.
Ingredients
- 1 lb chicken breast or salmon fillets
- 1 bunch asparagus
- 1 cup frozen or fresh peas
- 1 lemon, sliced into rounds
- 2 tbsp butter
- 1/2 cup dry white wine (like Pinot Grigio)
How to make it
- Season your protein generously with salt and pepper. In a large skillet over medium-high heat, sear the protein in a bit of oil until a golden crust forms on both sides (about 4 minutes per side for chicken, 3 for salmon).
- Remove the protein from the pan and set aside. Reduce the heat to medium.
- Add the butter to the pan. Once melted, add the asparagus and peas. Sauté for 2-3 minutes until they turn a vibrant, bright green.
- Deglaze the pan by pouring in the white wine. Use a wooden spoon to scrape up all the browned bits (the ‘fond’) from the bottom of the pan—this is where the flavor lives!
- Place the lemon rounds into the liquid and return the protein to the pan.
- Cover and simmer for 5-7 minutes until the protein is cooked through and the sauce has reduced slightly into a silky glaze. The steam from the wine will keep everything incredibly moist.
- Serve directly from the pan or arrange on the board with the lemon slices as a garnish.
How to make zesty summer dips
[IMAGE_10]
Why we love this
Zesty dips are the high-energy players of the food board, offering a sharp, acidic punch that cleanses the palate between bites. Whether it’s a mango salsa or a cilantro-lime crema, these dips provide a ‘zing’ that is both tropical and refreshing. The combination of heat from peppers and coolness from citrus creates a dance of flavors on the tongue that is addictive. They add a splash of neon color to your presentation, making the entire board look professionally styled and incredibly inviting.
Ingredients
- 2 ripe mangos, diced
- 1 red bell pepper, finely diced
- 1/2 red onion, minced
- 1 jalapeño, seeded and minced
- 1/4 cup fresh cilantro, chopped
- 2 limes, juiced
How to make it
- Dicing the fruit and vegetables to a uniform size is the secret to a great salsa; it ensures you get every flavor in a single bite. Aim for 1/4 inch cubes.
- In a glass or stainless steel bowl (avoid reactive metals like aluminum), combine the mango, bell pepper, onion, and jalapeño.
- Add the minced cilantro. If you aren’t a fan of cilantro, flat-leaf parsley or mint can provide a different but equally zesty profile.
- Pour the fresh lime juice over the mixture and toss gently. The acidity of the lime juice will slightly ‘cook’ the onions, removing their sharp bite and replacing it with a mild sweetness.
- Let the dip sit at room temperature for 30 minutes. This ‘marinating’ period is essential for the juices to draw out of the mango and create a natural syrup that binds the salsa together.
- Give it one final toss and a sprinkle of salt before serving with salty corn chips or over grilled fish.
The Secret to Effortless Hosting
At the end of the day, the viral food board isn’t about how much money you spent or how many hours you labored over a stove. It’s about the atmosphere you create. By choosing a mix of these textures—creamy, crisp, zesty, and sweet—you provide something for every guest while keeping the preparation manageable. When you set this board down, you aren’t just serving food; you’re serving a conversation starter. So grab your favorite wooden platter, pick a few of these recipes, and get ready to actually enjoy your next party. Happy hosting!