

We’ve all been there—the doorbell rings, friends are laughing in the entryway, and you’re still in the kitchen, frantically trying to plate hors d’oeuvres while your stress levels skyrocket. Hosting should be about connection, but somehow it usually turns into a marathon of dishes and timing mishaps. That’s exactly why the ‘Simple Food Board’ has become my absolute secret weapon for entertaining without the overwhelm.
Imagine a spread where every craving is met, from savory bites to sweet finishes, all laid out in a way that invites guests to graze at their own pace. It’s not just a meal; it’s a visual feast that smells of fresh herbs and toasted grains, creating an atmosphere that feels both effortless and incredibly intentional. Today, I’m sharing my favorite board components that will transform you into the ultimate, stress-free host.
How to make chicken wraps?
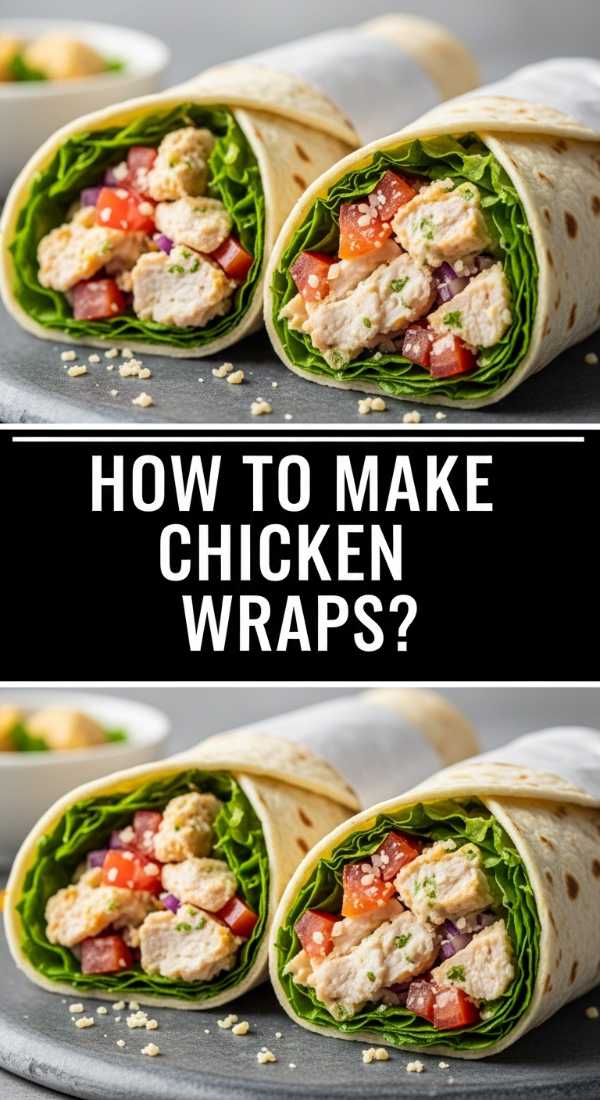
Why we love this
There is something incredibly satisfying about the structural integrity and textural contrast of a perfectly rolled chicken wrap. The warmth of the seasoned poultry against the crisp, cold snap of romaine lettuce creates a culinary harmony that is light enough for lunch yet hearty enough for a main course. As you bite through the soft, pliable flour tortilla, you’re met with a burst of creamy dressing and savory juices that dance on the palate, making it a crowd favorite for any gathering.
Ingredients
- 4 large flour tortillas
- 2 cups cooked chicken breast, shredded
- 1 cup chopped romaine lettuce
- 1/2 cup diced tomatoes
- 1/4 cup shredded cheddar cheese
- 3 tablespoons ranch or Caesar dressing
- 1 tablespoon olive oil
How to make it
- Warm your tortillas in a dry skillet over medium-low heat for about 30 seconds per side until they are soft and pliable, which prevents them from tearing during the folding process.
- Prepare your chicken by tossing shredded pieces in a small bowl with a teaspoon of olive oil and a pinch of salt and pepper to ensure every bite is seasoned and moist.
- Lay a tortilla flat and spread a thin layer of dressing in the center, leaving a 2-inch border around the edges to avoid messy spills.
- Layer the lettuce, then the seasoned chicken, followed by tomatoes and cheese in a compact horizontal line across the center of the wrap.
- Fold the left and right sides of the tortilla inward toward the filling, then, starting from the bottom edge, roll the tortilla tightly upward while using your fingers to keep the ingredients tucked in, finishing with the seam-side down.
How to bake strawberry pie?
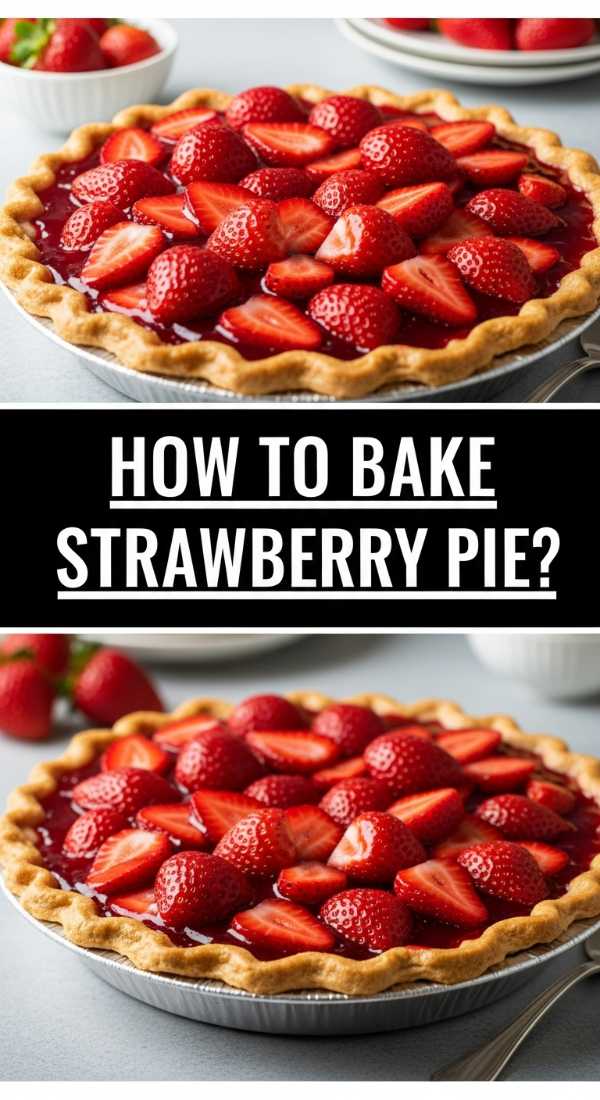
Why we love this
A strawberry pie is the ultimate herald of summer, filling the kitchen with the intoxicating, jammy scent of sun-ripened berries and caramelized sugar. The filling is a vibrant, ruby-red masterpiece that wobbles slightly when sliced, held together by a buttery, flaky crust that shatters beautifully under a fork. Each mouthful is a balance of tart fruit acidity and deep, comforting sweetness, often finished with a cool dollop of whipped cream that melts into the warm berry crevices.
Ingredients
- 2 deep-dish pie crusts (store-bought or homemade)
- 6 cups fresh strawberries, hulled and halved
- 3/4 cup granulated sugar
- 1/4 cup cornstarch
- 1 tablespoon lemon juice
- 1/4 teaspoon salt
- 1 tablespoon butter, cubed
How to make it
- Preheat your oven to 425°F (220°C) and place a baking sheet on the lower rack to catch any potential fruit drips.
- In a large mixing bowl, gently toss the strawberries with sugar, cornstarch, lemon juice, and salt, allowing the mixture to sit for about 10 minutes until the berries begin to release their natural juices.
- Line a 9-inch pie plate with the bottom crust, pressing it firmly against the bottom and sides without stretching the dough.
- Pour the strawberry mixture into the crust and dot the top with small cubes of butter to add a silky richness to the filling as it bubbles.
- Place the second crust on top (either whole with vents or in a lattice pattern), crimp the edges to seal, and bake for 45-50 minutes until the crust is golden brown and the filling is thick and bubbling; let it cool completely for at least 4 hours to set.
How to grill tender chicken?

Why we love this
Grilling chicken is an art form that results in a smoky, charred exterior and an impossibly succulent interior when done with patience. The aroma of woodsmoke and rendered fat rising from the grates is enough to make anyone’s mouth water, promising a meal that is both rustic and refined. When you slice into a perfectly grilled breast, the clear juices should run freely, highlighting the subtle infusion of herbs and the deep, savory umami developed over the open flame.
Ingredients
- 1.5 lbs chicken breasts or thighs
- 1/4 cup olive oil
- 3 cloves garlic, minced
- 1 teaspoon dried oregano
- 1 teaspoon smoked paprika
- Salt and black pepper to taste
- Fresh lemon wedges
How to make it
- Whisk together the olive oil, garlic, oregano, paprika, salt, and pepper in a resealable bag, then add the chicken and marinate in the refrigerator for at least 30 minutes, or up to 4 hours for maximum flavor penetration.
- Preheat your grill to medium-high heat (about 400°F) and use a wire brush to clean the grates, then lightly oil them to ensure the chicken doesn’t stick.
- Place the chicken on the grill and sear without moving for 5-7 minutes; you’ll know it’s ready to flip when the meat releases easily from the grates and has distinct, dark grill marks.
- Flip the chicken and continue cooking for another 5-8 minutes, or until an instant-read thermometer inserted into the thickest part reaches 165°F (74°C).
- Remove the chicken from the grill and let it rest on a clean plate for at least 5 minutes, allowing the juices to redistribute through the meat for ultimate tenderness before serving with a squeeze of fresh lemon.
How to toss summer salad?
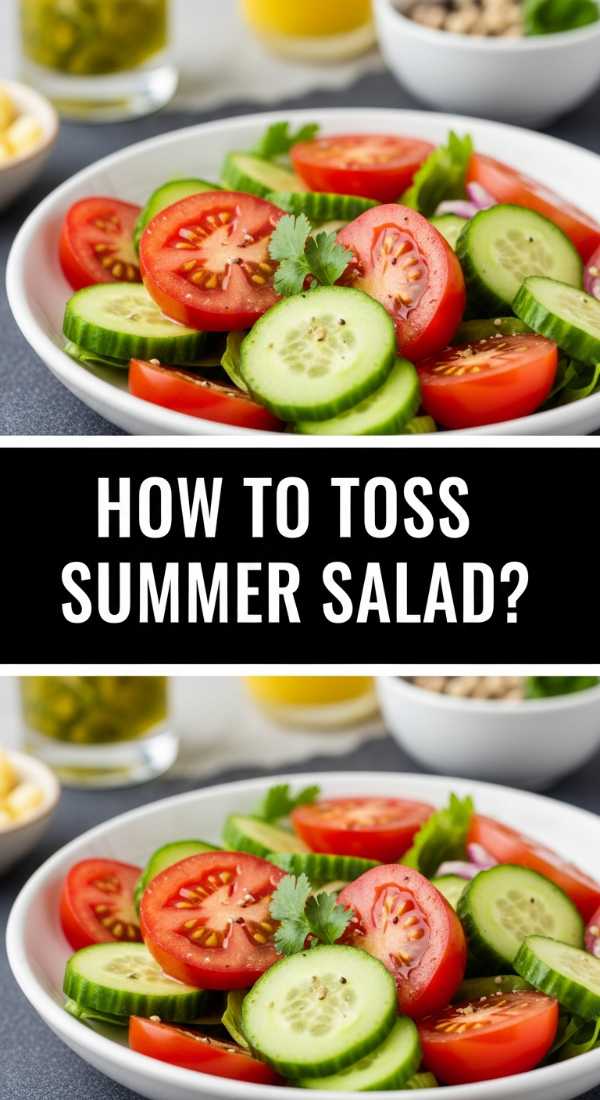
Why we love this
The summer salad is a celebration of the garden, a chaotic but beautiful mix of textures that ranges from the watery crunch of cucumber to the creamy crumble of feta cheese. Every forkful offers a new surprise—perhaps a burst of sweetness from a blueberry or the earthy crunch of a toasted walnut—all tied together by a zesty, bright vinaigrette. It feels like eating a bowl of sunshine, providing a refreshing counterpoint to the heavier, grilled elements of a food board.
Ingredients
- 5 cups mixed greens (arugula and spinach)
- 1 cup sliced English cucumber
- 1/2 cup fresh blueberries
- 1/4 cup crumbled feta cheese
- 1/4 cup toasted walnuts
- 3 tablespoons extra virgin olive oil
- 1 tablespoon white balsamic vinegar
How to make it
- Begin by washing your greens in very cold water and using a salad spinner to get them as dry as possible; moisture on the leaves will prevent the dressing from adhering properly.
- In a small jar, combine the olive oil, white balsamic vinegar, a pinch of salt, and a crack of black pepper, shaking vigorously until the mixture is emulsified and slightly thickened.
- Place the dried greens in a large, wide bowl and drizzle about half of the dressing over them, using your hands or large tongs to toss gently until every leaf is lightly coated.
- Scatter the cucumber, blueberries, feta, and walnuts over the top of the greens, rather than mixing them in deeply, to maintain the visual appeal and prevent the cheese from turning the salad murky.
- Give the salad one final, very light toss just before serving to ensure the toppings are distributed, adding a final sprinkle of sea salt to make the flavors pop.
How to bake banana bread?
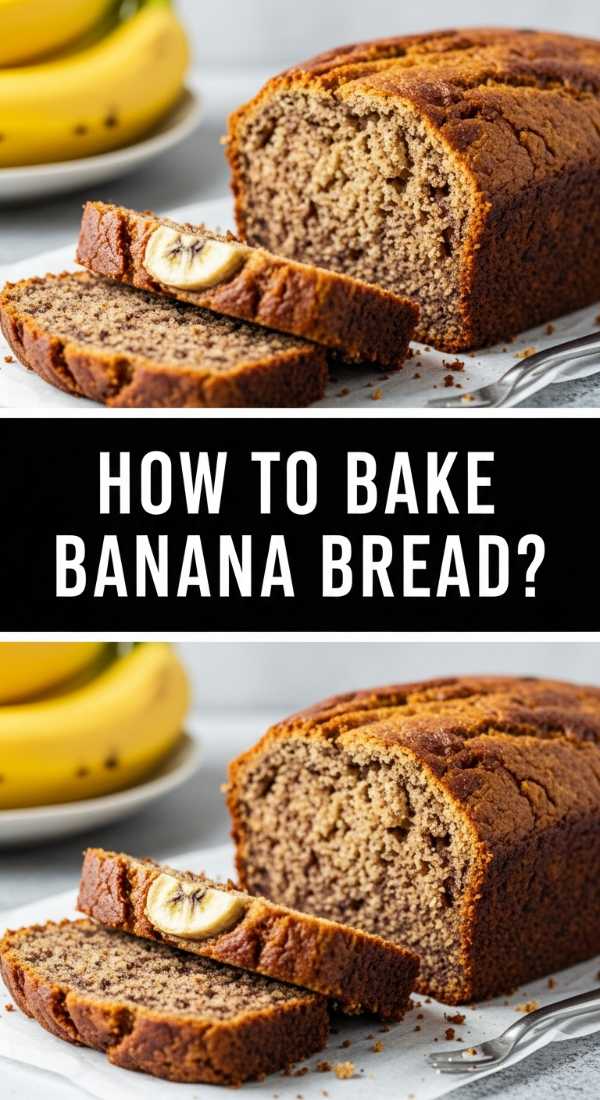
Why we love this
Banana bread is the ultimate comfort food, turning overripe fruit into a dense, moist, and aromatic loaf that feels like a warm hug. The top of the loaf develops a dark, caramelized crust that cracks perfectly, while the interior remains tender and flecked with the natural sugars of the bananas. The scent of cinnamon and baking vanilla wafting through the house is enough to draw anyone into the kitchen, making it the perfect sweet anchor for a grazing board.
Ingredients
- 3 very ripe bananas, mashed
- 1/3 cup melted butter
- 3/4 cup granulated sugar
- 1 large egg, beaten
- 1 teaspoon vanilla extract
- 1 teaspoon baking soda
- Pinch of salt
- 1.5 cups all-purpose flour
How to make it
- Preheat your oven to 350°F (175°C) and grease a 4×8-inch loaf pan thoroughly with butter or non-stick spray, lining the bottom with parchment paper for easy removal.
- In a large mixing bowl, mash the ripe bananas with a fork until they are smooth with only a few small lumps remaining, then stir in the melted butter until fully incorporated.
- Mix in the sugar, beaten egg, and vanilla extract, whisking until the batter is a uniform, pale yellow color.
- Sprinkle the baking soda and salt over the wet mixture, then gently fold in the flour using a spatula, being careful not to overmix, which can result in a tough, rubbery loaf.
- Pour the batter into the prepared pan and bake for 50-60 minutes, testing for doneness by inserting a toothpick into the center; it should come out clean or with just a few moist crumbs before cooling in the pan for 10 minutes.
How to make pasta salad?

Why we love this
Pasta salad is the versatile workhorse of the food board, offering a chewy, satisfying base that carries the bold flavors of the Mediterranean beautifully. The spiral shapes of the rotini are designed to trap the tangy vinaigrette and tiny bits of herbs, ensuring that no bite is ever dry or bland. It’s a dish that actually improves with time as the flavors meld, resulting in a cold, refreshing side that provides a savory punch alongside grilled meats.
Ingredients
- 1 lb rotini or fusilli pasta
- 1 cup cherry tomatoes, halved
- 1/2 cup sliced black olives
- 1/2 cup diced bell peppers
- 1/4 cup red onion, finely minced
- 1/2 cup Italian vinaigrette
- 1/4 cup grated parmesan cheese
How to make it
- Cook the pasta in a large pot of heavily salted boiling water until it is exactly al dente; it should have a firm bite as it will soften slightly once it absorbs the dressing.
- Drain the pasta and immediately rinse it under cold running water to stop the cooking process and wash away excess starch, which prevents the noodles from sticking together.
- In a large bowl, combine the cooled pasta with the tomatoes, olives, bell peppers, and red onion, tossing them together to distribute the colors.
- Pour the Italian vinaigrette over the mixture and toss thoroughly, ensuring every nook and cranny of the pasta is coated in the dressing.
- Cover and refrigerate for at least one hour before serving, then give it a final toss and top with the grated parmesan cheese to add a salty, nutty finish.
How to use blackstone grills?

Why we love this
The Blackstone grill, or flat-top griddle, is a game-changer for hosts who want to cook for a crowd without being tethered to a small stove. The massive cooking surface allows for high-heat searing that develops a professional-grade crust on proteins while simultaneously sautéing vegetables. There is a theatrical quality to cooking on a griddle—the hiss of the steam and the clacking of the spatulas—that turns meal prep into a performance your guests will love to watch.
Ingredients
- High smoke-point oil (like avocado or canola oil)
- Your choice of sliced meats (steak, chicken, or shrimp)
- Sliced bell peppers and onions
- Salt, pepper, and garlic powder
- Water in a squirt bottle (for steam)
How to make it
- Ensure your Blackstone is properly seasoned with a thin layer of oil before starting, then turn the burners to medium-high and let the surface preheat for about 10 minutes until it is lightly smoking.
- Apply a thin coating of oil across the surface using a spatula to spread it evenly, creating a non-stick barrier for your ingredients.
- Place your proteins on the hottest part of the griddle and leave them undisturbed for 2-3 minutes to develop a deep brown crust before flipping.
- Move the cooked meat to a cooler zone on the side of the griddle and add your vegetables to the center, squirt a bit of water onto the griddle, and quickly cover them with a basting cover to use the steam for rapid softening.
- Once everything is cooked, use the flat edge of your spatula to scrape the food onto a serving platter, then immediately scrape the hot griddle clean of debris and apply a final light coat of oil to protect the surface for next time.
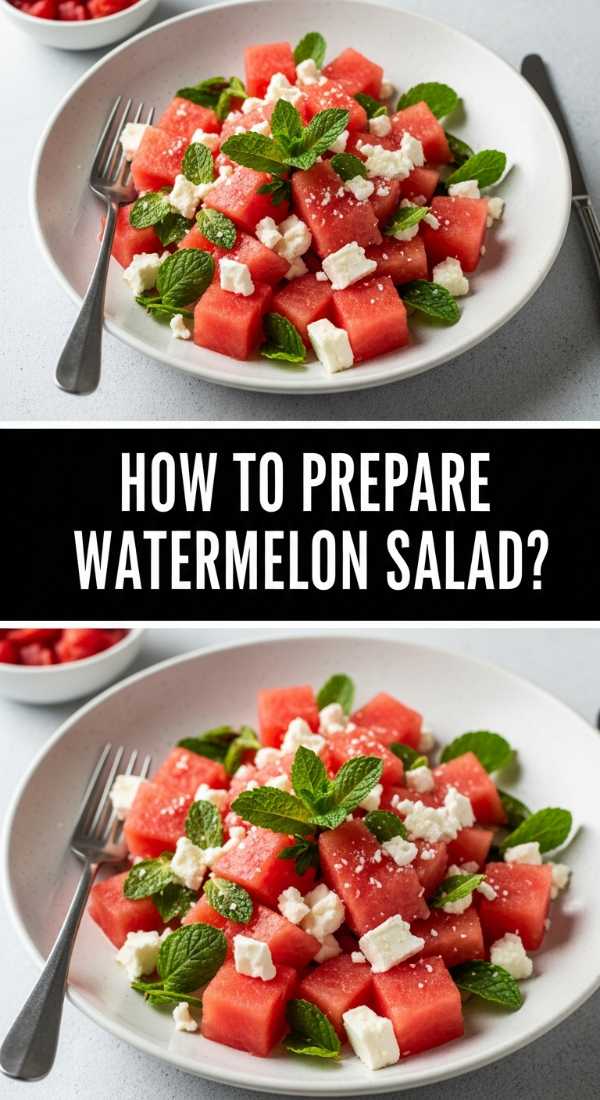
How to prepare watermelon salad?
Why we love this
Watermelon salad is a masterclass in the ‘sweet and salty’ flavor profile, offering a cooling hydration that is essential for warm-weather hosting. The icy, grainy crunch of the watermelon is brilliantly offset by the creamy, briney nuggets of feta cheese and the aromatic, peppery hit of fresh mint leaves. It’s an incredibly visual dish, with the pink fruit and green herbs creating a striking color palette that looks sophisticated but takes mere minutes to assemble.
Ingredients
- 4 cups cubed seedless watermelon (chilled)
- 1/2 cup crumbled feta cheese
- 1/4 cup fresh mint leaves, chiffonade
- 1 tablespoon lime juice
- A pinch of flaky sea salt
How to make it
- Start with a very cold watermelon that has been stored in the refrigerator for at least 4 hours; temperature is key to the refreshing nature of this dish.
- Dice the watermelon into uniform 1-inch cubes, discarding any rind and ensuring there are no large seeds to interrupt the texture.
- Place the cubes in a wide, shallow serving bowl rather than a deep one to prevent the weight of the fruit from crushing the bottom layers.
- Gently sprinkle the crumbled feta and the thin ribbons of mint over the top, then drizzle with the fresh lime juice to provide a bright, acidic lift.
- Finish with a light sprinkle of flaky sea salt just seconds before serving to enhance the natural sweetness of the fruit without drawing out too much water.
How to make fresh lemonade?

Why we love this
Nothing beats the sharp, citrusy zing of homemade lemonade made from real lemons, far removed from the overly sweet powdered versions of our youth. The fragrance of freshly squeezed lemon zest is revitalizing, and when served over a mountain of crushed ice, it becomes the ultimate thirst-quencher. It’s a nostalgic beverage that feels premium, especially when garnished with a sprig of mint or a few floating lemon rounds, adding an elegant touch to your drink station.
Ingredients
- 1 cup fresh lemon juice (about 6-8 lemons)
- 1 cup granulated sugar
- 1 cup water (for the syrup)
- 4-5 cups cold water (for diluting)
- Ice cubes and lemon slices for garnish
How to make it
- Create a simple syrup by combining 1 cup of sugar and 1 cup of water in a small saucepan over medium heat, stirring until the sugar is completely dissolved and the liquid is clear; let this cool to room temperature.
- Roll your lemons firmly against the countertop before cutting them to break the juice sacs, then squeeze them until you have 1 full cup of fresh juice, making sure to strain out all seeds.
- In a large pitcher, combine the fresh lemon juice and the cooled simple syrup, stirring well to blend.
- Add the 4-5 cups of cold water, starting with 4 and tasting as you go to achieve your preferred level of tartness and strength.
- Chill the pitcher in the refrigerator for at least an hour, then serve in glasses filled with plenty of ice and a garnish of fresh lemon slices for a professional look.
How to bake pound cake?

Why we love this
A classic pound cake is the epitome of baking elegance, characterized by its dense, velvety crumb and a rich, buttery flavor that lingers on the tongue. The exterior develops a slightly crisp, golden-brown ‘crust’ that provides a wonderful contrast to the soft, pale interior. It is the perfect canvas for seasonal fruits or a simple glaze, but it is just as magnificent standing alone, offering a sophisticated sweetness that pairs beautifully with coffee or tea.
Ingredients
- 1 cup unsalted butter, softened to room temperature
- 1 cup granulated sugar
- 4 large eggs, room temperature
- 2 cups all-purpose flour
- 1 teaspoon vanilla extract
- 1/2 teaspoon salt
How to make it
- Preheat your oven to 325°F (165°C) and grease a 9×5-inch loaf pan, dusting it lightly with flour to ensure the dense cake releases easily after baking.
- Using a stand mixer or hand mixer, cream the softened butter and sugar together on medium-high speed for at least 5 minutes until the mixture is pale, light, and incredibly fluffy; this aeration is what gives the cake its lift.
- Add the eggs one at a time, beating well after each addition and scraping down the sides of the bowl to ensure a completely homogeneous batter.
- Turn the mixer to low and gradually add the flour and salt, mixing only until the white streaks disappear to prevent over-developing the gluten.
- Pour the thick batter into the pan, smoothing the top with a spatula, and bake for 60-70 minutes until a long skewer inserted into the center comes out clean; let it cool in the pan for 15 minutes before transferring to a wire rack.
Conclusion
Whether you’re serving up a zesty watermelon salad or a tray of perfectly rolled chicken wraps, the secret to being a great host isn’t about being a professional chef—it’s about the joy of sharing. By mastering these simple, high-impact dishes and presenting them on a beautiful food board, you take the pressure off yourself and put the focus back on the memories being made. So, the next time you hear that doorbell, take a deep breath, grab your board, and get ready to enjoy the party as much as your guests do!