
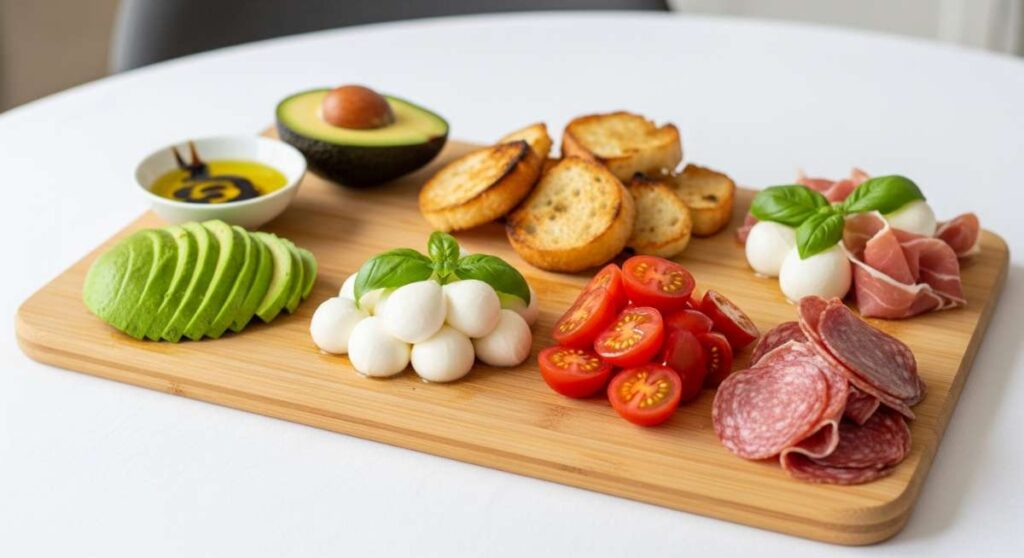
There is something undeniably magical about the way a simple food board brings people together. Lately, my social media feed has been flooded with these stunning, rustic spreads that look like they belong in a cozy countryside kitchen. It’s not just about the food; it’s about the aesthetic of abundance and the warmth of sharing home-baked treats that look as good as they taste. This viral ‘Simple Food Board’ trend is all about mastering the basics and presenting them with love.
I spent the last weekend testing and perfecting these ten staples to create the ultimate board for my friends. From the way the aroma of roasted garlic fills the house to the satisfying crackle of a perfectly flaky pie crust, these recipes are designed to evoke comfort. Whether you are a seasoned baker or a curious beginner, there is a deep sense of peace that comes from working with dough and watching simple ingredients transform into golden, delicious masterpieces.
In this post, I am breaking down exactly how to master each component of this viral trend. We aren’t just making snacks; we are creating memories one bite at a time. So, grab your apron, preheat your oven, and let’s dive into the secrets of the softest cookies, the fudgiest brownies, and the fluffiest rolls you have ever experienced.
How to bake soft cookies?
Why we love this
There is nothing quite like pulling a tray of soft cookies from the oven, where the edges are just barely set and the centers remain gooey and molten. The scent of caramelized brown sugar and vanilla bean wafts through the kitchen, creating an instant feeling of home and nostalgia. As you bite into one, the texture is velvety and rich, melting effortlessly on the tongue while the chocolate chips provide a decadent, warm contrast. It is the ultimate comfort food that feels like a warm hug in every single bite.
Ingredients
- 2 1/4 cups all-purpose flour
- 1 teaspoon baking soda
- 1/2 teaspoon salt
- 1 cup unsalted butter, softened
- 3/4 cup granulated sugar
- 3/4 cup packed brown sugar
- 1 teaspoon vanilla extract
- 2 large eggs
- 2 cups semi-sweet chocolate chips
How to make it
- Begin by creaming your softened butter with both granulated and brown sugars in a stand mixer on medium-high speed for about 3-5 minutes until the mixture is pale and fluffy; this aeration is key for a soft texture.
- Add the eggs one at a time, beating well after each addition to ensure they are fully emulsified, then stir in the vanilla extract for that deep aromatic base.
- In a separate bowl, whisk together the flour, baking soda, and salt, then gradually add the dry ingredients to the wet mixture on low speed, mixing only until just combined to avoid overworking the gluten.
- Fold in the chocolate chips by hand using a spatula, ensuring they are evenly distributed throughout the thick, sticky dough.
- Scoop rounded tablespoons of dough onto a parchment-lined baking sheet and bake at 350°F (175°C) for exactly 9-11 minutes, removing them when the edges are a very light golden brown but the centers still look slightly underbaked and soft.
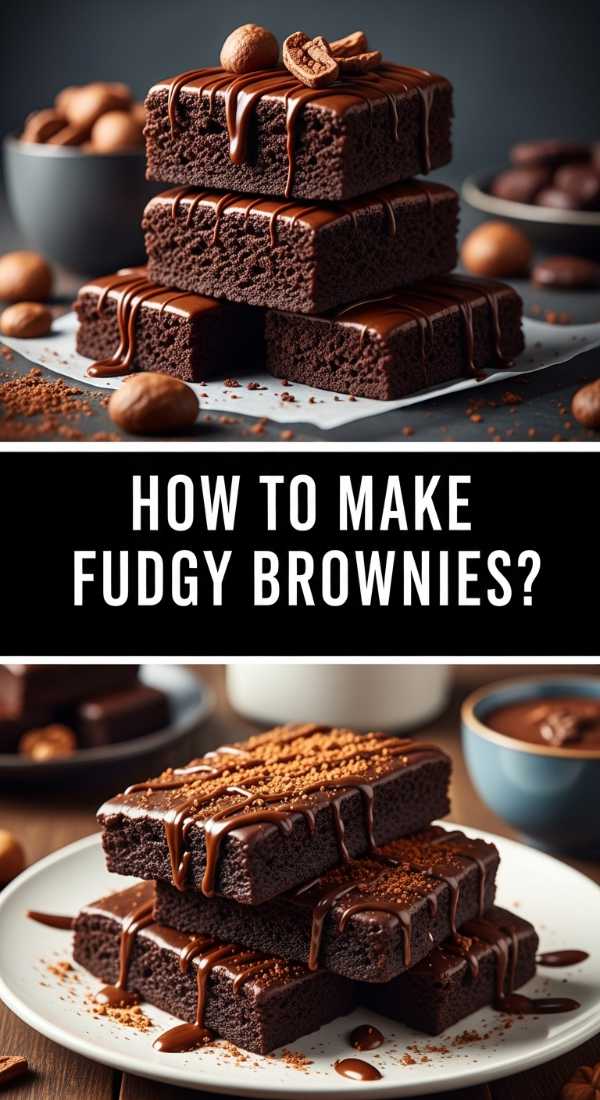
How to make fudgy brownies?
Why we love this
A truly fudgy brownie is a masterclass in texture, boasting a paper-thin, crackly top that shatters perfectly to reveal a dense, dark, and almost truffle-like interior. The aroma is intensely chocolatey, a deep and brooding scent that promises indulgence with every square you cut. When eaten warm, they have a heavy, luxurious mouthfeel that lingers, balancing the sweetness of the sugar with the slight bitterness of high-quality cocoa. It is a decadent treat that turns any ordinary afternoon into a special occasion.
Ingredients
- 1 cup unsalted butter, melted
- 2 cups granulated sugar
- 4 large eggs
- 1 tablespoon vanilla extract
- 1 cup unsweetened cocoa powder
- 1 cup all-purpose flour
- 1/2 teaspoon salt
- 1/2 cup chocolate chunks
How to make it
- Whisk the melted butter and sugar together vigorously for at least two minutes; this helps dissolve the sugar and creates that iconic shiny, crackly top during the baking process.
- Add the eggs and vanilla, beating the mixture until it becomes slightly pale and thickened, which provides the necessary structure for the dense, fudgy base.
- Sift the cocoa powder, flour, and salt directly into the wet ingredients to remove any lumps, then gently fold everything together with a rubber spatula until no streaks of flour remain.
- Stir in the extra chocolate chunks for pockets of melted goodness, then pour the batter into a greased 9×9 inch baking pan, smoothing the top with your spatula.
- Bake at 325°F (165°C) for 30-35 minutes; check for doneness by inserting a toothpick, which should come out with a few moist crumbs attached—never clean, as that indicates the brownies have moved from fudgy to cakey.
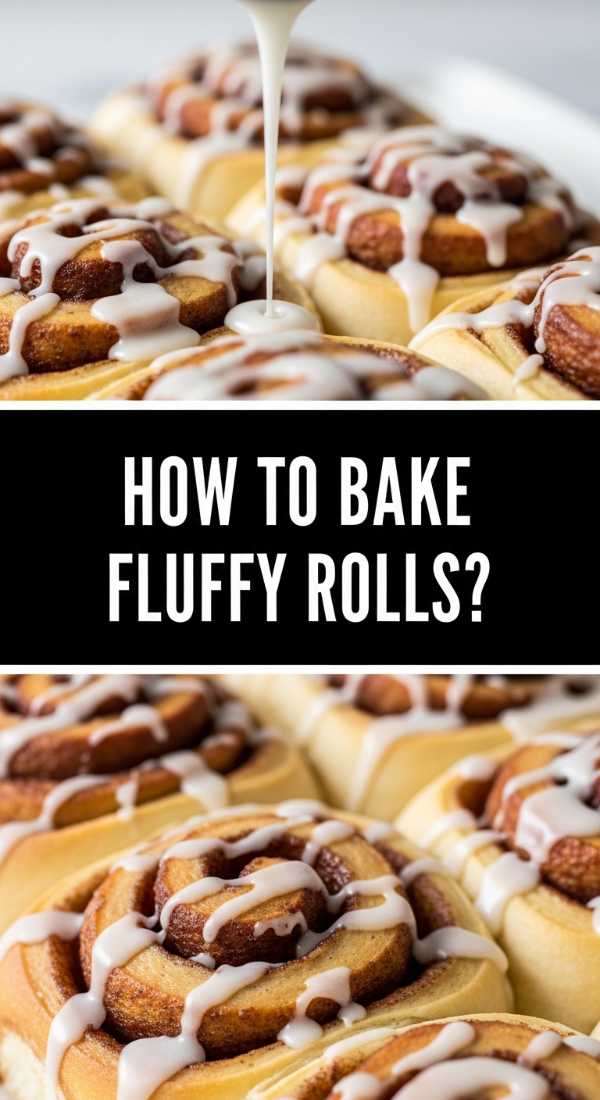
How to bake fluffy rolls?
Why we love this
Watching a batch of fluffy rolls rise in the oven is one of the most satisfying sights in the kitchen, as they swell into golden, pillowy mounds. The texture is cloud-like and airy, pulling apart in delicate, steamy strands that reveal a soft, buttery crumb inside. The smell of yeast and warm milk creates an inviting atmosphere that beckons everyone to the table before the timer even goes off. Slathered in salted butter, these rolls are the perfect vessel for soaking up sauces or simply enjoying as a tender, comforting snack.
Ingredients
- 1 cup warm milk (110°F)
- 2 1/4 teaspoons active dry yeast
- 2 tablespoons sugar
- 1/2 teaspoon salt
- 3 tablespoons melted butter
- 1 large egg
- 3 cups bread flour
How to make it
- Dissolve the sugar and yeast in the warm milk and let it sit for about 5-10 minutes until it becomes frothy and bubbly, indicating the yeast is active and ready to work.
- Mix in the melted butter, salt, and egg, then gradually add the flour one cup at a time until a soft, slightly tacky dough forms and pulls away from the sides of the bowl.
- Knead the dough on a lightly floured surface for 8-10 minutes by hand (or 5 minutes with a dough hook) until it is smooth, elastic, and bounces back when poked.
- Place the dough in a greased bowl, cover with a damp cloth, and let it rise in a warm, draft-free spot for 1 hour or until it has doubled in size.
- Punch down the dough, divide into 12 equal pieces, roll them into smooth balls, place them in a greased baking dish for a second 30-minute rise, then bake at 375°F (190°C) for 15-20 minutes until the tops are a deep golden brown.
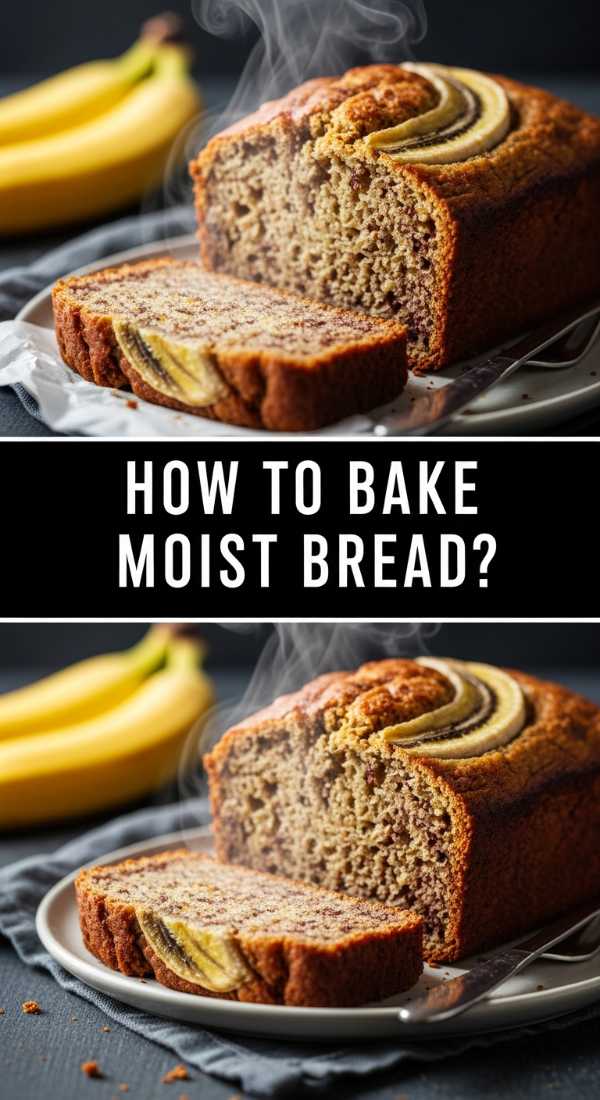
How to bake moist bread?
Why we love this
A loaf of perfectly moist bread is a testament to the beauty of simple ingredients handled with care, featuring a tender interior that stays fresh for days. The crust is thin and golden, yielding easily to a serrated knife to reveal a consistent, soft crumb that smells of toasted grain and sweetness. There is a specific joy in the weight of a moist loaf; it feels substantial yet light, perfect for thick slices toasted with honey or jam. It represents the heart of the food board, providing a reliable and delicious base for everything else.
Ingredients
- 1 1/2 cups warm water
- 1 tablespoon honey
- 2 1/4 teaspoons active dry yeast
- 1 1/2 teaspoons salt
- 2 tablespoons olive oil
- 4 cups all-purpose flour
How to make it
- Combine warm water, honey, and yeast in a large bowl, allowing the mixture to bloom for 10 minutes until a thick layer of foam appears on the surface.
- Stir in the olive oil and salt, then begin adding the flour slowly, mixing with a sturdy wooden spoon until the dough becomes too difficult to stir and forms a shaggy mass.
- Turn the dough out onto a floured surface and knead for at least 7 minutes; the goal is a supple, slightly damp dough that feels alive under your palms and doesn’t stick excessively.
- Allow the dough to rise in a greased bowl for 90 minutes, then gently shape it into a rectangular log and place it into a greased loaf pan for a final 45-minute rise.
- Bake at 350°F (175°C) for 30-35 minutes; for a professional finish, brush the top with a bit of melted butter immediately after removing it from the oven to keep the crust soft and pliable.
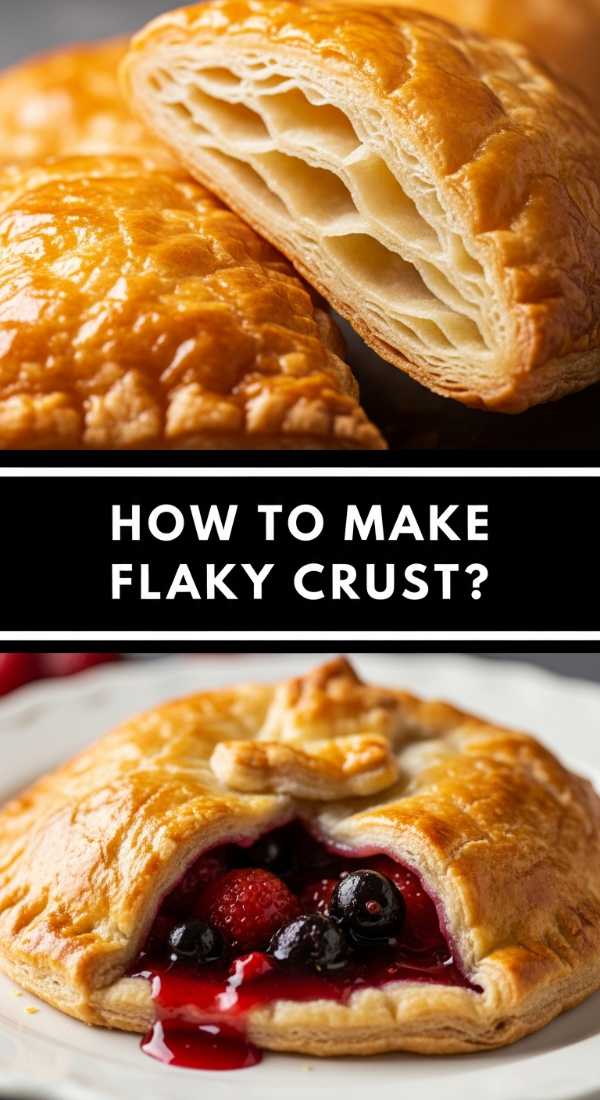
How to make flaky crust?
Why we love this
The hallmark of a superior flaky crust is the visible, shattered layers of buttery pastry that crumble delicately with every forkful. Its aroma is deeply toasted and savory, providing a neutral yet rich foundation for any filling, whether sweet or savory. The texture is a contrast of a crisp, golden exterior and a tender, melt-in-your-mouth interior that feels light and airy rather than dense. Achieving this level of flakiness is a badge of honor for any baker, signaling a mastery of temperature and technique that elevates the entire food board.
Ingredients
- 2 1/2 cups all-purpose flour
- 1 teaspoon salt
- 1 tablespoon sugar
- 1 cup (2 sticks) very cold unsalted butter, cubed
- 6-8 tablespoons ice water
How to make it
- Whisk the flour, salt, and sugar together in a large chilled bowl, then drop in the cold, cubed butter and use a pastry cutter or two forks to work the fat into the flour.
- Continue cutting until the mixture resembles coarse meal with some pea-sized chunks of butter still visible; these chunks are vital because they create the steam pockets that result in flakes.
- Drizzle the ice water over the mixture one tablespoon at a time, tossing gently with a fork until the dough just begins to clump together when squeezed—do not over-hydrate.
- Form the dough into two flat discs, wrap tightly in plastic wrap, and refrigerate for at least one hour; this resting period allows the gluten to relax and the butter to re-solidify.
- Roll the chilled dough out quickly on a floured surface to about 1/8 inch thickness, maintaining a cold temperature throughout, then bake according to your recipe, usually at a high heat like 400°F (200°C) to jumpstart the steam production.
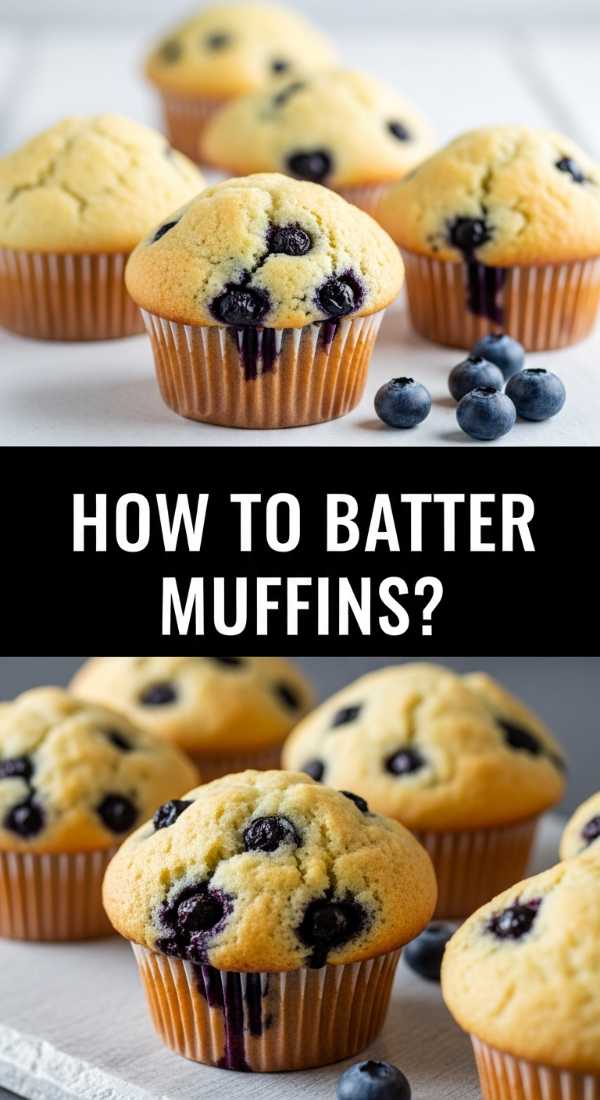
How to bake better muffins?
Why we love this
A better muffin is defined by its dramatic, domed top and a tender, moist crumb that is packed with flavor and texture. Unlike heavy, commercial versions, these muffins are light and springy, with a golden-brown crust that offers a slight crunch before yielding to the soft center. Whether filled with bursting blueberries or spicy cinnamon, the aroma is bright and inviting, perfect for a slow morning start. They are the individual-sized stars of the board, offering a portable and deeply satisfying treat that feels both wholesome and indulgent.
Ingredients
- 2 cups all-purpose flour
- 1/2 cup granulated sugar
- 1 tablespoon baking powder
- 1/2 teaspoon salt
- 1 cup whole milk
- 1/2 cup vegetable oil
- 1 large egg
- 1 teaspoon vanilla extract
How to make it
- Whisk the dry ingredients together in a large bowl, ensuring the baking powder is evenly distributed to prevent uneven rising or bitter spots in the finished muffins.
- In a separate jug, whisk the milk, oil, egg, and vanilla until smooth, then create a well in the center of the dry ingredients and pour the liquid in all at once.
- Use a large spoon to fold the mixtures together until just combined; the batter should be lumpy and thick—over-mixing at this stage will result in tough, rubbery muffins with tunnels.
- Fill the greased muffin tins all the way to the top rather than the usual two-thirds; this encourages the batter to rise upwards and create that iconic high muffin top.
- Start baking at 425°F (218°C) for the first 5 minutes to activate a quick rise, then lower the oven to 350°F (175°C) for the remaining 12-15 minutes to finish cooking the centers without burning the tops.
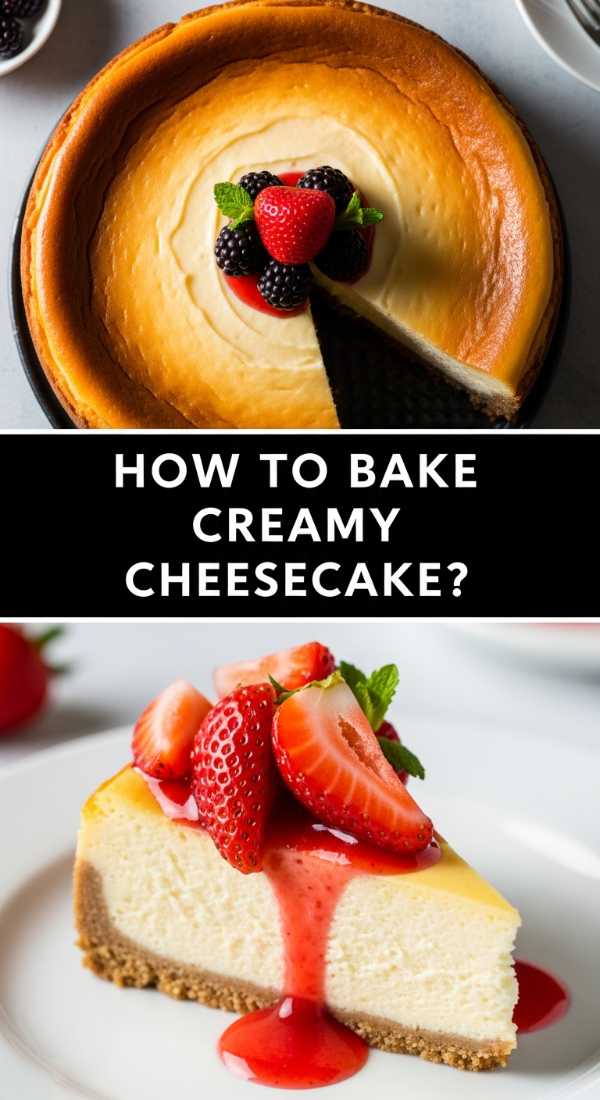
How to bake creamy cheesecake?
Why we love this
Creamy cheesecake is the height of dessert elegance, featuring a silky-smooth, dense texture that glides across the palate with a rich, tangy sweetness. It sits atop a buttery graham cracker crust that provides a sandy, salty-sweet contrast to the velvety filling. The aroma is subtle—a mix of vanilla and toasted sugar—but the visual of a perfectly flat, crack-free surface is what truly draws everyone in. It is a slow-burn dessert, meant to be savored in small, decadent bites that feel incredibly luxurious and sophisticated.
Ingredients
- 24 oz cream cheese, room temperature
- 1 cup granulated sugar
- 1 cup sour cream
- 1 teaspoon vanilla extract
- 3 large eggs
- 1 1/2 cups graham cracker crumbs
- 1/4 cup melted butter
How to make it
- Combine the graham cracker crumbs and melted butter, press firmly into the bottom of a 9-inch springform pan, and pre-bake at 325°F (165°C) for 10 minutes to set the base.
- Beat the room-temperature cream cheese and sugar together on low speed until completely smooth, scraping down the sides of the bowl frequently to ensure no lumps remain.
- Add the sour cream and vanilla, mixing gently, then add the eggs one at a time, mixing on the lowest possible speed just until the yellow disappears to avoid whipping air into the batter.
- Wrap the outside of the springform pan in several layers of heavy-duty aluminum foil and place it inside a large roasting pan filled with an inch of hot water; this water bath ensures even, gentle heat.
- Bake at 325°F (165°C) for 60-70 minutes until the edges are set but the center still has a slight jiggle, then turn off the oven and leave the cheesecake inside with the door cracked for one hour to cool slowly and prevent cracking.
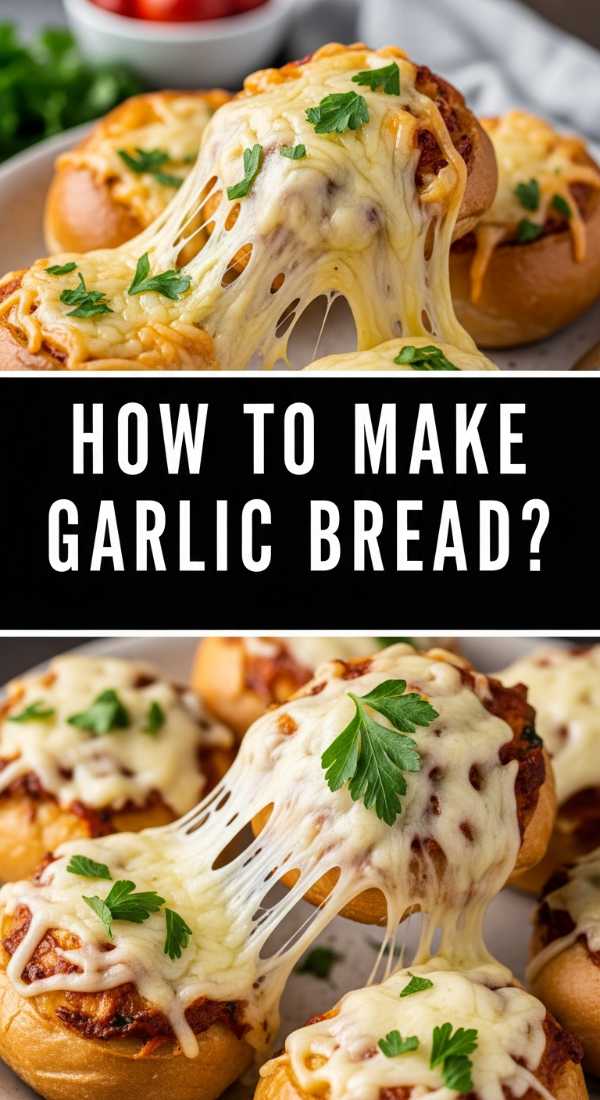
How to make garlic bread?
Why we love this
Garlic bread is the ultimate crowd-pleaser, offering a sensory explosion of pungent roasted garlic, rich butter, and fresh green herbs. The sound of the crust crackling as you break a piece off is immediately followed by the sight of the soft, butter-soaked center that is almost translucent with flavor. It provides a savory, aromatic punch to the food board that balances out the sweeter elements perfectly. The warmth of the bread combined with the bite of the garlic and the saltiness of parmesan creates an addictive snack that no one can resist.
Ingredients
- 1 large French baguette or Italian loaf
- 1/2 cup unsalted butter, softened
- 4 cloves garlic, minced or pressed
- 2 tablespoons fresh parsley, chopped
- 1/4 cup grated parmesan cheese
- 1/4 teaspoon salt
How to make it
- Slice the bread into thick rounds or split the entire loaf lengthwise, ensuring you don’t cut all the way through if you prefer a pull-apart style.
- In a small bowl, combine the softened butter, minced garlic, salt, and chopped parsley, mashing them together with a fork until a smooth, green-flecked paste forms.
- Generously slather the garlic butter onto each cut surface of the bread, making sure to get all the way to the edges for maximum flavor coverage.
- Sprinkle the grated parmesan cheese evenly over the buttered bread to create a salty, golden crust as it toasts in the oven.
- Wrap the bread loosely in foil and bake at 375°F (190°C) for 10 minutes, then open the foil and broil on high for 2-3 minutes until the cheese is bubbling and the edges are crispy and charred.
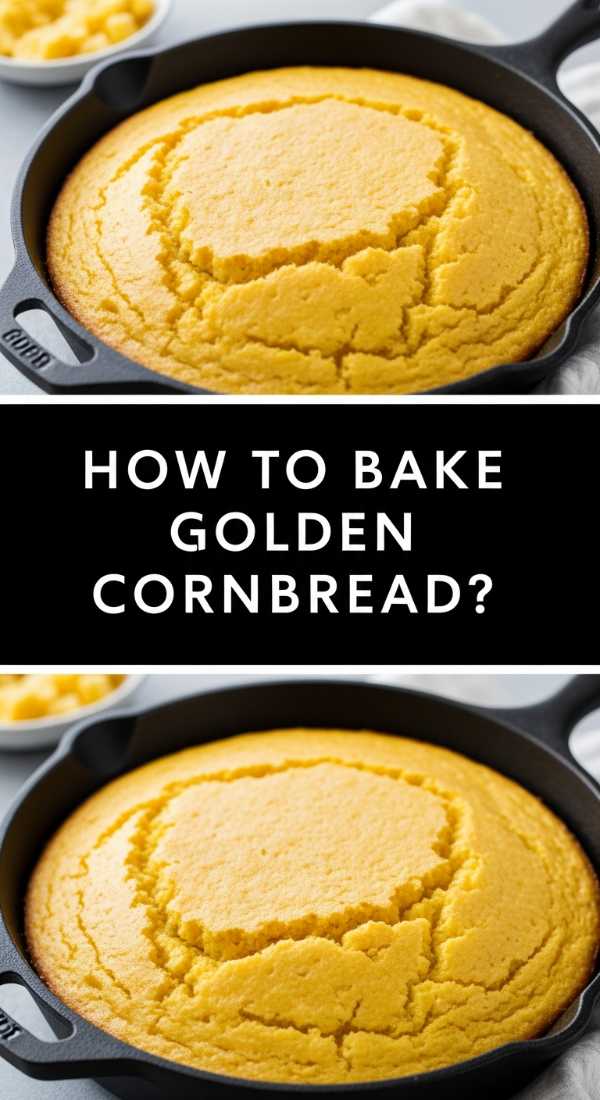
How to bake golden cornbread?
Why we love this
Golden cornbread is a rustic delight, with its vibrant yellow hue and a unique texture that manages to be both crumbly and incredibly moist. The scent of toasted cornmeal and honey is sweet and earthy, reminiscent of summer barbecues and family gatherings. When baked in a cast-iron skillet, it develops a thick, buttery crust that provides a satisfying snap before revealing the soft, honey-sweetened interior. It is a hearty, humble addition to any spread that feels deeply nourishing and fills the room with a sense of simple, honest goodness.
Ingredients
- 1 cup yellow cornmeal
- 1 cup all-purpose flour
- 1/2 cup granulated sugar
- 1 tablespoon baking powder
- 1/2 teaspoon salt
- 1 cup buttermilk
- 1/2 cup melted butter
- 2 large eggs
- 2 tablespoons honey
How to make it
- Preheat a cast-iron skillet in the oven at 400°F (200°C) while you prepare the batter; a hot pan is the secret to a perfect, crispy bottom crust.
- Whisk together the cornmeal, flour, sugar, baking powder, and salt in one bowl, and in another, whisk the buttermilk, melted butter, eggs, and honey.
- Pour the wet ingredients into the dry ingredients and stir until just combined—the batter should still have some small lumps; do not over-mix or the bread will be tough.
- Carefully remove the hot skillet from the oven, drop in a tablespoon of butter to coat the bottom, and then immediately pour the batter into the sizzling pan.
- Bake for 20-25 minutes until the top is golden brown and a toothpick inserted into the center comes out clean, then let it rest for five minutes before slicing into wedges.
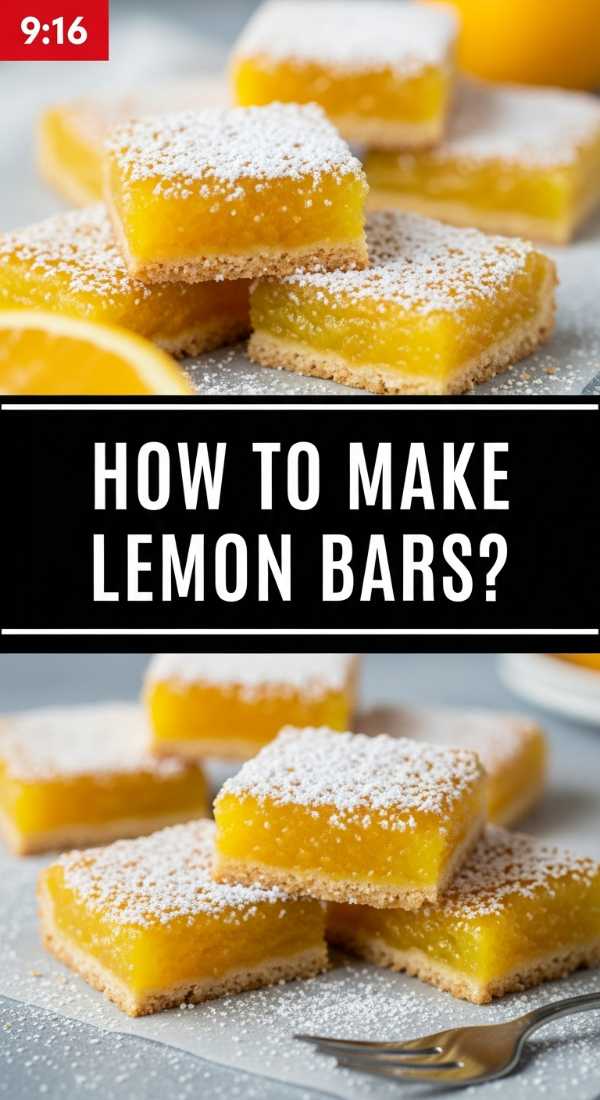
How to make lemon bars?
[IMAGE_10]
Why we love this
Lemon bars are a bright, zesty explosion of flavor that cuts through the richness of other baked goods with their sharp, citrusy tang. The contrast between the shortbread crust, which is buttery and firm, and the lemon curd top, which is soft and translucent, is a textural masterpiece. They look beautiful on a board, dusted with a snowy layer of powdered sugar that hints at the sweetness beneath. Each bite is a balance of tart lemon juice and sugar, leaving your palate feeling refreshed and energized, making them the perfect closing act for a diverse food spread.
Ingredients
- 1 cup unsalted butter, softened
- 1/2 cup granulated sugar (for crust)
- 2 cups all-purpose flour (for crust)
- 1 1/2 cups granulated sugar (for filling)
- 1/4 cup all-purpose flour (for filling)
- 4 large eggs
- 2/3 cup fresh lemon juice
- Zest of 2 lemons
- Powdered sugar for dusting
How to make it
- Cream the softened butter and 1/2 cup sugar together, then stir in the 2 cups of flour to form a crumbly dough; press this firmly into the bottom of a greased 9×13 inch baking pan.
- Bake the crust at 350°F (175°C) for 15-20 minutes until it is lightly golden and set, which prevents the lemon filling from making the base soggy.
- While the crust is baking, whisk the 1 1/2 cups sugar and 1/4 cup flour together, then add the eggs, lemon juice, and lemon zest, whisking until the mixture is smooth and slightly frothy.
- Pour the lemon mixture over the hot, pre-baked crust and return the pan to the oven for another 20-25 minutes until the filling is firm and no longer jiggles in the center.
- Allow the bars to cool completely in the pan at room temperature, then refrigerate for at least 2 hours before dusting generously with powdered sugar and slicing into clean squares.
Conclusion
Creating a viral simple food board is about more than just following recipes; it’s about the joy of the process and the beauty of the presentation. By mastering these ten essential baking techniques, you can transform basic pantry staples into a stunning centerpiece that encourages slow eating and deep conversation. Remember, the best boards are imperfect, rustic, and filled with items made from the heart. I hope these tips and tricks inspire you to host your own gathering and share the warmth of home-baked goodness with the people you love most. Happy baking!